
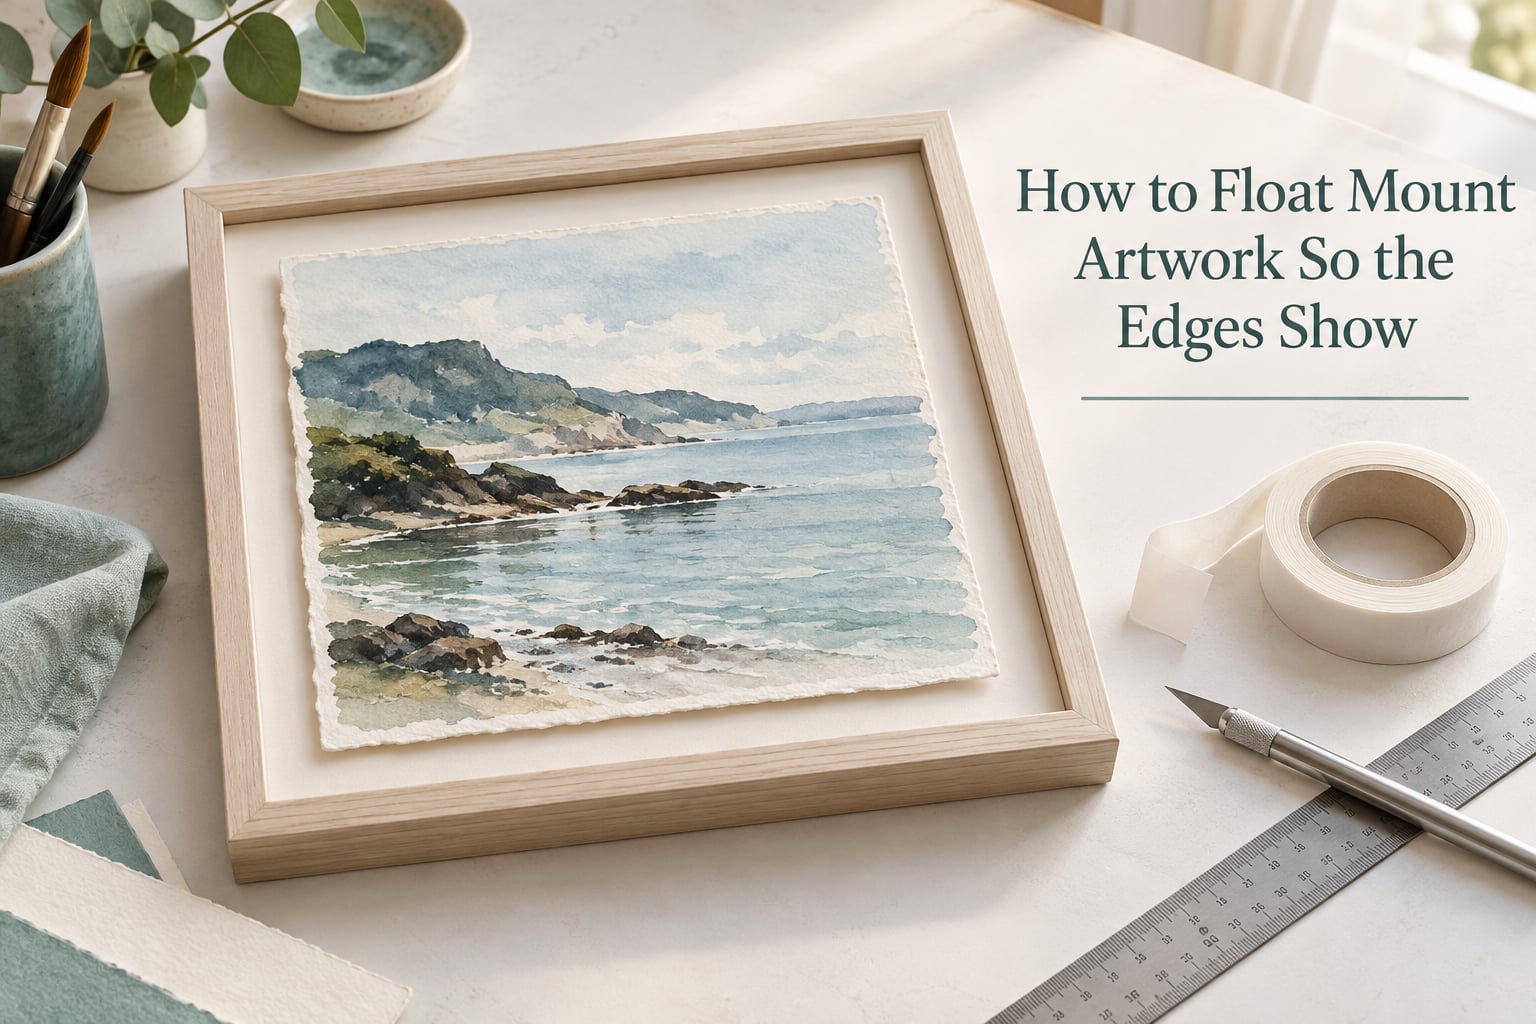
If you have ever cut a mat window slightly too small and lost the soft torn edge of a watercolour sheet, you already know why people bother with the harder method. Float mounting raises the artwork a few millimetres above its backing board on a hidden riser, so all four edges stay visible and a thin shadow falls along them. This guide covers how to float mount artwork end to end, including the sizing rules, the reversible hinge methods professionals use, and the mistakes that hide the very edges you wanted to show.
I work through paper and board pieces constantly, and the technique is far less fragile than its reputation once you understand the three moving parts: the riser sets the height, the hinge sets the position, and the spacers protect the surface. Nothing about the process is irreversible if you pick your adhesive properly, and the difference between a mount that ages well and one that browns in a decade comes down almost entirely to the tape or paste you use.
Below is the process in the order a framer would actually work: measuring the art, cutting the riser and spacers, hinging, seating the art, clearing the glass, and sealing the backing. Each step includes the measurement you need, so you can follow it with a ruler and a craft knife rather than guessing.
Table of Contents
- What Is Float Mounting (and Why the Edges Show)
- What You’ll Need
- How to Float Mount Artwork, Step by Step
- Choosing the Right Float Depth
- Hinging the Artwork: Archival and Reversible Methods
- Adding Spacers, Glass and the Backing Board
- What Float Mounting Is Best For (and What to Avoid)
- Float Mount vs. Floater Frame vs. Mat Window
- Common Mistakes to Avoid
- DIY vs. Professional Framing
- Glossary of Framing Terms
- Frequently Asked Questions
- Conclusion
What Is Float Mounting (and Why the Edges Show)
Float mounting is a framing technique that raises artwork above the backing board on a hidden riser and attaches it with hinges rather than trapping it behind a mat window. Because nothing overlaps the surface, the full edge of the work stays visible and a subtle shadow forms along it.
Two techniques cover almost all flat mounting. The first is a window mount, where the artwork sits behind an uncut mat board and only the image area is visible. The second is float mounting, where the entire sheet is exposed and elevated. That is the whole difference, and it is why float mounting suits anything whose edge is part of the design.
The shadow is not an accident. Light passing through the glazing hits the raised surface and the riser throws a faint line just inside each edge, which reads as depth. A framed painting gets that effect from a moulding; a flat sheet on paper has no natural depth, so the riser supplies it.
What You’ll Need
The list is short, and most of it is specialist board and tape rather than tools. Gather everything before you cut anything, because the sizing rule in Step 2 only works if the riser and the backing board are cut to the same outer dimension.
- Your artwork — fully dry, clean, and handled by the edges only.
- Acid-free foam core riser — cut roughly 1/4 inch smaller than the artwork on all sides, so it stays completely hidden behind the art.
- Base backing matboard — the solid sheet the riser is mounted onto. It should be at least as large as the frame rebate and cut to match the frame’s internal dimensions.
- Archival hinging tape or pH-neutral artist tape — a conservation-grade, reversible tape with a release liner you can peel off.
- Matboard spacer strips — the same board as the riser, cut to thin strips; these are the spacers that keep glass off the art.
- Paperweights — clean books or a second sheet of board, for pressing the hinge while the adhesive grabs.
- Tools — steel ruler, craft knife with fresh blades, cutting mat, pencil, and a soft brush for sweeping off board dust.
| Item | What it does | Key point |
|---|---|---|
| Acid-free foam core riser | Sets the float height under the artwork | Cut roughly 1/4 inch smaller than the art on all sides so the edge never covers the artwork’s own edge |
| Base backing matboard | Closes the back of the package | Cut to the frame’s internal size so it is trapped by the rabbet |
| Archival hinging tape | Attaches the top edge of the art to the riser | Reversible with a damp cloth and a solvent; do not substitute household tape |
| pH-neutral artist tape | Alternative to hinging tape for light media | Better suited to photographs and thin prints than to textured paper |
| Matboard spacer strips | Hold the glazing off the artwork surface | Height must exceed the riser by roughly 1/16 inch |
| Wheat or rice starch paste | Reversible hinge adhesive for conservation work | Mixed thin; used on a folded long hinge, not brushed onto the art |
| Paperweight | Applies even pressure while the hinge sets | Placed over the hinge only, never on the artwork face |
How to Float Mount Artwork, Step by Step
Step 1: Measure the artwork and the frame opening
Measure the artwork twice, in both directions, and write the numbers down. Then measure the frame’s internal opening. The artwork must be smaller than the opening on every side, usually by at least 1/4 inch, or it will not drop in once the riser and glass are added.
Check the paper’s thickness at the edge with a ruler or by comparing it to the board you will use. A sheet of cotton rag and a sheet of handmade Khadi are not the same object, and a thick handmade sheet may need a shallower riser so the shadow stays subtle.
Step 2: Cut the riser
Cut the acid-free foam core to the artwork’s exact dimensions minus roughly 1/4 inch on all sides. This single rule is the most common reason people get disappointing results: a riser cut to the full size of the art covers the edge you were trying to display.
Score and cut cleanly against a steel ruler on a cutting mat, then lift off the dust with a soft brush. A fuzzy cut edge is visible in raking light and undermines the whole effect.
Step 3: Cut the spacer strips
Cut strips of the same board to make the spacers. They need to be a little taller than the riser sits, because their job is to keep the glass roughly 1/16 inch clear of the artwork’s highest point.
Make at least four, one per side. Where the strips meet at the corners, butt them tightly rather than overlapping, so the glazing rests on a continuous surface rather than rocking on a step.
Step 4: Hinge the artwork to the riser
Attach the artwork along its top edge only. The hinge is a strip of archival hinging tape long enough to span the full width of the art with a few millimetres to spare, positioned about a quarter of an inch in from the top edge.
Lay the tape down, leave the liner in place, position the art, then peel the liner back a few centimetres at a time while pressing the tape down as you go. Work slowly and keep the strip straight. Peel the whole liner only if you are confident of the alignment; a botched tape strip means re-hinging.
Step 5: Position the art on the riser
Set the riser face down on a clean, flat surface, then bring the hinged artwork over it so the tape bridges the two. The riser should end up centred under the sheet with an even strip of board showing all the way round.
Place a paperweight over the hinge area and leave it while you make the spacers and check the fit. This is the step people skip, and skipping it is why hinges lift and the art creeps sideways within a week.
Step 6: Add the spacers and set the glass
Turn the mounted art face down and fix the spacer strips to the outer edge of the riser, one per side, with a small piece of the same archival tape. The strips should stand a hair above the riser’s surface.
Lower the glazing onto the spacers and look at it from an angle. If you can see any part of the artwork touching the glass, the strips are too short. Glass in contact with paper causes sticking and, over time, fogging between the two surfaces.
Step 7: Seal the backing board
Flip the package face down onto the base backing matboard, square the edges, and run archival tape along the back of the riser and the spacers to lock everything to the board. Then check that no light comes through anywhere around the riser when the package is held up.
Drop the sealed package into the frame and secure it with the retaining tabs or turnbuttons. Check the weight of the finished frame before you hang it, and use two fixings for anything wider than about 60 cm.
| Step | Action | Measurement or tool |
|---|---|---|
| 1 | Measure artwork and frame opening | Steel ruler; art must clear the opening by 1/4 inch minimum |
| 2 | Cut the riser | Artwork size minus 1/4 inch on all sides; craft knife and cutting mat |
| 3 | Cut spacer strips | Riser height plus 1/16 inch; four strips butted at the corners |
| 4 | Hinge the artwork | Archival hinging tape, set 1/4 inch in from the top edge |
| 5 | Position on the riser | Even board visible on all four sides; paperweight over the hinge |
| 6 | Add spacers and glazing | Glazing clears the artwork by 1/16 inch; check from an angle |
| 7 | Seal the backing board | Archival tape along riser and spacers; no light through the edges |
Choosing the Right Float Depth
Float depth is a decision, not a default, and it depends on how thick the work is and how much shadow you want. Thick works need a shallower riser or the gap looks cavernous; thin works need a deeper riser or the effect disappears entirely.
| Artwork | Riser | Resulting look |
|---|---|---|
| Photograph or thin print on smooth paper | 1/4 inch | Clean, contemporary shadow; the usual choice for photography |
| Watercolour or ink on cotton rag | 1/8 inch to 1/4 inch | Subtle shadow that does not fight a flat, matte surface |
| Handmade or Khadi paper, deckled edge | 1/4 inch | Enough depth for the torn edge to cast a real shadow line |
| Old maps, documents, letterpress | 1/8 inch to 1/4 inch | Low, non-distorting float that protects the sheet |
| Torn-edge collage or mixed media on paper | 1/4 inch to 3/8 inch | Deeper float suits irregular, textured surfaces |
| Small painting or object on 1/8 inch board | 1/8 inch board as the riser itself | The board becomes the float; do not add a second layer on top |
| Thick canvas or heavy impasto | Not a float mount | Use a floater frame or a deep box instead |
A useful rule from the trade: subtract the depth of your board from the height you want to see, and whatever remains is the riser thickness. If you want a 1/4 inch float under a work that is already 1/8 inch thick, you are looking at a 1/8 inch riser, not a 1/4 inch one.
Hinging the Artwork: Archival and Reversible Methods
The hinge is the only part of a float mount that touches the artwork, so it is the part that matters most for how long the piece survives. Professionals worry about this constantly. A professional framer described mounting a 4.5 by 10 inch painting on 1/8 inch board and asking specifically how to do it responsibly, with archival adhesives in hand, because the look was never the concern. Doing it so it can be undone later was.
Archival hinging tape is the everyday choice for most paper work. It is a paper or linen tape with a reversible adhesive, and it releases with a damp cloth and gentle pressure. It suits watercolours, drawings, prints, and anything you might want to remove from the mount in twenty years.
PH-neutral artist tape is a thinner, more conformable alternative that works well on photographs and smooth prints. It grips less aggressively, which is an advantage on glossy surfaces where a heavier tape can lift the emulsion when you try to remove it.
Wheat or rice starch paste with a long hinge is the conservation method. The technique, documented in professional framing circles, is to cut a strip of Japanese tissue or glassine long enough to span the art, fold it almost in half, and glue the two halves together with thin starch paste so the hinge is a sealed envelope with the adhesive trapped inside it. The hinge then bonds to the riser and to the back of the artwork, and the starch can be re-wetted years later to release everything cleanly.
Mix the paste thin — roughly a teaspoon of starch to a cup of water, whisked and left to stand — and apply it to one side of the folded hinge only, never to the face of the artwork. A rabbit-foot hinge, where a small dab of paste is placed under the tape at intervals and covered with wax paper, works for works that are too fragile to handle wet at all.
Dry mounting heats adhesive between the artwork and the board in a press. It gives a perfectly flat, wrinkle-free result and is genuinely the right call for some photographs. It is not reversible, it requires a press, and it can cockle or scorch delicate or thick paper. Treat it as a specialist job rather than a shortcut.
Two things to avoid entirely. Never apply tape or paste to the visible face of the artwork, and never use household or duct tape on anything you intend to keep.
Adding Spacers, Glass and the Backing Board
Spacers are the step most guides treat as optional and most framers treat as mandatory. They are the strips of board that hold the glazing above the artwork so nothing touches the surface, and without them the glass rests directly on the paper.
A practitioner workflow documented for float mounting photographs uses a 4-ply reverse bevel lift, 3/8 inch of float space on white rag board, and rag board spacers specifically to keep museum glass off the photo. That combination is the template: the reverse bevel lift gives a soft recessed edge, the rag board spacers give clearance, and the museum glass blocks most UV.
Cut the spacers from the same board as the riser so the package is even, and tape them to the riser rather than to the artwork. The backing board closes the sandwich, and it is the tape along the riser and spacer edges that stops the whole stack shifting inside the frame.
For glazing, standard glass is clear and cheap but offers no UV protection. Museum glass or UV glass filters most damaging light and reduces the fading that causes the coloured inks and toned papers in old documents to shift over decades.
What Float Mounting Is Best For (and What to Avoid)
Float mounting works best on flat, dry, paper-based work. Watercolours and drawings on cotton rag, giclée prints and photographs, small works on board, mixed media on paper, old maps, handwritten letters, and anything with a deckled, torn, frayed or otherwise irregular edge are all strong candidates. The edge becomes the feature rather than something to hide.
It is the wrong choice for thick stretched canvas, oil paintings with heavy impasto, and anything heavy or fragile that a framer would recommend boxing. A raised surface of that depth casts an uneven shadow and needs a rigid support, which is floater-frame work rather than float mounting. Do not try to correct an edge problem on a canvas with a paper technique.
One more caution: very old documents with foxing, active mould, or a brittle surface should go to a paper conservator before anything is cut or taped. Reversible is only true if the material underneath can take the moisture.
Float Mount vs. Floater Frame vs. Mat Window
Related searches are dominated by floater frame queries, and the two are constantly confused. A float mount is a paper technique using a hidden riser and hinges. A floater frame, also called a tray frame, is a wooden moulding with a deep rebate that holds a stiff canvas or board away from the frame face. The confusion sends people looking for wooden frames when they actually need board and tape.
| Technique | Suits | Reversible | Difficulty |
|---|---|---|---|
| Float mount (riser and hinges) | Watercolour, prints, photographs, deckled and torn paper, old maps | Yes, if hinges are archival or starch paste | Moderate; needs accurate cutting |
| Floater frame (tray frame) | Stiff board, small paintings, flat canvas | No; usually glued to the tray | Higher; needs woodworking and a cradle |
| Mat window | Standard prints and documents you want flat and protected | Yes | Low; a single bevel cut |
If you want to build a floater frame yourself, the core sequence is: choose a frame with a rebate at least as deep as the board, measure the internal opening, cut a cradle to the desired float height minus the board depth, glue the work to the cradle, and set foam board wedges around it to hold an even gap. That is a joinery job, not a paper one.
Common Mistakes to Avoid
Cutting the riser too large. If the riser matches the artwork’s full size, it covers the deckled or torn edge and the entire reason for the technique disappears. Cut it roughly 1/4 inch smaller on all sides.
Non-archival tape. Household tape, masking tape, and duct tape yellow, migrate, and become impossible to remove. They can also off-gas acids into the paper over time. If you do not know the tape is archival and reversible, do not use it.
Glass touching the artwork. This is the mistake that causes real damage. Paper is hygroscopic, and two surfaces in contact can stick together, take an impression of the glazing, and develop fogging. Always fit spacers taller than the riser.
Sticking anything to the face of the art. Tape and paste go on the hinge area or the back only. A single strip of tape in the wrong place is the one thing that can make a beautiful sheet unhangable.
Forgetting the paperweight. Hinges need pressure while the adhesive grabs. Without it, the tape edge lifts and the art shifts within the first few days.
Ignoring grain direction. Rag and mould-made papers stretch and contract along the grain. Mounting against the grain causes cockling over a season, which is why the tape goes across the top edge, following the grain, not down the side.
Not planning for later access. Before you seal the backing, ask whether the piece will ever need to come out. Seal only the outer edges of the riser and spacers, and keep the tape on the back rather than wrapping it around the glazing, so the package can be opened later without disturbing the art.
Walls and direct light. UV glazing helps, but no glazing is permanent protection. Keep float-mounted work off exterior walls with direct sun, and away from radiators and fireplaces that drive swings in humidity.
DIY vs. Professional Framing
Float mounting is well within reach for a careful beginner, and the materials are ordinary. It goes wrong when the artwork is valuable, when the paper is fragile or fragile-looking, or when the frame is an antique you cannot re-cut.
Pay a framer when the piece is worth more than the frame, when you are handling a document with any mould or foxing, or when the frame has no rebate deep enough for spacers. A professional will also build a proper long hinge with starch paste, which is more work than it looks and the thing most hobby attempts skip.
Framing shops report float mounting trending for contemporary photography and for work on textured or handmade paper, old maps, and documents, precisely because the shadow emphasises the raw edge. If you want that result on a piece that matters, the labour is the expensive part, not the board.
Glossary of Framing Terms
Riser — the board layer that lifts the artwork above the backing, cut smaller than the art so it stays hidden.
Cradle — the timber equivalent of a riser, glued into a floater frame to set the float height for a stiff work.
Undermount — the board directly beneath the artwork inside the frame, which float-mounted work sits on.
Reverse bevel — a bevel cut so the outer edge sits lower than the window, keeping the art surface protected from dust and contact.
Deckled edge — the soft, irregular feathered edge of handmade paper, and the clearest reason to float mount.
Rabbit-foot hinge — a hinged tape with small paste dabs under it, used for works too fragile to handle wet.
Tray frame — another name for a floater frame, a deep wooden moulding for stiff work.
Frequently Asked Questions
How to float mount art on paper?
Cut an acid-free foam core riser roughly 1/4 inch smaller than the artwork on all sides, hinge the top edge with archival hinging tape or a folded long hinge set with wheat starch paste, then position the art so an even strip of riser shows on every side. Add matboard spacer strips around the riser, drop the glazing onto them so it clears the surface by about 1/16 inch, and seal everything to a base backing matboard before it goes into the frame.
How do I float mount a print?
Float mounting a print means the whole sheet sits above the backing board instead of behind a mat window. Dry mount the print first if you want it perfectly flat and do not expect to remove it later, then hinge it to the riser. Prints with a deckled or torn edge gain the most, because the float makes that edge cast a real shadow.
Why are floater frames so expensive?
A floater frame is a deep wooden moulding that has to be milled from solid timber, joined at the corners, and fitted with a cradle cut to your measurements. The depth needed to clear a canvas limits which stock can be used, and the interior faces have to be finished so they do not telegraph every knot in the wood. Custom sizing means no standard sizes, so the labour is the cost.
How do I make my own floater frame?
Choose a frame with a rebate at least as deep as your board, measure the internal opening, then cut a cradle to the desired float height minus the board depth. Glue the work to the cradle with a permanent adhesive appropriate to the medium, and set foam board wedges around it so the gap reads even on all four sides. Finish the bare interior faces before the work goes in.
What are two techniques commonly used when mounting artwork?
The two are a window mount and a float mount. In a window mount the artwork sits behind an uncut mat board and only the image area shows. In a float mount the whole sheet is raised above the backing on a hidden riser and held with hinges, so all four edges and the shadow they cast stay visible.
Can Hobby Lobby do a floating frame?
Most large craft and home framing retailers offer a custom framing desk that will cut a floater frame or a float mount to your measurements, though it is a paid service rather than a stock item. Bring the artwork or exact dimensions, say whether you want the full sheet visible or a mat window, and ask them to fit spacers between the glazing and the artwork so nothing touches the surface.
Conclusion
How to float mount artwork comes down to four decisions: the riser thickness, the hidden 1/4 inch setback, a reversible hinge, and spacers that keep the glazing off the surface. Get those right and the rest is careful cutting.
Start with a scrap of the same board so you can practise the riser sizing and the hinge alignment without your best sheet. When you are ready, measure your first piece twice, cut the riser smaller than the art, and check the float from an angle before you seal the backing.