
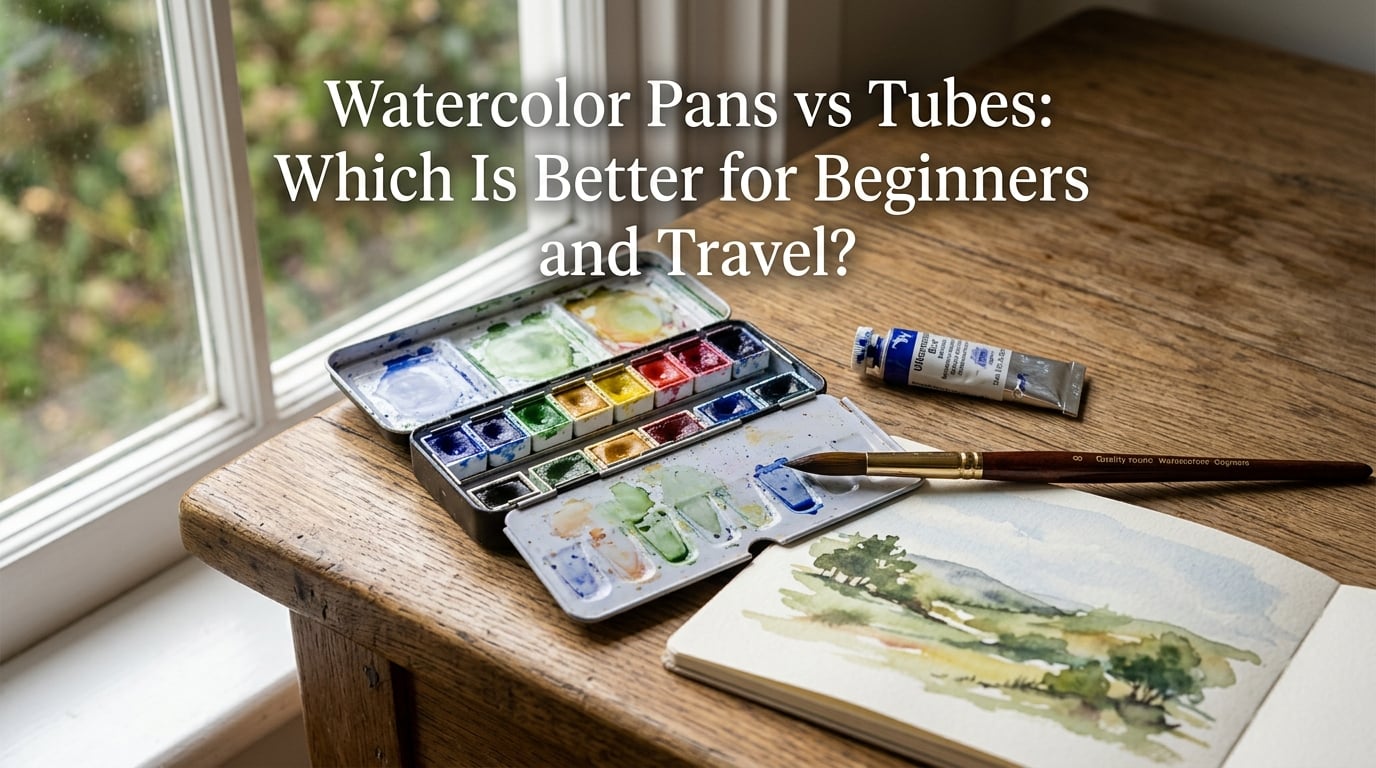
If you’ve ever stood in the art aisle wondering whether to grab a tin of dried cakes or a row of aluminum tubes, you’re not alone. Our team has been there too, and we spent six weeks switching between pans and tubes across studio sessions, plein air outings, and travel days to settle the watercolor pans vs tubes question once and for all.
The short answer: pans win for beginners and travel because they’re portable, mess-free, and forgiving. Tubes win for studio work and large washes because they deliver higher pigment load straight from the package. Many artists we know use both, and that’s not indecision — that’s smart.
In this guide, I’ll walk you through exactly how each format works, the real differences in color, cost, and water control, and which one to pick if you only want one set. I’ll also cover the questions that come up most on watercolor forums: TSA rules for tubes, whether pans go bad, and how to refill a pan from a tube when you want the best of both worlds.
Table of Contents
- Quick Answer: Watercolor Pans vs Tubes
- What Are Watercolor Pans and How Do They Work?
- What Are Watercolor Tubes and How Do They Work?
- Watercolor Pans vs Tubes: Side-by-Side Comparison
- Which Is Better for Beginners: Pans or Tubes?
- Which Is Better for Travel: Pans or Tubes?
- Watercolor Pans vs Tubes: Buying Guide Checklist
- Frequently Asked Questions
- Final Verdict: Pans, Tubes, or Both?
Quick Answer: Watercolor Pans vs Tubes
Pick pans if you are a beginner, a traveler, or someone who paints in short sessions. Pans re-wet instantly, fit in a small tin, and they don’t squeeze out and ruin your bag. Pick tubes if you paint large washes in a studio, want maximum color vibrancy, and don’t mind the mess. If you can only buy one set, a half-pan tin is the safer first choice.
Here’s a snapshot of how they compare on the points that matter most:
- Portability: Pans are leak-proof and compact. Tubes can leak and need a palette.
- Color intensity: Tubes start more saturated. Pans build intensity as you keep loading the brush.
- Water control: Pans force you to slow down, which is good for learning. Tubes let you flood color fast.
- Mess factor: Pans are tidy. Tubes can smear on palettes and stain fingers.
- Shelf life: Pans last for years if dried. Tubes can dry out if caps aren’t tight.
- Learning curve: Pans are gentler for a first-time painter. Tubes offer more room to grow later.
What Are Watercolor Pans and How Do They Work?
Watercolor pans are dried cakes of pigment mixed with binder and a touch of humectant (usually glycerin) sitting in small plastic or metal wells. To use one, you touch the cake with a damp brush, swirl for a few seconds, and the paint comes alive on your brush. It’s a tiny bit of magic every single time.
There are two common sizes:
- Half pans: About 18 by 18 mm. The most common size in student sets and travel tins. Great when you want lots of colors in a small footprint.
- Full pans: Roughly twice the volume of a half pan. Preferred by artists who load their brush heavily or use big washes.
Most watercolor tins have removable half pans, which means you can swap colors in and out as your palette grows. Several brands, including Winsor & Newton and Schmincke, sell empty half-pan tins specifically so artists can build custom layouts.
Because pans are dried, they don’t leak. You can toss a closed tin in a backpack, take it on a flight, or carry it through a train without worrying about squeeze-outs. Reviews in the r/watercolor community consistently call out portability as the top reason pans became their everyday carry.
Why Pans Re-wet So Easily
The glycerin (or honey in paints like Sennelier and M Graham) keeps the dried cake from becoming a brick. A well-made pan will accept a wet brush in under five seconds. A neglected pan that’s been dry for years may need a longer soak, but a few drops of water and a minute of patience usually brings it back.
There’s one trade-off: pans feel softer in winter humidity and harder in dry winter air. If your studio is bone-dry in January, you’ll spend a few extra seconds reloading. That’s a small price for the convenience.
What Are Watercolor Tubes and How Do They Work?
Watercolor tubes are small aluminum tubes filled with moist, concentrated pigment. You squeeze a pea-sized dollop onto a palette or mixing surface, wet your brush, and the paint flows. Tubes give you the freshest, most saturated color of either format, because the paint has never been dried and re-wetted.
Tube sizes vary by brand, but the common volumes are:
- 5 ml: The smallest standard size. Common in student ranges. A good way to try a color before committing.
- 15 ml: The workhorse size for studio artists. Enough for months of regular use on a single color.
- 37 ml and larger: Bulk sizes for serious painters or for colors you use every day, like ultramarine or burnt sienna.
Tubes come in two quality tiers:
- Student grade: More filler, more pigment extenders, lower cost per tube. Brands like Winsor & Newton Cotman and Van Gogh sit here. Good for learning, lower risk when you’re still discovering your preferences.
- Artist (professional) grade: Higher pigment load, single-pigment formulations where possible, and a much wider color range. Daniel Smith, Schmincke, and Winsor & Newton Professional lead this category.
Tubes give you control over how much paint you lay down, but that control is a double-edged sword for beginners. It’s easy to squeeze out far more than you need, end up with a muddy puddle on the palette, and waste expensive paint. That’s one reason teachers often start new students on pans.
Why Tubes Stay Vibrant
Because the pigment never goes through a drying cycle, the binders and humectants stay in their original mix. That means stronger tinting strength — the color a pigment gives when diluted — and more predictable behavior. Tubes are also how you refill empty pans, which we’ll cover below.
Watercolor Pans vs Tubes: Side-by-Side Comparison
This is the heart of the article. I’ll walk you through every dimension that matters so you can match the format to your situation. I’ll also flag where one format clearly beats the other.
Portability and Travel
Pans win this round in nearly every scenario. A small half-pan tin weighs a few ounces, fits in a coat pocket, and is leak-proof. Tubes need a palette with wells, a water container, and careful packing. Even tightly capped tubes have been known to burst under cabin pressure on flights.
If your plan is to sketch in a coffee shop, paint on a hike, or carry your kit in a tote, pans are objectively easier to live with. Multiple artists in watercolor Facebook groups confirm that pans became their default once they started sketching outside the studio.
Color Intensity and Vibrancy
Tubes are more vibrant straight from the package. Pans can absolutely reach the same intensity, but you need to load your brush well and let the pigment flow. For bold, juicy washes that cover a full page, tubes are faster.
If you paint small detailed work — botanical illustration, urban sketching, journaling — pans give you all the control and intensity you need. If you paint big skies and loose landscapes, tubes save time.
Water Control and Technique
Watercolor is mostly about water. Pans teach you water control because you only get as much paint as the brush picks up. With tubes, it’s tempting to use too much paint and not enough water, which leads to mud.
The golden rule of watercolor — use more water than you think you need — is easier to honor when you’re working from a pan. Beginners who started on pans and moved to tubes often report that pans made them better painters, even after they “graduated.”
Mess Factor
Pans are tidy. You wet a brush, you touch the pan, you paint. Cleanup is a wipe of the tin. Tubes are messier. Squeeze-outs stain palettes, fingers, and the inside of your bag if a cap loosens.
If you paint at a kitchen table or share space with someone who dislikes paint stains, pans are the polite choice.
Waste and Shelf Life
Pans don’t really expire. A dried pan will outlast you if you keep it dry. Tubes can dry out if caps aren’t sealed, and once a tube is half-empty, paint can crust around the nozzle and ruin what’s left.
Reviewers on r/watercolor101 frequently mention wasting half a tube of expensive paint because they didn’t squeeze out the air before recapping. Pans sidestep that issue completely.
Cost Per Milliliter
Tubes almost always cost less per milliliter than the equivalent amount of pan paint. A 15 ml tube of artist-grade paint can fill four to six half pans. Buying tubes and filling your own pans is the cheapest long-term route, which is one reason experienced artists do exactly that.
If you’re on a tight budget and only want to buy one thing, a half-pan set is the lowest entry cost. If you have a slightly bigger budget and time to pour paint into pans, buying tubes and refilling your own gives you the best value.
Re-wettability
Well-made pans re-wet in seconds. Cheap pans can take longer or refuse to release pigment until you really work them. Honey-based pans (Sennelier, M Graham) tend to re-wet the fastest because honey holds moisture. Glycerin-based pans are slightly slower but still easy.
Tubes never need to be re-wet because they’re already wet. That’s the trade-off.
Learning Curve
Pans are easier to start with. The brush does most of the work, and the format rewards patience. Tubes give you more freedom once you understand water-to-paint ratios, but that freedom comes with a risk of using too much paint.
If you’re brand new to watercolor, start with pans. After a few months, try tubes for the colors you use most. Most beginners who follow this path say it’s the smoothest way in.
Which Is Better for Beginners: Pans or Tubes?
For a beginner, pans are the better starting point. They keep the focus on water and brush, not on squeezing and palette management. They also discourage the most common beginner mistake: using too much paint and not enough water.
Here’s a simple beginner checklist I share with anyone asking me which format to buy first:
- Pick a half-pan set with 12 to 24 colors from a trusted student-grade brand.
- Skip the included brush if it’s a cheap synthetic. A round, size 6 or 8 synthetic brush gives you better control.
- Buy two sheets of cold-press paper (140 lb / 300 gsm) for practice.
- Add two colors in tubes later: a favorite blue and an earth tone. You’ll learn tube handling without committing to a full tube set.
Student vs artist grade for a beginner is a fair question. Student grade is the right call at the start. You don’t yet know how much pigment load matters to you, and artist-grade paint is wasted while you’re still learning water ratios. Once you find colors you reach for every session, upgrade those specific colors to artist-grade tubes or pans.
Common Beginner Mistakes to Avoid
Whether you pick pans or tubes, these are the mistakes that slow new watercolorists down the most:
- Too much paint, not enough water. If your colors look dull and chalky, you’ve overdosed on pigment.
- Skipping the test swatch. Always paint a small swatch on scrap paper before committing a color to your work.
- Closing pans wet. Let pans air-dry before snapping the lid shut, or you’ll trap moisture and grow mildew.
- Squeezing tubes back into the cap. Wipe the nozzle before recapping or you’ll glue the cap shut.
Which Is Better for Travel: Pans or Tubes?
For travel, pans are the clear winner. A closed tin is leak-proof, durable, and compact. Most travel watercolor tins come with a built-in mixing area in the lid, which is all the palette you need for plein air and urban sketching.
Tubes can travel, but they need more planning. Pack each tube in a small zip bag, ideally with a piece of sponge or paper towel around the cap. Bring a separate palette with wells so you don’t have to mix on the back of the tin. It’s doable, but it’s extra gear.
TSA and Airline Rules for Watercolor
This is a question that comes up a lot in watercolor Facebook groups. Here’s the practical answer:
- Watercolor pans: Allowed in both carry-on and checked luggage. They’re dry, so they don’t count as a liquid.
- Watercolor tubes: Allowed in carry-on and checked luggage. The TSA liquid rule (3.4 oz / 100 ml per container) doesn’t apply because paint is not a beverage. Still, security officers may inspect open or half-used tubes.
- Water containers: Empty your water container before going through security and refill at a water fountain on the other side.
I always pack a small refillable water brush alongside a half-pan tin when I fly. The water brush holds a few milliliters of water in the handle, which is fine for security because the brush head stays dry until you squeeze.
Plein Air and Urban Sketching Tips
If you want to start sketching outside, here’s the setup I’d recommend:
- A 12 to 24 half-pan tin with the colors you actually use. Don’t carry colors you never reach for.
- A water brush (size 6 or 8 round). One brush, no jar needed.
- A small sketchbook with 140 lb cold-press paper. 300 gsm paper handles outdoor conditions without buckling.
- A pencil and eraser for under-drawing.
This whole kit fits in a coat pocket or a small crossbody bag. It’s the lightest complete watercolor setup I know of, and it’s how most urban sketchers I know work on the road.
Watercolor Pans vs Tubes: Buying Guide Checklist
Whether you buy pans, tubes, or both, here are the practical things to look for before you commit. Treat this as a quick checklist you can run through in the art store or while shopping online.
- Color range: Start with at least 12 colors that include a warm and cool version of each primary, plus a few earth tones.
- Single-pigment colors: Single-pigment paints mix more predictably. Avoid “hue” versions for your core colors.
- Lightfastness: Look for ASTM I or II ratings if you care about longevity.
- Transparency: Most beginners do best with transparent pigments because they’re more forgiving of overworking.
- Pan size: Half pans are usually the right starter size. Move to full pans later if you want.
- Tin quality: A metal tin with a sturdy hinge and removable half pans is more useful than a plastic box.
How to Refill Pans from Tubes
Refilling your own half pans is one of the best ways to save money and build a custom palette. The process is simple.
Step 1: Squeeze a small amount of tube paint into an empty half pan. Aim for a level fill, slightly below the rim so the lid closes.
Step 2: Let the pan dry uncovered for 24 to 48 hours, depending on humidity. A fan on low speeds it up. Don’t close the lid until the paint is fully dry and hardened.
Step 3: Label the bottom of the pan with the color name and pigment code if you have a lot of similar colors.
Step 4: Drop the filled pan into your tin and you’re ready to paint.
This is the same method professionals use to build custom palettes, and it’s how a single 15 ml tube of artist-grade paint can carry you for months.
Cost Per ml: Pans vs Tubes
If you do the math, tubes are the cheaper format per unit of paint. A 15 ml tube of artist-grade paint usually fills four to six half pans. That means buying tubes and filling pans gives you the same pigment you would have paid for in a pan set, but for a noticeably lower cost over time.
The up-front cost of pans is lower, which is why pans are the beginner default. The long-term cost of tubes is lower, which is why experienced artists often buy tubes and pour their own pans.
Frequently Asked Questions
Are pan watercolors better than tubes?
Pans and tubes are not better or worse in absolute terms. They serve different needs. Pans are better for beginners, travel, and quick sketching because they’re portable, mess-free, and re-wet instantly. Tubes are better for studio work, large washes, and maximum color vibrancy because they deliver higher pigment load straight from the package. Many artists use both, with pans for travel and tubes for studio.
What are the best watercolor pans for beginners?
For beginners, the best watercolor pans come from trusted student-grade brands such as Winsor and Newton Cotman, Van Gogh, or Prima Marketing. Look for a half-pan tin with 12 to 24 colors that includes a warm and cool version of each primary plus a few earth tones. Single-pigment colors mix more predictably, and removable half pans let you swap colors as your palette grows.
What is the golden rule of watercolor?
The golden rule of watercolor is to use more water than you think you need. Most watercolor problems come from using too much paint and not enough water, which leads to dull, muddy colors. Working from a pan helps enforce this rule because you naturally load less pigment per stroke. Working from a tube gives you more freedom, which can lead to overdosing until you learn water control.
Can you fill watercolour pans from tubes?
Yes. You can fill any empty half pan or full pan with paint from a tube. Squeeze a small amount into the pan, let it dry uncovered for 24 to 48 hours, then close the lid once the paint has hardened. Refilling pans from tubes is the cheapest way to build a custom palette and a common practice among experienced watercolor artists.
Final Verdict: Pans, Tubes, or Both?
Here’s the simple, honest answer our team landed on after six weeks of switching back and forth. If you can only buy one set right now, choose a half-pan watercolor tin with 12 to 24 colors. Pans are easier for beginners, friendlier for travel, and they don’t punish you for painting in small sessions. Once you find the colors you actually reach for, add those specific colors in tube form, and refill your empty pans from those tubes when you want the lowest cost per milliliter.
Our team keeps a half-pan travel tin in a bag at all times and a small tube set in the studio. That dual setup has covered every painting situation we’ve run into, from weekend trips to plein air workshops. You don’t have to pick a side. You just have to start painting.