
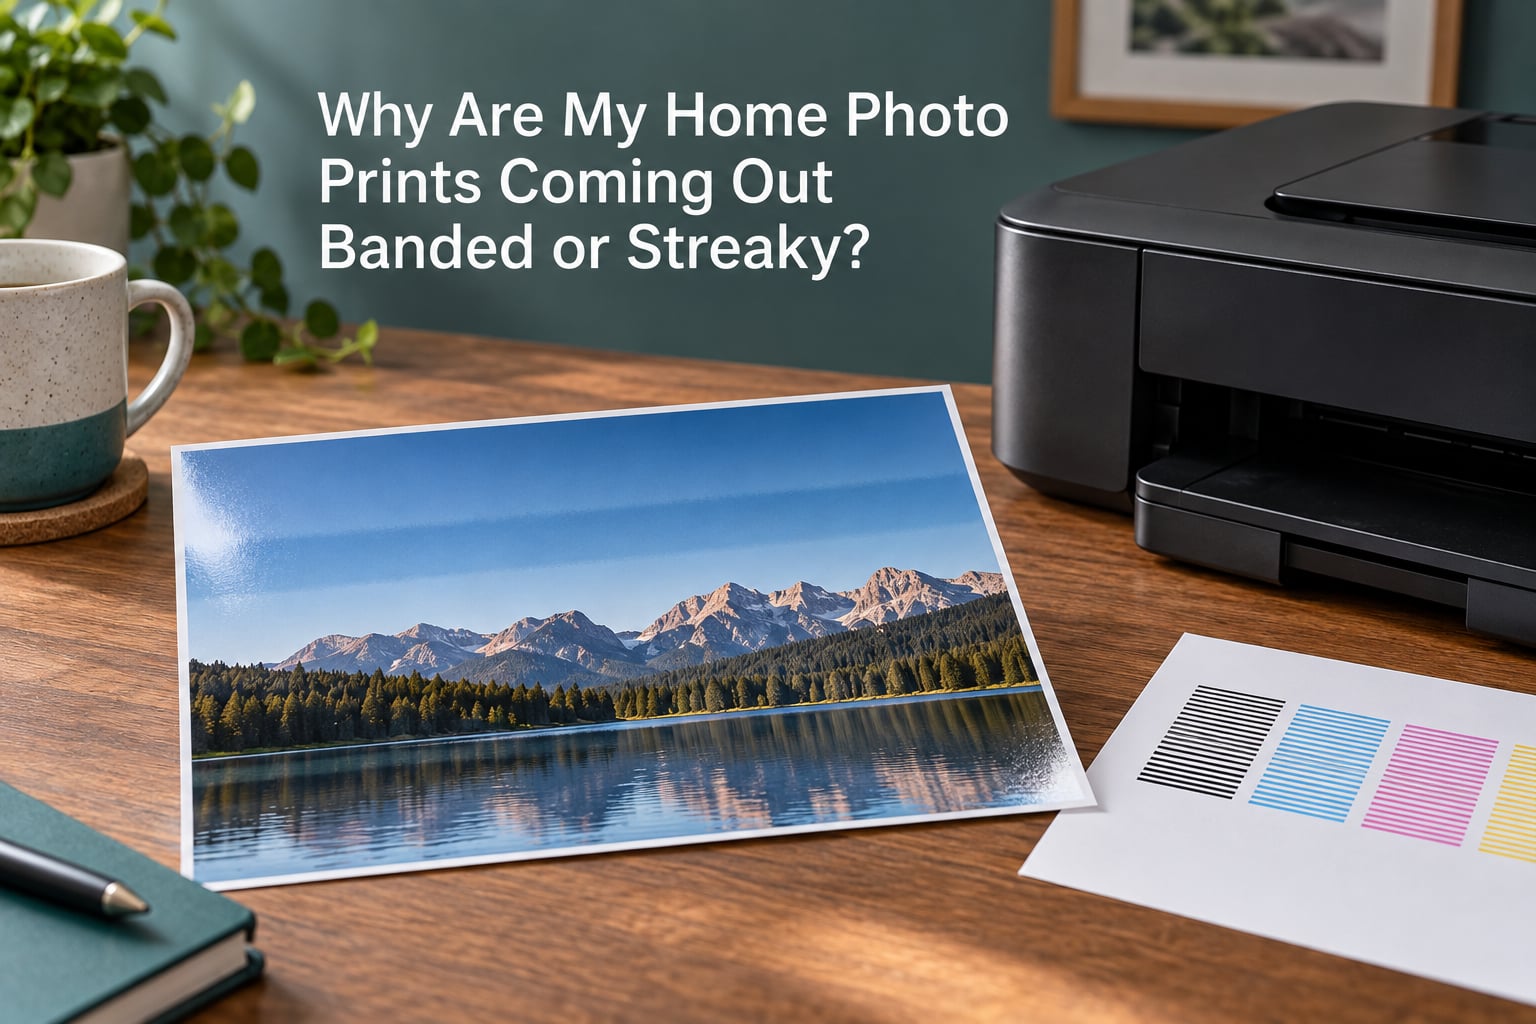
Banded or streaky photo prints are the most common complaint we see from home photo printers, and the shape of the defect almost always tells you what is wrong. A regular band that repeats at a fixed distance is a different fault from a streak that runs the length of the sheet, and a streak that follows the direction the print head travels is a different fault again.
The frustrating part is that most people spend money or ink on cleaning cycles before checking the two free settings that cause a large share of these defects. A printer set to Draft or Fast quality, or loaded with plain paper while the driver thinks it is feeding glossy photo stock, will produce visible banding and streaks on a perfectly healthy print head.
We built this guide around diagnosis first. Work out what the pattern is, match it to a cause, then apply the matching fix in the cheapest and safest order. We re-checked every step against current manufacturer guidance in 2026, and the ordering follows what experienced users on printerknowledge.com and Canon support actually recommend doing first.
Table of Contents
- What banded and streaky photo prints actually look like
- Why are my home photo prints coming out banded or streaky?
- Diagnose it first: match your pattern to the cause
- What the band spacing tells you
- Fix 1: Clogged or blocked print head nozzles
- Fix 2: Print quality set to Draft or Fast in the driver
- Fix 3: Wrong paper type, bowed paper, or incompatible media
- Fix 4: Low ink levels and failing ink supply
- Fix 5: Print head alignment and calibration
- Fix 6: Software and file problems
- Fix 7: Waste ink pad, purge unit, and the overprint sponge
- How to print a nozzle check pattern and read it
- Inkjet vs dye-sublimation vs large-format: the same symptom means different things
- The 10-minute fix checklist
- When to stop troubleshooting and call for service
- Preventing banding and streaks in future prints
- Repair, replace, or use a photo printing service
- Frequently Asked Questions
- Conclusion
What banded and streaky photo prints actually look like
Banding and streaking are two different faults, and telling them apart narrows the cause immediately.
Banding appears as horizontal bands of uneven colour or tone running across the image. The bands are usually regular, often one colour, and often repeat at a fixed interval down the sheet. A print with banding usually prints its edges and text cleanly, which is why people often describe it as looking like a printer problem only in the middle of the photo.
Streaking appears as lines running in the direction the print head travels, which is normally the direction of the longest edge of the paper. Streaks often start at one edge and run all the way across, and they frequently have a colour that does not belong in the image at all.
Comb or grid artifacts look like a faint regular lattice, and they align to a fixed grid across the whole page rather than to the image. That alignment is the tell: a grid that does not move when you change the image is a print head alignment issue, not an ink issue.
Pixelation is not banding at all. Pixelation means the image resolution is too low for the size being printed, so edges of faces, text, and foliage break into visible squares.
| What you see | Direction of the line | Most likely cause |
|---|---|---|
| Regular bands of one colour, edges print fine | Across the width, horizontal | Quality set too low, low ink, media feed or purge cycle |
| Solid lines in a colour that is not in the image | Along the direction the head travels | Blocked or missing nozzles |
| Random streaks, different on every print | Along the feed direction | Paper flatness, wet ink, paper type mismatch |
| Faint regular lattice, fixed to the page | Both directions, grid | Print head alignment out of calibration |
| Smeared or bleeding edges and hairline cracks | All over, not directional | Wrong paper type, ink not drying, too much ink |
| Same band appears on every sheet at the same place | Fixed repeat interval | Media or roll issue, feed roller, purge cycle |
Why are my home photo prints coming out banded or streaky?
- Blocked or clogged print head nozzles dropping no ink
- Print quality set to Draft or Fast in the driver
- Wrong paper type selected, or bowed paper in the tray
- Low ink levels or a failing cartridge or ink supply
- Print head alignment out of calibration
- Software and file problems such as the wrong colour profile or ink-saving mode
- A saturated waste ink pad or overprint sponge after heavy borderless printing
- Media feed or roll problems that repeat at a fixed interval
Those eight cover almost every case we have seen. The first two account for the majority of reports, and both are fixed without touching the hardware.
Mechanically, the reason any of this shows up is simple. An inkjet head deposits tiny droplets through hundreds of nozzles as it travels across the paper. When nozzles are blocked, misaligned, or starved of ink, or when the driver fires fewer, larger droplets at a low quality setting, the paper moves a measurable distance between droplet rows and that distance is visible as a line or a band.
Diagnose it first: match your pattern to the cause
Print one test page and hold it up to the light before changing anything. Identify the direction of the defect first, because that single observation rules out half of the causes.
| Symptom | Likely cause | First fix to try |
|---|---|---|
| Horizontal colour bands, no missing colour in the pattern | Print quality too low | Raise quality to High or Photo in the driver |
| Streaks in a colour absent from the image | Blocked nozzles | Run a nozzle check, then one head cleaning cycle |
| Streaks only on glossy or matte photo stock | Paper type mismatch or bowed sheets | Set the media type correctly, flatten the stack |
| Streaks only on plain copy paper | Photo ink on an absorbent surface | Use a proper photo paper setting and borderless-capable media |
| Bands reappear at the same spot on every sheet | Media feed, roll, or purge cycle | Check paper flatness and roller cleanliness |
| Defect appears only in larger sizes | Print time, ink volume, or head drift over a longer pass | Test one small bordered print to compare |
| All colours weak or a colour missing entirely | Low ink or failing cartridge | Check ink levels and test each cartridge |
| Lines stay fixed to the page regardless of image position | Head alignment | Run the print head alignment routine |
| Streaks that appear after long runs of borderless prints | Waste ink pad saturation | Confirm warranty status before any service step |
One more free test is worth doing before anything else: print the same image at Standard quality instead of Fast, and print one bordered copy alongside your usual borderless version. Forum users report that switching between Fast, Standard, and High often resolves the defect outright, and the bordered comparison tells you whether the paper edge is involved at all.
What the band spacing tells you
The distance between repeats is a diagnostic signal, not just a detail.
A band that reappears at a consistent interval, such as every 18 inches on a large-format machine, points at the media path, the roll, or the printer’s own purge cycle. Those things fire on a schedule tied to how much the head has moved or how much ink has been laid down, so the fault repeats with mechanical regularity. Large-format operators consistently report this pattern.
Bands at an irregular interval, or streaks that differ from print to print, point at ink delivery instead: nozzles, air in the ink lines, a cartridge running low, or paper that is not flat. Irregular spacing means something is inconsistent, and the cause is almost never a fixed mechanical part.
Measure the interval with a ruler on two consecutive prints. If it matches, stop chasing the nozzles and look at the media and the feed path.
Fix 1: Clogged or blocked print head nozzles
Blocked nozzles are the first suspect whenever lines run in the direction the print head travels, especially in a colour that is not in your image.
Run a nozzle check pattern from the printer maintenance menu. Missing vertical channels in the grid mean nozzles are not firing at all. Ink that fires but sits in ragged blobs points instead at a dirty or misaligned head, which is a different repair.
If the pattern shows gaps, run one head cleaning cycle from the maintenance menu rather than a print head cleaning utility, and print the nozzle check again. Escalate to a deeper cleaning only if a single standard cycle has not restored the pattern. On Canon models the deeper clean lives in the maintenance area of the web interface; on Epson models the print head cleaning options sit in the printer utility.
Warning: repeated cleaning cycles waste a large amount of ink and can damage a partly working head. Two full cleaning cycles in a row without a nozzle check in between is the single most common mistake we see. If the pattern has not changed after one cycle, the answer is not another cycle.
Fix 2: Print quality set to Draft or Fast in the driver
If your printer quality setting is on Draft, Fast, or EcoMode, the printer is deliberately firing fewer droplets and banding is the expected result on photo work.
This is the free fix that resolves the largest share of cases. Canon’s own support material maps a single driver setting directly to colour banding: the remedy is to select a higher print quality in the advanced settings of the printer driver.
Open the print dialog, go to your printer’s settings, then quality or advanced settings, and set the quality to High or Photo. Turn off any high-speed or two-sided fast printing toggle, and make sure ink-saving or economical mode is off. Print the same image again and compare it against the defective version.
| Setting | What it does | Result on photo paper |
|---|---|---|
| Draft or Fast | Fewer, larger droplets, less head travel time | Visible banding and streaks, weak colour |
| Standard | Balanced droplet count and time | Usable, still not photo grade |
| High or Photo | Full droplet passes, slower head movement | Smooth tones, the correct choice for photos |
| Greyscale or black only | Drops colour inks entirely | Missing colour, wrong tones, hard to spot in a settings menu |
Fix 3: Wrong paper type, bowed paper, or incompatible media
If the driver believes it is feeding glossy photo paper while plain sheets sit in the tray, the head deposits photo ink onto an absorbent surface and you get smearing and soft streaks.
Set the media type in the driver to match the paper actually loaded, every time. Gloss, matte, and plain paper use different ink volumes and different drying behaviour, and mismatching them produces defects that look like a hardware problem.
Then check the stack itself. Bowed or rebadged 4×6 sheets are a recurring cause that survives multiple cleaning cycles, because the head rides at a different height across the curve. Fan the stack, make sure the sheet is seated under the guide, and print one sheet from a fresh unopened pack. Forum users repeatedly trace persistent streaks back to rebadged paper stock rather than to the printer.
If ink smears under a finger after a normal drying period, the answer is a media change, not more ink. A bordered print tells you quickly whether the problem is confined to the borderless edge, where the head runs without a printable margin to steady it.
Fix 4: Low ink levels and failing ink supply
When ink runs low the printer may substitute a lighter ink or skip coverage, and the result is regular bands rather than random streaks.
Check the ink levels in the printer utility or the printer status screen, and test each cartridge individually. Cartridges that have been sitting open past their date, or a tank-fed line with air in it, produce uneven delivery that looks like a nozzle problem but is not one.
Never mix cartridge models or refill types within a set. Print a solid dark patch on each colour and look for uneven density across the block, which isolates the problem to that cartridge before you spend time on the head.
Fix 5: Print head alignment and calibration
If the lines form a faint regular grid that stays in the same place on the page no matter where the image sits, the head is out of alignment rather than blocked.
Run the print head alignment routine from the maintenance menu, which most printers place next to the nozzle check. Alignment is usually lost after a carriage crash, a paper jam, or a move, and it is also worth running after a new cartridge set.
Colour shift or colour fringes that follow a grid are alignment. Random colour smears are not, so run the alignment only when the pattern is fixed to the page.
Fix 6: Software and file problems
Some banding and streak complaints are never in the printer at all: they are created by the file, the profile, or the application.
Wrong colour profile. An image tagged for a different paper or an unprofiled RGB file will be converted badly, producing flat bands of wrong tone. Print a test page from the driver first, and only if that page is clean suspect the profile.
Resolution too low for the print size. If you are pixelated rather than banded, the fix is the image, not the hardware. Check the effective resolution of the file at the size you are printing, and print smaller rather than enlarging a low-resolution original.
Ink-saving or economical modes. Draft mode in editing software produces the same visual result as Draft mode in the driver, so check both. Greyscale output and black-only printing can also leave a photo looking flat and striped in places where the compositor filled the gap.
A clean driver test page is the fastest way to separate file problems from hardware problems. If the test page is perfect, the printer is not the cause.
Fix 7: Waste ink pad, purge unit, and the overprint sponge
A saturated waste ink pad can push excess ink into the print path and cause streaks, and it is the cause people diagnose far too early.
The waste pad is an absorbent pad under or beside the print head that absorbs purge ink. Borderless printing pushes far more ink through the head than bordered printing, so heavy borderless 4×6 workloads saturate the pad sooner. On Canon models the printer runs automatic purge cycles after a set droplet count, and when that automated cleaning cannot keep up, ink collects and streaks appear.
Warning: do not open the printer or service the pad, purge unit, or overprint sponge until nozzle check, paper, and quality settings have all been ruled out, and until you have checked your warranty status. The expert guidance on printerknowledge.com is explicit on this point, and a pad service performed outside warranty can cost more than a replacement unit for a newer printer.
The symptom that points here is a printer that performs acceptably for a few bordered prints and then starts streaking after a long run of borderless work. If a nozzle check pattern is clean, the pad is a reasonable suspect. If the pattern has gaps, it is not.
How to print a nozzle check pattern and read it
A nozzle check pattern takes about two minutes and is the single most useful test in home photo printing.
- Open the printer maintenance menu from the printer, the printer software, or the printer web interface.
- Select the nozzle check, head check, or test print option and choose plain paper loaded in the rear tray.
- Print the pattern and let it dry fully before you judge it, since wet ink smears and looks like a defect that is not there.
- Hold it to a light and look for complete vertical columns of colour, one column per nozzle group.
- Count the missing columns. A gap of one or two columns is a small blockage worth one cleaning cycle; a wide gap across every colour band suggests a cartridge or ink supply problem instead.
If every column is present but the pattern looks ragged, the nozzles are firing and the problem is ink delivery, calibration, or the paper. If columns are missing entirely, you have a genuine blockage and the print quality setting is not the cause.
Inkjet vs dye-sublimation vs large-format: the same symptom means different things
The same visible streak carries different meanings depending on the technology and the size of the machine.
Consumer inkjet. Bands and streaks are nearly always nozzles, quality settings, or paper. Nozzle checks are reliable, and cleaning cycles are low risk on a unit that is still under warranty.
Dye-sublimation. The ribbon and thermal head replace nozzles, so a line in the feed direction usually means a dirty or damaged thermal element or a ribbon path problem rather than a blockage. A cleaning routine on a dye-sublimation machine is a wipe of the head, not an ink purge, and the head should never be touched with anything abrasive.
Large-format. Fixed-interval banding on a roll machine points at media, tension, or the feed path rather than at ink, because the head travels a much greater distance per sheet. Test a small bordered print to confirm the head is healthy before investigating the roll.
Operators report large-format banding recurring at a consistent interval, such as every 18 inches, which is a media and feed signature. The stronger the evidence for a fixed interval, the less time you should spend on cleaning cycles.
The 10-minute fix checklist
Work through these in order, cheapest and safest first, and stop as soon as the print comes out clean.
- Open the print dialog and set quality to High or Photo, turning off Draft, Fast, EcoMode, and high-speed printing.
- Set the media type in the driver to match the paper actually in the tray.
- Print one bordered test page and compare it with your usual borderless output.
- Run a nozzle check pattern and count the missing columns.
- If columns are missing, run exactly one head cleaning cycle, then re-run the nozzle check.
- Check ink levels and test each cartridge with a solid colour block.
- Flatten the paper stack, or print one sheet from a fresh pack.
- Run the print head alignment routine if the pattern is a fixed grid.
- Check the image file for resolution and colour profile problems at the intended print size.
- Let the print dry fully before deciding it is defective.
If the print is still banded after step ten, the cause is mechanical or supply-side and the next step is a support conversation, not more cleaning.
When to stop troubleshooting and call for service
Stop and contact support when any of these are true, because continuing risks ink, paper, or your warranty cover.
- Two cleaning cycles have not restored the nozzle pattern.
- The streaks only appear after long runs of borderless printing and a nozzle check is clean.
- The band repeats at a fixed interval on every sheet regardless of settings.
- You hear grinding or see a carriage that no longer moves smoothly across the rail.
- Your printer is still under warranty, and any remaining step involves opening the chassis.
When you do contact support, attach a photo of the defective print, the nozzle check pattern, and a note of the paper type, quality setting, and size. That trio answers most of the questions a technician would otherwise send back to you, and it is exactly the diagnostic set the strongest expert answer on printerknowledge.com asks for first.
Preventing banding and streaks in future prints
A short maintenance cadence removes most repeat defects.
- Weekly: run a nozzle check if you print photos regularly, and check ink levels before a batch.
- Monthly: print a solid colour block on each ink, and check the back of the carriage rail for ink build-up.
- Quarterly: run the head alignment routine, and inspect the paper tray and rollers for dust and dried ink.
- Always: set the media type to match the loaded paper, use a quality setting suited to photos, and store photo paper flat and away from humidity.
Borderless-heavy workloads are the hardest on a printer, so allow the machine the purge cycles the manufacturer schedules, and do not interrupt long prints with power cycling. Interrupting mid-purge is a common route to the alignment and streaking problems described above.
Repair, replace, or use a photo printing service
Once the free steps are exhausted, the honest comparison is between a repair, a replacement printer, and a photo lab or online printing service.
A print head replacement or a pad service is a technician job on most consumer models, and on a printer outside warranty it often costs more than a new unit of a similar class. A large batch of photos is also the case where a lab genuinely wins: a single 8×10 or a wall print from a lab will cost less ink, and often produce better colour, than producing the same image at home.
The practical rule we use: if your printer is out of warranty, the nozzle pattern will not clean, and photo printing is a regular task rather than an occasional one, move the printing to a service. If it is occasional and the defect is banding from a quality setting, fix the setting and keep the printer.
Frequently Asked Questions
How to get rid of banding in prints?
Banding is a driver or ink delivery problem, not usually a dead printer. Raise the print quality setting from Draft or Fast to High or Photo in the driver, confirm the media type matches the loaded paper, and run a nozzle check pattern. If the pattern shows missing columns, run one head cleaning cycle and re-check. If a band reappears at the same interval on every sheet, look at the media path and feed instead.
How to fix streaky print?
Start with the two free settings: set quality to High or Photo and set the media type to match the paper in the tray. Print a bordered test page next to a borderless one to see whether the head, the paper, or the edge is involved. Then run a nozzle check pattern, and if columns are missing, run exactly one head cleaning cycle before testing again.
Why are my prints coming out with lines?
Lines running in the direction the print head travels usually mean blocked or missing nozzles, so check a nozzle check pattern first. A faint regular grid that stays fixed to the page regardless of the image points to print head alignment. Lines that only appear on plain paper, or that smear, point to a paper type mismatch or a paper stack that is not flat.
Why are my prints coming out pixelated?
Pixelation is not a hardware fault and it is not banding. The image resolution is too low for the size you are printing, so edges break into visible squares. Print a smaller size rather than enlarging a low-resolution original, and check the effective resolution of the file at your intended print size. If the driver test page is clean and the photo is pixelated, the file is the cause.
Why is my printer leaving streaks on my prints?
Streaks usually come from one of four things: blocked nozzles, a quality setting that is too low, paper that is not flat, or a paper type that does not match the driver setting. Run a nozzle check to separate blockage from everything else, then set quality to High or Photo and confirm the media type. Print one sheet from a fresh pack, because bowed 4×6 stock is a frequent and easily missed cause.
How can I unclog my print nozzles?
Load plain paper and run the nozzle check or head check from the printer maintenance menu. If the pattern shows gaps, run one standard head cleaning cycle and print the pattern again. Escalate to a deeper cleaning only if a single standard cycle did not help. Avoid repeated cycles: they waste large amounts of ink and can worsen a partly working head, and an unrecoverable head needs service, not more cleaning.
How to fix printer smearing ink?
Smearing is a media problem, not a head problem. Set the media type in the driver to match the paper actually loaded, because photo ink on plain paper will spread. Use photo paper within its stated drying time, avoid touching the print until it has dried fully, and store sheets flat so they do not bow. If ink smears on every batch regardless of paper, check for over-inking from a low quality or ink-saving setting.
Conclusion
Banded or streaky photo prints are a diagnosis, not a verdict on your printer. Match the direction of the defect to a cause, change the two free driver settings first, run a single nozzle check, and let the print dry before you judge it.
Most cases stop there. When the pattern repeats at a fixed interval, suspect the media or feed path; when it follows the head, suspect nozzles; when it stays fixed to the page, suspect alignment. Only after those are ruled out does a technician conversation make sense, and a photo lab is often the right answer for regular photo printing rather than a repair.