
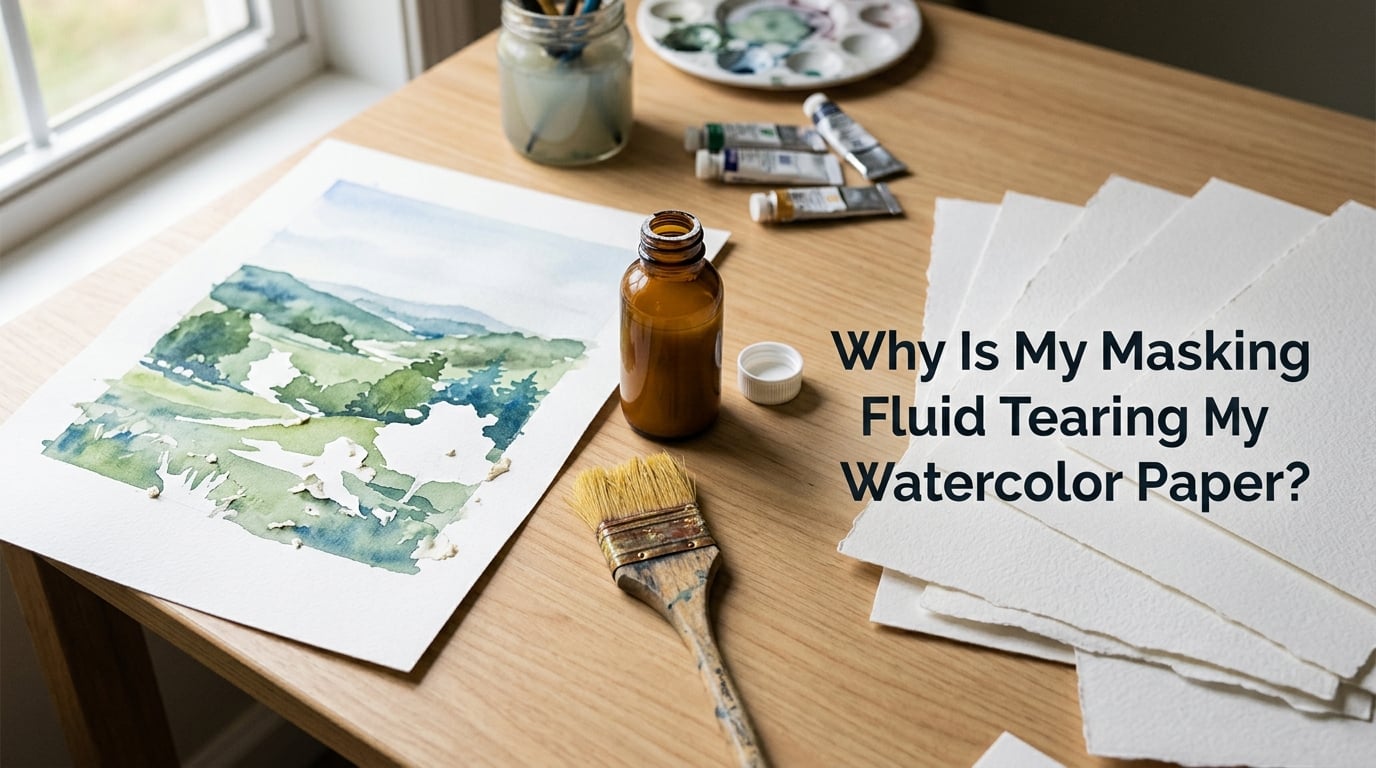
You’re halfway through a watercolor painting, peel off the dried masking fluid, and watch a chunk of paper come with it. It’s heartbreaking, and it happens to nearly every watercolor artist at some point. If your masking fluid is tearing your watercolor paper, you’re not doing anything wrong on a fundamental level — but some combination of paper, fluid, timing, and technique is working against you. In this guide, I’ll walk you through the five most common reasons masking fluid rips paper, how to prevent it next time, and what to do when the damage is already done.
Table of Contents
Why Is My Masking Fluid Tearing My Watercolor Paper? A Quick Answer
Masking fluid tears watercolor paper when the dried latex film bonds more strongly to paper fibers than the fibers bond to each other. This usually happens for one of three reasons: the paper is soft-sized or loosely surfaced, the masking fluid has been left on too long, or the fluid was applied too thickly or with the wrong brush. Paper fibers lift because the latex grip on them is stronger than the internal strength of the paper sheet itself.
Think of masking fluid as a thin sheet of rubber cement sitting on top of your paper. When you peel it, you’re asking the latex to release the fibers underneath. If the paper’s surface sizing is weak, or if the latex has had time to sink into the sheet, those fibers come up with the fluid instead of staying put. The fix is almost always about choosing the right paper, controlling drying time, and removing the fluid while it’s still flexible — not bone dry and crusty.
Most artists I’ve worked with solve this problem completely by switching to a more internally sized paper, using a thinner application, and removing the fluid within 24 hours. Below I’ll break down each cause in detail.
5 Common Reasons Masking Fluid Tears Your Watercolor Paper
There isn’t a single smoking gun — usually two or three of the factors below combine to cause tearing. Here’s how to identify what’s happening in your setup.
1. Your Paper Is Soft-Sized or Loosely Bonded
Watercolor paper is sized internally (mixed into the pulp) and surface-sized (coated after forming). Soft-sized paper has weaker surface sizing, which means paper fibers near the top of the sheet are easier to lift. When latex dries on top of soft-sized paper, it grips those loosely anchored fibers and pulls them out when you peel the film away.
This is the most common cause across Reddit threads on r/Watercolor and r/watercolor101. Many artists blame the masking fluid brand, but the paper is often the real culprit. Student-grade wood pulp sheets and some handmade papers fall into this category even when labeled as watercolor paper. One user on r/watercolor101 reported that Daniel Smith fluid tore their 100% cotton cold pressed paper on removal — but the issue was a softer, less internally sized cold press variant, not the cotton content alone.
If tearing happens even on tiny dots of masking fluid, paper sizing is almost certainly your primary issue.
2. You Left the Masking Fluid on Too Long
Masking fluid becomes more aggressive the longer it sits. Fresh dried fluid is still slightly flexible and peels away cleanly. Fluid that’s been on the paper for 48+ hours loses flexibility and bonds more aggressively with paper fibers. Some brands shift from a clean rubbery film to a gummy, hard-to-remove layer after a day or two.
A user on r/Watercolor left masking fluid on for 24 hours and reported it became extremely difficult to remove. Heat speeds this up — running a hair dryer over dried masking fluid, or leaving your painting in a warm car, can make the fluid melt slightly and sink deeper into the paper. The result is stronger adhesion and more fiber lift on removal.
The safe window depends on brand and paper, but most artists remove fluid within 12 to 24 hours of painting over it.
3. You Applied the Masking Fluid Too Thickly
Thick applications of masking fluid create a stronger, stiffer film when dry. A thick film is harder to peel at a low angle and pulls harder on the paper surface. Thin, even coats release cleanly; thick globs rarely do.
Application mistakes that lead to thick deposits:
- Loading the brush heavily and dabbing rather than stroking
- Going back over the same area before the first pass dries
- Using a brush with too much fluid in the belly
- Using a bottle with a clogged tip that pools fluid in one spot
If you can see raised edges or a glossy bead of fluid on the paper, it’s too thick. The film should dry to a thin, matte layer that you can almost see the paper texture through.
4. Your Brush Is the Wrong Type
A stiff, cheap brush can scratch the paper surface during application, loosening fibers before the fluid even dries. The masking fluid then locks onto those disrupted fibers, and they tear away on removal. Old brushes with splayed or bent bristles are the worst offenders because they don’t release fluid evenly.
The classic solution is a dedicated, cheap masking fluid brush — usually a synthetic round that you don’t mind ruining. Soft synthetic bristles in good condition glide over the paper without scratching. Some artists use a silicone applicator or a color shaper for very fine details.
Whatever tool you use, the principle is the same: don’t disturb the paper surface, and don’t overload the brush with fluid.
5. Your Paper Was Already Wet or Damp
Applying masking fluid to damp paper is a recipe for tearing. The fluid doesn’t form a clean film on a wet surface — it mixes with moisture, sinks into the sheet, and bonds deep into the fibers. On removal, it pulls those deep fibers right out.
This is one reason beginners get caught: they’re working on a wet sheet, see a blank spot they want to preserve, and reach for the masking fluid bottle. By the time they peel the dried fluid, the paper is wrecked.
Always apply masking fluid to bone-dry paper, then let the fluid dry completely before painting over it.
How to Prevent Masking Fluid From Tearing Paper
Prevention comes down to paper choice, fluid management, and removal technique. Here are the practices that consistently save paintings.
Choose the Right Paper for Masking Fluid
Hard-sized, internally strong papers handle masking fluid best. Look for 100% cotton papers with explicit mention of surface sizing or “hot pressed sizing.” Popular choices that consistently hold up to masking fluid include:
- Arches Hot Press (smoother, tightly sized)
- Saunders Waterford Cold Press (well-sized, durable surface)
- Fabriano Artistico Hot Press or Cold Press
- Stonehenge Aqua Hot Press (works for many artists, though some report tearing)
Avoid cheap, lightweight, or soft-sized papers for any project involving masking fluid. The few cents saved on paper are not worth the ruined painting.
Apply in Thin, Even Layers
Use a damp (not wet) brush, load it lightly, and apply fluid in one smooth stroke. Let each pass dry before touching it again. If you need a thicker mask for very wet washes ahead, consider applying a second thin coat after the first is fully dry rather than one thick coat.
For very fine details, use a silicone pickup tool or a fine liner brush kept solely for masking fluid. Never use a brush you care about — masking fluid ruins brushes quickly.
Control Your Drying Time
Remove masking fluid within 12 to 24 hours of application for best results. If your painting takes longer, that’s fine — just remove fluid from sections you’re confident about before moving on. Never leave fluid on for more than 48 hours unless the manufacturer’s instructions specifically say otherwise.
Avoid using a hair dryer on dried masking fluid. If you must speed drying, use a fan or low-heat setting held well away from the surface. Heat makes the fluid more aggressive.
Remove Gently at a Low Angle
When peeling dried fluid, work at a low angle — almost parallel to the paper. Pull slowly and steadily, never yank. A rubber cement eraser (sometimes called a “frisket eraser”) is gentler than a standard kneaded eraser and helps lift stubborn spots without roughing up the paper.
If a section refuses to peel, stop. Working it harder almost always causes more fiber lift. Instead, try gently rubbing the area with a clean finger to break the seal, then peel.
Test on Scrap Paper First
Before using a new masking fluid brand on a real painting, test it on a scrap of the same paper. Apply fluid, let it dry, paint over it, then peel. This takes five minutes and saves hours of heartbreak. Different brands behave differently on the same paper — testing tells you what to expect.
What to Do When Your Paper Already Tore
If the damage is done, all is not necessarily lost. Salvage depends on how severe the tear is and where it sits in your composition.
For Small Fiber Lifts
Light fiber lifts often settle back into the paper when you press the area with a clean fingertip. A small amount of watercolor paint matched to the surrounding wash can disguise minor disturbance. Some artists add a tiny dot of paper pulp from a matching scrap, then press it into the wet area as a patch.
For Larger Tears
Significant tears are harder to hide. Options include:
- Repositioning the torn fibers carefully with a damp brush and letting them dry flat
- Trimming the affected area and reframing the composition
- Incorporating the torn area into a darker wash or texture
- Cutting the section out and mounting it on a backing sheet
Sometimes a torn area becomes a feature — a textured highlight, a darker shadow, an abstract mark. Other times it’s a lesson learned the hard way.
For Future Paintings
If tearing keeps happening, audit your setup. Switch papers, switch masking fluid brands, shorten your removal time, and test before every new combination. Most artists who experience persistent tearing solve it by changing one of these variables and sticking with what works.
Frequently Asked Questions
What are the common mistakes when using masking fluid?
The most common mistakes are applying masking fluid too thickly, leaving it on the paper for more than 24 hours, using a stiff or splayed brush that scratches the surface, applying it to damp paper, and peeling it at a sharp angle instead of low and parallel to the paper. Each of these increases fiber lift and tearing.
What is the best masking fluid for watercolor?
There is no single best brand for every artist, because masking fluid behaves differently on different papers. Many artists report good results with Winsor and Newton, Schmincke, and Pebeo, while others find Daniel Smith and Grafix Liquid Frisket too aggressive on softer papers. Always test a new brand on a scrap of the same paper before using it on a real painting.
How to stop masking tape from tearing paper?
To stop masking tape from tearing paper, use a low-tack artist tape, de-tack it further by sticking it to your clothes first, and remove it at a low angle while pulling back against itself. Pulling tape straight up at a 90-degree angle almost always tears the paper surface. Heat-activated tapes (like those pre-attached to watercolor blocks) are gentlest of all.
How long can I leave masking fluid on watercolor paper?
Most masking fluid brands work best when removed within 12 to 24 hours of application. After 48 hours, the dried latex film becomes less flexible and bonds more aggressively to paper fibers, which increases the risk of tearing. If your painting takes longer than 24 hours, peel fluid from completed sections as you go rather than waiting until the end.
Final Thoughts on Masking Fluid and Watercolor Paper
Masking fluid is one of the most useful tools in watercolor, but it punishes careless use. The tearing you’re seeing isn’t a mystery — it’s your paper, your fluid, your timing, or your removal technique sending you a clear signal. Switch to a well-sized paper, keep your applications thin, remove fluid within 24 hours, and peel at a low angle. Do those four things consistently, and masking fluid will stop being the enemy of your watercolor paper.