
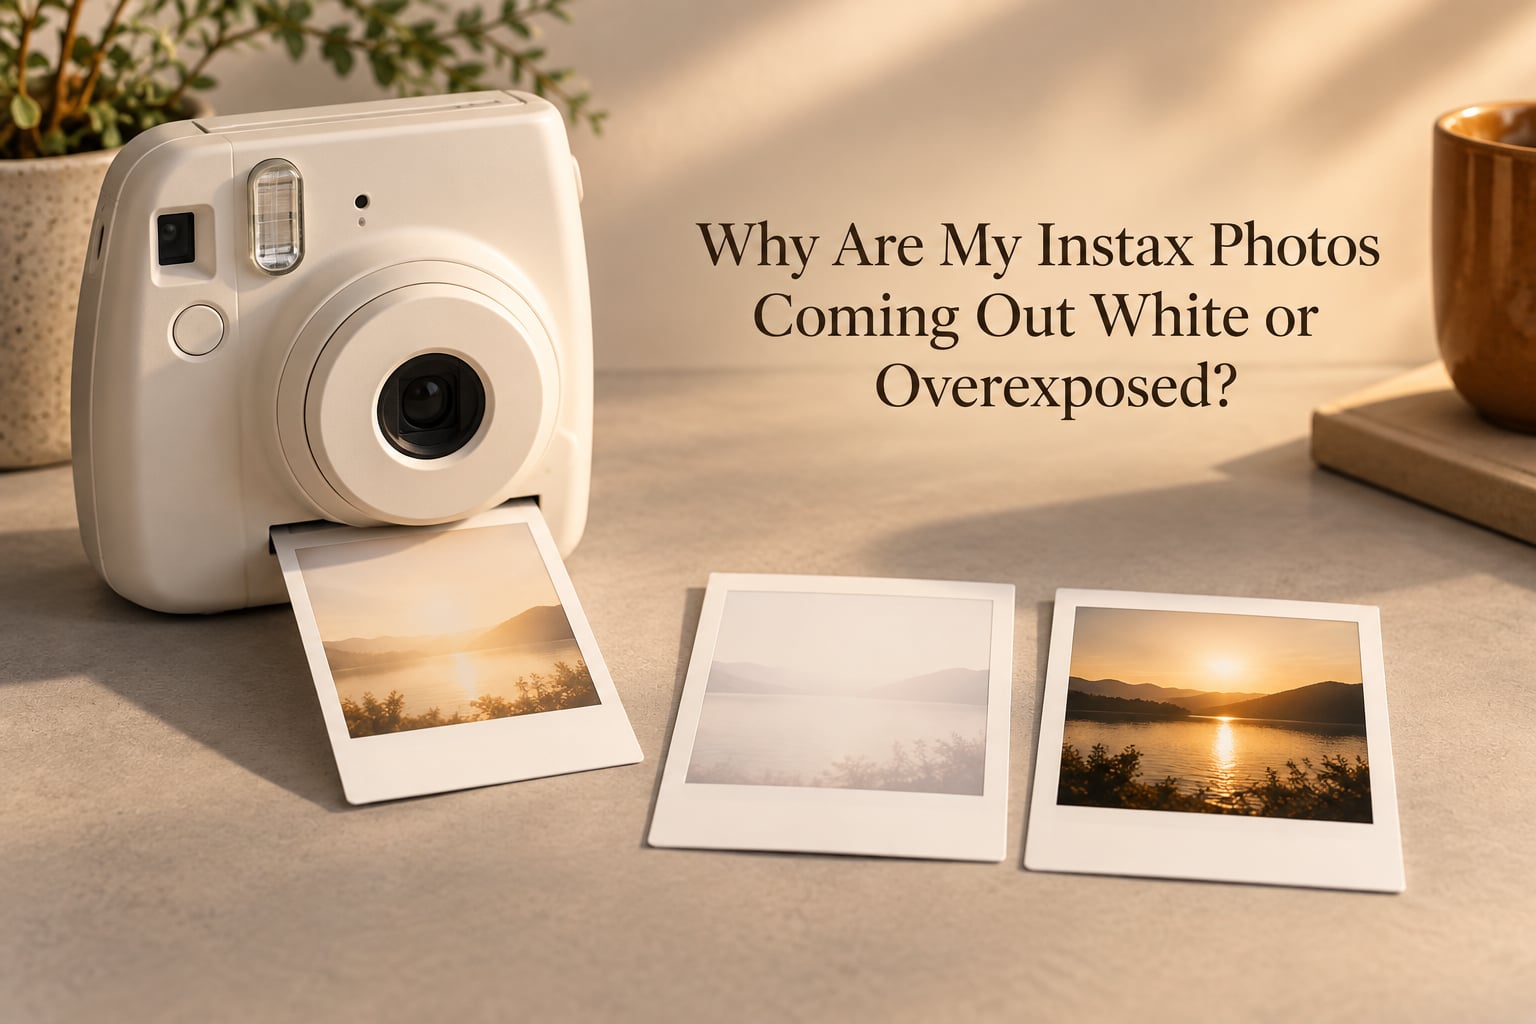
If your instax photos white overexposed problem is happening on every single frame, the camera is almost certainly not at fault. Instant cameras are exposed to roughly ISO 800 with a fixed aperture and a shutter speed the camera picks for you, so almost every daylight, flash, or bright-background shot sits near the edge of what the film can hold.
The good news is that the cause is nearly always one of five things, and you can identify which one in about ten minutes without wasting another pack. I have grouped owners into three buckets over years of reading the r/instax and r/Polaroid threads on this exact problem: those whose light meter is being blocked, those shooting in conditions the film simply cannot hold, and those who have genuinely damaged a film pack. Only the third group loses film permanently.
Table of Contents
- Quick Diagnostic Checklist
- Why Are My Instax Photos Coming Out White or Overexposed?
- The Five Most Common Causes of Overexposed Instax Prints
- Symptom-to-Cause Diagnostic Table
- Why Instax Film Overexposes So Easily
- How to Fix Overexposure on Every Major Instax Model
- Lighting and Shooting Technique to Prevent Overexposure
- Debunking Common but Harmful Advice
- Film Handling Mistakes That Ruin a Whole Pack
- How to Fix Prints That Are Already Overexposed
- Bright vs. Dark: The Opposite Problem
- Black Prints and Other Failure Modes
- When It Is a Hardware Fault
- Frequently Asked Questions
- Why are my Fujifilm Instax pictures coming out white?
- Why are my Instax photos coming out overexposed?
- Why are my Polaroids coming out completely white?
- What are the common problems with Fujifilm Instax cameras?
- How do I fix overexposed photos?
- What is the best film for bright scenes?
- Should I tape over the flash or cover the lens with sunglasses?
- Conclusion
Quick Diagnostic Checklist
Run through this in order before you change anything:
- Look at the small window on the front of the camera (the AE sensor or light meter). Is it covered by a finger, a sticker, a case lip, or a film sticker left on the body?
- Check that the film door was fully closed and locked when the current pack was loaded.
- Note the lighting at the moment of the shot: direct sun, snow, white wall, pale skin, or indoor flash at close range.
- Confirm you are using film that is inside its expiration window.
- Look at whether the whole frame is white or only parts of it. That single detail separates a light leak from a metering error.
Why Are My Instax Photos Coming Out White or Overexposed?
Instax photos come out white or overexposed because too much light reached the film, and the camera chose the wrong shutter speed for the scene. A blocked light meter, a flash firing in daylight, a bright background filling the frame, or a film pack exposed to light will each do it. The film cannot correct the mistake once the print ejects.
Two different faults hide behind that symptom, and telling them apart saves you a lot of guessing. A true overexposure still shows shape, shadow, and detail, just blown out and pale. A completely blank or ghostly white print usually means the film itself was fogged by light entering the pack, which happens when the film door opens before the film is loaded or while a used pack sits half ejected in direct sun.
The Five Most Common Causes of Overexposed Instax Prints
1. A blocked AE sensor on the front of the camera
The light meter is a small window on the camera’s front face. If anything covers it, the camera assumes the world is darker than it is, opens the shutter wider or longer, and every frame comes out washed out.
This is the first thing experienced users check on the DPReview Instax forums, and it takes ten seconds. Peel off any sticker, shift a case that overlaps the sensor, and check for a fingerprint or dust film.
2. Light leaking in through the film door
Opening the film compartment of a loaded pack, or leaving the door ajar, fogs the emulsion. That affects every remaining frame in the pack, not just one. The prints come out milky, ghostly, or fully white with faint outlines.
Users on r/instax report discovering this after a pack sat in a bag with the door slightly open. Once it happens, that pack is finished.
3. The flash firing when it should not have
Entry-level Mini cameras fire their flash automatically whenever the meter reads a dark scene. That is a sensible default indoors and a disaster at a birthday party, a dim restaurant, or anywhere you are within a few feet of a pale face.
Close-range flash on light skin produces a white-faced subject with a dark background, which is the most common “partly overexposed” print people bring to the forums.
4. The camera being fooled by a bright background
The meter averages the whole frame. A white wall, snow, a bright sky, or a light-colored tabletop fills the frame and tells the camera the scene is bright, so it shortens the exposure and you get a dark subject on a blown background.
A recent r/Polaroid thread opened with exactly this complaint: a subject turning out overexposed because of the white wall behind them. It is the single most repeated trigger in community threads.
5. Film that is expired or badly stored
Expired instant film has lost sensitivity and contrast. Results range from flat, pale prints to complete failure, and the effect is uniform across the pack, which is the giveaway that the film rather than the camera is responsible.
Heat matters more than most people expect. Film stored in a car or a hot cupboard degrades quickly even before the printed date.
Symptom-to-Cause Diagnostic Table
| What the print looks like | Likely cause | What to do |
|---|---|---|
| Entire print blank or ghostly white, all frames in the pack | Film pack fogged by light through the film door | Discard the pack. Load a fresh one in a dark room and never reopen the door until the old pack is fully ejected |
| Entire print white but only on some frames | Flash firing into a very close pale subject, or meter blocked | Clear the AE sensor, step back to at arm’s length, and shoot in open shade |
| Washed out, faded colors, weak shadows, subject visible | True overexposure from too much light for ISO 800 film | Move into shade, fill the frame with your subject, avoid light backgrounds |
| Blown-out highlights only, background dark, face pale | Close-range flash on light skin | Step back, use open shade instead of flash, let the ambient light meter |
| Background pure white, subject too dark | Bright background dominating the meter reading | Reframe so the subject fills more of the frame, or shoot from an angle that excludes the bright wall |
| Some frames fine, others blown out, no pattern | Metering accurate but conditions vary frame to frame | Apply the shooting technique below consistently, and check your battery or film type consistency |
Why Instax Film Overexposes So Easily
Instax film is effectively ISO 800. That is the entire technical reason this problem is so common, and it is the detail most guides skip.
Three fixed choices stack up against you. The film speed is fixed at roughly ISO 800 with no dial to change. The aperture is fixed, so you cannot stop down. The shutter speed is the only variable the camera controls, and it picks that based on a single averaged reading from the front of the frame.
Digital shooters think in stops, where a half-stop error is a mild adjustment. Instant film has what little latitude it has in a very narrow band, and once the chemical image forms on the print there is no raw data to recover. Every mis-shot frame is one of only ten in a pack, which is why burned packs sting.
You can also forget the idea of a low ISO film for bright scenes. There is no ISO selection on any Instax camera, so changing the light is the only lever you have.
How to Fix Overexposure on Every Major Instax Model
| Model | Exposure control it has | What to do instead |
|---|---|---|
| Mini 12 | Fully automatic, no exposure compensation | Change the light: shoot in open shade, step back, fill the frame |
| Mini 11 | Fully automatic, no exposure compensation | Same as Mini 12, and never block the flash with tape |
| Mini 7s / 7C | Fully automatic, no exposure compensation | Shoot in daylight-balanced conditions and avoid close flash |
| LiPlay | Automatic with a small brightness/darkness control and app-based editing before printing | Set brightness in the app lower before you print |
| SQ1 | Brightness and darkness control dial | Turn toward darker for bright scenes, lighter for dim ones |
| SQ40 | Exposure compensation button plus brightness/darkness control | Tap compensation darker in sunlight, dial the secondary control to taste |
| SQ6 | Exposure compensation button, no manual dial | Hold the button toward darker in bright light. DPReview SQ6 users report this corrects a genuinely inaccurate auto meter |
| Lomo’Instax | Hybrid: app control plus fully manual ISO and shutter settings | Lower ISO and shorten shutter speed directly in the app, then print |
One thing worth knowing if you own a mid-range SQ camera: some users bias the metering deliberately, marking the exposure indicator or holding a piece of already-developed film over the front as a crude neutral density filter. It is a hack, but it confirms whether your metering is the problem before you blame the film.
Lighting and Shooting Technique to Prevent Overexposure
Since you cannot change the film or the aperture, everything comes down to the light in the frame. These steps are ordered by how much they help.
- Step back. Flash exposure falls off steeply with distance. Doubling your distance from a subject noticeably softens a close-range blowout.
- Fill the frame. A subject filling most of the frame gives the meter less bright background to average against.
- Move into open shade. Shade or overcast light is the closest thing instant film has to a neutral setting. Direct sun is the hardest condition for ISO 800 stock.
- Avoid light backgrounds and pale subjects filling the frame. Snow, white walls, sand, and light-colored clothing all push the meter the wrong way.
- Do not rely on flash in a dim room at short range. If the room has any window or overhead light, turn the camera away from the flash and shoot with ambient light instead.
- Keep film and prints out of heat and direct sun. Storage conditions affect the result as much as the shot does.
Debunking Common but Harmful Advice
You will see one specific fix repeated everywhere online: tape over the flash, or hold a pair of sunglasses over the lens. Do not do either. It is the highest-engagement answer on forums and it is the wrong one.
Taping over the flash leaves the camera metering a scene it thinks is darker, so it opens the exposure further. The result is usually a worse, flatter print and a permanent modification to your camera that blocks flash for every future shot in any lighting. Sunglasses over the lens is worse: you are guessing at a filter strength with no way to meter through it, and the glass sits against the lens where it can scratch or smear.
Do not also open the film door to look at the remaining frames mid-pack, and do not eject a used pack into direct sunlight. Those two habits ruin film outright rather than merely mis-exposing it.
Film Handling Mistakes That Ruin a Whole Pack
Some faults are not exposure problems at all. A pack that has been opened, dropped, stored in heat, or developed in the cold can produce prints that no camera setting will fix.
- Opening the film door. Never open the compartment with a pack loaded. The lock exists for a reason.
- Expired film. Check the date on the box. Most packs are good well past the printed date if stored cool, but heat ruins them early.
- Ejecting in bright light. A used pack sitting half out of the camera in sunlight will fog the remaining frames.
- Cold development. Below roughly 53°F / 13°C the chemistry struggles. In winter, keep freshly ejected prints warm, ideally in a pocket, while they develop.
How to Fix Prints That Are Already Overexposed
Be honest about this part: you cannot re-expose a developed instant print. There is no negative and no raw file, so the lost highlight detail is gone.
What you can do is recover some usable range in a scan. Scan at 600 dpi on a flatbed scanner rather than a phone, then pull the highlights down and add contrast in any editor. Shadows that went pale grey can often be pushed back toward neutral.
On Instagram, a lower exposure with added contrast and a touch of warmth in the highlights gets a washed-out print noticeably closer to how you remember the scene. Scanned prints also hold up better in a grid than glossy ones photographed by phone, because phone cameras re-expose your overexposed print a second time.
Bright vs. Dark: The Opposite Problem
Underside of the same coin: prints that come out too dark, muddy, or with an unlit flash reflection. Causes include a scene brighter than the camera expects, the meter reading a dark subject against bright surroundings, and simply using flash in daylight where the room behind is dim.
Interestingly, DPReview SQ6 owners report the underexposed version of this problem and solve it with the exposure compensation button, which suggests auto-metering on some bodies is not always accurate. If your prints swing from too dark to too bright with no change in conditions, compensation is the tool to reach for.
Black Prints and Other Failure Modes
A black or nearly black print is a different fault. It usually means the film never received an image, the pack was sealed from light on the camera side, or the battery died mid-pack and the camera never fired the flash or opened the shutter. Expired film in a cold environment can also go dark.
Also watch for a strange band, color cast, or fog across the whole pack. Those point to light damage or heat, not to exposure, and no amount of technique will correct them.
When It Is a Hardware Fault
Test the camera with a known-good fresh pack in ordinary indoor light, away from flash. If every frame comes out washed out or blank in controlled conditions, with a clear sensor and a properly seated pack, the camera is faulty rather than your technique.
Common culprits are a failed AE sensor, a shutter mechanism sticking open, or a failing capacitor in the flash circuit. Do not open the camera yourself. Check the warranty period first, then contact Fujifilm support or an authorized service center. Include a photo of a correctly loaded pack and describe the lighting so they can reproduce it.
Frequently Asked Questions
Why are my Fujifilm Instax pictures coming out white?
A fully white print usually means the film was fogged by light, not that it was overexposed. Opening the film door with a pack loaded, leaving the door ajar, or ejecting a used pack into direct sun will fog every remaining frame. A blocked AE sensor also causes white prints, but those usually show some shape. If the whole pack is white, discard it and load a fresh pack in a dark room.
Why are my Instax photos coming out overexposed?
Too much light reached ISO 800 film through a shutter speed the camera chose incorrectly. In practice the triggers are a blocked light meter, the flash firing in daylight or at close range, a white wall or snow filling the frame, and bright direct sun. Check the AE sensor first, then change the light: step back, fill the frame, and shoot in open shade.
Why are my Polaroids coming out completely white?
Blank white prints come from film damage, not exposure. Light entering the pack through the film door fogs the emulsion and produces milky or ghost-white images across the whole pack. Expired film stored in heat can also fail this way. Every affected frame is unrecoverable, so the fix is discarding the pack and handling the next one in a dark room with the door closed until the old pack is fully out.
What are the common problems with Fujifilm Instax cameras?
The most reported issues are washed-out prints from a blocked AE sensor or flash misuse, blank or fogged prints from film door mistakes, underexposure when the meter reads a dark subject against a bright background, and inconsistent output in cold weather. On SQ and Lomo’Instax models, exposure compensation or manual app controls correct most of these. On entry-level Mini models there is no exposure control, so lighting is the only lever.
How do I fix overexposed photos?
Start with the camera, then the light. Clear anything covering the AE sensor, confirm the film door was locked, and rule out expired film. Then step back from the subject, fill the frame, move into open shade, and avoid bright backgrounds. On SQ1, SQ40, SQ6, LiPlay, and Lomo’Instax you also have a brightness or exposure control to turn darker. An already overexposed print cannot be re-exposed, but scanning at 600 dpi and pulling down highlights recovers some range.
What is the best film for bright scenes?
There is no ISO choice to make, because Instax film is fixed at roughly ISO 800 on every camera. In bright scenes the answer is to change the light, not the film. Shoot in open shade or overcast light, avoid snow and white walls filling the frame, and step back so any flash falloff is less severe. On SQ and Lomo’Instax bodies, set exposure compensation toward darker before shooting.
Should I tape over the flash or cover the lens with sunglasses?
No. Taping over the flash makes the camera meter a darker scene than exists, so it opens the exposure further and the print usually gets worse. It also blocks the flash permanently for every future shot. Sunglasses over the lens is an unmeasured guess at filter strength and puts glass against the lens. The correct fix is to move the subject farther away, shoot in open shade, or use the exposure compensation control on models that have one.
Conclusion
Instax photos white overexposed results almost always trace back to one of five things: a blocked AE sensor, a light leak through the film door, a flash firing when it should not have, a bright background fooling the meter, or expired film. Check the sensor and the film door first, then identify whether your prints are blank white or merely washed out, because the first means ruined film and the second means a lighting problem you can fix. On SQ, LiPlay, and Lomo’Instax models, turn the exposure control darker. On Mini models, change the light. This guide was checked against current community reports and manufacturer documentation for 2026, and no print that has already developed can be re-exposed.