
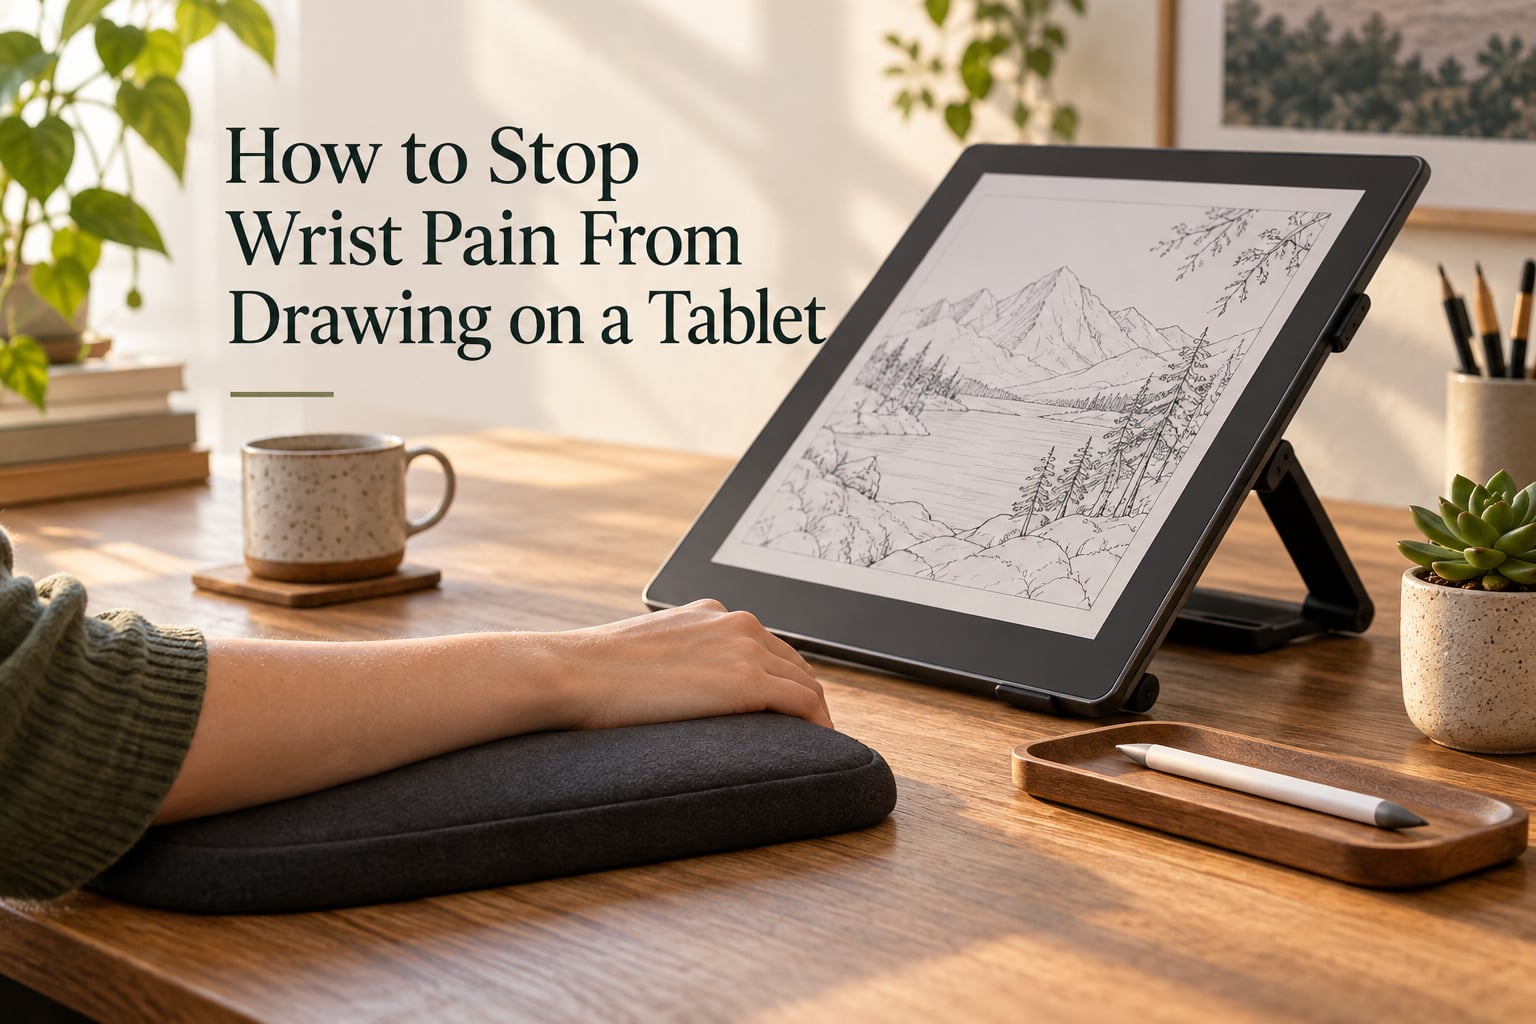
Wrist pain from drawing on a tablet comes from one thing: holding your wrist bent, angled, and tense for hours while you grip a stylus. To stop it, keep the wrist in a straight neutral line, hold the pen lightly and further back from the tip, drive strokes from your shoulder and elbow instead of steering with your wrist, and take a five-minute break every 45 minutes. Fix your setup before you change anything else.
That last sentence matters more than it sounds. Most people try to solve drawing wrist pain by buying a new gadget, and the pain comes back within a month. The device is rarely the problem — the position of the device relative to your body is the problem, and grip tension is the multiplier. Fix those two and the pain usually stops escalating within a few weeks.
None of this is medical advice, and I will say that again at the end. This is what working illustrators, animators, and hobbyists tell each other, cross-checked against published ergonomic guidance. Where the answer involves numbness, weakness, or pain that wakes you up at night, that is a clinician conversation, not a setup conversation.
Our team spent six weeks reworking our own drawing stations and comparing what the major ergonomic bodies (OSHA, CDC/NIOSH, Mayo Clinic) actually say against what artists report in the r/ArtistLounge, r/RSI, and r/graphic_design communities. The consensus in those threads is blunt and worth repeating up front: draw from the shoulder, keep the grip relaxed, adapt grip pressure to the task, and do not push through the pain. The last one is the piece most beginners ignore.
Here is the order we would fix things in, from the body outward.
- Change your setup in the eight-step order below, moving body-first rather than device-first.
- Find and hold a neutral wrist — a straight line from forearm to back of hand, with no bend in any direction.
- Loosen the grip and back the stylus up away from the tip.
- Warm up for five minutes before a session, not only after pain starts.
- Break every 30 to 45 minutes and do something with the hands during the break.
- Draw from the shoulder and elbow, and rotate the canvas so you rarely steer with the wrist.
Table of Contents
- Why Drawing on a Tablet Hurts Your Wrist
- How to Stop Wrist Pain From Drawing on a Tablet: Fix Your Setup in This Order
- What the Neutral Wrist Position Means and How to Find Yours
- Loosen Your Grip and Fix Pen Pressure
- Tablet Angle and Height Cheat Sheet
- The 5-Minute Warm-Up Routine Before Every Session
- A Break Schedule That Actually Works
- Draw From the Shoulder, Not the Wrist
- Screen Tablet vs Pen Tablet vs Pen Display
- Accessories and App Settings That Reduce Strain
- Symptom Triage: What You Feel and What to Do About It
- When to Stop Drawing and Get Medical Help
- Frequently Asked Questions
- How do I stop wrist pain from drawing on a tablet?
- What is the best wrist position for drawing?
- How do I fix lollipop wrist?
- How do I avoid carpal tunnel while drawing?
- How often should I take breaks when drawing?
- Should I use a wrist brace while drawing?
- Does pen pressure cause wrist pain?
- When should I see a doctor for drawing wrist pain?
- Conclusion: A Setup You Can Actually Keep
Why Drawing on a Tablet Hurts Your Wrist
Your wrist is a small joint built for fine positioning, not for holding a load. When you grip a stylus, your wrist flexors and extensors in the forearm stay partially contracted the entire time you draw. Those muscles are meant to act in bursts and then relax. Drawing asks them to hold a static contraction for an hour or more.
Two things load that system. The first is wrist posture. Bend the wrist down (flexion), up (extension), or sideways toward the thumb (radial deviation) and the tendons running through the wrist are held at an angle they were not built to hold for hours. The second is grip tension, because muscle effort scales with how hard you squeeze, and a squeezed grip turns a light stylus into a heavy load on the same tendons.
Add steering. Every curve you draw with your wrist is thousands of tiny rotations of a joint that has no cartilage to cushion repeated friction. The soft tissue that absorbs it is the tendon sheath, and it does not recover quickly under continuous load. That is the mechanism behind repetitive strain injury, tendonitis, and de Quervain’s tenosynovitis.
The median nerve runs through the carpal tunnel in the same narrow space as those tendons. When the tendons around it swell from repeated strain, the nerve gets compressed, and that is what carpal tunnel syndrome actually is. Drawing does not create a new injury category — it puts a fine motor task, a light tool, and a static posture together for a long time, which is exactly the combination that triggers typing-related RSI too.
Drawing on a screen tablet adds three problems that a pen display with a separate monitor does not have:
- The canvas is under your hand. You cannot see the area you are drawing, so artists either draw at the top of the screen where the hand is not, or they shift the canvas constantly.
- Your neck flexes to compensate. A flat tablet on a desk is 40 to 60 degrees below eye level, so you look down at it for the whole session. The neck pain and the wrist pain show up together.
- The hand blocks your reference material. If you keep reference on a monitor, your head keeps turning between two screens at different heights and distances.
Paper drawing has one thing the tablet does not: your hand can rest beside the work without hiding it. That single difference explains why so many artists move from paper to digital and immediately get hand pain.
How to Stop Wrist Pain From Drawing on a Tablet: Fix Your Setup in This Order
Work outside-in. If you start with the device, you will spend a week dialling in an angle that still sits badly because your chair is too high or your shoulders are shrugged. This sequence is the one we use, and it takes about ten minutes end to end.
- Set the chair and feet first. Sit back so your lower back is supported, plant both feet flat, and if they do not reach, add a footrest.
- Drop the shoulders. Let both shoulders hang. If they feel raised after ten seconds, your setup is too high.
- Set your working zone. Put the tablet on the side you draw on, centred on that shoulder rather than centred on your body.
- Set the distance. Place the drawing surface roughly an arm’s length away, close enough that your elbow stays near your side.
- Set the incline. Tilt the surface so it faces you rather than lying flat, so you are not reaching over the top of it.
- Support the forearm. Rest the forearm on the desk or a forearm pad with the weight carried along the arm, not through the wrist joint.
- Place shortcuts away from the drawing hand. Put a shortcut pad or hotkey set on the far side so the drawing hand never travels to the controls mid-session.
- Test and change one thing at a time. Draw for ten minutes, note the discomfort level, change a single variable, and test again. Two changes at once and you will never know what worked.
The eighth step is the one people skip. Change one variable, give it a full ten minutes of drawing, and only then judge it. Almost everyone finds that the position was never the tablet — it was step one or step two.
A caution on the order: raising the screen to fix the neck can overload the shoulder, and propping the tablet up on a stack of books to fix the angle can push your shoulder into a shrug. The Posture Reminder App guide on drawing tablet ergonomics makes the same point about the neck-and-arm tradeoff. Move through the list and stop when the tension shows up somewhere else, because that means the previous variable is off.
What the Neutral Wrist Position Means and How to Find Yours
Neutral wrist position is a straight line running from the forearm, across the wrist, to the back of the middle knuckle. No bend up, no bend down, no side-to-side angle. In neutral, the wrist is neither flexed nor extended, and the hand continues the line of the forearm rather than breaking it.
That is the whole idea, and it is easy to check. Hold your drawing hand out in front of you with the palm facing down and the fingers loosely open. Look at the top of the wrist. If the hand tilts down at the knuckle line, you are in extension. If it cants to one side, you are in deviation. Either one, held for an hour, is the load we are trying to remove.
The common screen-tablet version of a bent wrist is called lollipop wrist, after the way the forearm angles up and the hand droops toward the tip. It happens because the tablet is flat on the desk, so the artist tilts the wrist down to get the stylus tip onto the surface. It is very common on iPads and it is fixable without a new device.
To fix lollipop wrist, work in this order:
- Raise and tilt the tablet so the surface meets your forearm line instead of sitting below it.
- Hold the stylus further back from the tip so the hand does not have to reach over to make contact.
- Rest the heel of the palm or the forearm, not the wrist joint itself, on the desk or a pad.
- Rotate the canvas so long curves travel across your forearm rather than away from your body, which is the direction that forces deviation.
Small mapped areas make this worse. Forum users on r/ArtistLounge report that moving to a larger tablet with a wider mapped area reduced hand pain specifically because strokes stopped being cramped, and that the smallest mapping settings really hurt their hand. If your strokes feel short and tight, widen the mapped area before you change anything else.
Loosen Your Grip and Fix Pen Pressure
Most drawing injuries are a grip problem before they are a posture problem. Death-gripping the pen is nearly universal, because beginners believe pressure improves line control. It does not, particularly once your control improves.
Three changes do most of the work. Hold the stylus about a third of the way back from the tip rather than right at the nib, which gives your fingers more leverage and reduces the force needed. Let the pen rest in the crook of the hand between thumb and index finger rather than clamping it with the whole first three fingers. And set your pressure curve so a moderate push already reaches a strong line weight, which removes the reason to press harder than the work requires.
On the app side, most major drawing apps have a pressure stabilization or smoothing setting that softens the difference between a light touch and a hard press. Procreate’s own documentation states that global pressure and stabilization settings are especially helpful if you are experiencing hand or wrist pain from pressing too hard. Turning that on is a two-minute change with a real effect on how much force your hand thinks it needs to use.
Two more app-level controls matter on a screen tablet. Palm rejection lets you rest the side of your hand on the glass without drawing a line, which removes the temptation to hover your hand in the air and clench. And a matte screen protector gives more friction, so you need less finger pressure to stop the stylus sliding.
Tablet Angle and Height Cheat Sheet
There is no single perfect angle, because shoulder width, arm length, and screen size differ. What matters is that the surface faces you, sits near forearm height, and lets your elbow stay near your side. This table is the starting point for the four most common setups.
| Device setup | Recommended angle and height | Why |
|---|---|---|
| Tablet flat on the desk | None. Change this setup. | A flat screen forces wrist extension and neck flexion at the same time, the worst combination for both joints. |
| Tablet on a tilted stand | Surface tilted up roughly 30 to 45 degrees, top edge near elbow height | Brings the surface up to forearm line so the wrist can stay neutral and the neck can look forward. |
| Tablet on a monitor arm | Freely adjustable, set at shoulder height and an arm’s length away | Let you move the surface around during a session instead of locking into one bad posture for hours. |
| Screenless pen tablet | Flat or slightly angled on the desk, hand drawn on the surface | Removes the neck problem entirely because there is no screen to look down at, but the surface is smaller so the hand crouches more. |
| Pen display | Tilted 20 to 30 degrees, raised on a stand or arm | Puts the drawing hand and the viewing hand on the same surface, reducing the split between where you look and where you draw. |
Adjust the height first, then the angle. A correctly angled tablet at the wrong height will still make you shrug, and a correctly placed one with a bad angle still bends the wrist.
The 5-Minute Warm-Up Routine Before Every Session
Warm up before the session, not after the pain. Muscles and tendons that are cold and stiff do not tolerate a sudden forty-minute inking block, and most of the wrist complaints we hear about start in the first ten minutes of a cold session. This is the largest gap in the guidance we found, since no competitor published a timed protocol.
| Move | Hold or reps | What it targets |
|---|---|---|
| Wrist flexor stretch | 30 seconds per side | The forearm muscles that pull the hand down, the most loaded group in drawing. |
| Wrist extensor stretch | 30 seconds per side | The opposite forearm group, which tightens from holding the hand in the same angle. |
| Prayer stretch with fingers down | 20 seconds, 2 rounds | Lengthens the wrist flexors and opens the carpal tunnel area. |
| Median nerve glides | 10 slow repetitions per side | Moves the median nerve through its tunnel so compression does not build up over weeks. |
| Shoulder and elbow circles | 10 each direction | Gets blood into the larger muscles that should be driving your strokes. |
Do the stretches slowly and without bouncing. Pain during a warm-up stretch should be a stretching feeling in the forearm, not a sharp or electric feeling in the wrist or fingers — if you get that, skip the routine and read the triage table below instead.
Finish the warm-up with line drills, because the warm-up should also teach the shoulder-led stroke. Straight lines across the canvas, then arc ladders, then spirals, all from the elbow. This is the same idea the Big Red Illustration ergonomics piece uses in its warm-up advice, and it teaches the movement pattern before the real work demands it.
A Break Schedule That Actually Works
Break every 45 minutes for five minutes, and take a genuine micro-break every 30 minutes in between. CDC/NIOSH guidance on computer work is built around frequent short breaks rather than occasional long ones, and the practical version for a drawing session is a timer you do not have to remember.
A 45/5 rhythm looks like this:
- 45 minutes of drawing, then 5 minutes away from the stylus.
- A 30-second look at something 20 feet away, or just away from the screen, mid-block.
- Shake the hand loose, open and close the fingers, and roll the shoulders for the full five minutes.
For long inking or flat-colouring sessions, drop to 30 minutes on, 5 minutes off. Repetitive small motor work with heavy pen pressure is the highest-risk combination, and shorter blocks cost you less than one rest day after a flare. A long lunch break does not cancel out a morning of held tension.
What you do in the break is the part people get wrong. Standing up and scrolling on a phone keeps the wrist working. The best break is movement that does not involve fine motor work: walking, stretching, making tea, looking out a window.
Draw From the Shoulder, Not the Wrist
The biggest single change most artists can make is stopping the wrist from steering. Every line you draw should start in the shoulder and travel through the elbow. If the movement begins at the wrist, you are grinding the joint through thousands of small rotations per session.
On a screen tablet this is harder, because your hand sits on the same side as your strokes. Canvas rotation is the fix. Rotating the canvas to roughly 30 to 45 degrees puts the direction you are pulling into a line that runs across your forearm rather than out toward your little finger. It is the difference between a stroke your shoulder can produce and a stroke only your wrist can produce.
Two supporting habits help. Draw with your whole arm, the workaround long-time tablet users on r/graphic_design describe for carpal tunnel history. And check your mapping area: if the mapped region is small, your strokes are cramped regardless of how good your technique is, so widen it.
Screen Tablet vs Pen Tablet vs Pen Display
If you already have hand pain, the device type matters more than the model. This table covers how each one moves the load, and the trade you make when you switch.
| Device type | What it does to your body | Best for |
|---|---|---|
| Screen tablet (iPad, Android, Windows tablet) | Hand and canvas share one surface, so the hand blocks the work, the neck flexes toward a screen below eye level, and strokes get cramped near the top of the display. | Sketching, flat colouring, working away from a fixed desk. |
| Screenless pen tablet | No screen to look down at, so the neck is fine, but the small active area forces a hunched, cramped hand position. | Linework, inking, anyone with a monitor already at eye level. |
| Pen display | Drawing hand and viewing hand on the same surface, so the neck and wrist are usually best behaved, but it needs a stand or monitor arm to get the angle right. | Long sessions, established desks, people with existing RSI history. |
The recurring question in r/ArtistLounge and r/AskArtists is whether someone with existing RSI should move from an iPad to a Wacom tablet. The honest answer is that it depends which problem dominates. If your pain is in the neck and upper back, the tablet screen is the culprit and a screenless pen tablet or pen display will help. If your pain is in the hand and thumb, a small mapped pen tablet can make cramping worse, and a larger pen display or a wider mapping area on your current tablet is the better direction.
Accessories and App Settings That Reduce Strain
A few additions to a desk do real work, and one that people reach for first often does not.
- Adjustable tablet stand or monitor arm. The single highest-impact item, because it lets you change height and angle during a session instead of locking in one position.
- Forearm rest pad. Carries the weight of the arm along its length so the wrist joint is not taking the load. Make sure it is low enough that your shoulders stay down.
- Two-finger drawing glove. Slightly thickens the fingers so you do not pinch the stylus so hard to keep it from slipping.
- Matte screen protector. Adds surface friction on glass, so a lighter touch keeps the stylus tracking.
- Stylus grip or pen holder. Moves the contact point further back from the tip, which is one of the fastest grip fixes available.
- Shortcut pad or console. Keeps the drawing hand from travelling to menus and layers. At least one user on r/Artadvice reports that a shortcut keypad has been great for their wrist pain and helped them keep drawing after carpal tunnel.
- App pressure settings. Pressure curve plus pressure stabilization, as covered above.
Now the brace. A wrist brace is a temporary support tool, not a fix, and it will not correct the position that caused the pain. It helps most in one specific situation: temporary, activity-related soreness where you cannot change your workload, and a mild support during that period gets you through it. It helps least when the pain is nerve-related, because compression from a brace can make numbness and tingling worse.
Where a brace is a bad idea: if you are using it so you can keep drawing at full intensity through pain, you are postponing the injury rather than treating it. If your setup is wrong, a brace holds your wrist in a fixed position, and if that position is not neutral, it holds it wrong for longer. Forum consensus on r/RSI pushes back hard on pushing through pain, and I agree with it.
If you already have diagnosed RSI, tendonitis, or carpal tunnel, treat every purchase decision as a medical one. That is a change from even a few years ago, and r/graphic_design users describe the shift clearly.
Symptom Triage: What You Feel and What to Do About It
Different pain in the wrist comes from different structures, and the fix differs. Use this table to work out where you are before you change your setup.
| What you feel | Likely cause | First thing to change | See a doctor? |
|---|---|---|---|
| Ache across the top of the wrist after a long session, eases with rest | Wrist extensor tendon strain from held extension | Raise and tilt the surface so the wrist stops extending | Only if it is not resolving over two weeks of reduced drawing. |
| Ache on the palm side of the wrist, worse with thumb movement | Wrist flexor strain, or early de Quervain’s tenosynovitis | Loosen the grip, back the stylus up from the tip, and remove thumb-heavy grip pressure | If you cannot straighten the thumb without pain, or it wakes you at night. |
| Tingling or numbness in the thumb, index, and middle fingers | Median nerve compression, the early picture of carpal tunnel syndrome | Stop wrist flexion during breaks, add nerve glides, and get the wrist neutral immediately | Yes. Numbness is a nerve sign, not a posture problem. |
| Night pain, or pain that wakes you from sleep | Inflammation, often tendon sheath related | Nothing ergonomic fixes this quickly. Reduce load now. | Yes, promptly. Night pain is a standard red flag. |
| Weak grip, dropping the stylus, or clumsiness | Nerve or tendon involvement rather than fatigue | Stop the painful activity | Yes. Weakness means something is being compressed. |
| Pain at the base of the thumb, worse on a screen tablet | Cramped grip and a small mapped area on a flat surface | Tilt and raise the tablet, widen the mapping area, draw from the shoulder | Only if it persists once the setup is corrected. |
| Pain at the neck and top of the shoulders alongside wrist pain | Neck flexion to look at a screen below eye level | Raise the display to near eye level, and accept a small shoulder load in exchange | If neck pain persists after the display is raised. |
| Soreness that clears overnight and never worsens week to week | Normal fatigue from a long session | Nothing structural. Add breaks and the warm-up. | No. |
That last row matters because it is the line most people cannot find. Soreness that disappears by the next morning and does not accumulate is expected after a long inking block. Pain that gets a little worse every week is not, and the difference is the difference between adjusting your routine and getting evaluated.
When to Stop Drawing and Get Medical Help
Stop drawing and get medical help if any of these apply:
- Numbness, tingling, or a burning feeling in the fingers or thumb that persists between sessions.
- Weak grip, dropped tools, or clumsiness you did not used to have.
- Pain that wakes you from sleep at night.
- Visible swelling, or a hot, tender joint.
- Pain that radiates up the forearm or into the shoulder and neck.
- Symptoms that are getting steadily worse week over week despite setup changes.
- Any pain you are working through by taking painkillers to draw.
The r/RSI community is the loudest about that last point, and it is the right position. Pain that requires medication to push through is not a training condition.
For a neck and shoulder version of this, Mayo Clinic publishes general guidance on neck pain that is worth reading alongside this article. For workstation setup, OSHA publishes a computer workstation checklist that the details above are consistent with, and CDC/NIOSH is the usual source for the break-schedule guidance.
Medical disclaimer: this article is general educational information about desk and drawing ergonomics. It is not diagnosis, treatment, or medical advice, and it does not replace an assessment by a qualified healthcare professional. If you have existing RSI, tendonitis, or carpal tunnel, talk to your clinician before changing your workload or equipment.
Last reviewed: October 2026
Frequently Asked Questions
How do I stop wrist pain from drawing on a tablet?
Fix the setup before the gear: set your chair and feet first, drop your shoulders, centre the tablet on your drawing shoulder, and tilt it up to about 30 to 45 degrees so the surface meets your forearm line. Then hold the stylus loosely a third of the way back from the tip, turn on pressure stabilization, draw strokes from the shoulder and elbow, and take a five-minute break every 45 minutes. Change one variable at a time and test for ten minutes each time.
What is the best wrist position for drawing?
A neutral wrist, which is a straight line from the forearm across the wrist to the back of the middle knuckle, with no bend up, no bend down, and no side-to-side angle. To check yours, hold your drawing hand out with the palm down and fingers open, then look at the top of the wrist. If the hand tilts down toward the knuckles you are in extension; if it cants sideways you are in deviation. Either position held for an hour is what causes drawing wrist pain.
How do I fix lollipop wrist?
Lollipop wrist is the forearm angling up while the hand droops toward the stylus tip, usually because the tablet is lying flat on the desk. Fix it by raising and tilting the tablet so the surface meets your forearm line, holding the stylus further back from the tip, resting the heel of the palm or the forearm rather than the wrist joint, and rotating the canvas so long curves travel across your forearm instead of out toward your little finger.
How do I avoid carpal tunnel while drawing?
Carpal tunnel happens when swollen tendons crowd the median nerve in the carpal tunnel, so prevention is about stopping the swelling. Keep the wrist neutral, loosen your grip, steer strokes from the shoulder and elbow instead of the wrist, use pressure stabilization so you do not press harder than the work needs, and take frequent short breaks rather than a few long ones. If you already have tingling or numbness in the thumb, index, and middle fingers, that is a nerve sign and needs a clinician, not a setup change.
How often should I take breaks when drawing?
Take a five-minute break every 45 minutes, plus a 30-second micro-break in the middle of each block. For long inking or flat-colouring sessions, drop to 30 minutes on and 5 minutes off, since heavy pen pressure combined with repetitive small motor work is the highest-risk combination. CDC/NIOSH guidance is built around frequent short breaks rather than occasional long ones. Do something that does not involve fine motor work during the break, because scrolling on a phone keeps the wrist loaded.
Should I use a wrist brace while drawing?
A brace is a temporary support, not a fix, and it will not correct the position that caused the pain. It is most useful for short-term activity-related soreness when you cannot change your workload, and least useful for nerve symptoms, where added compression can make numbness worse. Avoid using one so you can keep drawing at full intensity through pain, and avoid wearing one while your setup is still wrong, because a fixed brace holds whatever position you are in for longer.
Does pen pressure cause wrist pain?
Yes, and it does so indirectly. Grip tension and pen pressure are the same effort in your forearm, because the harder you press the more your wrist flexors and extensors contract to hold that press. Most of the force you apply is not needed for line control, especially once your control improves, which is why pressure curves and pressure stabilization settings exist. Turning on a softer pressure curve, backing the stylus up from the tip, and adding surface friction with a matte protector all reduce the pressure your hand believes it must use.
When should I see a doctor for drawing wrist pain?
See a doctor if you have numbness, tingling, or burning in the fingers or thumb that persists between sessions, if your grip is weak or you are dropping tools, if pain wakes you from sleep at night, if the joint is visibly swollen, hot, or tender, if pain radiates up the forearm, or if symptoms get steadily worse week over week despite setup changes. Night pain, weakness, and numbness are nerve and inflammation signals rather than posture problems, and no desk adjustment resolves them. This article is educational information, not medical advice.
Conclusion: A Setup You Can Actually Keep
To be clear about the whole thing: how to stop wrist pain from drawing on a tablet comes down to four changes, in this order. Get the body positioned first, because a device angle cannot rescue a chair that is too high. Hold the wrist neutral and the grip light, so the tendons are not loaded by tension. Draw from the shoulder and elbow, so the wrist is not the joint doing the work. And break every 30 to 45 minutes, because no posture survives four uninterrupted hours.
Change one variable at a time and give each change a full ten minutes of drawing. That is the method behind every piece of advice above, and it is the part most people skip.
Finally, know the line between soreness and a real problem. Soreness that clears by morning is normal fatigue you can manage with the routine in this article. Numbness, weakness, swelling, or pain that wakes you at night is a clinician question, and pushing through it is what turns a temporary ache into months away from the canvas.