
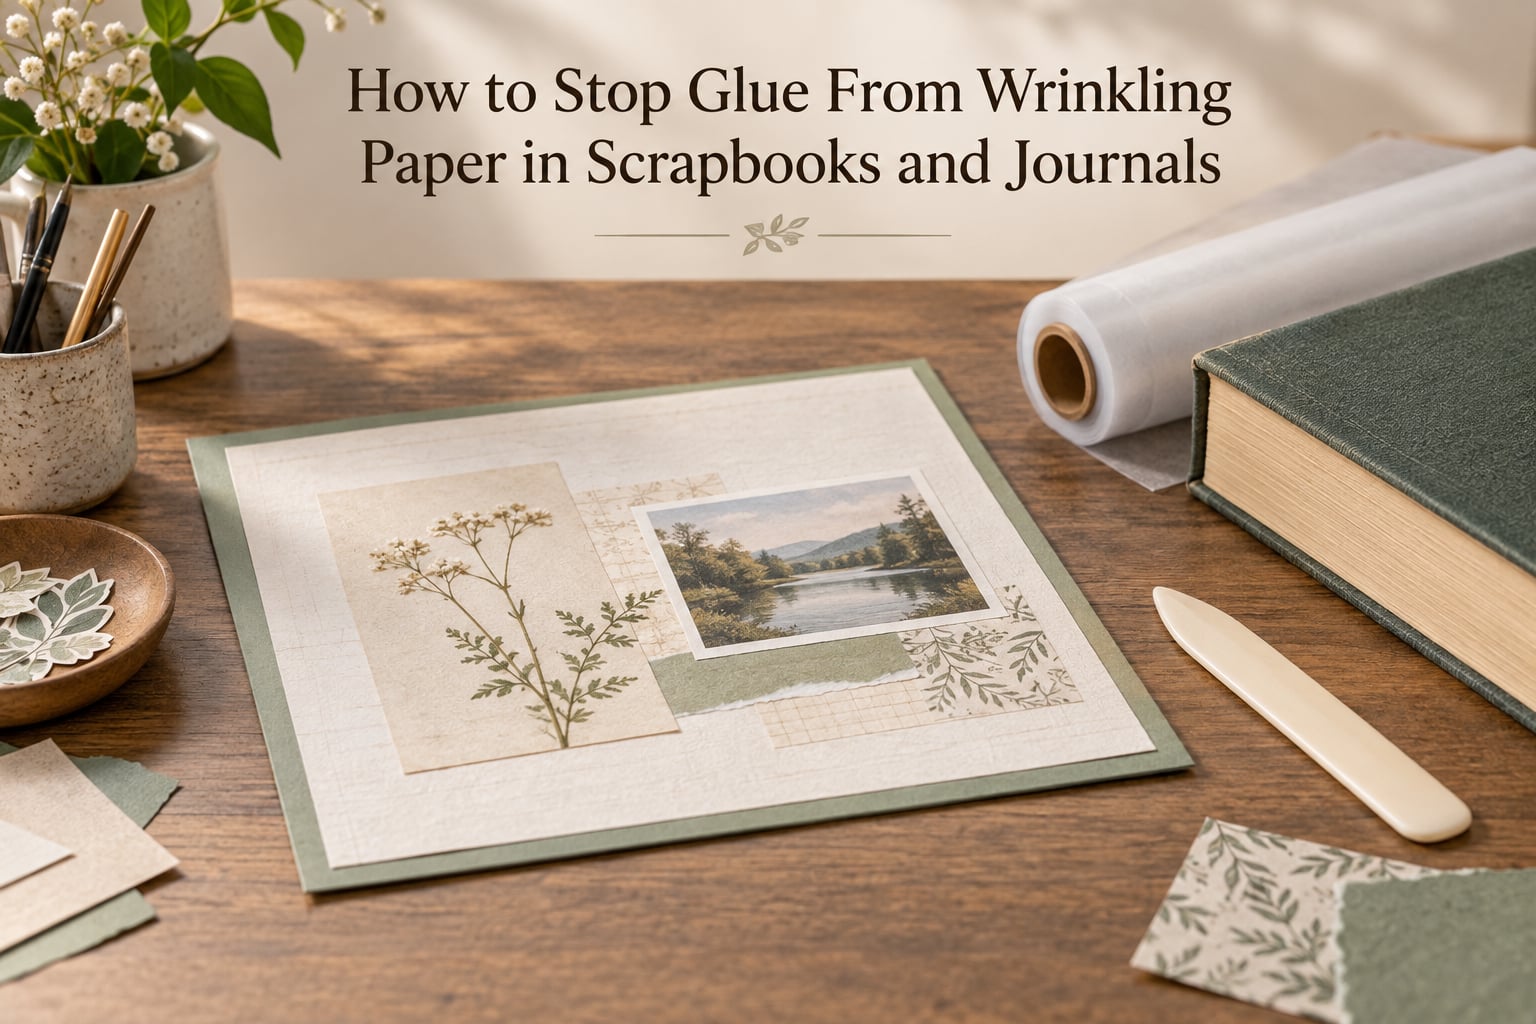
Every scrapbook and junk journal project eventually hits the same moment: a sheet of paper goes down, glue goes on, and the page ripples, buckles or curls as it dries. It is the single most common complaint I hear from makers, and it is also the most preventable. Once glue sets, the wrinkle is locked into the fibres, so the fix has to happen before the adhesive touches the page.
I have spent years gluing full sheets of patterned paper, photos, napkins, lace and ephemera into journals. What I know after all that trial and error is that the type of glue matters far less than the amount, the spread and what you do while it dries. This guide covers both sides of the problem: preventing wrinkling, and rescuing pages that already ruined themselves.
If you only read one thing, read the seven steps below. They solve the problem on almost every material I work with, from 80 lb cardstock to tissue paper.
Table of Contents
- Why Glue Wrinkles Paper (and How to Stop It)
- How to Make Paper Not Wrinkle When Gluing: Step by Step
- Which Adhesive Wrinkles the Least
- How to Flatten Pages That Are Already Wrinkled
- Symptom, Cause and Fix
- Materials That Will Always Wrinkle
- Journal-Specific Traps
- Common Mistakes to Avoid
- Frequently Asked Questions
- How to stop glue from wrinkling paper?
- What is the best glue that won’t wrinkle paper?
- What is the best glue for scrapbook paper?
- Which glue won’t bleed through paper?
- How to make paper not wrinkle when gluing?
- What is the best glue for junk journals?
- How can I glue paper to paper without it wrinkling?
- What is the best glue for gluing paper to paper?
- What is the best way to glue paper to wood?
- Why is my paper curling when I print?
- Conclusion
Why Glue Wrinkles Paper (and How to Stop It)
Glue wrinkles paper because liquid adhesive soaks into the paper fibres, which swell and stretch. As the glue sets, the paper hardens before it can contract back to its original length, so the surface buckles. More glue and uneven spreading make it much worse.
That mechanism explains every trick crafters use. A thinner coat means fewer fibres get wet. A bone folder press pushes the air out so the fibres are not stretched apart. Weight while drying gives the paper time to relax and shrink back before the adhesive locks.
It also explains why the problem gets worse with humidity and with thin paper. When the air is already damp, moisture leaves the glue slowly, so the paper stays wet and stretched for longer. Thin tissue-type paper has so little body that any moisture at all moves it.
Dry time is not cure time. A bond can feel dry to the touch and still be soft underneath. Paper that relaxes back in the first 15 to 20 minutes stays flat; paper that is handled or moved after an hour is far more likely to crease.
How to Make Paper Not Wrinkle When Gluing: Step by Step
This is the sequence I use on any flat application. Follow it in order and the wrinkle problem largely disappears.
- Work on a flat, hard, non-porous surface. A self-healing cutting mat or a glass sheet is ideal. A soft towel or your lap will absorb moisture unevenly and guarantee a ripple.
- Pre-press your paper before any glue goes near it. Run a bone folder across the sheet, or lay it under a heavy book overnight. Paper with a memory curl is far easier to correct dry than wet.
- Seal thin paper on both sides first. For tissue-weight, tracing, doily paper or anything that shows light through it, mist both sides with water and roll them out with a brayer, then let them dry. A light coat of acrylic sealer or a coat of matte medium on each face creates a moisture barrier that the glue cannot soak through.
- Pick a drier adhesive, or use tape. Solid adhesives such as double-sided tape, tape runners, glue dots and glue pens put no water into the sheet at all, which is why they wrinkle thin paper so much less than liquid glue.
- Lay a thin, even line, not a puddle. A bead about 1/8 inch wide, run in a zigzag so the coverage overlaps, is enough on most papers. More adhesive adds nothing but moisture.
- Press with a bone folder, never your finger. Set the paper down, then sweep a bone folder across it at a low angle to push out air and flatten the fibres. Dragging glue sideways with a fingertip stretches the sheet and guarantees a wrinkle.
- Weight it and leave it alone for 24 hours. Sandwich the page between wax paper and a heavy book or a cutting mat, then do not touch, close or re-press it while it dries.
Bone folder, not finger. If you take one thing from this list, take this. Fingertip smoothing is the most common self-inflicted cause of ripples.
Which Adhesive Wrinkles the Least
No glue is wrinkle-proof; the right choice depends on the weight and absorbency of the paper and on how much moisture the adhesive carries. Solid adhesives are the safest option for anything thin. Use the matrix below as a starting point rather than a rule.
| Paper or material | Adhesive that wrinkles least | How to apply it | Watch out for |
|---|---|---|---|
| Tissue, tracing, doily, crepe paper | Double-sided tape, glue dots, matte medium barrier coat on both sides | Seal both faces first, then use a dry adhesive or a spray applied sparingly | Crepe and tissue will never lie perfectly flat. Set that expectation early |
| Standard scrapbook paper, 80 lb cardstock | Glue stick, glue pen, tape runner, thin liquid PVA | Full but thin coverage, then bone folder press | Too much stick glue leaves a cloudy wet appearance on the surface |
| Photo prints and photo paper | Photo-safe, acid-free glue stick, photo corner tape, gel pen | Adhesive on the back only, never over the image | Non-photo-safe liquid glue will bleed through and cloud the print over time |
| Heavy cardstock, chipboard | Any liquid craft glue, tacky glue, silicone | Generous coverage, press hard, clamp or weight overnight | Heavier glues such as construction adhesive can ripple thin layers bonded to the board |
| Lace, ribbon, fibre, thread trims | Tacky glue with a fine nozzle, or a glue pen | Dip less than feels right, then tap off the excess before moving into place | Heavy glue soaking through lace spreads into the paper and puckers it |
| Napkins, doilies, vintage paper | Dry adhesive, glue stick, double-sided tape | Tape or dots where possible, glue on the reverse only | Coated napkin surfaces are heat sensitive and stay sensitive to wet glue |
| Paper to wood, journal covers, shadow box | Wood glue or craft glue, thinned slightly | Brush a thin coat, clamp under weight for 24 hours | Wood glue squeezes out and dries hard, so wipe the edges clean while wet |
Two rules sit above that table. Use acid-free and photo-safe adhesive anywhere vintage paper or photographs are involved, because ordinary adhesive will discolour those materials over the years. And keep a dedicated bone folder and wax paper within reach; most wrinkles are a workflow problem rather than an adhesive problem.
How to Flatten Pages That Are Already Wrinkled
A page that has dried wrinkly can usually be recovered, because the fibres are stretched rather than torn. Work in this order and stop as soon as the page lies flat.
- Let it dry completely first. Pressing a page flat while it is still wet locks in a new set of ripples. This is the step most people skip.
- Press under weight. Sandwich the page between two sheets of wax paper and lay a heavy book on top for 24 hours. Wax paper stops the book from pressing texture into the surface.
- If it is still buckled, dampen and press. Lightly mist the back of the page, leave it for a minute, then bone folder it flat and weight it again. The fibres relax when damp and can be re-formed while they are still soft.
- As a last resort, warm it through a cloth. Place the page between two cotton cloths and press with a cool iron. Keep the iron moving and keep it cool; direct heat scorches printed paper and lifts ink and photographs.
- Know when to stop and rework instead. If the page is torn, stained with a wet glue mark, or holds a crease rather than a ripple, trimming it into an ephemera piece or a pocket panel often looks better than a page that is merely flat.
If the glue has bled through and left a cloudy ring, flattening will not remove it. A craft blade lifted carefully from the back, paper fibres filled in with a torn strip, and a bone folder press over a mat will disguise it. Covering it with a smaller ephemera layer is faster, and nobody will ever spot it.
Symptom, Cause and Fix
Diagnose before you change anything. Nearly every wrinkling problem falls into one of these patterns.
| What you see | What is causing it | What to change |
|---|---|---|
| Fine ripples across the whole sheet | Glue spread unevenly or dragged with a fingertip | Bone folder press instead of finger smoothing; zigzag bead instead of a puddle |
| Edges curl upward, centre stays flat | Too much adhesive, or coating that stops short of the edges | Use a thin full-edge coat, or switch to a tape runner along the border |
| Page is fine now, wrinkles again as it fully dries | Wet paper stretched, then set before it could contract | Weight for 24 hours and do not reopen the book while it cures |
| Cloudy or shiny wet patch | Glue stick or liquid applied far too heavily | Two thin passes instead of one heavy one; glue pen on very thin stock |
| Glue shows through the sheet | Adhesive bled through absorbent paper | Barrier seal the back first, use a glue stick, or switch to double-sided tape |
| Lace or trim has puckered the paper | Wet glue soaked from the trim into the sheet | Tap off excess glue, then attach with a fine nozzle or dry adhesive |
| Page bonded to the facing page | Glue seeped through, or wet pages pressed together | Insert wax paper as a separator and work one spread at a time |
| Glue hardened in the nozzle | Left uncapped between sessions | Squeeze a little glue into a scrap, or soak the tip in warm water and clear it |
Materials That Will Always Wrinkle
Honest advice matters more than optimistic advice here. Tissue paper, crepe paper and thin napkins are not going to lie dead flat, and no technique on this page will change that.
What you can do is contain the damage. Glue those materials only in small areas rather than full-page backgrounds, choose a dark or strongly patterned backing paper so the ripple does not catch light, and accept a soft texture as part of the look. Many makers deliberately embrace the crinkle on crepe and tissue because it reads as handmade.
Fabric and fibre trims have the same issue. Fuzz, nap and loose threads drink up adhesive and pull the sheet out of shape. Trim the underside of heavy fibres or tape them instead of gluing them.
Journal-Specific Traps
Journals add two problems that loose scrapbook pages do not have.
Pages bonding to each other mid-project. A freshly spread is the most vulnerable point, because wet glue on one page can seep into the facing page. Slide a sheet of wax paper between the pages as soon as you finish a spread, and keep working on the next one. If the page is thick enough, glue pages together back to back after each spread, which takes stress off the spine as well.
Spine stress. Heavy glued areas on the page closest to the binding pull on the spine, and repairs there rip out again. Build pockets and flaps on flat pages, not on the page that meets the fold, and let the adhesive cure fully before the book is closed hard.
Humidity changes everything, too. In dry heat the air pulls moisture out fast and edges curl; in damp conditions the paper stays wet longer and buckles. If your workspace is a problem, run a dehumidifier in the room for the drying period rather than trying to hurry the glue.
Common Mistakes to Avoid
- Pooling glue in the centre. Extra adhesive adds moisture and nothing else. A thin zigzag line covers the same area.
- Dragging the glue sideways. This stretches the fibres before the paper is even placed. Apply to the back of the piece instead.
- Pressing with a fingertip. Use a bone folder or the flat edge of a ruler to sweep out air and moisture.
- Moving the page while it is wet. Even a small nudge sets a crease that will still be there when the book is finished.
- Rushing the drying time. 15 to 20 minutes to dry to the surface, then weight for a full 24 hours before you close the book or stack anything on top.
- Skipping the press entirely. A bone folder pass takes seconds and is the single biggest difference between a flat page and a rippled one.
- Forgetting the facing page. Wax paper separators prevent an entire category of ruined spreads.
Frequently Asked Questions
How to stop glue from wrinkling paper?
Use less glue than you think, spread it in a thin even zigzag line, and press the piece down with a bone folder rather than your finger. Then weight the page under a heavy book for a full 24 hours. If the paper is thin or very absorbent, seal both faces first or switch to a solid adhesive such as double-sided tape, which adds no moisture at all.
What is the best glue that won’t wrinkle paper?
The least wrinkle-prone adhesives are the solid ones, because they carry no water: double-sided tape, tape runners, glue dots, glue pens and glue sticks. Among liquid options, a thin coat of acid-free craft glue applied to the back of the piece and pressed with a bone folder works well. Heavy liquid glues put too much moisture into the sheet and are the worst choice for thin paper.
What is the best glue for scrapbook paper?
For standard 80 lb scrapbook paper, a glue stick, glue pen or tape runner all work cleanly with no wrinkling at all. If you prefer liquid glue, use a thin acid-free craft glue, apply it to the back of the element rather than the page, and press with a bone folder. Cardstock takes liquid glue easily; printed scrapbook paper is more prone to showing a wet appearance under too much stick glue.
Which glue won’t bleed through paper?
Glue sticks, glue pens and double-sided tape are the safest options, since they deposit adhesive with little or no solvent to soak through. For liquid glue, seal the reverse of thin paper with a light coat of matte medium or acrylic sealer first, then apply a very thin layer. Keep liquid glue off photographs entirely and use a photo-safe adhesive or photo corners instead.
How to make paper not wrinkle when gluing?
Follow the seven-step method: work on a hard flat surface, pre-press the paper, seal thin paper on both sides, choose a drier adhesive, lay a thin even line, press with a bone folder, and weight the page for 24 hours. The two steps people skip are the bone folder press and the 24-hour weight, and they are the two that make the biggest difference.
What is the best glue for junk journals?
A combination approach works best. Use double-sided tape or a tape runner for full-page background papers, tacky glue with a fine nozzle for lace, ribbon and trims, and a glue stick or glue pen for small ephemera and tickets. Keep a bone folder and wax paper on your desk at all times, and use wax paper as a separator between spreads while the glue is still curing.
How can I glue paper to paper without it wrinkling?
Apply the adhesive to the back of the top piece rather than the page below, so the glue sits in a controlled thin layer instead of spreading. Lay a thin zigzag bead, set the piece down without sliding it, then sweep a bone folder across the surface. Weight the finished page for 24 hours before handling it again.
What is the best glue for gluing paper to paper?
For most paper-to-paper work, a thin coat of acid-free craft glue gives the strongest bond, while a glue stick or tape runner gives the flattest result. The adhesive matters less than the amount. Whichever you use, spread it thinly, press with a bone folder, and let the page cure under weight before you close the book.
What is the best way to glue paper to wood?
Thin wood glue brushed in an even coat, then clamp or weight the piece for 24 hours, gives a strong permanent bond. Work on a flat surface and wipe squeeze-out from the edges while it is still wet, because dried glue is hard to remove and can leave a halo. For a journal cover, glue the paper to the board first and hinge it into the binding separately so the spine is not overloaded.
Why is my paper curling when I print?
This is the same mechanism as glue wrinkling. The printer roller applies heat and pressure, and the paper absorbs moisture unevenly as it passes through. The same fixes apply: print on a flatter surface, keep the tray settings matched to the paper weight, and flatten the sheet under a heavy book once it has cooled completely.
Conclusion
Learning how to stop glue from wrinkling paper comes down to three habits, and none of them involve buying a special product. Spread the adhesive thinner than feels sufficient, press with a bone folder instead of your fingertip, and weight the page for a full 24 hours before you touch it again.
Work through the paper type matrix to pick an adhesive that suits the sheet in your hands, and keep the symptom table nearby the next time a page buckles. If a page is already ruined, give it time to dry, press it under weight, then dampen and re-form it if it still will not lie flat.
One last expectation to set: tissue, crepe and thin napkins will always have some texture. Work with it instead of fighting it, and in 2026 your journals will stay flat, close properly and still look handmade.