
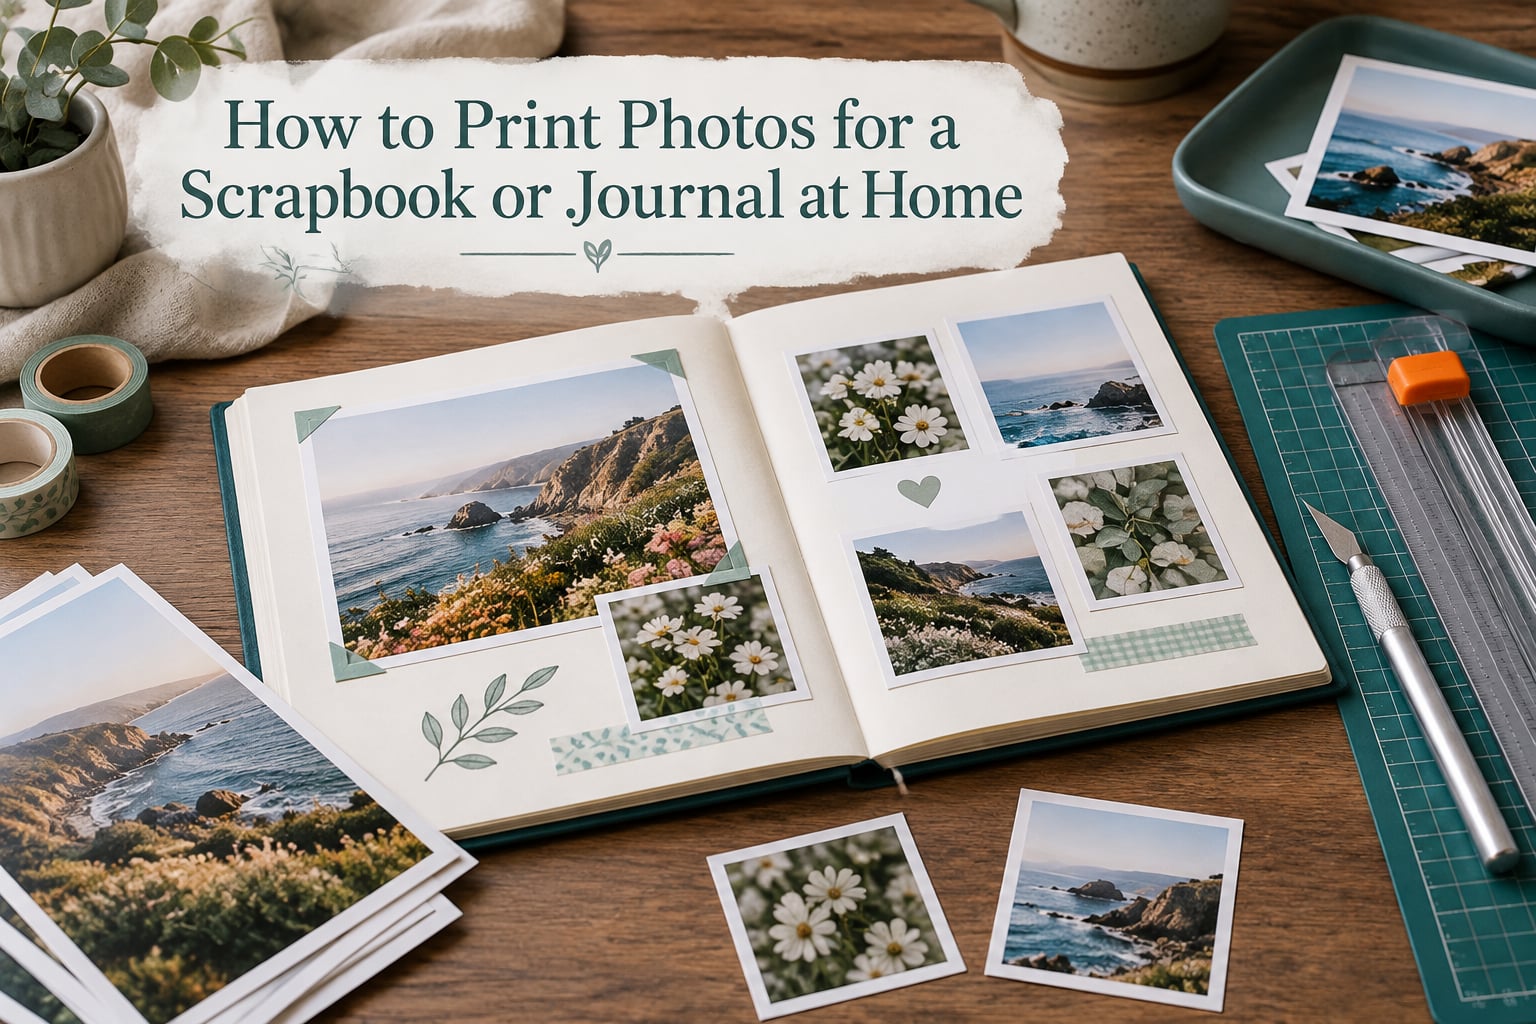
Printing your own photos is the difference between a scrapbook page that takes six weeks to assemble and one that takes an evening. When I started keeping albums, I ordered prints from an online lab and waited. Now I print on demand, in the exact sizes my layout needs, and reprint a mistake in the time it takes to make coffee.
This guide covers how to print photos for scrapbook at home, whether you are building a 12×12 album, filling a discbound journal or cutting tiny 2×2 crops for a pocket page. Nothing here needs advanced editing skills. You need a photo printer or a capable inkjet, the right paper, and a ten-minute routine. I refreshed the whole method for 2026 because the models on the market have shifted while the technique has not.
Quick answer: Print at 4×6 for the main photo on a page, 3×4 when you need a wider crop with a border, and 2×2 for small clusters and pocket pages. In your print dialog set the paper size to the exact photo size, set the media type to match your paper, turn on borderless printing, choose the highest quality, and print a single test before you run the batch. Let it dry fully before you trim or adhere anything.
Table of Contents
- What Photo Sizes Do Scrapbookers Actually Print?
- Home Printing vs. a Print Lab: How to Decide
- The 10-Step Process for a Print That Looks Right
- Printer Settings That Matter
- Resolution and DPI: Why 300 Is Usually Enough
- Choosing the Right Photo Paper
- Printer Types Explained Simply
- Printing From Your Phone, No Computer Required
- Printing Photos for a Journal
- Collage Grids, Trimming and Finishing
- Common Printing Problems and How to Fix Them
- What Printing at Home Actually Costs
- Keeping an Inkjet Healthy When You Print Rarely
- Frequently Asked Questions
- Print on Demand and Start the Page Tonight
What Photo Sizes Do Scrapbookers Actually Print?
4×6 is the workhorse size for scrapbooks. It is a size most printers handle, the cheapest to produce, and small enough to leave room on a 12×12 page for a title, journaling and embellishments. Most layouts are built around it.
| Size | Best use | Printer that handles it |
|---|---|---|
| 4×6 | Main page photo, vacation spreads, pocket pages | Any photo printer or standard inkjet |
| 5×7 | Larger focal photo, 8.5×11 album page | Dedicated 5×7 photo printer or most inkjets |
| 3×4 | Modern 3:4 camera crops, borders and mats | Inkjet with custom size, dye-sublimation |
| 2×2 | Small clusters, flip flaps, locket and charm photos | Any printer via a print-to-size app or grid sheet |
| 8×8 | Square layouts and social-media square crops | Inkjet with 8×8 paper support |
| 12×12 | Full scrapbook page photo | Wide-format inkjet rated for 12×12 |
So is 4×6 too big for a scrapbook? On a 12×12 page, no. It leaves roughly three inches on the shortest side once you allow for a border and a caption. On a 7×7 or smaller journal, it is genuinely too big, and 3×4 or 2×2 is the better call.
Home Printing vs. a Print Lab: How to Decide
Home printing wins on speed and control. You get any size you want, you reprint a mistake in minutes, and you match paper to the album you are filling rather than to whatever the lab offers.
A print lab wins on volume and on zero maintenance. Scrapbookers posting in r/scrapbooking repeatedly make the same point: once you factor ink, paper and failed prints, an online lab such as Persnickety Prints or Shutterfly is cheaper for a big batch. A forum regular described the switch honestly, printing small batches at home and sending album-filling runs to a lab.
The deciding question is frequency, not preference. If you print a few photos most weeks, a home printer pays for itself in convenience. If you scrapbook in one intense weekend every few years, the ink and the maintenance cycles are not worth it.
Watch out: A printer used only occasionally is a frequent source of frustration. Ink heads clog between uses, the first print comes out streaked, and the fix is a cleaning cycle that wastes ink anyway. Print at least once a month or buy a lab print.
The 10-Step Process for a Print That Looks Right
Follow this order every time and most of the beginner problems disappear before they start.
- Choose the file. Open the original image, not a screenshot or a copy posted in a messaging app. Compressed versions lose the detail you need at 300 dots per inch.
- Crop to your target ratio. Decide 3:4, 4:3, 1:1 or 2:3 before you resize anything, so nothing important sits where the borderless crop will land.
- Set the output size. Choose the exact photo size in your app, a print-to-size utility, or your printer dialog. Never enlarge a small image and hope.
- Check resolution. The image needs about 1200 by 1800 pixels for a 4×6 print at 300 dots per inch.
- Set the paper size in the printer dialog. Paper size and image size are two different settings, and mismatching them is the usual cause of unexpected margins.
- Set the media type to match the paper in the tray. Glossy paper, matte paper and presentation paper each need their own setting, or the printer guesses and the colors shift.
- Choose quality, not draft or normal. Draft mode on photo paper produces muddy, grainy results that no amount of trimming will fix.
- Turn on borderless printing. Check the box labeled borderless or edge-to-edge in the layout options, and load the photo paper in the correct side or tray.
- Print one test. One photo, the same settings you plan to use. Check color, sharpness and edges under normal room light, not under a bright lamp.
- Let it dry, then trim. Glossy inkjet paper needs a few minutes before it is safe to touch or stack. Trim with a craft knife and a cutting mat rather than scissors, which crush the corner.
Printer Settings That Matter
Four settings do most of the work: media type, quality, borderless, and color management. The rest are defaults you rarely need to touch.
Borderless printing removes the white frame. The printer enlarges the image very slightly to reach the paper edge, and that expansion can clip about a tenth of an inch on every side. Keep faces, captions and dates out of that outer band or you will trim a chin in half.
Color management is why prints look darker or duller than your screen. A bright monitor shows an image brighter than any reflecting paper can. Calibrating the monitor and letting the driver manage the color profile gets you closer. Avoid brightening images in editing software before printing, because the printer will apply its own correction on top of yours.
Media type is the setting beginners skip and then wonder about. Setting glossy paper while matte paper sits in the tray leaves the colors flat and the blacks looking gray. Match the setting to the sheet, every time.
Resolution and DPI: Why 300 Is Usually Enough
300 dots per inch is enough for nearly every photo you will print, and 600 buys you almost nothing you can see in a scrapbook. The only reason to go higher is a large image viewed very close up.
The rule is simple. Multiply the print size in inches by 300 and you get the pixels you want along that edge.
- For a 4×6 print, look for at least 1200 by 1800 pixels.
- For a 3×4 print, 900 by 1200 pixels is comfortable.
- For a 2×2 print, 600 by 600 pixels is plenty.
- For a 12×12 print, aim for 3600 by 3600 pixels, and accept that phone cameras will not reach it.
To check, open the file and read the pixel dimensions in the image properties. If the number is far below what you need, a print is the wrong tool for that photo. Use it smaller, or find the original.
Choosing the Right Photo Paper
Paper changes a photo more than any setting in the print dialog. Glossy boosts saturation and contrast, matte gives a softer, fingerprint-resistant surface, and luster sits between them.
| Paper | Look | Best for | Caution |
|---|---|---|---|
| Glossy photo paper | Vivid, high contrast | Bright, colorful photos | Dries slowly, smudges when stacked |
| Matte or luster | Soft, low glare | Most pages, text-heavy layouts | Blacks can look flat if quality is not raised |
| Presentation matte | Bright white, no photo gloss | Journaling cards, tags, digital paper | Not built for saturated images |
| Inkjet sticker paper | Adhesive-backed photo surface | Photo stickers, pocket page embellishments | Cut on the non-adhesive backing |
| Vellum | Translucent overlay | Layering, softening backgrounds | Prints slowly, can jam on thick paper |
For journals, matte presentation paper works well because it takes pen, glue and layering without glare. Use archival, acid-free paper for anything you want to keep for decades; standard copy paper yellows from the edges inward within a few years.
Heavier specialty paper also causes feed problems on printers that were not designed for it. Avoid glitter, flocked and raised-decoration craft paper in the paper path, and choose paper rated for your specific model before you buy a pack.
Printer Types Explained Simply
Home setups fall into a few clear categories, and they are not interchangeable. Match the printer to the sizes you actually plan to print.
| Type | How it works | Largest size | Best for |
|---|---|---|---|
| Inkjet photo printer | Liquid ink sprayed in layers | 4×6 or 5×7 | Everyday photos on a budget |
| Standard or wide-format inkjet | Liquid ink, larger carriage and paper path | 8.5×11, 12×12, 13×19 | Scrapbook paper and digital paper files |
| Dye-sublimation | Heat transfers color into a coated layer | Postcard size, not full 4×6 | Water-resistant, durable small prints |
| Portable instant | Film ejected on the spot | Square or mini film | Travel journaling, no paper ink |
Dye-sublimation printers such as the Canon SELPHY produce sharp, water-resistant prints with a protective overcoat that survives fingerprints and scrapbook adhesive. The surprise buyers hit is size: the popular models print a postcard format that is not true 4×6, and cannot go larger. If your layout depends on 4×6 or larger, confirm the exact output dimensions before buying.
For 12×12 paper you need a wide-format model. A dedicated 4×6 printer for the small stuff plus a wide-format machine for full sheets is what many scrapbookers end up with, and it is the setup that stops you routing every small print through an expensive large-format cartridge.
Printing From Your Phone, No Computer Required
You do not need a computer to print scrapbook photos. Modern phones print borderless, custom-sized images directly, and the whole process takes about a minute once you have done it twice.
- Open the photo in your gallery app and use the share or print action.
- Choose your printer from the AirPrint, Mopria or default printer list. If it is not listed, add it once in Settings under Printers.
- In the print preview, pinch to zoom the image and drag it to fill the page edge to edge.
- Look for a paper size option that matches your photo, or pick the closest size and trim the excess.
- Tap print, then check the tray is loaded with photo paper on the right side.
If the preview keeps adding a white border, the app is printing the image to fit inside the page rather than filling it. Cropping the photo in the gallery first to the exact aspect ratio usually solves it. For unusual sizes like 2×2 or 3×4, a print-to-size app gives you a custom canvas you can send to any printer, and Canva is the other tool scrapbookers name most often for laying out pages.
Printing Photos for a Journal
Journal formats have narrower pages than scrapbooks, and that changes which sizes work. Discbound journals usually run 8.5×11 or A5, ring-bound planners often sit at 8.5×11, and travel or junk journals can be anything.
On an 8.5×11 page, a 4×6 print leaves room for journaling on one side and a second smaller print or a pocket below. On an A5 page, 3×4 is the sensible maximum and 2×2 works well in clusters. Measure your page, then measure the printable area once with a ruler test print, because margins vary by printer.
The 12×12 paper problem has a straightforward workaround. Most home inkjets top out at 8.5×11 or 13×19, so a 12×12 sheet will either be rejected or printed with wide unprintable edges. Print your full-size elements on 13×19 and trim to 12×12 with a paper cutter, or print the photo at 4×6 and mount it on a 12×12 cardstock page. Both produce a clean result and neither requires a new printer.
Collage Grids, Trimming and Finishing
You do not need one print per photo. Place a grid of small images on a single Letter or A4 sheet, print it once, and cut it into uniform squares. It cuts paper use dramatically and keeps a page visually consistent.
Use a layout app to set equal gutters, print on matte paper, and cut along the gutters with a craft knife and a metal ruler. Press a new blade section for each long cut rather than dragging one blade across the whole sheet, which leaves a tapered edge.
Finishing is where prints get ruined. Glossy inkjet paper needs several minutes before you touch it, and longer before you stack anything on top. Adhesive applied while the ink is still damp will lift it. Let prints dry flat, then use a photo-safe adhesive or double-sided tape rather than liquid glue, which can bleed through the back and stick to the facing page.
For travel or frequently handled journals, laminate each print or cover the page with a thin sheet after everything is dry. Store albums flat in acid-free sleeves, away from direct sun, which is the main cause of fading and yellowing over decades.
Common Printing Problems and How to Fix Them
Nearly every printing problem traces back to one of four things: a wrong setting, wrong paper handling, a file that was too small, or an ink system that has gone stale.
| Symptom | Likely cause | What to try |
|---|---|---|
| White edges on the print | Borderless is off, or paper size does not match | Turn on borderless, set paper size to the exact photo size, load photo paper glossy-side down |
| Colors darker or duller than the screen | Bright monitor, no calibration | Calibrate the monitor, stop brightening images before printing, use the driver color profile |
| Blurry or pixelated print | Image enlarged beyond its resolution | Print smaller, or find the original file |
| Smudges when stacking | Printed too soon, or printed on the wrong side | Wait several minutes, check the paper orientation |
| Jams on heavy or specialty paper | Paper too thick for the paper path | Use paper rated for the printer, clean the rollers, avoid raised-decoration paper |
| Streaks after weeks of not printing | Ink heads dried out | Run a print head cleaning cycle, then print a test page |
| Colors look wrong even with settings right | Media type does not match the paper in the tray | Match the media type setting to the paper |
| Prints faded after years | Non-archival paper or direct sunlight | Use acid-free archival paper, keep albums out of sun |
What Printing at Home Actually Costs
Ink is almost always the largest cost at home, and it is the reason people are surprised by print-on-demand. The cartridge cost is only part of it. Add paper, the ink consumed by failed and test prints, and the cost of cleaning cycles on a printer you use lightly.
Tank-based printers change the math by spreading ink cost across far more pages, which is why an EcoTank-style machine appeals to anyone who prints weekly or more. The trade-off is a higher upfront cost and the wrong ink damaging the print head permanently. Forum scrapbookers are consistent on one point: manufacturer ink protects the printer, and third-party ink is cheaper but can trigger firmware updates that reduce performance.
So what is the least expensive way to print photos? For a single page or a top-up, printing at home wins because you skip delivery entirely. For a batch of a hundred or more, a lab is usually cheaper once ink and failures are counted. Many scrapbookers land in the middle by printing small crops and fixes at home and sending full-page runs to a lab, and that hybrid is the most honest answer most of them give.
Keeping an Inkjet Healthy When You Print Rarely
If you only print during a scrapbooking marathon, your printer will punish the gaps. Inkjet nozzles clog when they sit unused, and a clogged head shows up as streaks or missing bands on your first print after a long break.
- Print something small once a month, even if it is a single test page, to keep the heads moving.
- Run a print head cleaning cycle at the first sign of streaking, before you waste a full sheet of photo paper.
- Keep ink in the machine. Refilling cartridges with a third-party ink and leaving them sitting for months is the fastest way to a blocked head.
- Store paper sealed and flat, in the dark. Humidity and light both shorten paper life.
If a printer sits unused for months at a time, a dye-sublimation or portable instant printer will suit you better. They have no nozzles to clog and no ink to dry out.
Frequently Asked Questions
What photo size is best for a scrapbook?
4×6 is the most useful scrapbook size because printers handle it reliably and it leaves room for titles, journaling and embellishments on a 12×12 page. Use 3×4 for wider modern camera crops, 2×2 for small clusters and pocket pages, and 5×7 or 12×12 only when a layout is built around one large photo.
Is 4×6 too big for a scrapbook?
Not on a 12×12 page. A 4×6 print leaves about three inches on the shortest side once you add a border and a caption, which is exactly what most layouts want. On a 7×7 journal or a smaller notebook it is too big, and 3×4 or 2×2 fits far better.
How do I print photos borderless?
In the print dialog, set the paper size to the exact photo size, then tick borderless or edge-to-edge in the layout options. Load the photo paper glossy side down in the correct tray. The printer enlarges the image slightly to reach the edge, so keep faces and text out of the outer tenth of an inch.
When is 300 DPI or 600 DPI better?
300 dots per inch is enough for almost every photo you print for a scrapbook, and 600 adds little you can see at album distance. Choose 600 only for a very large image you will view up close. Check your file first: a 4×6 print at 300 DPI needs roughly 1200 by 1800 pixels.
What is the best way to print photos from home?
Export the file at the exact target size, set the paper size, media type, quality and borderless options in the print dialog, then print a single test and check it in normal room light before running the batch. Let glossy inkjet paper dry for several minutes before trimming, sticking or stacking.
Is a Canon SELPHY worth it?
It suits scrapbookers who want small, durable, water-resistant prints for clusters and pocket pages, and dye-sublimation adds a protective overcoat that survives fingerprints and adhesive. The catch is size: the popular models print a postcard format that is not true 4×6 and cannot go larger, so check the output dimensions before buying.
Print on Demand and Start the Page Tonight
Learning how to print photos for scrapbook at home comes down to four habits: pick the size your layout needs, match the media type to the paper in the tray, print one test before the batch, and let the print dry before you cut it. That routine takes about ten minutes and removes nearly every problem beginners hit.
Start with one page tonight. Choose a 4×6, set the media type, print a single test, and trim it onto a scrapbook page. Once that feels normal, the rest is repetition.