
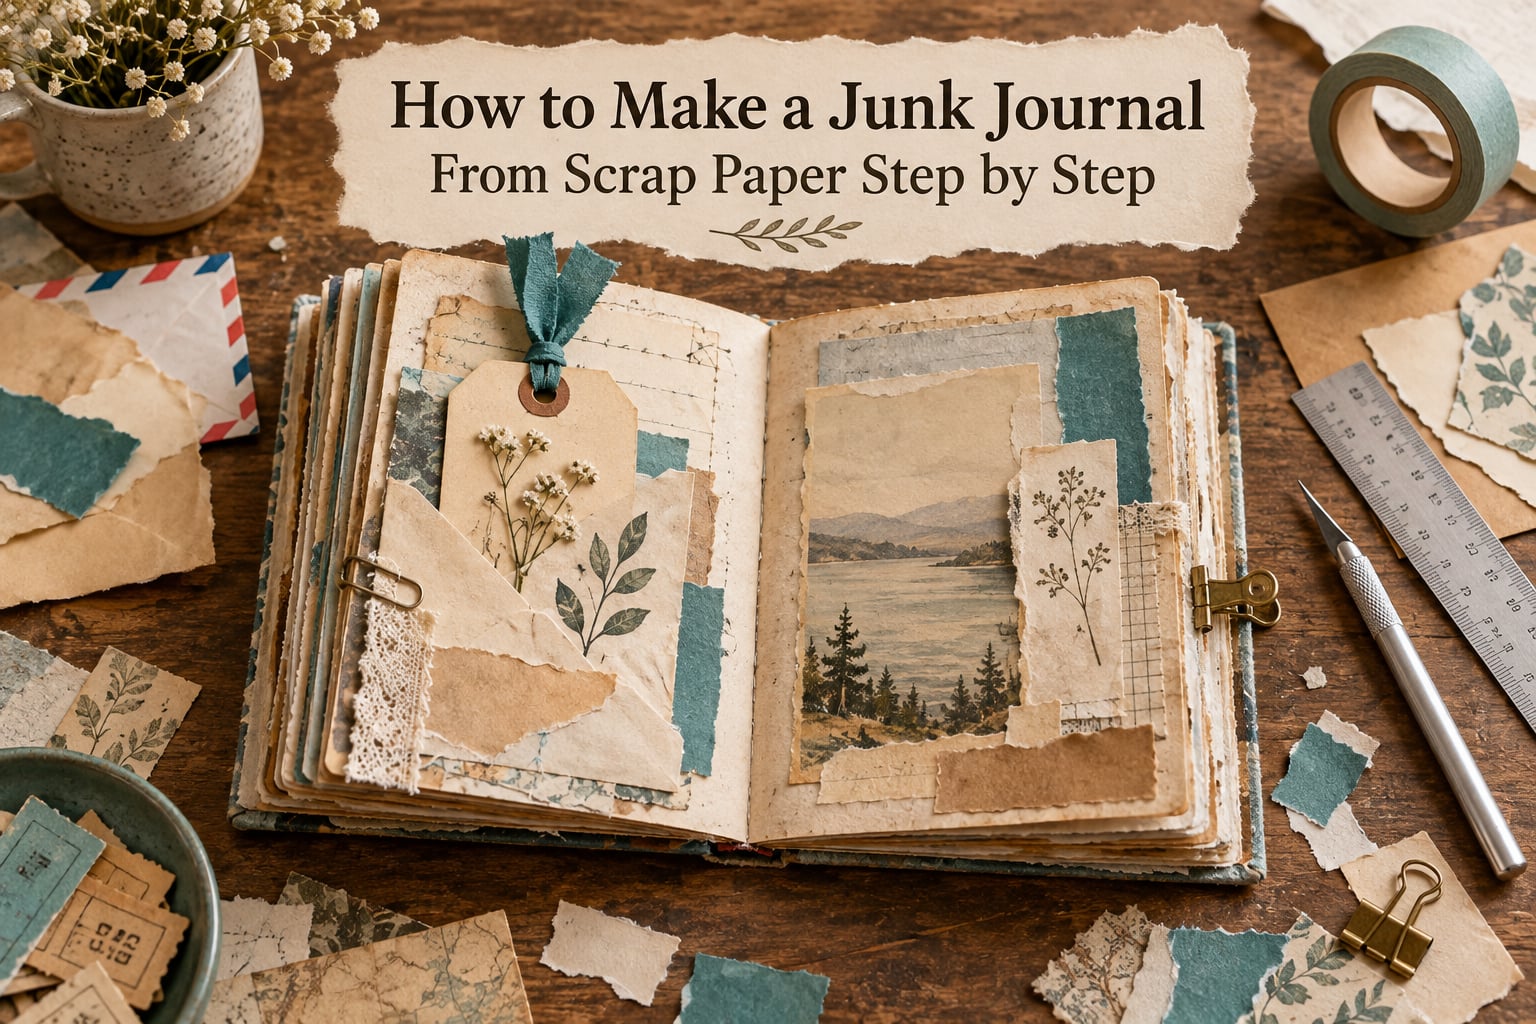
A junk journal is a handmade book built from found and recycled materials. You cut scrap paper to one consistent size, fold the sheets into signatures, bind them into a cover, then layer ephemera onto the pages. It takes about an hour, and it costs nothing because every scrap already lives in your recycling bin.
Learning how to make a junk journal from scrap paper is the entry point most people never finish. They gather a beautiful pile of ticket stubs, tea-stained envelopes and magazine clippings, then stall because they cannot picture the finished book. The answer is simpler than the pile suggests: every journal comes down to the same eight moves, and you can do them in any order you like.
Here is the whole process before I unpack it.
- Sort your scraps into flat, torn and sturdy piles.
- Pick one page size and cut every scrap down to match it.
- Distress the edges by tearing or scuffing them.
- Fold the sheets into signatures of three or four pages.
- Stack the signatures and set the spine gap with a paper strip.
- Bind them with a tape runner, a pamphlet stitch, or a folded stack.
- Wrap a cover around the bound block and reinforce the spine.
- Fill pages with collaged ephemera, pockets and tags.
I have built these from brown paper bags, from a single manila envelope, and from envelopes with every window cut out. The first three never held up well. Once I started cutting to a fixed page size and leaving a spine gap, the failures stopped, and so did the second-guessing.
Table of Contents
- What You Need to Make a Junk Journal From Scrap Paper
- Junk Journal vs Scrapbook vs Art Journal: What Is the Difference?
- How to Make a Junk Journal From Scrap Paper Step by Step
- How to Choose Your Binding Method
- Page Size Cheat Sheet for Mixed Scrap Paper
- Troubleshooting: What Goes Wrong and How to Fix It
- Your First Spread: Three Recipes That Always Work
- Storing and Organizing Your Scrap Paper Stash
- Frequently Asked Questions
- What is an easy way to make a junk journal?
- How can I make a notebook from scrap paper?
- What kind of paper do you use for junk journaling?
- What is the best adhesive for junk journaling?
- Which glue is best for journaling?
- What do scrapbookers use for glue?
- What’s the difference between a junk journal and a scrapbook?
- What to put on the first page of a junk journal?
- Can you make a junk journal with no sewing?
- How do I stop my junk journal pages from falling out?
- How long does it take to make a junk journal?
- What paper weight is best for junk journaling?
- Conclusion: Start With One Messy Book
What You Need to Make a Junk Journal From Scrap Paper
Start with the free stuff. A junk journal supply list is mostly a list of things you have been throwing away.
Free scrap paper sources
- Envelopes, including window envelopes and the security-lined ones nobody opens
- Paper bags from the grocery store, flattened and folded to size
- Receipts, ticket stubs, boarding passes and delivery slips
- Pages from books you will never reread, taken out cleanly at the glue line
- Brochures, leaflets, menus and takeaway menus
- Backs of sticker sheets, peeled labels and wax paper
- Old greeting cards, postcards and notepads
- Magazine and catalogue pages, cut away from anything glossy
- Tea bags, coffee sleeves and the brown inner lining of cereal boxes
- Wrappers, tissue paper and packing paper
Two rules keep the pile useful. Skip anything with a barcode you might scan by accident, and skip anything that smells of food.
Tools you actually need
You need a craft knife or scissors, a ruler, a bone folder or the back of a spoon, a tape runner, and something to write with. An awl and waxed thread turn the binding from a glued stack into a real book, but you can add that later.
Paper types and how each one behaves
| Paper type | Feel and weight | Best use | Watch out for |
|---|---|---|---|
| Printer or copy paper | Smooth, medium weight | Writing surfaces, lining pages | Wrinkles if you use liquid glue |
| Book pages | Soft, slightly yellow, textured | Background layers, covers | Ink bleeds and transfers when wet |
| Cardstock | Thick, stiff, opaque | Tags, pockets, base sheets | Makes signatures bulky if overused |
| Kraft paper and paper bags | Strong, fibrous, warm brown | Cover stock, structural pages | Edges fray rather than tear clean |
| Newsprint | Very thin, brittle with age | Collage layers only | Yellows fastest, ink runs on it |
| Envelope liners | Patterned, security-print, stiff | Full-page decoration, wraparound spines | The pattern competes with everything on top |
| Glossy magazine pages | Smooth, coated, bright | Colour blocks, cut shapes | Nothing dry will stick to the coating |
Adhesive options compared
| Adhesive | Hold strength | Wrinkles paper | Repositionable | Best for |
|---|---|---|---|---|
| Tape runner (glue tape) | Permanent | No | No | Default choice for pages and pockets |
| Washi tape | Light | No | Yes | Hinges, flip-outs, layout planning |
| PVA or craft glue | Permanent | Yes on thin paper | Briefly | Paper bags, kraft, heavy layers |
| Glue stick | Weak over time | No | No | Drafting layouts, dry runs only |
| Double-sided tape | Permanent | No | No | Mounting small ephemera cleanly |
Community consensus among paper crafters lines up with that table. Tape runners get named for permanent hold, washi for layout work you may want to move, and archival glue only where permanence matters. The recurring complaint is that glue sticks peel away after a few months and pages drop out, so skip them in the finished book.
Junk Journal vs Scrapbook vs Art Journal: What Is the Difference?
A junk journal is a bound book made mostly from discarded paper, where the binding itself is part of the craft. A scrapbook is a display album of photos and memorabilia, usually commercially bound. An art journal is any book used for making art, blank or bought. A bullet journal is a structured planner system with index and dot-grid pages.
| Junk journal | Scrapbook | Art journal | Bullet journal | |
|---|---|---|---|---|
| Made from found paper | Always | Partly | Not necessarily | No |
| You make the binding | Usually | No | No | No |
| Main content | Collage and ephemera | Photos and memorabilia | Painting, drawing, mixed media | Lists, logs, trackers |
| Structure | Free | Free | Free | Highly structured |
| Goal | Memory keeping | Preserve a record | Make art | Plan and organise |
The overlap is real. Plenty of people build a handmade book and call it a scrapbook, and that is fine. What separates a junk journal is that the ephemera and the construction are the point.
How to Make a Junk Journal From Scrap Paper Step by Step
This is the sequence I use, and it takes about an hour for a pocket-sized book once your scraps are collected.
Step 1: Sort and prep your scraps
Spread everything on a table and make three piles. The first is flat paper you can write on or cut cleanly. The second is ephemera worth keeping, which includes tickets, tags and small illustrations. The third is structural paper, meaning card, envelopes and paper bags.
Remove anything glued shut, anything with a magnet strip, and any page with a price tag still on it. Iron or press the pile flat under a heavy book for an hour if the scraps came out of a recycling bin crumpled.
Step 2: Cut every scrap to one page size
Choose a size first, then cut to it. Half-letter at 5.5 by 4.25 inches suits small scraps and lets a book live in a coat pocket. Quarter-letter at 8 by 5 inches gives you writing room and works well with envelope liners. Full letter at 8.5 by 11 works, but it demands bigger scraps.
Set the size once and treat it as fixed. To batch-cut, stack your flat scraps, align two edges, and run the knife along a ruler. Cut a few sacrificial strips first if the pile is uneven, so you do not take a shallow slice across the top of the stack.
Step 3: Distress the edges
Scrap paper looks intentional when the edges are broken rather than factory-cut. Tear most of them by hand, pulling slowly along the grain so the edge feathers. Use a craft knife for the last stubborn corner.
Then scuff. Run a dry ink pad or a tea bag along the border, or sand the edge lightly with fine grit. A torn edge on a page you will write on is optional, but on a collage page it does most of the work for you.
Step 4: Fold the sheets into signatures
A signature is a folded group of pages that forms one section of the book. Nest two or three sheets together, align them, and fold along the spine edge. Three nested sheets gives you six pages from one unit, which is plenty for a first book.
Paper crafters on Reddit build a signature from three different materials at once: a manila envelope cut open as the outer wrap, a large sheet folded in half as the middle layer, and a sheet of scrapbook paper folded at the centre as the inner. Mixed weights in one signature also solve the thickness problem, because a thick envelope balances a soft book page.
Step 5: Stack the signatures and set the spine gap
Arrange your signatures in reading order with the folded edges all facing the same way. Nest them so the folds sit in a natural curve, then check the whole stack closes with your thumb.
Wrap a strip of cardstock, kraft or old book page around the folded edge and glue it down. That strip is the spine. It keeps the book open flat, stops the spine from cracking, and gives your stitching something solid to pass through. The gap between pages and spine should be roughly the thickness of two sheets, so the book opens flat when you flatten it.
Step 6: Bind the block
Pick the method now. A tape runner means running adhesive along the inside of the spine strip, pressing each signature’s fold down, then wrapping the strip fully around. For a sewn book, punch three or five holes through the spine strip with an awl, and sew a pamphlet stitch through them.
Wax the thread by running it through a candle several times. Waxed thread grips the paper and resists fraying, which is why bookbinders use it. A single hole in the middle with leather cord or baker’s twine is the fastest route, and makers on Reddit use that punch-and-thread approach as a no-sew-adjacent option.
Step 7: Make the cover
Wrap a stiff sheet around the finished block, leaving a 3mm overlap past the spine, and glue it down. A second sheet on the inside makes the cover double-thick and hides the seam. Cut the corners diagonally before gluing so they do not bunch at the spine.
Decorate the cover last so you can pick the largest, boldest piece of ephemera for it. Envelope liners give an instant pattern. A brown paper bag flattened and inked works for a plainer cover.
Step 8: Fill the pages
Work in layers. Glue a background sheet first, add a mid layer of smaller pieces, then one focal element, then a small detail such as a date stamp or a strip of tape. Leave space around the focal piece so the eye has somewhere to rest.
Add interactive bits as you go. A tuck pocket is a rectangle of cardstock with two sides and a bottom glued down, leaving the top open. A tip-in is a page hinged to the spine with washi, which you can fold out and write on. A journaling card that slides into the pocket keeps the book flexible rather than rigidly filled.
How to Choose Your Binding Method
| Method | Time | Supplies | Difficulty | Durability | Best for |
|---|---|---|---|---|---|
| No-sew stack, tape runner | 15 min | Tape runner, spine strip | Beginner | Moderate | Fastest finished book, one sitting |
| Folded stack, no spine strip | 5 min | Tape runner only | Beginner | Low | Cheapest possible practice run |
| Single fold-over, one sheet | 10 min | Tape runner, one large sheet | Beginner | Low to moderate | Miniature books, single-signature journals |
| Pamphlet stitch | 30 min | Awl, needle, waxed thread | Intermediate | High | A book that opens completely flat and lasts |
| Punched holes and cord | 20 min | Awl, leather cord or twine | Intermediate | High | Visible thread spine, quick sewing |
For a first build, I would bind with a tape runner and a spine strip. It takes fifteen minutes, it holds, and it teaches you how a book is put together before you take on a needle. Move to a pamphlet stitch on the second book.
Page Size Cheat Sheet for Mixed Scrap Paper
The single biggest reason beginners stall is a stack of scraps that will not line up. Folders, receipts and torn corners are all different sizes, and folding them together produces a lumpy signature with a broken spine. Fix it by cutting first and folding second, never the other way round.
| Finished size | Base sheet to start from | Scrap sources that fit | Pages per signature |
|---|---|---|---|
| 5.5 by 4.25 in | Half a card | Ticket stubs, receipts, envelope corners | 2 sheets nested, 4 pages |
| 7.5 by 5 in | Half of A5 or half letter | Envelopes, notepads, brochures | 3 sheets nested, 6 pages |
| 8 by 5 in | Half of A4 or half letter | Book pages, magazine, paper bags | 3 sheets nested, 6 pages |
| 8.5 by 11 in | Full sheet | Wrapping paper, posters, paper bags | 4 sheets nested, 8 pages |
For the odd sizes, do not force them into a page. Trim them down and use the offcuts as small ephemera, which is where a torn rectangle of a vintage advertisement is worth more than a whole mismatched sheet. If a scrap is too small for a page but too pretty to bin, glue it onto a thin cardstock leaf so it becomes a page.
Batch-cutting method: line up all the flat scraps, measure the width with a ruler, and cut the narrowest ones first so the stack stays roughly even. A paper trimmer makes this faster, but a knife and a steel ruler work fine.
Troubleshooting: What Goes Wrong and How to Fix It
My first three journals had pages that fell out, a spine that cracked, and glue bleeding through to the back. All of it was fixable and all of it was predictable, which is why the fixes are listed here rather than left you to discover.
| Symptom | Cause | Fix |
|---|---|---|
| Pages keep falling out | Glue stick used, or adhesive applied in a thin line | Use a tape runner and run two full passes, edge to edge |
| Journal will not close, cover bows open | Too many thick leaves; no spine gap | Remove every third page during the build and check the fit as you stack |
| Spine cracks when opened | No spine reinforcement, or signatures glued in a flat stack | Add a cardstock spine strip and nest the signatures in a curve |
| Glue shows through to the back | Liquid glue soaked into thin paper | Switch to a tape runner for thin pages, or seal the leaf first |
| Paper wrinkles and buckles | Wet glue, or glue applied to damp paper | Work on dry flat paper and press each layer under a book overnight |
| Ink transfers off old book pages | Paper is porous and slightly acidic | Seal the page with a thin matte layer first, or use it as a background layer only |
| Pages yellow over time | Newsprint and old paper are acidic | Keep acidic pages as inner layers and keep the book out of direct sunlight |
| Handwriting beads or smears | Water-based ink on uncoated paper | Write with a fine rollerball or pigment pen and let ink dry before collaging over it |
| Book will not lie flat | Pages nested unevenly, or thread too tight | Refold each signature and press the whole block flat under heavy books overnight |
| Cover corners bunch at the spine | Square corners glued into a curve | Cut the spine-side corners diagonally before gluing the cover on |
The single most useful habit here is to assemble the block loosely first, check the fit, then glue. Fixing a bulge at the stacking stage takes ten seconds. Fixing it after the cover is on means dismantling the book.
Your First Spread: Three Recipes That Always Work
Beginners with an empty book and no plan stall on page one. These three use nothing that is not already in a kitchen drawer or a junk drawer.
Recipe 1: The receipt wrap
Tear a long receipt into two strips and wrap them in a loose spiral across the page, overlapping as you go. Add one ticket stub as the focal point near the top third. Write the date and one line about the day in the largest space left over.
Recipe 2: The envelope liner
Cut an opened envelope liner to page size and glue it down as a full background. Add three torn rectangles of old book page in a diagonal line, then one small element such as a stamp or a button taped in place. Nothing else, and the spread is finished.
Recipe 3: The pocket page
Take a cardstock rectangle a little smaller than the page, glue down two sides and the bottom, and leave the top edge open. Cut a small journaling card, write on it, and slide it in. Add one torn scrap beside the pocket to break the straight lines.
You will notice all three follow the same order, and that order is the whole method. Background, mid layer, focal point, small detail, and space left for writing.
Storing and Organizing Your Scrap Paper Stash
Scrap paper piles up faster than it gets used, and that is the practical problem behind most of these projects. A few habits keep it usable.
- Sort by colour, not by source, so a spread is easy to assemble in one sitting
- Keep flat paper in a magazine file, upright, so you can see every piece
- Keep ephemera in divided trays by size: tags and tickets in one, small ephemera in another
- Store envelopes in a shoebox by type, since envelope liners are the most reusable scrap you will collect
- Keep one box strictly for full sheets, for covers and structural pages
- Pull anything you have not used in six months and use it as wrapping paper or bin filler
Nothing needs buying for any of this. The cheapest and fastest system is a shoe box and a handful of paper envelopes used as dividers.
Frequently Asked Questions
What is an easy way to make a junk journal?
The easiest route is a no-sew version: cut your scrap paper to one size, fold two or three sheets together into signatures, run a tape runner along the folds, wrap a cardstock strip around them to make a spine, and glue a cover around the whole block. Ten minutes of cutting and fifteen minutes of binding gets you a finished pocket-sized book.
How can I make a notebook from scrap paper?
Cut every scrap to a single size first, then fold sheets in half and nest two or three together to form signatures. Stack the signatures, glue a cardstock strip around the folded edge to form a spine, then bind with a tape runner or sew through the strip with an awl and waxed thread. Add a cover last.
What kind of paper do you use for junk journaling?
Any found paper works, but each type behaves differently. Printer paper is best for writing, book pages suit collage backgrounds, cardstock makes sturdy tags and pockets, kraft paper and paper bags work for covers and structure, and newsprint is best kept to thin collage layers because it yellows and runs with ink.
What is the best adhesive for junk journaling?
A tape runner is the best default. It gives a permanent hold, does not wrinkle thin paper and works on envelope liners and coated magazine pages that liquid glue slides off. Use washi tape for anything you may want to reposition, and reserve liquid glue for paper bags and kraft paper.
Which glue is best for journaling?
For writing directly onto pages, use a fine rollerball or pigment pen on printer paper, and let ink dry before gluing anything over it. If you need adhesive rather than ink, a tape runner holds without wrinkling, which matters more than glue strength once pages start dropping out of the book.
What do scrapbookers use for glue?
Most scrapbookers use a tape runner for permanent adhesion because it is fast, clean and will not warp thin paper. Washi tape is used for anything temporary, and glue sticks show up in layouts more than in finished books because they can lift and peel after a few months.
What’s the difference between a junk journal and a scrapbook?
A junk journal is a handmade book built from discarded paper where the binding is part of the craft. A scrapbook is an album for displaying photos and memorabilia that is usually bought ready-bound. Junk journals lean on ephemera and construction, while scrapbooks lean on photographs.
What to put on the first page of a junk journal?
Keep the first spread simple. Glue down a background sheet, add two or three torn pieces, place one small item as a focal point, and write one line about the day in whatever space is left. Writing the date on the first page turns the book into a memory keeping project from page one.
Can you make a junk journal with no sewing?
Yes. Run a tape runner along the folded edges of your signatures, press them into a stack, and wrap a cardstock spine strip around them. Add a cover with more tape runner. Hold the book closed under heavy books for a few hours to let the adhesive set and the pages flatten.
How do I stop my junk journal pages from falling out?
Use a tape runner instead of a glue stick, and run two full passes edge to edge rather than a single thin line. Build the book with fewer, thicker leaves by removing every third page, and press the finished block flat under heavy books overnight before adding the cover.
How long does it take to make a junk journal?
About an hour for a pocket-sized no-sew book once your scraps are collected, with cutting taking up most of that time. A sewn version with a pamphlet stitch takes closer to two hours. The slow part is always sorting and cutting, not binding.
What paper weight is best for junk journaling?
Mid-weight printer paper between 100 and 120 gsm works for pages, and cardstock around 200 gsm is right for pockets, tags and covers. Very light newsprint is best limited to collage layers, because anything you write on will feather and it yellows faster than heavier stock.
Conclusion: Start With One Messy Book
To make a junk journal from scrap paper you need one decision, not twenty. Pick a page size, cut everything to match, fold the sheets into signatures, wrap a spine strip around them and bind with a tape runner. That is the whole book, and the decorating is where your time should go.
My first attempt fell apart in a week, and rebuilding it taught me more than a perfect one would have. Cut to a fixed size, use a tape runner, and remove every third page as you go. Those three habits fix most of what goes wrong.
So pull one box of scraps out of the recycling bin tonight. Sort it, cut it, and you will have a finished book before the kettle boils.