
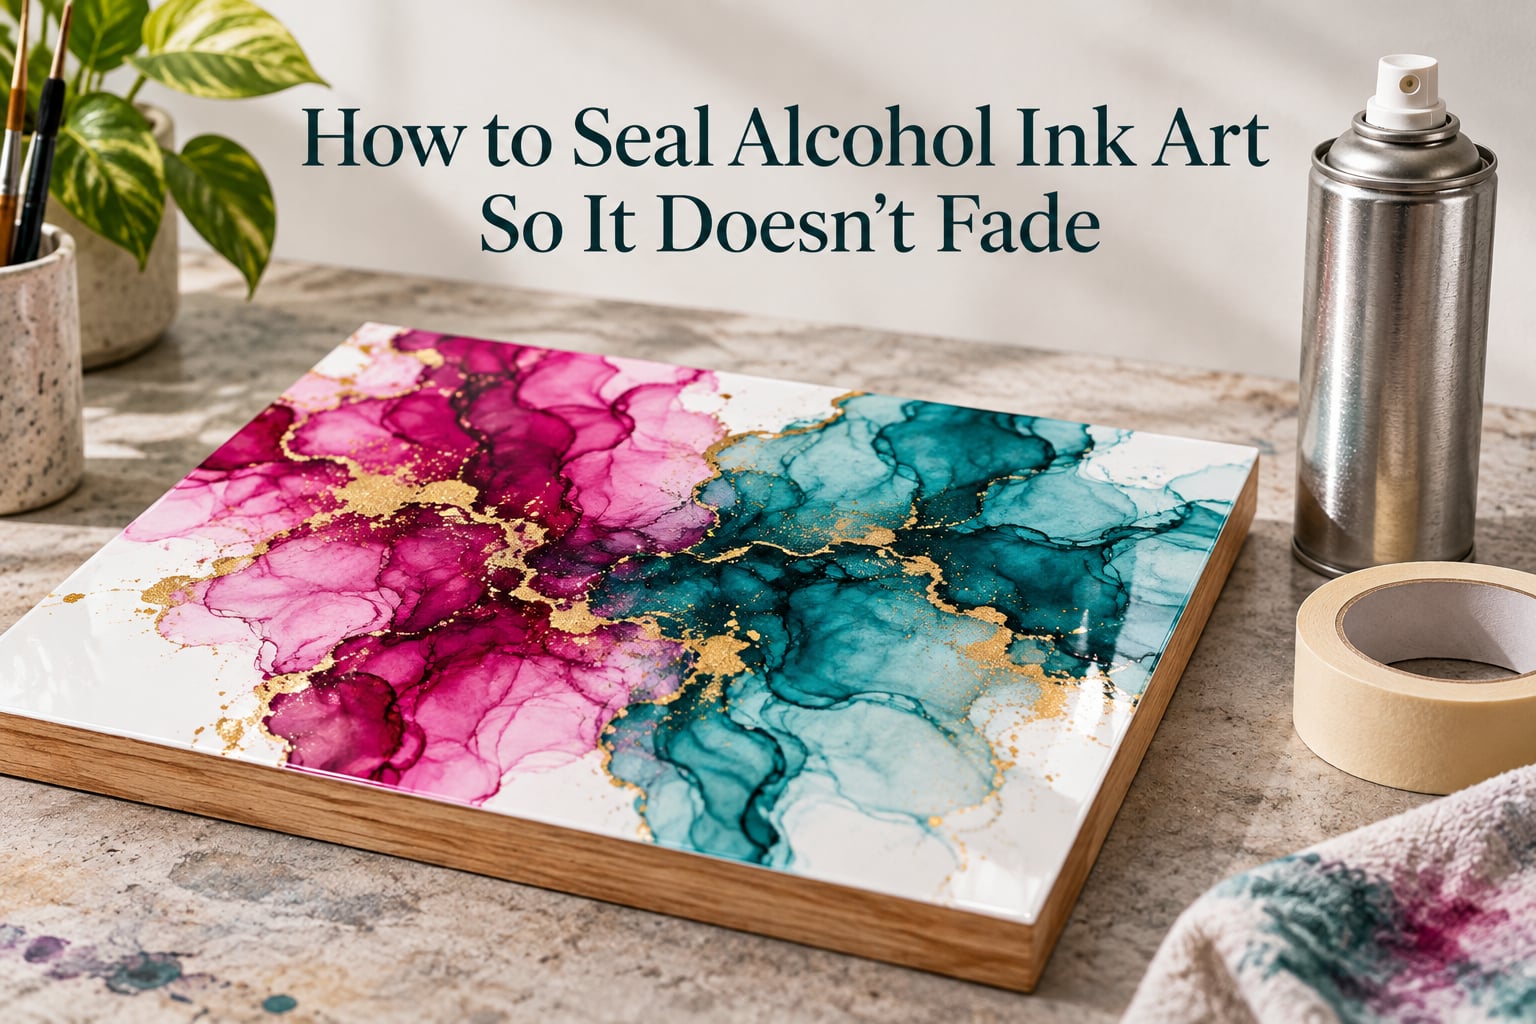
Sealing alcohol ink art takes three moves in the right order: let the ink cure fully for 24 to 72 hours, apply a non-yellowing archival spray varnish in light coats, then add two or three coats of UV-resistant clear coat. Reverse that order and the solvent reactivates the dye, and the colors bleed.
That single failure mode is what most people hit first. Alcohol ink looks dry almost immediately, so it is tempting to seal right away, and then the sealer dissolves the ink you spent a day building. Cure time, coat order, and spray distance matter more than the brand of varnish you buy.
I have run this process on yupo, ceramic tile, glass, and canvas over the last few years, and the routine below is the one that keeps delivering. It is the same three-step method the broader artist community settles on, refined with the failure cases that actually come up in practice.
Table of Contents
- Why Alcohol Ink Fades (and What a Sealer Actually Does)
- How to Seal Alcohol Ink Art Step by Step
- Warning: Never Spray UV Protectant Before the Varnish
- Sealing Methods Compared
- Substrate Timing and Technique
- Epoxy Resin: The Glossy Alternative
- Troubleshooting Bleeding, Blurring, and Reactivation
- Safety Gear and Workspace Setup
- Display, Storage, and Realistic Lifespan
- Frequently Asked Questions
- Conclusion
Why Alcohol Ink Fades (and What a Sealer Actually Does)
Alcohol ink is dye-based rather than pigment-based. Pigment sits as an insoluble solid particle on or in the surface, while dye dissolves into a carrier and bonds at a molecular level. That dissolved dye is what gives alcohol ink its famous vibrancy, and it is also why the color breaks down under light.
Two things attack it. Ultraviolet radiation excites the dye molecules and starts a chemical degradation, and the pigments chosen for their glow are simply not lightfast, meaning they were never formulated to hold their color under sustained light. Air plays a secondary role through oxidation and slow evaporation of the carrier.
The practical result is a piece that looks correct on your table, then looks noticeably washed out after a few months near a window. Direct sunlight accelerates it dramatically, and the damage is cumulative and irreversible.
Lightfast vs non-lightfast: a lightfast pigment resists fading under defined light exposure conditions. Alcohol inks are non-lightfast by design, because the same chemistry that produces the color is what degrades it. No sealer makes the ink lightfast. A sealer slows the damage by keeping light and air off the dye.
Dry to the touch is not cured
Alcohol evaporates from the ink within minutes, so the surface feels dry almost at once. Underneath, the dye is still settling and bonding to the substrate. Sealing during that window lets the new solvent push the dye around again, which is where blurred edges, light patches, and colors merging into each other come from.
Treat any surface that still responds to a light fingertip touch as uncured.
What UV protection actually means
Modern clear coats protect against ultraviolet light using two separate mechanisms. A UV absorber, often called a UVA compound, soaks up specific UV wavelengths and converts that energy to heat. A hindered amine light stabilizer, or HALS, works at the polymer level, interrupting the chain reaction that UV damage starts in the first place.
Together they slow degradation dramatically. They do not stop it, and they cannot reverse fading that already happened.
How to Seal Alcohol Ink Art Step by Step
-
Let the ink cure completely. Wait 24 to 72 hours depending on substrate, and longer in humid conditions. Test with a light fingertip touch before you spray anything.
-
Seal with a non-yellowing archival spray varnish. Use a synthetic artist varnish such as Krylon Kamar Varnish. Hold the can 10 to 12 inches from the surface and apply 2 to 3 light, even coats.
-
Add UV protection. Once the varnish is dry, apply 2 coats of UV-resistant clear coat, such as Krylon UV-Resistant Clear Coating or Krylon UV Archival Gloss, using the same 10 to 12 inch distance and light coat technique.
-
Allow a final cure. Give the piece at least 24 hours before handling, and 24 to 72 hours before treating it as finished.
Step 1: Let the ink cure completely
Wait 24 hours on non-porous surfaces such as ceramic tile or glass. Give yupo paper on a wood panel 48 to 72 hours, because the ink soaks into the paper fibers and keeps moving longer than it does on a hard surface.
Thick pours, layered colors, and dark or saturated mixes all take longer. If the piece feels tacky or the color shifts under even a very light touch, it is not ready.
Step 2: Seal with a non-yellowing archival spray varnish
Kamar Varnish is the consensus pick across artist communities for a reason. It is a synthetic resin varnish that will not yellow, it locks down the dye layer, and it adds a barrier against moisture, dust, and handling smudges.
Here is the technique that matters more than the product:
- Work outdoors on a calm, dry day, or in a very well ventilated room. A cardboard box works as a spray booth and keeps dust out.
- Hold the can 10 to 12 inches away. Closer and you get a heavy, wet coat that moves ink. Further and you get a thin, patchy coat that never builds protection.
- Sweep side to side in even strokes, overlapping about half each pass.
- Apply 2 to 3 light coats. Every coat should be thin enough that the ink color does not shift when it lands.
- Wait 30 to 60 minutes between coats. Rushing this is the second most common reason varnish turns cloudy or sticky.
Step 3: Add UV protection
This is the layer that actually addresses fading. A UV-resistant clear coat goes on last, after the varnish is fully dry, using the same light coat approach.
Two coats is standard. Artists applying this to pieces headed for gifting or sale often add a third, which mainly adds gloss depth rather than more protection.
Step 4: Final cure and handling
Give the piece a full 24 hours before moving it, and 24 to 72 hours before display or gifting. Avoid stacking anything against the sealed surface during that window. Fresh clear coat is soft even when it looks dry.
Warning: Never Spray UV Protectant Before the Varnish
Applying UV spray over uncured or unsealed ink reactivates the dye. The solvents in the coating redissolve the ink, and the colors lift, bleed, and blur before the sealer sets around them. The piece has to be redone.
Varnish first, always. The varnish isolates the ink so the UV coat lands on a stable surface instead of on live dye.
Sealing Methods Compared
| Method | Best for | UV protection | Yellowing risk | Finish |
|---|---|---|---|---|
| Archival spray varnish | All surfaces, first line of defense | Low alone, pair with a UV coat | Very low with Kamar or a synthetic varnish | Gloss or matte |
| UV-resistant clear coat | Final topcoat on any sealed piece | High when layered over varnish | Low | Gloss |
| Epoxy resin pour | Panels, tile, and pieces wanting glass-like depth | High, plus a scratch and moisture barrier | Low with quality resin | High gloss with 3D depth |
| Gloss or acrylic medium | Canvas and mixed media surfaces | Minimal on its own | Varies by brand | Gloss |
| Mod Podge, dishwasher safe formula | Ceramic tile, coasters, drinkware | Moderate | Low | Matte to satin |
Substrate Timing and Technique
The surface underneath changes both the cure time and how the ink behaves under a sealer. Porous surfaces absorb the ink deeper, which means longer settling and more chance of movement.
Yupo paper on a wood panel
Synthetic yupo is non-absorbent, so the ink stays close to the surface and can be touched up later with isopropyl alcohol. Because it sits in a thin layer, give it 48 to 72 hours before sealing. Mount to a cradle board first so the wood cannot wick moisture into the back of the paper.
Ceramic tile
Tile is the easiest surface to seal and the easiest to ruin. Its glaze is non-porous, so 24 hours of cure is usually enough. A thin resin pour rather than a full pour gives you depth without the risk of the resin running over the edges.
Glass and drinkware
Glass is non-porous and takes ink beautifully, with a 24 hour cure. For mugs and drinkware, check the finish rating directly on the label. Food safe and food contact safe are different claims, and incidental contact safe covers pieces that touch food briefly, such as a coaster, rather than a surface liquid sits on.
Canvas and mixed media paper
Paper drinks the ink deeper than anything else, so allow 72 hours and expect a slightly flatter result. A gloss or acrylic medium brushed on gives more saturation than spray varnish alone, and a UV coat on top restores light protection.
Plastic and synthetic surfaces
Non-porous plastics behave like glass, with a 24 hour cure. Test an inconspicuous corner first, since some plastics are attacked by varnish solvents and will frost or melt slightly.
Epoxy Resin: The Glossy Alternative
Resin gives a depth no spray can match, plus a hard surface that resists scratching and moisture. It is a different workflow from spraying, and the details are where resin pours succeed or fail.
Artists on r/AlcoholInkArt reported a specific pattern worth knowing: inks on ceramic tile blurred under two different resin brands but held under ArtResin. Brand choice materially changed the result, so test before committing a finished piece.
- Mix exactly 50/50 by weight and stir slowly for about 3 minutes. Fast stirring traps a lot of air.
- Seal the ink first. A few coats of clear spray plus a varnish pre-seal is enough that the resin will not bleed the ink.
- Pour a thin, even layer. A sixteenth of an inch is plenty for depth. A thick pour traps heat and is where curing trouble starts.
- Pop bubbles right after pouring with a heat gun or blow torch, then stay with the piece for 15 to 30 minutes as bubbles rise.
- Cover the pour. A box or upturned container keeps dust, lint, and hair out during the 24 hour cure, and removing specks after a cure is nearly impossible.
- Watch the room temperature. Cold and humid conditions cause resin to cure soft, wrinkle, or not cure at all. Resin also creeps down cradle board sides and stains wood edges, so tape the sides before you start.
Troubleshooting Bleeding, Blurring, and Reactivation
| Symptom | Cause | Fix |
|---|---|---|
| Ink bleeds or colors run together | Sealed before the ink cured | Wait the full cure time, then re-seal; the piece cannot be recovered |
| Ink blurs under resin | Ink not pre-sealed, or a resin that re-dissolves dye | Pre-seal with 2 to 3 varnish coats and test the resin brand on a swatch first |
| Color lifts when sprayed | UV coat applied before varnish | Strip and restart, always varnish first |
| Varnish turns cloudy or sticky | Coats applied too close together or too heavy | Use 10 to 12 inch distance, 30 to 60 minutes between coats, thin layers only |
| Resin wrinkles or stays soft | Room too cold or too humid | Warm the room, reduce the pour thickness, and pour again |
| Specks in the cured resin | Dust or hair fell into the pour | Cover the pour and keep the workspace clear of lint |
| Yellowed finish after months | Cheap varnish or a nitrocellulose lacquer | Use a synthetic or acrylic resin varnish labelled non-yellowing |
Safety Gear and Workspace Setup
Spray varnish and resin are solvent products with real fumes, and most of the anxiety artists have about sealing comes from working indoors without the right gear.
- A half-mask respirator with organic vapor cartridges. A paper or N95 style mask blocks particles but not solvent vapor, so it is not a substitute.
- Nitrile gloves for handling resin and for stripping a failed seal.
- Safety glasses, because fine overspray irritates eyes quickly.
- Ventilation, or outdoor spraying. Artists commonly spray inside a cardboard box to contain overspray and dust.
One warning on outdoor spraying: wind picks up dust and pollen that settle into wet varnish and stay there permanently. Check the forecast, and avoid any day with wind or airborne dust.
Display, Storage, and Realistic Lifespan
Sealing slows fading, it does not stop it. A well-sealed piece kept out of direct sun can hold its color for years, while the same piece in a south-facing window will shift visibly within months.
Keep sealed work away from direct sun and heat sources, and out of high humidity spaces like basements and bathrooms. Indoor UV filtering glass helps, but it slows light rather than blocking it.
To set your own expectations, make a small swatch, seal it exactly the way you sealed the piece, and put it in the location you plan to display. Check it at one month, six months, and one year. That test piece tells you more than any general timeline, because your light exposure and ink colors are your own.
Frequently Asked Questions
What is the best sealant for alcohol ink?
A non-yellowing archival spray varnish is the best sealant for alcohol ink. Krylon Kamar Varnish is the most widely recommended choice because it is a synthetic resin varnish that will not yellow and it locks the dye layer against moisture and handling. Apply it in 2 to 3 light coats from 10 to 12 inches away, then finish with a UV-resistant clear coat for light protection.
What do you seal alcohol ink with?
Seal alcohol ink with a spray varnish followed by a UV-resistant clear coat. The varnish does the sealing and barrier work, and the UV coat handles the light that causes fading. You can also use epoxy resin as a single glossy finish, but the ink must be pre-sealed so the resin does not blur the design.
Will alcohol ink fade in resin?
Alcohol ink fades more slowly under epoxy resin than it does exposed, because resin blocks most ultraviolet light and creates a moisture barrier. It does not stop fading completely, so many artists still add a light UV topcoat over cured resin for the best long-term color retention.
Will alcohol ink work with resin?
Alcohol ink works with epoxy resin when the ink is fully cured and pre-sealed with 2 to 3 coats of varnish first. Resin alone can redissolve dye and blur the pattern. Artists on r/AlcoholInkArt reported the same tile blurring under two resin brands and staying sharp under a third, so test each brand on a swatch before pouring a finished piece.
How long should I wait before sealing alcohol ink?
Wait 24 hours on non-porous surfaces such as glass or ceramic tile, and 48 to 72 hours on yupo paper or canvas where the ink settles deeper. Humidity and thick color layers both extend the window. If the piece feels tacky or the color shifts under a light fingertip touch, it is not cured yet.
Will isopropyl alcohol ruin resin?
Yes. Isopropyl alcohol is a strong solvent and it will soften or dissolve cured epoxy resin, along with any ink under it. Use alcohol on bare yupo before sealing, but keep it away from resin and from already-varnished areas, or you will damage the finish you just applied.
Can you put acrylic paint or medium over alcohol ink?
Yes, once the ink is fully cured. Acrylic paint and acrylic or gloss mediums adhere well to alcohol ink and can add texture or extra saturation. Sealing first with varnish is still the safer route, because paint and medium can also reactivate dye if the ink has not finished curing underneath.
Conclusion
Knowing how to seal alcohol ink art comes down to three things, and none of them are complicated. Cure the ink fully, seal with a non-yellowing archival varnish, then add UV protection on top, always in that order.
Most ruined pieces trace back to a heavy first coat, a reversed coat order, or a sealer applied while the ink was still moving. Before you spray a finished piece, make a small test swatch and run the whole process twice, so you know exactly how your ink and your chosen sealer behave together.
Once sealed and kept out of direct sun, a piece made this way stays close to the colors you laid down. That is the whole goal, and it is well within reach.