
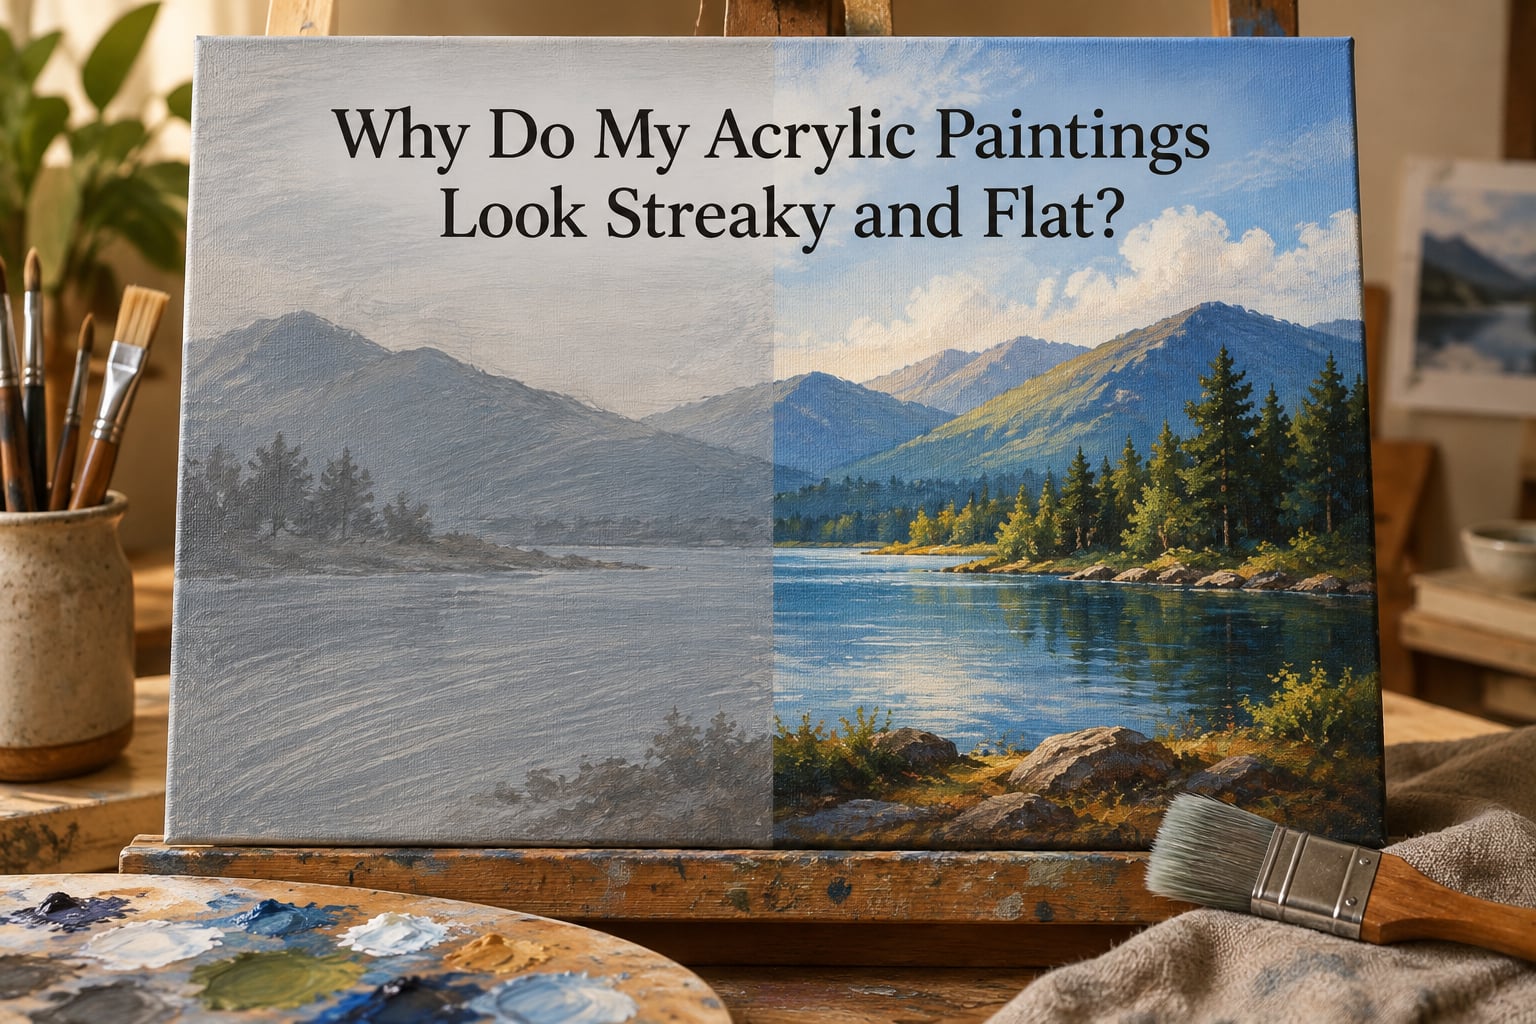
I have painted hundreds of acrylics, and I still remember the moment I first held a finished piece at arm’s length and thought, “Why does this look like a coloring book page instead of a painting?” Streaky brush marks everywhere. Colors that went on bright and then went muddy. A flat scene with no light. If that is what you are staring at right now, take a breath. The streaks and the flatness are usually the same problem wearing two hats, and both are fixable.
In this 2026 guide, I will walk you through the real reasons acrylic paintings go streaky and flat, give you a quick diagnostic table to pin down your symptom, and then walk you step by step through the fixes I have used personally and that experienced painters on community forums repeat over and over. You will leave with a checklist you can keep next to your easel.
Table of Contents
- Quick Reference Table: Symptoms to Causes
- Why Does Acrylic Paint Look Streaky?
- Why Do Acrylic Paintings Look Flat?
- How to Fix Streaky Acrylic Paint: Step-by-Step
- How to Add Depth to Flat Acrylic Paintings
- Medium Additives That Solve Both Problems
- Prevention Checklist for Future Paintings
- Frequently Asked Questions
- How to make acrylic paint look less streaky?
- Why does my painting look streaky?
- Why do my paintings look so flat?
- How can I add depth to my acrylic painting?
- How to get rid of acrylic brush strokes?
- Why are my acrylic paint colors not vibrant?
- What paint additive can help remove brush strokes?
- What does adding baking soda to acrylic paint do?
- Final Thoughts on Streaky and Flat Acrylics
Quick Reference Table: Symptoms to Causes
Before diving deep, match what you see in your painting to the most likely cause. Most streaks and flatness come down to one of these five things, and once you identify yours, the fix is usually simple.
- Visible brush strokes in thin areas: paint was watered down too much, or the brush ran dry mid-stroke.
- Streaks that look like a comb pattern: cheap brush with splayed bristles, or you dragged over a partially dried edge.
- One coat shows the canvas weave through it: paint too thin or cheap student-grade transparent pigment.
- Whole painting looks washed out and dull: values are all mid-tones, no true lights or darks.
- Colors looked bright wet, then turned dull: acrylic always shifts a little, but big drops mean too much white was used or layers are too thin.
- Muddy secondaries when mixing: too many pigments mixed at once, or mixing complementary colors without a plan.
Hold the symptom you found in your head as you read the next two sections. They explain the why behind each one.
Why Does Acrylic Paint Look Streaky?
Acrylic paint looks streaky when there is not enough pigment on the surface to make a continuous film. Every gap between bristles, every dragged-out dry edge, every thin patch becomes a visible line. Drying speed makes it worse because acrylic sets fast, so by the time you blend a wet stroke into a nearly-dry one, the second stroke just lays on top of the first and shows the seam.
Paint Consistency Problems
Acrylic straight from the tube is usually too thick to flow smoothly. Many beginners react to that thickness by adding water until the paint goes on like watercolor. Once the binder drops below roughly fifty percent, the pigment can no longer hold together as a film. The result is exactly what you are seeing: streaks where the pigment dragged instead of flowing.
The fix is to load the brush with a creamy, full-bodied paint and only add a drop of water at most on the brush itself. Water is for the brush, never for the puddle. If you need a thinner feel, use a proper acrylic medium, not water.
Brush Technique Errors
Brush technique matters more than most beginners think. Pressing too hard squeezes paint out under the bristles and leaves a centerline. Lifting the brush mid-stroke leaves a feathering edge that rarely blends. Using a cheap brush with splayed bristles paints the gap between bristles instead of the surface.
Hold the brush so the ferrule stays parallel to the canvas, use long confident strokes, and overlap them while the paint is still wet, not after. If your brush is shedding or curling, replace it; a damaged brush always streaks.
Drying Time and Working Edges
Acrylic dries fast by design. In a warm room, your working time on the canvas can be under a minute. If you try to blend a stroke into another that has started to set, you drag a semi-dry ridge through the wet paint and create streaks.
To slow this down you can mist the canvas with water, close the palette lid between dips, or work smaller sections at a time. A retarder medium bought from any art supply store extends open time significantly and is the most reliable fix when your room is hot or dry.
Why Do Acrylic Paintings Look Flat?
An acrylic painting looks flat when the eye has no information to figure out where the light is. Even a literal white wall looks three-dimensional when sunlight hits it because the light creates darks, mids, and brights. A painting with all midtones skips that signal, and the brain reads it as flat regardless of how many colors you used.
Low Value Contrast
Value contrast is the single biggest reason paintings look flat. If the darkest dark in your scene is the same value as the lightest light, you have no contrast. Beginners often mix a “shadow color” and use it everywhere shadows appear, and a “highlight” the same way for highlights. That is technically correct but visually lifeless.
A simple test: take a phone photo of your painting, convert it to grayscale in any free editor, and squint. If the gray values blur into a single mid-tone cloud, your contrast is too low. Push your shadows darker and your lights brighter than you think you should.
Single-Layer Thinking
Trying to finish a painting in one pass is a very common beginner habit. One layer of acrylic, especially student grade, is rarely enough to look rich or opaque. Each additional layer adds depth because more pigment stacks up and the eye reads that as solid color rather than thin color.
A safe default: plan at least three passes for a finished piece. Ground or underpainting, mid-tones and shapes, then highlights and details. Glazing a transparent color over an opaque base also creates depth that no single layer can match.
Muddy Color Mixing
When two complements or three different pigments are mixed together, the resulting color tends to flatten toward gray. That gray is technically correct, but it reads as “muddy” and dull on the canvas. This is often why people say their colors are not vibrant. They are mixing bright pigments into a neutral soup, then putting that soup on the canvas and wondering why it looks flat.
Mix in two pigments, not five. Reserve white for tinting and use it sparingly because heavy white washes out chroma. If you need vibrancy, lay colors side by side on the canvas instead of mixing them in the palette.
Insufficient Surface Prep
An unprimed or under-primed canvas sucks the binder out of acrylic like a sponge, leaving pigment sitting on the surface with nothing holding it as a film. That looks dull and can look streaky too. Two to three coats of acrylic gesso, sanded lightly between coats, gives you a surface the paint can actually sit on top of.
How to Fix Streaky Acrylic Paint: Step-by-Step
This sequence is the one I use when a painting comes off the easel looking more like a comb than a brush. Work on a dry layer; if you catch the streak while still wet, smooth it out with a barely damp brush and move on.
- Let the layer dry fully. Acrylic feels dry in minutes but is still curing for hours. Wait at least twenty minutes, longer if your room is cold.
- Sand the streak lightly. A fine-grit sanding sponge knocks down raised edges and blends the seam. Wipe the dust with a tack cloth or lint-free rag.
- Repaint the area with full-bodied paint. Load a larger brush than you used before, dip into the paint straight from the tube plus one drop of water at most.
- Apply in long overlapping strokes. Keep the wet edge moving and pull each new stroke into the previous one before it sets.
- Use a retarder for blending. If the streaks come back as you work, add a few drops of retarder medium to your paint and the open time roughly doubles or triples.
- Finish with a glazing layer if needed. A thin transparent coat of the same color, or a slightly warmer or cooler hue, can hide the last traces of streak.
If the streak is in a small detail, you can sometimes pick out the offending bristle mark with a fine round brush and let the surrounding paint dry around it. Reviewers report that this dot-and-blend trick works best when the surrounding paint is still damp.
How to Add Depth to Flat Acrylic Paintings
Adding depth is the opposite problem of streaks but the same toolkit solves it. You are layering information until the eye has enough to read three dimensions.
- Do a value study first. Paint the same scene in two or three grays. This forces every shape into a true dark, mid, or light. It feels slow, but most painters find the color version goes twice as fast afterwards.
- Push the darkest shadow darker. Almost every flat painting gets darker and instantly reads as three-dimensional. Use a mix of your local color plus a touch of complementary or burnt umber.
- Reserve pure white for the brightest spot. White everywhere is just another mid-tone. Let one highlight live in pure, untinted white.
- Layer a glaze. Mix a transparent color with glazing medium and lay a thin film over the area you want to push back. Glazes add depth without changing value.
- Use temperature contrast. Cool shadows and warm highlights, or the reverse, create atmospheric depth and prevent the flatness that comes from using the same temperature everywhere.
The 70/30 rule from composition is a useful anchor here. Roughly seventy percent of your painting should hold at two or three values, and thirty percent should pop in a strong value. That imbalance is what your eye reads as depth.
Medium Additives That Solve Both Problems
Acrylic mediums are a small investment that pays off for years. They are bottle-size liquids you mix into your paint to change how it behaves. Here is the short list that solves most streaky and flat problems.
- Retarder medium: slows drying and gives you more time to blend. Best cure for streaks caused by fast edges.
- Flow improver (or flow aid): reduces brush marks and lets paint self-level. Good for smooth skies and large flat areas.
- Gloss medium: keeps paint transparent. Used in glazes to add depth without losing the layer below.
- Matte medium: same role but dries with no shine, useful for photographs or final varnishing passes.
- Glazing liquid: the dedicated glaze medium, already balanced for thin transparent films.
Two household tricks also get mentioned in community forums. A tiny amount of baking soda added to acrylic thickens it slightly and can add texture for impasto work, though it slightly weakens the binder so use it sparingly. A drop of dish soap on the brush helps paint flow and reduces brush marks, though it also weakens the film and shortens the life of the painting, so keep it for studies rather than final work.
Rule of thumb: one part medium to roughly two parts paint. More medium than that and the binder drops out of balance. Treat mediums like recipes, not solvents.
Prevention Checklist for Future Paintings
The next time you sit at the easel, run through this list before the first brush stroke. Each one is cheap to do and prevents most of the streaks and flatness that ruin a session.
- Prime twice. Two coats of gesso on stretched canvas, especially cheap canvas boards.
- Brushes matched to the area. Big flats for big areas, small rounds for details, always soft synthetic for smooth acrylic coverage.
- Full-bodied paint. Load the brush with paint, not water. Use mediums to change behavior, not water.
- Plan three layers minimum. Underpainting, mid-tones, then details and highlights.
- Work wet into wet. Smaller sections, faster blending, retarder when needed.
- Do a value study for tricky scenes. Skip color and force yourself into pure grays before the real session.
- Test mixes on scrap paper. A two-pigment mix on a test strip takes ten seconds and saves twenty minutes of mud on canvas.
- Photograph and grayscale test. A quick phone shot converted to gray shows where contrast is missing before the paint dries.
If streaks or flatness still show up after all of this, do not assume you are doing something wrong. Every working painter has days where the paint fights back. The fix is rarely a new product. It is almost always a small adjustment to consistency, brush, or layering. The painting is not failing. It is teaching you.
Frequently Asked Questions
How to make acrylic paint look less streaky?
Load the brush with full-bodied paint straight from the tube, use long overlapping strokes while the previous stroke is still wet, and add a drop of retarder medium to extend working time. Larger flat or filbert brushes cover more area and leave fewer visible bristle lines than small rounds.
Why does my painting look streaky?
Streaks appear when there is not enough paint to form a continuous film, the brush is too dry, or you have dragged over a partially dried edge. Common causes include too much water in the paint, a damaged or cheap brush, and working in a warm room where the paint sets faster than you can blend.
Why do my paintings look so flat?
Most flat paintings are missing value contrast, meaning the darkest darks and lightest lights are too close in tone. Adding a true dark, reserving pure white for the brightest highlight, and working in multiple layers instead of one lifts the eye off the surface.
How can I add depth to my acrylic painting?
Work in at least three layers: an underpainting, mid-tones, and a final glaze. Use temperature contrast, push shadows darker than feels natural, and add a transparent glaze over areas you want to recede. A grayscale value study is the fastest way to learn where your contrast is missing.
How to get rid of acrylic brush strokes?
Switch to a larger soft synthetic brush, thin paint with acrylic medium rather than water, and add flow improver if you want the paint to self-level. Sanding the dried surface lightly and repainting the area in long even strokes hides the worst streaks.
Why are my acrylic paint colors not vibrant?
Heavy use of white washes chroma out of a color, mixing too many pigments creates a dull neutral, and thin paint over a poorly primed surface never reaches full saturation. Try mixing in two pigments rather than five, lay colors side by side on the canvas instead of blending them, and add a white gesso underpainting before the color layer.
What paint additive can help remove brush strokes?
Flow improver is the dedicated additive for reducing brush marks. It lowers surface tension so paint levels out before it dries. Retarder medium also helps by giving more working time to smooth strokes together.
What does adding baking soda to acrylic paint do?
A small amount of baking soda thickens acrylic and gives it a slight impasto texture, useful for palette knife work or textured highlights. Because it weakens the binder, only add a pinch per brushful and reserve it for studies, not archival pieces.
Final Thoughts on Streaky and Flat Acrylics
If you remember one thing about why acrylic paintings look streaky and flat, make it this: streaks are a paint film problem, and flatness is a value problem. Solve the film with thicker paint, better brushes, and a retarder. Solve the values with a grayscale study and darker shadows than feel comfortable. Both fixes are inexpensive, both fit inside one afternoon, and both work.
The fastest painters are not the ones who never make these mistakes. They are the ones who recognize streaks and flat tones faster and know exactly which tool fixes which. Now you do too. Pull out a canvas tonight, prime it twice, and try one of these fixes on your next piece. The result will surprise you.