
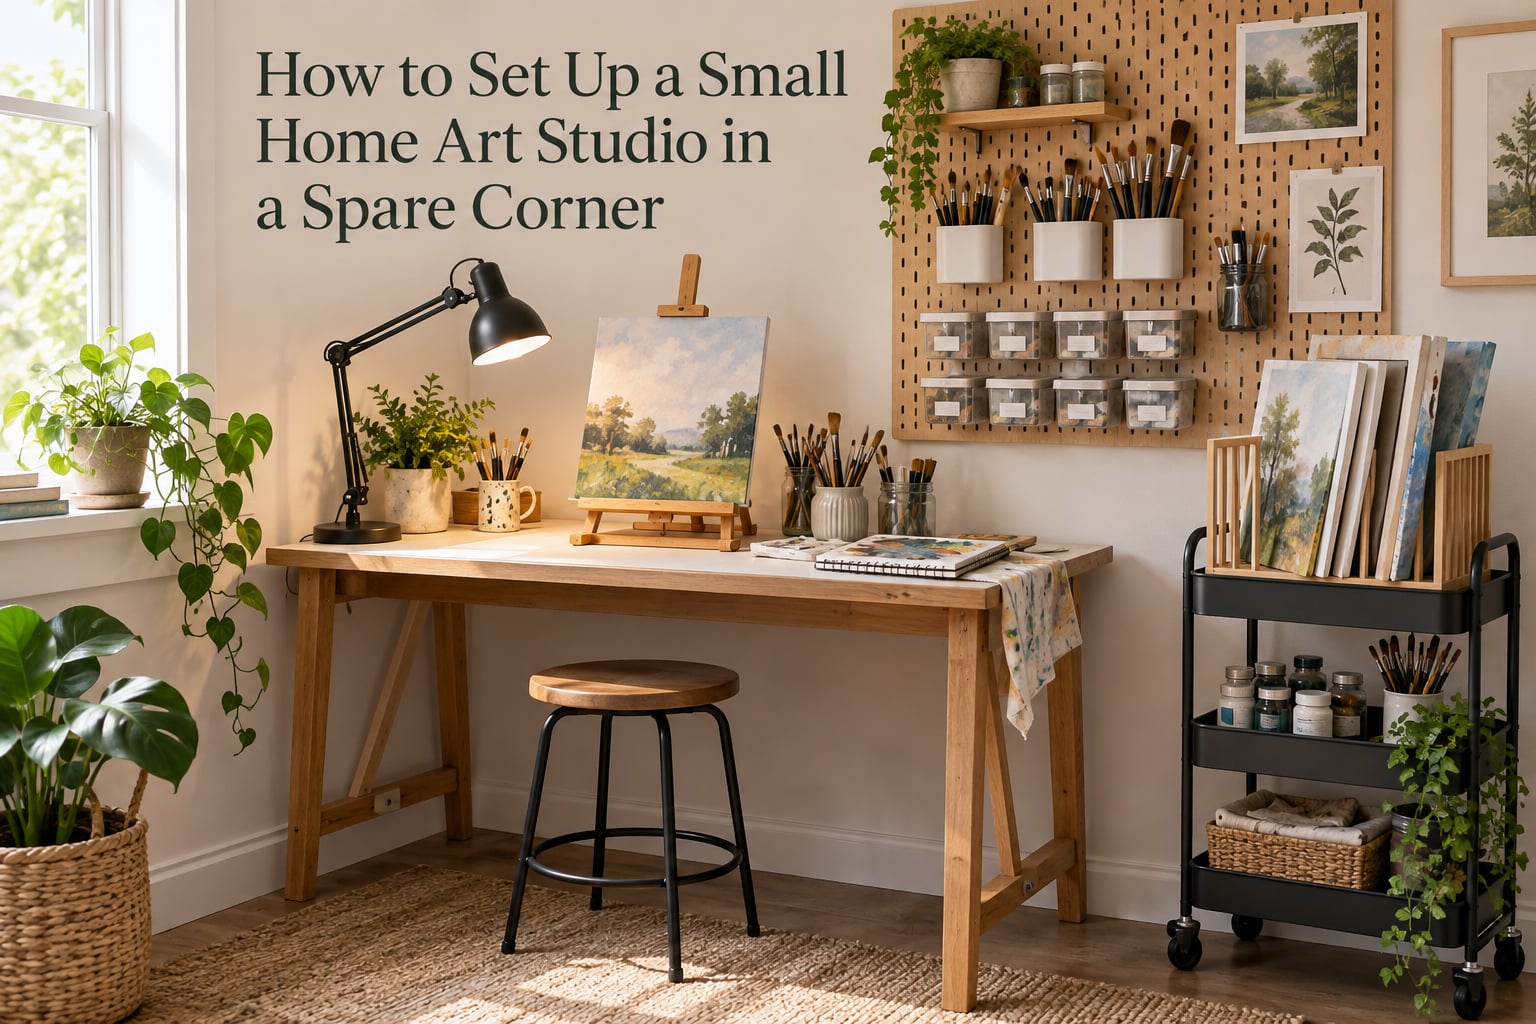
If you want to know how to set up a small home art studio in a spare corner, the whole job comes down to four things: a stable work surface, light you can trust for judging color, storage within arm’s reach, and a way to close the setup back up when the room is needed for something else. Nail those four and the rest is styling. Miss one and you will feel it inside a week.
That sounds obvious until you notice that almost every setup guide online starts with furniture. People show you a room with a big easel, a wall of shelves, and a rug, then never mention the person who has to sweep the floor afterwards. A corner is a much tighter problem, and the order you solve it in matters more than the pieces you pick.
Last updated: October 2026
The 60-minute version: Measure the corner and mark four zones on the floor: work, storage, wet work, display. Set a table or drafting desk against the long wall, add a daylight-balanced task lamp at the opposite side of your working hand, hang storage above the surface at shoulder height, and finish with one lidded bin and one curtain or screen so everything disappears in under two minutes. Do not buy an easel that needs floor space you do not have.
Table of Contents
- What a Small Home Art Studio Actually Needs
- How to Set Up an Art Studio in a Small Space: 9 Steps
- Step 1: Measure the corner before you buy anything (10 minutes)
- Step 2: Mark four zones on the floor (15 minutes)
- Step 3: Set the work surface first (30 minutes)
- Step 4: Add the light (20 minutes)
- Step 5: Put storage at shoulder height (40 minutes)
- Step 6: Solve air before you open any paint (20 minutes)
- Step 7: Give wet work a landing place (20 minutes)
- Step 8: Build the closing mechanism (15 minutes)
- Step 9: Make it a place you want to sit (20 minutes)
- Corner Zones Mapped to Corner Size
- Which Easel and Work Surface Fit a Corner
- Light and Color Accuracy in a Corner Studio
- Ventilation and Air Quality by Medium
- Storing and Drying Wet Work in a Tiny Footprint
- How to Close Up the Corner Studio Between Sessions
- Renter-Friendly Setups That Leave No Damage
- What to Buy First, What to Buy Later, What to Skip
- The 10-Minute Daily Practice Workflow
- Mistakes That Ruin a Small Corner Studio
- Frequently Asked Questions
- What do I need for a home art studio?
- What is the most important thing in an art studio?
- Is a corner big enough for an art studio?
- How do I choose an easel for a small space?
- What is the difference between an H-frame and an A-frame easel?
- Do I need an air purifier in my art studio?
- How do I hide my art studio clutter?
- How do I organize an art studio when I switch between mediums?
- Conclusion
What a Small Home Art Studio Actually Needs
A corner studio is four working parts, and each one replaces a specific failure. The work surface gives you a flat, stable place to lay paper, boards, and palette. Light accurate enough to judge color is the part people underestimate until they mix a grey that turns blue on the canvas.
Storage within arm’s reach removes the reason sessions get skipped, because you never hunt for a brush mid-session. And a closing mechanism keeps the rest of your household on speaking terms with you. In r/painting, the loudest complaint about corner setups was never about easels; it was about visible mess in a shared living space, and about losing ten minutes to setup before every session even begins.
One thing this guide deliberately skips: a decor mood board. A corner studio that looks beautiful and cannot hold wet work is a photo, not a workspace.
How to Set Up an Art Studio in a Small Space: 9 Steps
Work through these in order. Each step assumes the previous one is done, and the total is roughly three hours spread over a weekend. The order itself is the point: surfaces before light, light before storage, storage before air filtration.
Step 1: Measure the corner before you buy anything (10 minutes)
Tape the floor outline, then measure wall length, wall height, and the depth of anything already in the way: a radiator, a socket, a door swing, a skirting board. Write the numbers on the wall with a pencil. Every purchase decision after this point gets checked against that number, which is how you avoid buying a floor easel for a space with no floor to spare.
Step 2: Mark four zones on the floor (15 minutes)
Painter’s tape is enough. Work zone where you sit, storage zone within one step, wet-work zone nearest the window or the door for airflow, display zone on the tallest uninterrupted wall. If a zone has nowhere to go, cut it before you start shopping.
Step 3: Set the work surface first (30 minutes)
Push the table or drafting desk against the wall you will sit facing, not the wall you will hang things on. Leave enough knee space to sit at it comfortably, and check the seat height against the surface height: elbows at roughly 90 degrees when you are working. If the table is too short for large paper, plan to work on boards and rotate the paper rather than craning.
Step 4: Add the light (20 minutes)
Position the task lamp opposite or to the side of your working hand, not behind the work, because a light behind your hand throws your own shadow across the surface. Overhead room lighting is fine for tidying up and wrong for mixing color. Details on specific lamp types are in the lighting section below.
Step 5: Put storage at shoulder height (40 minutes)
Everything you reach for daily goes between waist and shoulder height, on the wall above or beside the surface. Heavy and rarely used things go low or high. Daily supplies live in shallow bins or jars so you can see the contents without pulling everything out. This single rule fixes most of the complaints about small studios feeling disorganized.
Step 6: Solve air before you open any paint (20 minutes)
Decide what you are going to use and whether it needs airflow or filtration before you set up. Solvents and oil mediums are the ones that matter; pencils and watercolour are not the problem. Get this right early because the solution sometimes dictates furniture, such as needing clear floor space in front of the work zone for airflow.
Step 7: Give wet work a landing place (20 minutes)
Drying storage is not optional in a corner. A rack or shelf that holds wet pieces flat and dust-free, plus a bin for works in progress, uses vertical space that would otherwise be wasted. Decide now where it goes rather than discovering mid-session that there is nowhere to put a wet board.
Step 8: Build the closing mechanism (15 minutes)
This is the step nobody does. A curtain rail, a folding screen, or a lidded bin on casters turns your studio from a permanent eyesore into furniture. Five options are listed further down.
Step 9: Make it a place you want to sit (20 minutes)
Seat, foot support, a mat, and something warm on the wall. An anti-fatigue mat matters more in a small studio than a big one, because you are closer to everything and more likely to twist and lean. Finish last, because until the eight steps above are done, comfort is the least of your problems.
Corner Zones Mapped to Corner Size
The corner size decides how many zones you can actually run. A 3 by 3 foot corner handles work and storage only; wet work and display need a neighbour, such as a nearby windowsill or a wall outside the corner.
| Corner size | Work zone | Storage zone | Wet work and drying | Display |
|---|---|---|---|---|
| 3 x 3 ft | Tabletop easel or flat drawing surface only | One vertical strip: pegboard, tension-rod panel, or over-door organizer | Not in the corner; use a wall rack just outside it | One hanging rail or a clip strip on the long wall |
| 3 x 6 ft | Full desk or drafting table with a stool tucked under | Shelves above the desk plus one rolling cart at the short end | Low rack against the wall, clear of the walking path | Full wall becomes display and inspiration board |
| 4 x 8 ft | Desk plus an A-frame easel that still leaves a walkway | Floor-to-ceiling vertical storage on two walls, cart parked inside | Dedicated drying shelf at eye level, stacked in layers | Dedicated display wall, kept clear of storage |
Community advice leans consistently toward rolling carts and vertical wall storage over shelving units, because both can move when the family needs the room back. That single mobility choice is what makes a corner studio survivable in a shared home.
Which Easel and Work Surface Fit a Corner
In a corner, the tabletop easel wins almost every time, because it stores against the wall in seconds and costs you no floor area while you are not using it. H-frame easels need standing floor space and a clear path behind them, which is exactly what a small corner does not have.
| Easel type | Floor footprint | Stability | Largest comfortable canvas | Corner verdict |
|---|---|---|---|---|
| Tabletop | None, sits on a table | Low, fine for small work | Roughly 16 by 20 inches for most models | Best default for corners under 3 by 6 feet |
| A-frame | About 2 by 2 feet, collapses flat | Good, needs a firm floor | Roughly 24 by 30 inches | Works in 3 by 6 feet and up if it can fold away |
| H-frame | About 3 by 3 feet plus a rear leg span | Excellent for large work | Roughly 36 by 48 inches | Needs 4 by 8 feet or a real room |
| Table and board setup | None beyond the desk | Depends on the surface height | Whatever fits the desk, often 20 by 30 inches | Best for drawing, watercolour, and mixed media |
A drafting stool with a foot ring beats a dining chair in a corner because it tucks fully under the surface and lets you set the height to the table rather than to a fixed seat. Sit in both for ten minutes before deciding.
Light and Color Accuracy in a Corner Studio
Daylight-balanced light is the standard for judging color at home, typically around 5000 kelvin with a high colour rendering index. Warm household bulbs around 2700 kelvin shift everything toward yellow, which is why colours that looked right in the evening look wrong in the morning.
Natural light is valuable for sketching, and it moves all day, so treat it as a bonus rather than your only source. Put it beside or opposite your work, never behind the work, and never behind your head if you are judging colour.
Position matters more than lumens. A lamp clamped to the shelf above the surface and angled across the work gives even coverage and cuts hand shadows. A lamp standing to the same side as your working hand puts your own shadow on the paper. A bare bulb in the ceiling gives you an even wash of nothing in particular.
Ventilation and Air Quality by Medium
Air quality is the most forgotten studio hazard, and how much you need depends almost entirely on the medium. Volatile organic compounds come from solvents, mediums, and some spray fixatives, and a closed corner concentrates them in a small volume of shared air.
Open airflow first, because it costs nothing and works for everything. Keep a path from the work zone to an openable window or door. Then, if you work with solvents or oil paint regularly, add filtration with a HEPA filter for particles plus activated carbon for gases; a HEPA-only unit does nothing for solvent vapour.
| Medium | Ventilation | Surface | Wet work handling | Main hazard |
|---|---|---|---|---|
| Watercolour and ink | Normal room airflow is enough | Flat board with a lip, or a tabletop easel | Flat drying, blotter on top | Water on the desk, not fumes |
| Acrylic | Normal airflow; rinse water smells | Any sealed surface, glass or acrylic sheet on top | Rack or slot, dries quickly and dust-sensitive | Rinse water sitting in a closed corner |
| Oil and alkyd | Real airflow plus carbon filtration | Sturdy table, palette on a separate stand | Dust-free drying shelf, works stay off the floor | Solvent and medium vapour |
| Pastel and charcoal | Normal airflow | Any surface; add a sheet for grip | Upright storage, never flat under weight | Dry dust in the air |
| Digital and drawing | Not applicable | Desk height matters most, plus a tilt-adjustable stand | Not applicable | Eye and neck strain |
Storing and Drying Wet Work in a Tiny Footprint
Wet work needs a shelf, a slot, or a rack, and in a corner that usually means going up rather than out. Install a two- or three-tier drying rack at eye level on the wall away from your light source, so nothing is curing in direct sun.
Store finished and dry pieces vertically in slotted dividers or a wall-mounted canvas holder, and keep works in progress in one lidded bin so the corner does not accumulate half-dry surfaces. Users on r/organization treat the space above head height as a real storage zone for panels and canvas, and in a 3 by 3 foot corner it is often the only zone you have left.
How to Close Up the Corner Studio Between Sessions
A corner studio has to disappear in under two minutes, because anything longer means you will stop using it. Five approaches work, and they combine well:
Rolling cart with a fitted top. Everything lives on one cart; roll it back and cover the top with a board or a cloth.
Curtain on a tension rod. No drilling, and it works on a renter’s wall. A full-height sheer reads as decor, not storage.
Folding screen. Moves anywhere, hides the mess from the rest of the room, costs nothing but wall space.
Lidded bins with labels. Boring and effective. If it is not visible and it is not reachable, it is clutter.
Collapsible tabletop easel. The single biggest space saver, because it folds flat against the wall overnight.
The version I would recommend is a rolling cart for the daily supplies plus a tension-rod curtain for the wall storage. Both are non-permanent, and the cart can be moved to a table for drying when you need the floor.
Renter-Friendly Setups That Leave No Damage
Spare corners are disproportionately rented spaces, so a no-drill setup is worth planning for. A pegboard panel hung on a tension rod between the wall and a door frame gives you a full storage wall with no holes. Over-the-door organizers, peel-and-stick hooks rated for the wall type, and leaning shelf ladders give you vertical storage without tools.
Two cautions. Test any adhesive hook on an inconspicuous spot for a day before you hang anything you care about, and put felt pads under every cart leg and shelf foot so the floor survives.
What to Buy First, What to Buy Later, What to Skip
Buy in this order: a surface, a seat that fits it, a daylight-balanced task lamp, one piece of vertical storage, then a closing solution. That sequence gets you painting within a day and costs far less than furnishing the zone before you have used it once.
Three spend tiers, without figures attached because gear pricing moves constantly:
Starter tier. An existing table, a stool, a clamp or desk lamp, one tension-rod storage panel, and a folding screen.
Serious tier. A purpose-built drafting desk, a drafting stool with a foot ring, an anti-fatigue mat, a rolling drawer cart, and a filtered air unit if you work in oils or solvents.
Long-term tier. A daylight-balanced studio lamp on a clamp, a proper drying rack, a wall-mounted canvas storage system, and a filtration unit matched to the medium you actually use rather than the one you might.
Skip the floor easel until you have measured, the decorative rug under a wet-work zone, and any storage that needs permanent fixings in a rental. Most important of all, declutter before you set up: the most common reason people stall on a studio is not cost, it is owning more supplies than the space can hold.
The 10-Minute Daily Practice Workflow
The strongest setups stay assembled. If the corner has to be built and cleared for every session, it becomes a scheduling problem and sessions get skipped. With the surface, light, and daily supplies left in place, a spare gap becomes usable.
A realistic ten-minute session: two minutes pulling one project, five minutes of actual work on one surface, three minutes of cleaning and returning tools to the bin. The cleaning part is short only because steps five and eight of the setup already made it short. A watercolourist and an oil painter will still need different end-of-session habits, but the shape holds.
Mistakes That Ruin a Small Corner Studio
Most corner studios fail the same way, and the fixes are boring:
Buying an H-frame easel for a 3 by 3 foot corner. It physically will not work, and it will dominate the room even folded.
Shopping before measuring. Every return is a lost weekend.
No wet-work storage. You will dry boards on the floor, and then on the furniture, and then give up.
Scaling up too fast. A studio you cannot close becomes a reason to stop painting.
Ignoring the decluttering step. A corner can hold about a third of what a first-time buyer expects.
Overhead lighting only. It is the reason your colours keep disappointing you.
Frequently Asked Questions
What do I need for a home art studio?
Four things: a stable work surface, light you can trust for judging colour, storage within arm’s reach, and a way to close the setup up between sessions. Everything else, including the easel and the shelves, is secondary. Set up the surface and the lamp first and you can start working the same day.
What is the most important thing in an art studio?
Light that shows true colour. Warm household bulbs shift everything yellow, so mix a neutral grey on a warm bulb and it will turn blue when you put the painting on the wall. A daylight-balanced task lamp at roughly 5000 kelvin, positioned opposite your working hand, fixes more problems than any other single purchase.
Is a corner big enough for an art studio?
Yes, if you keep everything movable and use vertical space. A 3 by 3 foot corner suits a tabletop easel or drawing surface, one strip of wall storage, and a drying rack just outside the corner. A 3 by 6 foot corner adds a desk and a rolling cart. Below 3 by 3 feet, work at a normal table and treat the corner as storage.
How do I choose an easel for a small space?
Start from the floor space you measured. Tabletop easels use no floor area and suit corners under 3 by 6 feet. A-frame easels need roughly 2 by 2 feet and collapse flat. H-frame easels need about 3 by 3 feet plus a rear leg span, so they belong in a 4 by 8 foot corner or a real room, not a small one.
What is the difference between an H-frame and an A-frame easel?
An A-frame is a tripod: two front legs and one rear leg, it holds moderate sizes, and it folds flat. An H-frame has two parallel uprights on a wheeled base, it is far more stable for large work, and it needs considerably more floor space and a clear path behind it. In a small corner, the A-frame is usually the limit.
Do I need an air purifier in my art studio?
Only if you work with solvents, oil mediums, or spray fixatives. Pencils, charcoal, and watercolour need ordinary airflow. A purifier worth having uses a HEPA filter for particles plus activated carbon for gases, because HEPA alone does nothing for solvent vapour. Open airflow comes first and costs nothing.
How do I hide my art studio clutter?
Use a tension-rod curtain, a folding screen, or a rolling cart with a fitted top that you can cover. Lidded bins handle everything that does not need daily access, and a collapsible tabletop easel removes the largest object in the corner overnight. The test is simple: can you clear it in under two minutes, or you will not bother.
How do I organize an art studio when I switch between mediums?
Assign one bin per medium and keep them in a fixed position rather than rebuilding the shelf each time. Give wet oil and alkyd work its own airflow, and keep pastel and charcoal out of the same bin as anything wet. A labelled cart with one container per medium beats a single mixed pile every time.
Conclusion
setup sequence and closing-up options informed by community discussions on r/painting and r/organization; lighting and ventilation guidance follows common studio practice for colour accuracy and solvent handling. Every figure in this guide is a measurement you can check in your own space, not a specification.
To set up a small home art studio in a spare corner, start with a surface, a lamp, one piece of vertical storage, and a closing mechanism, then add everything else over months. That order keeps the first session cheap and fast, and it means your corner is working as a studio long before it looks like one.