
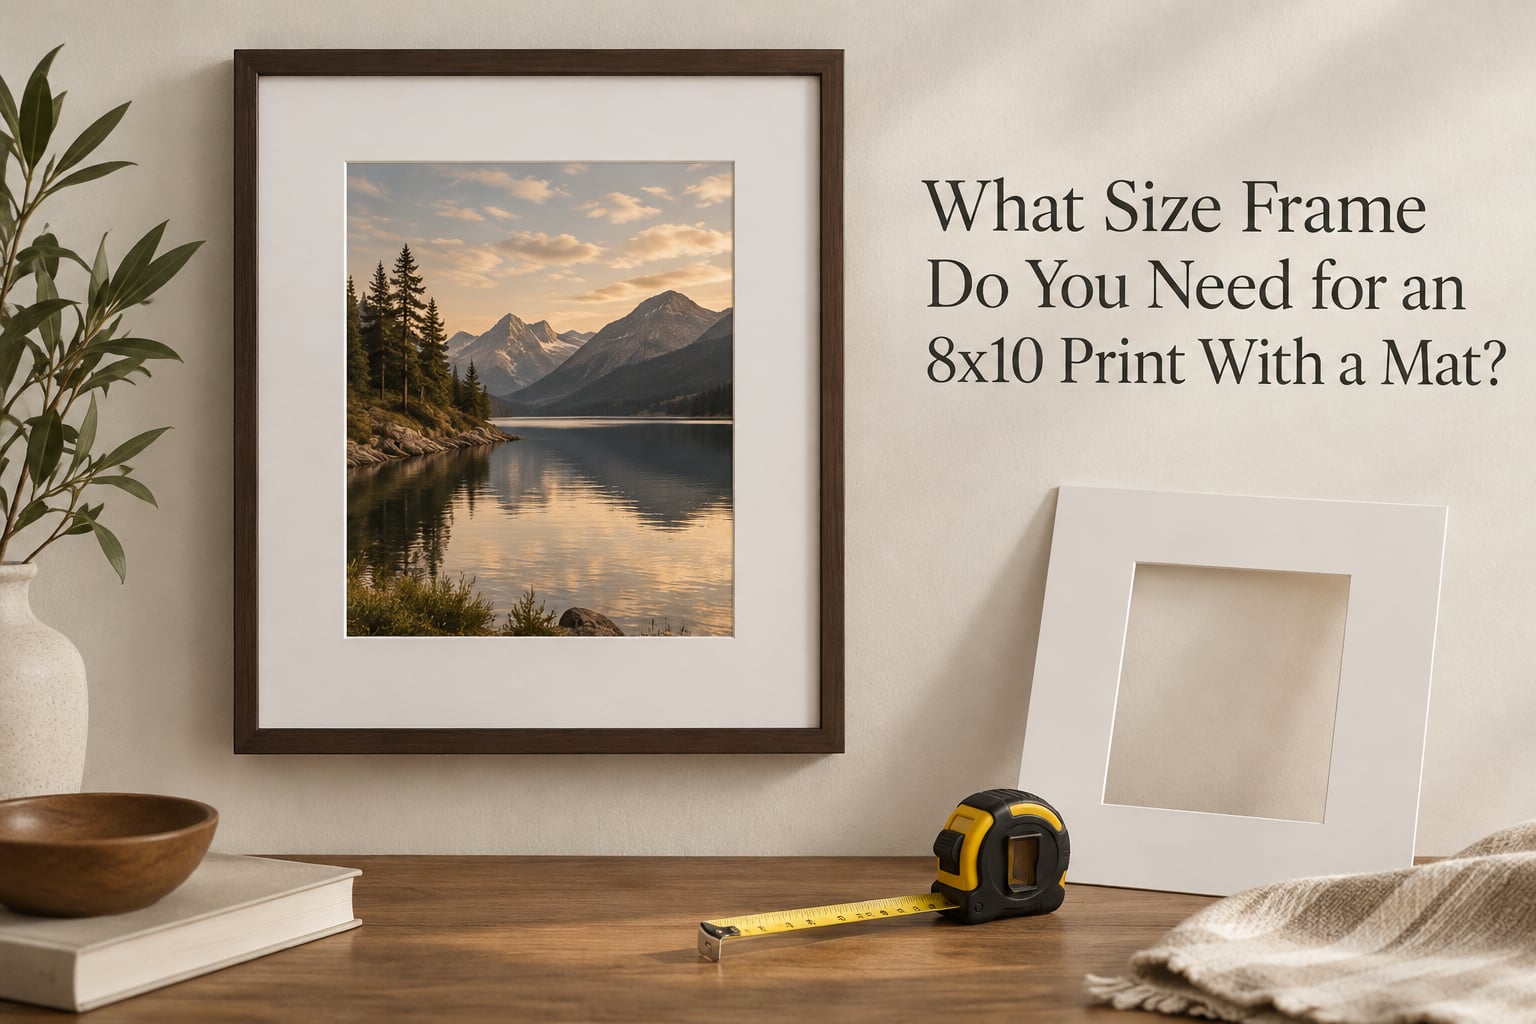
You need an 11×14 inch frame to display an 8×10 inch print with a standard mat. The mat is cut 11×14 on the outside with a window opening of 7.5 x 9.5 inches, and that window overlaps your print by a quarter inch on all four sides so nothing shows behind it. What is left visible is a clean 1.5 inch white border on every side.
- Frame size: 11×14 inches, outer measurement
- Mat size: 11×14 inches outer, with a 7.5 x 9.5 inch opening
- Mat border width: 1.5 inches on all four sides
- Alternative: 12×14 for a 2 inch border, 16×20 for a 3 inch border
I have measured this pairing more times than I can count while helping people hang prints, and the 8×10 in an 11×14 is the single most common matted pairing in home framing. It is also the one where beginners get confused most often, almost always for the same reason.
Here is the full breakdown, the math behind it, and the one measurement mistake that makes people think their mat is defective.
Table of Contents
- The Quick Answer for an 8×10 Print With a Mat
- How Mat Sizing Works: The Formula
- Frame and Mat Size Chart for an 8×10 Print
- Why the Mat Opening Says 7.5 x 9.5, Not 8 x 10
- How to Frame an 8×10 Print, Step by Step
- How Wide Should the Mat Border Be?
- How to Measure Before You Buy
- Pre-Cut vs Custom-Cut Mats
- 8×10 Without a Mat: When Edge-to-Edge Works
- Acid-Free Mat Board and Why the Details Matter
- Common Mistakes to Avoid
- Frame Sizes for Other Standard Print Sizes
- Frequently Asked Questions
- What size frame do I need for an 8×10 print with a mat?
- What size mat for an 8×10 photo in an 11×14 frame?
- How much bigger should a frame be than a print with a mat?
- How do I calculate mat and frame size?
- Will an 8×10 frame fit an 8×10 print with a mat?
- Can I fit 8.5 x 11 paper into an 8×10 frame?
- Should the mat border be wider than the frame molding?
- Do I need a mat for a frame?
- Conclusion
The Quick Answer for an 8×10 Print With a Mat
An 8×10 print matted in a standard mat goes into an 11×14 frame. That pairing gives you a 1.5 inch border, which is the width most people picture when they say a matted print.
Three different measurements matter here, and mixing them up is the source of nearly every framing mistake I see:
- Frame outer size is how the frame is labelled on the shelf. This is the number you match to your mat.
- Mat outer size is the physical size of the mat board. It should match the frame’s interior opening, minus a hair.
- Mat opening, or window is the hole cut in the middle. It is slightly smaller than your print on purpose.
Your 8×10 print slides behind the mat, and the 7.5 x 9.5 inch window overlaps roughly a quarter inch of the print’s edge. The overlap is what holds the print in place and keeps the mat from bowing outward.
How Mat Sizing Works: The Formula
Frame size equals print size plus twice the mat border. That is the whole rule, and it works in both directions. Add a border to each of the four sides, and the mat’s outer measurement is the print plus two borders wide and two borders tall.
For an 8×10 print with a 1.5 inch border: 8 plus 3 equals 11, and 10 plus 3 equals 13, so 11×14. The height lands on 14 rather than 13 because standard frame sizes skip a step, and 11×14 is a real, widely made size while 11×13 is not.
Here are the same three border widths worked out for an 8×10 print:
- 1.5 inch border: 8 + 3 = 11, 10 + 3 = 13, rounded up to an 11×14 frame
- 2 inch border: 8 + 4 = 12, 10 + 4 = 14, so a 12×14 frame
- 3 inch border: 8 + 6 = 14, 10 + 6 = 16, so a 14×16 frame or the more common 16×20
Notice that the 2 inch border is the cleanest math of the three. The 1.5 inch result needs rounding up to a real frame size, and the 3 inch result also rounds, which is why 16×20 ends up giving a border closer to 4 inches on the long sides unless the mat is custom cut.
Frame and Mat Size Chart for an 8×10 Print
This chart compares the four practical options for a matted 8×10 print. Each row shows the frame size, the mat outer size, the resulting mat opening, and the visible border width.
| Frame size | Mat outer size | Mat opening | Border width | Mat type |
|---|---|---|---|---|
| 8×10 | None | Not applicable | None | No mat, edge to edge |
| 11×14 | 11×14 | 7.5 x 9.5 | 1.5 inch | Pre-cut, widely made |
| 12×14 | 12×14 | 8 x 10 | 2 inch | Custom cut |
| 16×20 | 16×20 | 10 x 14 | 3 inch | Custom cut, generous |
The 11×14 row is the default answer because that mat is already cut and sold in every framing shop and craft store. The 12×14 row is the one to pick if you want mathematically even 2 inch borders and do not mind a custom cut.
A 16×20 is the generous option. A photographer on a large format photography forum pointed out that a 13×16 board yields three full mats from one sheet with only an inch of waste, which is one reason framers reach for that size when they want room to work.
Why the Mat Opening Says 7.5 x 9.5, Not 8 x 10
A pre-cut mat labelled for an 8×10 print has a window that measures 7.5 x 9.5 inches, and that is correct rather than a manufacturing error. The window is deliberately cut a quarter inch smaller than the artwork on every side so the mat physically captures the print’s edge.
Without that overlap, the print would fall out from behind the mat the moment you tilted the frame, and the mat itself would have nothing to grip.
People on framing forums hit this constantly. A thread on the DPReview forums puts it plainly: for an 8×10 in an 11×14 pre-cut mat, the window measures 7.5 x 9.5 inches, and thin mounting tissue is the usual way to adhere the print to the backer board. Your print is not hidden by the mat. It is held by it.
The same quarter inch applies to custom cuts. When a framer cuts a window for your 8×10, they cut 7.75 x 9.75 and then trim a quarter inch off all four sides of the opening to create the bevel, which lands the final window at 7.5 x 9.5.
How to Frame an 8×10 Print, Step by Step
Framing an 8×10 print takes about fifteen minutes once the sizes are right. The order matters more than the technique.
- Clean the glass and glazing first. Do it before anything goes in, because you will not be able to reach the inside surface afterwards.
- Check the mat. Confirm the window is 7.5 x 9.5 for an 11×14 mat, and check the outer size matches your frame’s interior opening.
- Attach the print to the backer board. Lay the backer face up, lay the print on top, and run strips of acid-free mounting tissue along the back of the print. Paper hinges work too if you are handling it wet or want a reversible mount.
- Place the mat over the print. The quarter inch overlap will now be visible around the print’s edge, sitting on top of the tape.
- Add backing board and secure. Slide the backing board in, close the frame’s tabs or clips, and check the front that the print sits centered with even margins all the way around.
- Hang it level. Measure the hanger on the back and mark two points at the same height rather than eyeballing it.
Do not use ordinary tape. It yellows, it becomes brittle, and pulling it off later can take the print surface with it.
How Wide Should the Mat Border Be?
A 1.5 inch border is the right default for an 8×10 print, and it is what the standard 11×14 pre-cut mat gives you. Go wider when the print is small relative to the frame, when the image is busy, or when you are matching other frames on a wall.
The governing design rule is that the mat should look visibly wider than the frame’s molding. If your molding face is a slim 0.5 inch profile, a 1.5 inch mat reads as generous. If the profile is a chunky 2 inch face, a 1.5 inch mat looks thin and you want at least 2 inches.
Here is how border width typically scales with artwork size:
| Print size | Standard border | Generous border | Standard frame | Generous frame |
|---|---|---|---|---|
| 5×7 | 1 inch | 1.5 inch | 7×9 | 8×10 |
| 8×10 | 1.5 inch | 2 to 3 inch | 11×14 | 12×14 or 16×20 |
| 11×14 | 2 inch | 2.5 inch | 16×20 | 18×24 |
| 18×24 | 2 inch | 3 inch | 22×28 | 24×30 |
One refinement is worth making on larger pieces. Because a heavy mat with a heavy backing visually sits lower in the frame, framers weight the bottom edge with a strip of mat board so the art appears centered. Adding a quarter inch to the bottom border only is a cheap version of the same idea.
How to Measure Before You Buy
Measure the frame’s interior opening, not the number printed on the label. Frames are sold by outer size, so a frame labelled 11×14 typically has an interior opening closer to 10.5 x 13.5 once the molding takes up its width. People checking whether a frame’s opening is truly 11×14 or slightly under is a regular question on r/framing, and the answer is almost always slightly under.
To measure the opening you already own:
- Remove the mat, backing board, and glazing.
- Measure across the inside edge of the frame at the top, then again at the bottom, and note the smaller number.
- Repeat from the left inner edge to the right inner edge.
- Subtract about an eighth of an inch from each measurement to allow for the frame’s rabbet and the tabs.
That result, minus the border width you want times two, is the mat opening size you need. If the answer comes out at 7.5 x 9.5, you can buy the 11×14 pre-cut mat and skip measuring anything else.
Pre-Cut vs Custom-Cut Mats
A pre-cut 11×14 mat with a 7.5 x 9.5 window is the right choice for almost everyone, because it is already the right size and you avoid the cost of a full board.
Custom cutting earns its place when you need a border width that has no off-the-shelf match, such as a true 2 inch border on an 8×10, or when you want the window larger than 7.5 x 9.5 to show more of the image. Hand cutters weigh the economics: full mat boards are expensive to buy and expensive to ship, so cutting a 12×14 for one print rarely pays off unless you already own the board.
There is a third option people on r/pictureframing like: skip the window entirely. Float the print on top of the mat, or use a float frame that sandwiches the paper between two frame pieces. It suits thin, flat artwork well and gives a modern look without a white border.
8×10 Without a Mat: When Edge-to-Edge Works
An 8×10 print fits an 8×10 frame with no mat at all, filling the interior edge to edge. That is the right choice for a poster look, for a print with its own white margin, or when you want the image as large as possible.
There is one proportion trap here. An 8×10 print is a 4:5 ratio. Most standard frames, including the common 8×10, 11×14, and 16×20 sizes, are 2:3. If you force a 4:5 print into a 2:3 frame without a mat, you either crop the sides or leave awkward gaps. This is the ratio mismatch that catches people, and it is another reason the mat route is easier for this size.
Acid-Free Mat Board and Why the Details Matter
Use acid-free mat board and acid-free backing for anything you want to keep. Standard pulp board contains lignin, which releases acid as it ages and causes a yellow-brown border that creeps inward from the window edge, eventually staining the print itself.
For a deeper mat look, double matting works well here. A slightly larger white mat sits on top of a black or charcoal mat, and the inner layer creates a thin visible line, or reveal, around the print. It hides scuffs on the bevel and makes a small image feel intentional.
Choose your mat colour from the second-lightest tone in the image rather than the dominant one, which tends to look dingy once it is surrounded by other colours.
Common Mistakes to Avoid
The most expensive mistake is buying an 8×10 frame for an 8×10 print you want matted. The frame matches the print, so the mat has nowhere to go. If you already own that frame, the options are a custom mat cut to fit inside it, a float mount, or a floating print on top of the mat.
Watch the aspect ratio trap described above, and avoid mixing border widths across a gallery wall. If you are hanging several frames together, choose one pairing, such as 8×10 prints in 11×14 frames, and repeat it. Consistency reads as intentional even when the individual pieces differ.
Finally, do not skip the acid-free check. It is a line on the mat’s packaging, and it is the cheapest long-term protection you can add.
Frame Sizes for Other Standard Print Sizes
The same formula applies to every standard print size. This table covers the sizes you are most likely to own.
| Print size | Standard matted frame | Generous matted frame | Border in standard frame |
|---|---|---|---|
| 5×7 | 8×10 | 11×14 | 1.5 inch |
| 8×10 | 11×14 | 16×20 | 1.5 inch |
| 8.5 x 11 | 11×14 | 13×16 | 1.25 inch |
| 11×14 | 16×20 | 18×24 | 2 inch |
| 16×20 | 20×24 | 24×30 | 2 inch |
Letter paper at 8.5 x 11 is the awkward one. Its 1.125 ratio does not pair neatly with 2:3 frames, so an 11×14 with a custom-cut 8 x 10.5 window is usually the tidiest result.
Frequently Asked Questions
What size frame do I need for an 8×10 print with a mat?
You need an 11×14 inch frame. It holds an 11×14 pre-cut mat with a 7.5 x 9.5 inch window, which overlaps your 8×10 print by a quarter inch on every side and leaves a 1.5 inch white border. Step up to 12×14 for a 2 inch border or 16×20 for a generous 3 inch border.
What size mat for an 8×10 photo in an 11×14 frame?
An 11×14 mat with a 7.5 x 9.5 inch opening. The window is a quarter inch smaller than your print on each side, which is intentional so it grips the print edge. That pairing produces a 1.5 inch border on all four sides and is the most widely sold mat size for 8×10 prints.
How much bigger should a frame be than a print with a mat?
Twice the border width bigger in each direction. A mat adds its border to all four sides, so an 8×10 print with a 1.5 inch border becomes 11×13, which rounds up to the standard 11×14 frame size. With a 2 inch border the same print needs a 12×14 frame.
How do I calculate mat and frame size?
Add the border width to each side of the print, then match the total to the nearest standard frame size. The reusable rule is frame size equals print size plus twice the border. For an 8×10 print, 1.5 inch borders give 11×13, 2 inch borders give 12×14, and 3 inch borders give 14×16.
Will an 8×10 frame fit an 8×10 print with a mat?
No. An 8×10 frame is the same size as the print, so there is no room left for a mat. You would need a custom mat cut to fit inside the frame’s actual interior opening, or a float mount where the print sits on top of the mat. The standard fix is to move up to an 11×14 frame.
Can I fit 8.5 x 11 paper into an 8×10 frame?
Not edge to edge, because letter paper is longer and narrower than the frame interior. An 11×14 frame with a custom mat cut to an 8 x 10.5 inch window is the standard solution. It keeps the paper fully visible and the white border hides the ratio mismatch between 1.125 paper and a 2:3 frame.
Should the mat border be wider than the frame molding?
Yes, as a general design rule the mat should look visibly wider than the molding face. A slim half inch profile pairs well with a 1.5 inch mat, while a chunky 2 inch profile needs at least a 2 inch mat or the mat looks thin. This is why frame profile and mat width are usually chosen together.
Do I need a mat for a frame?
No, and many prints look better without one. A mat adds a gallery border, protects the print edge from handling and dust, and hides small flaws along the paper margin. Skip it for a poster look, for artwork that already has its own white margin, or when you want the image as large as possible inside the frame.
Conclusion
Finding the right size frame for an 8×10 print with a mat comes down to one line of math: an 8×10 print with a 1.5 inch border needs an 11×14 mat and an 11×14 frame, with a 7.5 x 9.5 inch window. Measure your frame’s interior opening before you buy, keep the board acid-free, and pick one border width to repeat if you are building a gallery wall.