
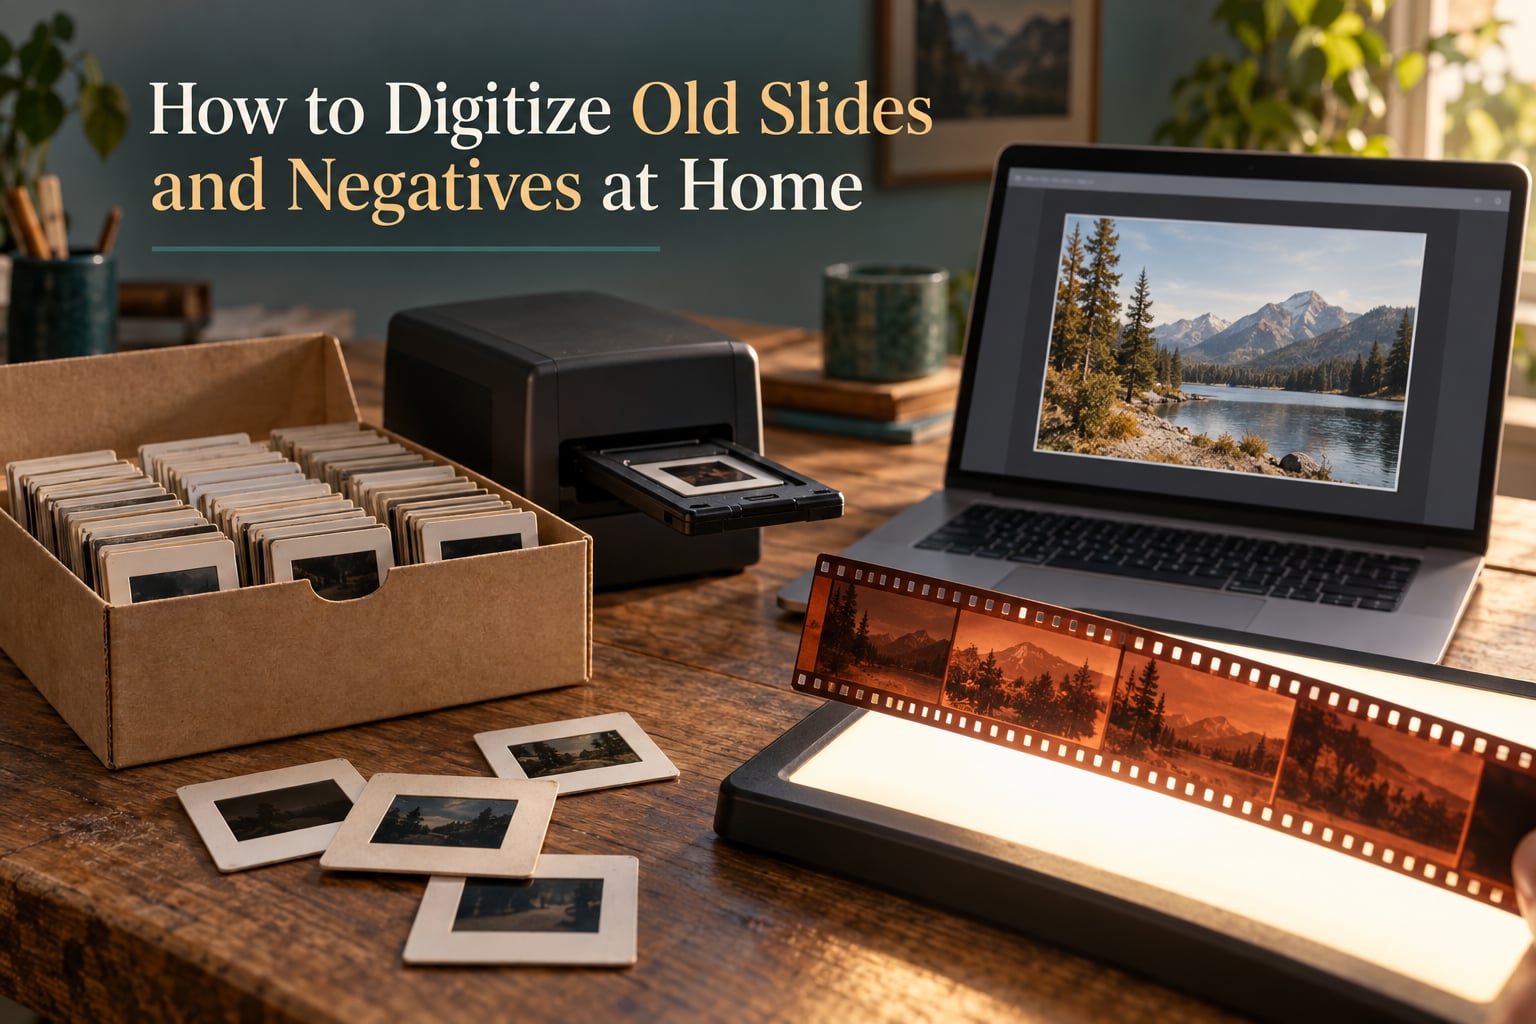
If you inherited a box of 35mm slides or a shoebox of loose negatives, the job is simpler than most people expect. There are four ways to digitize old slides and negatives at home, and the right one depends on how many frames you have and how much control you want over color.
- Dedicated film scanner — the highest consistency for bulk collections, works through a computer, and handles strips plus mounted slides.
- Flatbed scanner with a transparency unit — the cheapest route if you already own a flatbed with a lid light.
- Camera on a copy stand over a light source — the best image quality per dollar if you own any interchangeable-lens camera, and the only method that reaches large formats cleanly.
- Phone or tablet with a light pad and a scanning app — no hardware beyond a backlit pad, good enough for a small box of snapshots, and a genuinely useful first pass.
That list is the whole decision. Everything after it is detail: how to clean film without scratching it, why negatives need different settings than slides, how much resolution actually matters, and what to do with the files once you have them.
The reason to hurry is not nostalgia, it is chemistry. Acetate film degrades on a schedule whether or not anyone looks at it. Vinegar syndrome, fading dyes, mold, and physical decay permanently reduce how many images survive to be recovered, and the loss is not reversible.
We have pulled this into a single workflow, from sorting a box on the kitchen table to a backed-up archive you can hand to relatives. No product roundup, no affiliate pitch — just the method that fits the collection in front of you.
Table of Contents
- How to Digitize Old Slides and Negatives at Home: Four Methods Compared
- Before You Scan: Sort, Clean, and Inspect Your Film
- Method 1: Scanning With a Dedicated Film Scanner
- Method 2: Using a Flatbed Scanner With a Transparency Unit
- Method 3: Camera and Copy Stand Setup
- Method 4: Scanning With a Phone and a Light Pad
- How to Scan Negatives Correctly
- How Much Resolution Do You Actually Need?
- Special Cases: Mounted Slides, Faded Film, and Kodachrome
- Software: Turning Raw Scans Into Photographs
- After the Scan: File Formats, Naming, and Backups
- When a Professional Service Beats Doing It Yourself
- Frequently Asked Questions
- What are the best scanners for scanning negatives and slides?
- What is the best way to scan old 35mm slides?
- What is the best scanner for 35mm negatives to digital?
- Do photo scanners work for slides and negatives?
- Can Walgreens convert slides to digital photos?
- Can CVS convert my slides to digital files?
- How much does it cost to digitize old slides?
- What can I do with old Kodachrome slides?
- What is the best way to digitize old negatives?
- What is the most affordable way to digitize film negatives?
- Is 600 or 1200 dpi better for scanning photos?
- Conclusion
How to Digitize Old Slides and Negatives at Home: Four Methods Compared
All four methods produce a digital file from backlit film. The differences come down to how evenly the film is lit, how tightly it is registered to the sensor, and whether the software that reverses a negative actually gets the color right.
A dedicated film scanner holds one frame at a time at a fixed distance behind a dedicated light source. That registration is the reason it wins on repeatability: frame 8 and frame 800 come out under identical conditions.
A flatbed with a transparency unit does the same basic job across a platen, but a 35mm frame is small relative to the glass, and a sheet of negatives can sit at a slightly different height than a mounted slide. Most flatbeds also use a cold cathode lamp rather than an LED or xenon source, which is a real limitation on density.
A camera on a copy stand gives you a large, even, diffused light source and full control over exposure. It is slower per frame because you shoot, save, and move to the next one, but nothing is scaled down to a tiny strip of sensor.
A phone with a light pad is the outlier. The pad is a diffused LED panel, the phone camera is a small fixed sensor with heavy processing, and the app has to guess the film type. It works well on mounted 35mm slides and poorly on thin negatives.
One practical note from the forums that shaped this guide: the scanner’s own negative mode is often the weakest link. Several owners in r/AnalogCommunity and r/analog report better results scanning negatives as positives and applying an inversion curve in editing software, because that puts the color decision in front of you instead of inside a one-size-fits-all filter.
Before You Scan: Sort, Clean, and Inspect Your Film
This is the stage most guides skip, and it is the stage that decides whether your archive is usable in ten years. Plan on a few hours before any equipment comes out of the box.
Sort and take an inventory first
Pull everything out and sort into rough piles: mounted slides, unmounted 35mm strips, negatives still in sleeves, medium format or larger, and damaged material you are not sure about. Count as you go and write the counts down.
That count is not busywork. It is the only way to know whether to rent, mail out, or buy, and it is the only way to know when you are actually finished. People inherit crates of several thousand frames and stall out because there is no finish line they can see.
Keep a simple tracking sheet with columns for a running number, the date, the format, the source box, and whether it is scanned. Six columns is enough. A spreadsheet that nobody will maintain is worse than a notebook.
Clean film without scratching it
Dust on the emulsion side shows up as bright specks or as small light circles after inversion, and every speck means retouching later. Cleaning first is faster than cleaning digitally.
Compressed air from a bulb blower is the safest first pass. Hold the strip by the edges, keep the nozzle well away from the surface, and work in short bursts. A blower used at close range can itself scratch.
For stubborn grime, a soft optical cleaning brush or a clean anti-static swab lightly dampened with film cleaner works. Wipe from the center outward. Never use household glass cleaner, alcohol, or a dry tissue, all of which can attack the emulsion or anti-halation layer.
Wipe mounted slides on the glass side only, using a separate cloth from anything you use on film. Check the mount edges for paper or cardboard that has swollen with humidity, and be aware that some old cardboard mounts contain acidic dyes that will keep discoloring the slide from the front.
Warning signs: mold, vinegar syndrome, and stuck strips
Mold appears as a gray, greenish, or speckled haze, sometimes with a musty smell, and it means the film has been damp. Do not scan moldy film, and do not blow on it. Handle it outdoors or in a ventilated space, wear a mask, and keep it away from other film in the collection.
Vinegar syndrome affects acetate and polyester film bases. Signs include a vinegar odor, film that is sticky or has started to shrink and curl, edge erosion that leaves a rough brown rim, and warping that makes the strip impossible to lay flat. Advanced stages cannot be reversed.
Stuck-together strips are usually emulsion-to-emulsion contact after storage in a hot car or a damp attic. There is no safe way to force them apart. Put the strip in a sealed sleeve, note where it is in your inventory, and scan around the damage if the frame is at a readable end.
The honest advice for badly degraded material is to scan what is readable, label those frames clearly, and stop trying to recover the rest. A legible scan of a damaged frame is worth more than a heroic attempt that tears the strip.
Method 1: Scanning With a Dedicated Film Scanner
This is the method to choose for a few hundred frames or more, especially if the collection includes strips of undeveloped-looking negatives rather than only mounted slides. It is the most repeatable option and the least physically demanding per frame.
The sequence is straightforward. Clean the glass and the film holder first, then load a single frame into the holder so the emulsion faces the light source, which is backwards from instinct but matches how the film was manufactured. Preview the frame, set the film type to match what you are scanning, and set the output to 16-bit color so you have headroom for the inversion step. Scan one frame, check the histogram and the color, adjust, then batch the rest of the strip in one go rather than re-framing frame by frame.
For slides, use the multi-exposure or multi-scan option if the scanner offers it. It takes two or three bracketed exposures and merges them, which rescues the shadow detail that a single exposure clips on a high-contrast slide from a bright day.
For negatives, expect a density problem rather than a framing problem. A typical color negative is several times denser than the positive you are used to, and a scanner that exposes for a slide will return a nearly black frame. Raise the source brightness and the per-exposure time, or switch to the negative’s high-density mode. The resolution section below explains why.
Realistic speed on a dedicated unit runs somewhere between three and six seconds per frame for 35mm at a useful resolution, so a hundred slides take five to ten minutes of machine time. The real time goes into loading, previewing, and rescuing frames you did not expect. Budget an hour for a hundred frames on your first session, then closer to twenty minutes once you know your settings.
Method 2: Using a Flatbed Scanner With a Transparency Unit
If you already own a flatbed that has a removable white lid or a built-in transparency unit, this is the cheapest path and it is genuinely good for mounted slides viewed at screen size. It is a weaker choice for negatives, and understanding why tells you whether to bother.
Load mounted slides face down on the glass, close the lid, and run the scan in positive mode for slides. For negatives you still load them emulsion side down, but the light has to pass through the whole frame twice, so you need both the transparency unit and a much slower exposure or higher lamp brightness than the scanner’s normal setting.
Two things work against you. The first is dynamic range: most flatbeds use a cold cathode lamp with a density ceiling that clips shadow detail in dense negatives, and the resulting file is dark with no recoverable information. The second is registration, since the film sits on a large platen with a small frame, and a slight tilt changes focus and introduces a color cast.
That is not a blanket dismissal. On dpreview forums the consensus is that flatbeds give noticeably false color on slides and negatives, and dedicated film scanners are preferred when quality matters. For a first pass over a small snapshot collection, a flatbed is fine. For a few hundred negatives, spend the money elsewhere.
One practical limit: most flatbeds will not resolve medium format or large format negatives properly. A 6×7 negative on a flatbed either overflows the platen or gets interpolated up from a small area of sensor, and neither result is worth the effort.
Method 3: Camera and Copy Stand Setup
A camera on a copy stand is the method that produces the best file, and it is also the one that most people do not realize they can afford, because the copy stand can be built from a stool, a shelf, and a foam board matte in an afternoon.
Build the rig so the film sits flat and the camera looks straight down. Stack risers until the lens is a comfortable hand’s width above the film, cut a foam board matte with a window slightly larger than one frame, and set the film source underneath. Diffuse the light: a frosted glass top, a diffusion panel, or even a sheet of white acrylic between the source and the film will stop hotspots and give you even illumination across the frame.
Shoot in RAW, not JPEG, so the highlight and shadow information survives for the inversion step. Manual exposure, ISO as low as the camera allows, a small aperture around f/8 to f/11 for even focus across the film, and a shutter speed you adjust until the preview is correctly exposed on the film itself. Watch the histogram rather than the screen brightness, since screens lie in both directions.
Shoot the whole strip in overlapping frames and stitch the pan in post, which is how a single setup can reach an effective resolution equivalent to a much higher nominal figure. The tradeoff is real: this method produces a very large stitched file per frame, and editing those files takes more time than the capture.
On the forums, the strongest endorsement of this route comes from a home builder whose stitched copy-stand capture of a single frame beat a professional drum scan of the same image. It is an extreme result, not a typical one, but it tells you the ceiling is well above what a consumer flatbed reaches.
Follow the thread in r/analog that suggests a DSLR with a proper stand and light table if you want more control. That advice is sound, and the equipment is a camera you likely already own plus a light source you can improvise.
Method 4: Scanning With a Phone and a Light Pad
This is the most affordable route to digitize film negatives and the right first step for a small box of mounted slides, a vacation carousel, or a quick look at a relative’s collection before you commit to anything.
Place the light pad on a flat surface, turn it on to its brightest and most neutral setting, and lay a mounted slide face down on the glass. In a scanning app, choose the slide or transparency mode, frame the slide so its edges align with the on-screen guides, and hold the phone parallel directly above. Hold still while it captures, then check the preview for glare before you accept the frame.
The quality ceiling here is set by the phone, not the pad. Modern phone cameras process aggressively, apply their own white balance, and often refuse manual exposure in the modes that matter. Mounted slides survive that well because they are bright, high-contrast, and framed. Thin negatives do not, because the phone underexposes a dense frame and then lifts the shadows into noise.
If your collection is mostly negatives, treat the phone method as a triage pass and plan to rescan the good frames properly. It takes ten minutes to do a hundred mounted slides, which makes it a genuinely valuable way to find out what you actually have before spending anything.
How to Scan Negatives Correctly
Almost every scanning mistake people make with negatives comes from treating them like slides. A negative is a denser, more contrasty, more fragile object than the slide it will become, and it needs different handling at every stage.
Why negatives are harder than slides
A color negative stores a complement of the final image, so a bright sky in the finished photo is dense and dark on the film. To get a clean digital file you need a light source and sensor that can read that density, and then a reliable inversion step.
Optical density is measured as Dmax, the density of the darkest area of the film. It is the number that determines whether a scanner or camera can capture full shadow detail from a negative at all. When a scan comes back flat and dark, the cause is almost always a light source that cannot push enough exposure through the dense parts, not a resolution problem.
Dynamic range and film latitude describe the related idea from the other direction: how much tonal separation the film can hold. A scanner that clips the density ceiling does not merely look dull, it discards information permanently, and no amount of editing recovers it.
Color reversal and inversion
Two approaches work. The first is the scanner’s built-in negative mode, which applies a predefined inversion curve matched to a common film family. It is fast and automatic, and it is where the flat, slightly wrong color people complain about usually comes from.
The second is to scan the negative as a positive and invert it yourself in editing software. You get a negative-looking RAW or TIFF, then apply an inversion and a matched color profile. Several owners in r/AnalogCommunity report this beating the scanner’s own negative engine, and a Negative Lab Pro plug-in was reported to match that result closely. It takes more attention per frame, but the control is yours.
Whichever route you pick, check the result against how you remember the scene. Skin tones that skew green or skies that skew magenta usually mean the wrong film type was selected, not that the original was exposed oddly.
Dmax, dynamic range, and multi-exposure scanning
Two scanner features address density directly. Multi-exposure scanning takes several exposures at different brightness levels and merges them, which recovers highlight and shadow detail a single pass would clip on a contrasty frame. It costs time and is worth enabling for slides and for dense negatives.
On budget units, be skeptical of headline resolution figures. Forum users consistently distrust advertised numbers in the ten-thousand-plus range, and the useful comparison is between two machines at the same nominal resolution under the same film, not between a spec sheet and a spec sheet. Density behavior and software matter more than the last two zeros of the DPI number.
How Much Resolution Do You Actually Need?
Resolution is the easiest thing to overbuy. Pick the smallest number that supports the largest output you will actually make, and stop there.
A 35mm frame is about 36 by 24 millimeters. At 1200 dpi that yields roughly 1700 by 1150 pixels, which is a good size for a full-screen slideshow and a small print. At 2400 dpi you get roughly 3400 by 2300 pixels, which comfortably supports a large print and leaves room to crop. Beyond that you are usually capturing detail the lens never recorded.
What matters is effective resolution, not the advertised number. Interpolation manufactures pixels between real ones and adds file size without adding detail. Two scanners both claiming 4800 dpi can produce visibly different results, and a stitched copy-stand capture can exceed either of them.
One more consideration specific to negatives: because they are the source, a slightly generous setting gives you a better inversion target. Slightly above what the projected image needs is safer than slightly below.
Special Cases: Mounted Slides, Faded Film, and Kodachrome
Most of the awkward material in an inherited collection falls into a few recognizable categories, and each has a known handling pattern.
Cardboard mounts. These are the most common type from the pre-1970s era. Check the front of every one for fading, bowing, or a brown stain bleeding through from the paper. If the mount has shrunk in the humidity it can pinch the film and hold it out of focus. Scan it as it is rather than attempting to disassemble it, because old cardboard mounts often split when you try to open them.
Cracked or broken glass. A cracked mount is not a reason to stop scanning. Cover the slide with a clean clear sheet of film or a piece of acetate so the fragments stay in place, and handle the slide by the edges with gloves. A crack through the image area is permanent in the scan, but the image is usually still recoverable.
Kodachrome and other reversal film. These are unusual stocks with characteristics that break auto film-type detection. The practical answers to what to do with old Kodachrome slides are: scan them as slides rather than as negatives, select the correct reversal film type manually if the software offers one, and expect a strong orange or magenta cast that needs correcting in editing rather than in the scan. Faded frames need a gentler approach, since the dye layers are losing saturation and heavy contrast will exaggerate what is left.
Medium format and larger. 6×7 and larger negatives need either a dedicated scanner that supports the format or a copy stand. A flatbed simply does not have the platen or the resolution for it, and this is the strongest argument for the camera method if your collection includes big negatives.
Software: Turning Raw Scans Into Photographs
The scan is the easy half. What turns a file into a photograph is the software, and the forum consensus is that this is where people lose the most time.
VueScan is the most frequently recommended starting point in home archiving threads because it handles film holders, multi-exposure, and negative scanning without ceremony. SilverFast is the higher-ceiling option when you want finer control over the source and the inversion. Bundled manufacturer software such as Epson Scan 2 is adequate for slides and the fastest thing to get running on day one.
For negative color, Negative Lab Pro applies a matched inversion profile inside Lightroom or Photoshop, and multiple owners report it producing results comparable to scanning as positive and building the curve by hand. If you already organize photos in Adobe Lightroom, this is the least disruptive place to do the correction.
Whichever tool you use, apply the same fix to a few frames, compare them side by side, and only then process the rest. The people who finish a large collection are the ones who settle settings early and let the machine run.
After the Scan: File Formats, Naming, and Backups
This is the stage that every competitor we reviewed leaves out, and it is the stage that turns a pile of scans into an archive. A file on your desktop is not a backup, and an unnamed folder is not findable in five years.
On format, keep the largest reasonable file as your master and derive smaller ones for sharing. A TIFF at 16-bit per channel preserves what the scan captured and is the safest long-term master, at the cost of file size. A 16-bit JPEG at maximum quality is a reasonable compromise if storage is tight. A camera RAW file from a copy-stand capture holds the most information of the three, but it ties the archive to software that still exists.
Use a format that any software can open in twenty years. That argument is exactly why the archivists community leans toward TIFF for preservation and away from proprietary archives.
On naming, adopt one convention and apply it while you scan, because retro-naming thousands of files later is a miserable evening. A workable pattern is the running number from your inventory sheet plus the source, so 0142_relatives-box-1972.tif. Leading zeros keep the files in order when you sort them. Add the date or a short description if the box gives you one.
On backups, follow the 3-2-1 rule: three copies of the data, on two different kinds of media, with one of them somewhere physically separate. Your working folder does not count as a copy. An external drive in the same closet as the computer is not a second kind of media, and the second external drive stays in a drawer at a relative’s house.
Then decide who else gets them. Family archive work is not finished when the scan completes, it is finished when the copies exist in more than one place and someone you care about knows how to open them. Send a small sample to relatives before the full upload so nobody discovers years later that the folder is empty or unreadable.
Two formats exist for the deliverables: a full-resolution master folder for the archive, and a lighter folder of screen-sized files for sharing and for loading into slideshow software. Keep them separate so a cousin re-editing a shared copy cannot touch your master.
When a Professional Service Beats Doing It Yourself
Some collections are simply too large or too damaged to be a weekend project, and recognizing that early saves months of avoidance. The break-even is about slide count and time, not about sentiment.
Do it yourself when the collection is under a few hundred frames, you have or will buy the equipment, and you can commit to a few evenings. A few hundred frames at the speeds described above is a handful of sessions.
Send it out when you are looking at thousands of frames, when the material includes medium format or large negatives you have no way to scan, when the film is fragile enough that handling risk is high, or when you have already started and stopped three times. People on r/DataHoarder describe crates of thousands of slides where the blocker is not equipment but the sense that the project will never end. A lab turns that into a drop-off.
On the drugstore question specifically: photo counters at places like Walgreens and CVS handle prints and photo finishing, and slide conversion availability varies by location and by whether they still take film. Ask a specific location before you drive over, and treat any snapshot-friendly service as a preview rather than an archive. A mail-in lab that returns a disc, a drive, or a download, with the frames named and the original film returned, is the option to compare against.
When comparing services, ask what resolution they scan at, whether they invert negatives themselves or hand you raw files, what file format they deliver, whether they name the files, and what they do with your original film. The last question matters more than the first.
Frequently Asked Questions
What are the best scanners for scanning negatives and slides?
A dedicated film scanner is the best general choice because it holds each frame at a fixed distance from a dedicated light source, which gives repeatable results across hundreds of frames. A flatbed with a transparency unit works for mounted slides viewed at screen size but clips detail in dense negatives. A camera on a copy stand gives the highest quality per dollar if you already own an interchangeable-lens body. A phone with a light pad is the right first pass for a small box.
What is the best way to scan old 35mm slides?
Use a dedicated film scanner or a copy stand, load the slide with the emulsion side facing the light source, preview and set the correct film type, and enable multi-exposure scanning for high-contrast frames. Shoot or scan one test frame, check the histogram, then batch the rest of the strip. A flatbed with a transparency unit also works for slides and is the cheapest option if you already own one.
What is the best scanner for 35mm negatives to digital?
The best scanner for 35mm negatives to digital is a dedicated film scanner with a strong light source and multi-exposure scanning, because negatives are denser than slides and need more exposure to avoid clipping shadow detail. Judge it on density behavior and inversion software rather than on the headline DPI number. A copy stand with a diffused light source is the highest-quality alternative if you own a camera.
Do photo scanners work for slides and negatives?
Photo scanners do work for slides and negatives, but only if they have a transparency light source. A scanner without a lid light or transparency unit cannot backlit film, and closed-lid scans of film return a black frame. Even with a transparency unit, a flatbed’s lamp and density ceiling make it a weaker choice than a dedicated film scanner for negatives.
Can Walgreens convert slides to digital photos?
Some Walgreens photo counters have offered slide conversion, but service availability varies by location and has changed as photo printing has declined. Call a specific store before making a trip. Treat a retail counter conversion as a preview for a small box rather than an archive, and confirm the file format and resolution before handing over a large collection.
Can CVS convert my slides to digital files?
CVS photo centers have also offered slide and negative conversion at some locations, with availability depending on the store. Ask about the resolution, file format, and per-slide pricing in advance. For more than a few hundred frames, a mail-in lab or a home scanner usually gives you better control over file naming, color correction, and the return of your original film.
How much does it cost to digitize old slides?
The cost to digitize old slides at home depends on which method you choose. A phone and a light pad is the lowest-cost option and needs only a pad. A flatbed approach is nearly free if you already own a scanner with a transparency unit. A dedicated film scanner and a copy-stand camera setup are one-time purchases that pay off across the whole collection. Mail-in services charge per slide or per scan, so the DIY route wins once you have a few hundred frames.
What can I do with old Kodachrome slides?
Scan Kodachrome as a slide rather than as a negative, select the correct reversal film type manually if your software offers one, and expect a strong orange or magenta cast to correct in editing. Check each mount for cardboard fading and bowing, and cover cracked glass with a clear sheet before scanning. Kodachrome is unusually stable, so most of these slides still convert well.
What is the best way to digitize old negatives?
The best way to digitize old negatives at home is to sort and count the collection, check for mold, vinegar syndrome, and stuck strips, clean the film, then scan with a dedicated film scanner or a copy stand at a density the light source can actually reach. Invert the negatives in editing software rather than relying entirely on the scanner’s own negative mode, and save an uncompressed master file.
What is the most affordable way to digitize film negatives?
The most affordable way to digitize film negatives is a phone or tablet with a backlit light pad and a slide scanning app, which costs almost nothing and takes about ten minutes per hundred mounted slides. The quality ceiling is set by the phone’s small sensor and automatic processing, so it works best for mounted slides and is a sensible triage pass before investing in better equipment.
Is 600 or 1200 dpi better for scanning photos?
For old slides and negatives, 1200 dpi is the better general choice. A 35mm frame at 1200 dpi yields roughly 1700 by 1150 pixels, which is plenty for screen viewing and small prints. 600 dpi is enough for a video slideshow or thumbnail contact sheet. Use 2400 dpi or higher when you need a large print or want room to crop, and ignore nominal figures inflated by interpolation.
Conclusion
To digitize old slides and negatives at home, sort and count first, inspect for mold and vinegar syndrome, clean the film gently, then pick the method that matches your volume: a dedicated film scanner for a few hundred frames or more, a flatbed for mounted slides at screen size, a copy stand for the best quality, or a phone and light pad for a quick first pass.
Get the negative color right by watching density rather than DPI, save uncompressed masters, name the files as you go, and follow 3-2-1 with a copy that lives somewhere other than your closet. Work through the collection in small counted batches, finish the box before opening the next one, and the archive stops being a project you keep postponing.