
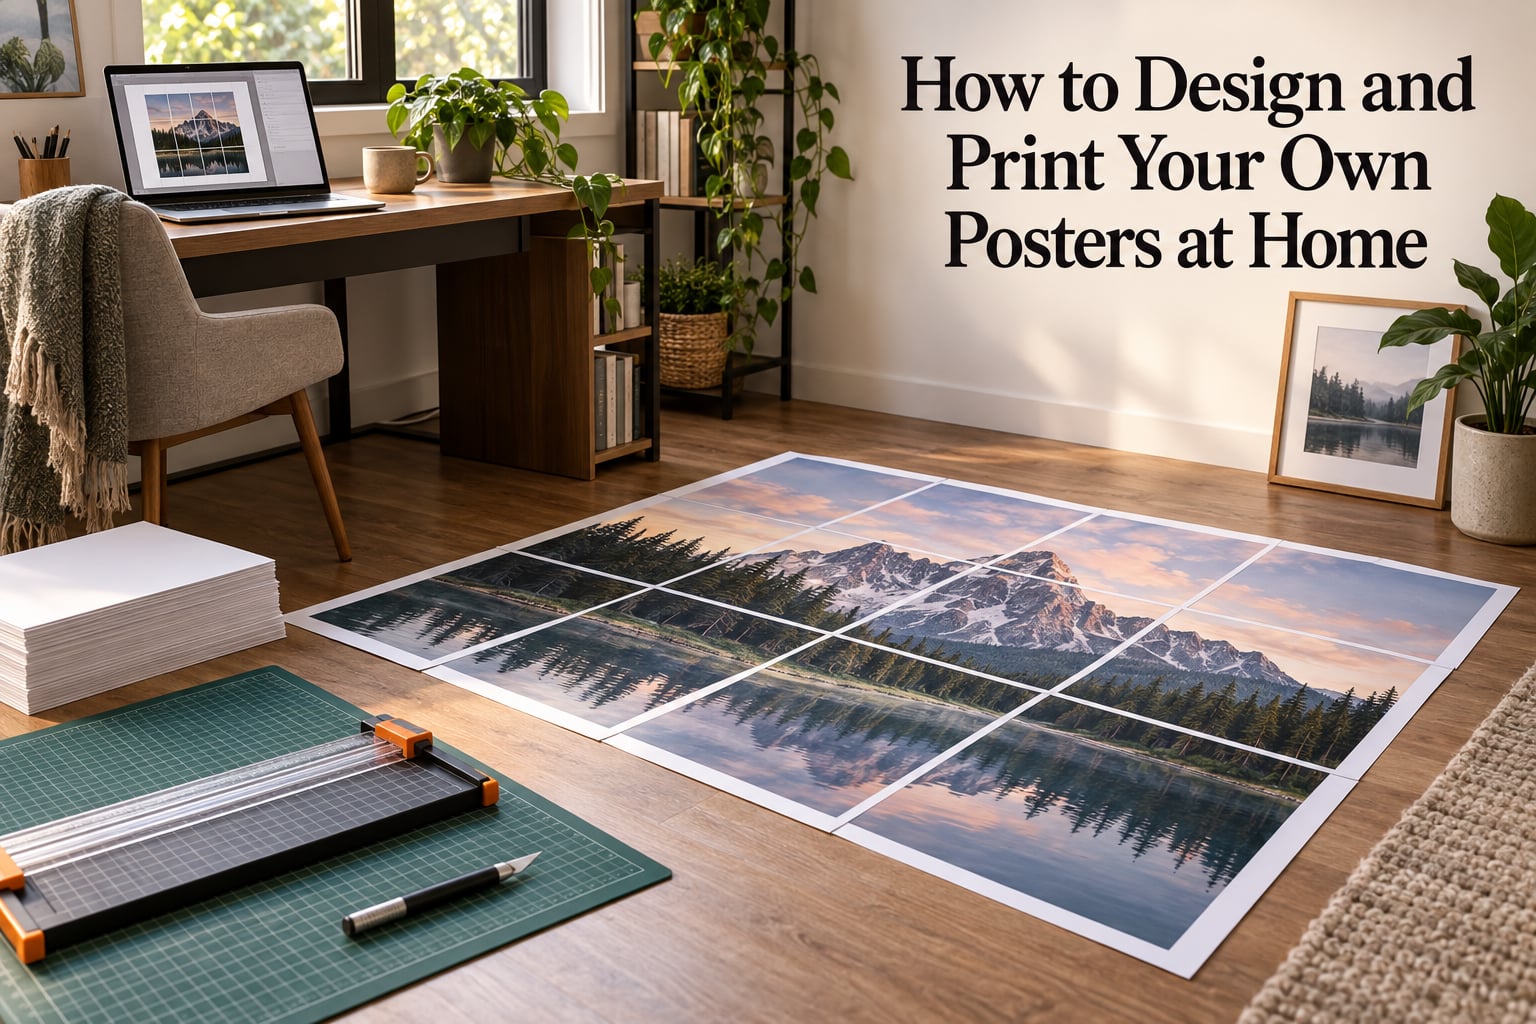
Yes, you can design and print your own posters at home. Any normal inkjet printer can do it. The catch is that a home printer cannot make one continuous poster-sized sheet, so the job is split into two paths: print at home by tiling the image across several sheets of paper your printer already holds, or send a file to a print shop that owns a wide-format machine.
The home path costs you paper, ink, and about an hour of trimming. It gives you full control over size, design, and wording, and it works with the printer you already own. The print shop path gives you a seamless, professionally mounted result in a few minutes, with none of the seams or trimming involved.
When we tested this workflow, the same failure came up every time regardless of the tool used: the print dialog shrank an already-correct file. Once that was fixed, tiling worked on every printer we tried, including a basic all-in-one.
Most people searching this are beginners who do not own design software and have never tiled an image before. This guide walks the whole workflow, from choosing a free poster maker to taping the finished sheets together, and it explains the one printer setting that causes almost every failure.
Updated for 2026. Everything here works with an ordinary US Letter or A4 home printer, and every tool named in the design section has a free option.
Table of Contents
- What printing a poster at home actually means
- How to design a poster step by step
- Which free app is best for making a poster
- How to print a poster at home on a regular printer
- Two alternative ways to tile a poster
- How many sheets of paper you need for a poster
- Print at 100%: the scaling rule that matters most
- What paper should you use to print a poster
- Inkjet or laser for art prints
- What DPI does a poster actually need
- Trimming, taping, and mounting the finished poster
- Troubleshooting: five things that go wrong
- What it costs to print a poster at home
- When a print shop beats your home printer
- Frequently Asked Questions
- Can I print a poster on a regular printer?
- How do I print a poster on my home printer?
- How to print a 24×36 poster on a regular printer?
- What is the best free app to make a poster?
- What is the best paper weight for posters?
- Is inkjet or laser better for art prints?
- How many DPI for a 24×36 poster?
- Can ChatGPT create a poster?
- Conclusion
What printing a poster at home actually means
A poster is just a large image. A home printer handles paper up to about 8.5 by 11 inches on US Letter, or A4. Tiling software cuts your poster image into a grid of squares, each one the size of a sheet, and prints them separately.
Three terms decide everything else in this guide:
- Poster size is the finished dimension of your image, such as 18×24 or 24×36 inches. It has no single universal standard, so pick whatever matches the wall space you have in mind.
- Paper size is the sheet your printer holds, usually US Letter or A4. Legal and Tabloid (11×17) sheets work too if your printer supports them.
- Tile grid is the number of pages across by the number of pages down. An 18×24 poster on US Letter is a 2×3 grid, which is six sheets.
One more detail catches nearly everyone: most printers have a nonprinting margin along each edge, so the usable image area of an 8.5×11 sheet is smaller than 8.5×11. Tiling tools handle this by scaling the image to fit the printable area rather than the paper edge, which is why a tiled poster is usually a few percent under its nominal size.
That shrinkage leads to the most common complaint in forums: posters that print too small. It is almost never a printer fault. It is scaling applied twice, once by the tiling software and again by the print dialog, and it has a specific fix covered later in this guide.
How to design a poster step by step
Design the poster at its final size, not at page size. Setting up the document correctly first is what separates a poster that prints cleanly from one that gets scaled, cropped, or blurred.
- Decide the finished size in inches. Measure the wall before you design. An 18×24 poster fits above a desk; a 24×36 fills a larger wall; A2 (16.5×23.4) and A1 (23.4×33.1) are the European equivalents.
- Set the document to that exact size. In Canva, Adobe Express, or PowerPoint, choose Custom dimensions and type the width and height in inches. Do not design on a slide and scale it later.
- Match the aspect ratio to your photo. If the image is a 3:2 photograph and the poster is 2:3, crop the photograph rather than stretching it, or faces and horizons will distort.
- Keep a safety margin. Leave at least 0.5 inch of clear space inside the poster edge, and keep important text 1 inch in. The outer tiles of a tiled poster get trimmed, and anything sitting in the cut zone disappears.
- Choose one focal point. A poster has seconds to work. Make the subject, the headline, or the date the largest thing on the page and let everything else support it.
- Use large type. Body text on a poster is unreadable. Set your main headline in the largest size the tool allows, then step down once for supporting detail.
- Limit the palette to three or four colors. Constrained color reads as designed rather than busy, and it prints more consistently from sheet to sheet.
- Set the document to 150 to 300 DPI. Anything below 150 shows visible pixel edges on a large sheet. Most free tools set this for you when you enter a print size.
- Work in RGB color. Home printers are RGB devices. Leave CMYK conversion to the print shop, and only use it if the design is going to a commercial press.
- Export as a print-ready PDF or a high-resolution PNG. PDF preserves vector type and text sharpness. PNG works everywhere and is what most free tiling sites expect.
Microsoft Publisher used to be the default answer here, and it still works, but Microsoft ends support for it in October 2026. If you are building a workflow you will still be using, pick something else.
A note on AI tools: they are useful for generating a layout idea or a background you can build on, but the images they produce are usually well under print resolution. Generate the concept, then rebuild it at full size in a design tool before you print.
Which free app is best for making a poster
There is no single best free app. Each one wins on a different axis, and picking the wrong tool for your poster costs more time than it saves.
| Tool | Cost | Best for | Watch out for |
|---|---|---|---|
| Canva | Free tier, paid Pro upgrade | Beginners, party and event posters, templates | Template-driven, limited fine typographic control |
| Adobe Express | Free tier | Quick social and marketing layouts, brand kits | Fewer advanced layout options than Canva for large formats |
| Photopea | Free, runs in the browser | Photoshop-like editing without installing anything | No vector type, so headlines must be rasterized |
| GIMP | Free, open source | Photo retouching and compositing at poster size | Steeper learning curve, raster only |
| Inkscape | Free, open source | Vector posters with crisp type at any size | Learning curve for people new to vector editing |
| PowerPoint or Google Slides | Included with most office accounts | Scientific posters, tables, charts, anything with data | Slide format quirks when exporting large custom sizes |
PowerPoint and Google Slides deserve a specific mention. Non-designers use them constantly for posters because they handle grids, charts, and formulas naturally, and forum users building scientific and classroom displays report using them without any other software.
On privacy: Photopea, GIMP, and Inkscape all process images on your own machine. Web-based tiling tools vary. If you are handling client work or anything personal, check whether the tool uploads your file to a server before you use it, and choose a local tool if it does.
How to print a poster at home on a regular printer
This is the core procedure. It uses a free browser-based tiling tool, works on any home printer, and produces a multi-page file with cut marks and page numbers already in place.
- Save your design as a PDF or a high-resolution PNG. Use the finished poster size you set in your design tool. Do not export at slide size.
- Open a free tiling tool in your browser. Rasterbator, Block Posters, and GridPrint all do this in a browser with no install and no account. Rasterbator lets you set exact tile dimensions, Block Posters is the simplest for beginners, and GridPrint produces a clean grid with page labels.
- Upload your file. Drag the PDF or PNG onto the upload area. If the tool asks for units, choose inches to match your design.
- Set the paper size. Choose US Letter or A4 to match what is actually in your printer tray. Setting A4 while feeding Letter paper is a frequent cause of clipped output.
- Set the tile scale to 100%. Some tools call this Percent or Scale. Leave it at 100. Changing it here rescales the whole poster and causes the too-small problem.
- Choose your grid. The tool will suggest a grid based on paper size and poster size. Pick the smallest grid that still gives each tile a sensible size, since fewer sheets mean fewer seams to hide.
- Add overlap and cut marks. Turn on overlap so each tile prints a few extra millimeters of the neighboring image. That extra strip is what you trim to, and without it a misaligned cut leaves a white line down the poster.
- Turn on page labels. Numbered pages make assembly far easier. Row order runs across then down, so page 1 is the top corner.
- Download the tiled PDF.
- Open the PDF and change one setting before printing. In the print dialog, set Scale to Actual Size, 100%, or No Scaling depending on what your dialog calls it. Turn off Fit to Page, Shrink Oversized Pages, and any Fit printable area option. This is the single most important step in the entire process.
- Print one tile as a test. Use the page preview to print a single sheet, then hold it against a ruler. If the image measures 1 inch from the tile edge to a known feature, the scale is right. If it is smaller, a scaling option is still on.
- Print the full set in Standard or High quality, not Draft. Draft mode looks faster and produces banding in large flat color areas, which is the worst artifact on a poster.
- Print all pages in order. Some printers sort pages, others do not. Printing all at once keeps the ink level and paper feed consistent from the first sheet to the last.
Make sure you load enough paper for the full page count plus a spare, and check the ink or toner level before a large job. Running a cartridge dry halfway through produces banding on the remaining sheets.
Two alternative ways to tile a poster
If you would rather not upload your file to a web tool, both of these run locally.
Adobe Acrobat Poster mode
Open the PDF in Acrobat, choose Print, then click the large poster option under Page Sizing and Handling. Set the tiling to Across then Down, pick the scale, and set paper size to match your tray. Choose Custom paper size or Actual size in the scaling menu so the reader does not re-scale the tiled pages. Acrobat adds crop marks and page numbers automatically.
The trap here is double scaling. The software already sized each page to fit the paper, so any Fit or Shrink option in the same dialog shrinks it a second time and the assembled poster comes out smaller than designed.
Your printer driver’s built-in Poster or Tile setting
Every major driver has a poster mode that tiles a document across sheets. The menu path differs by brand:
- Epson: open Page Layout or More Settings, then Multi-Page, then Poster. Choose 2×2, 4×4, 9×9, or 16×16, and set paper size to match the tray.
- Canon: open Page Layout, set Pages Per Sheet to a Poster setting, and confirm paper size under Paper Settings.
- HP: open the Poster option under Layout, choose the grid, then confirm Paper size and Fit to Page is off.
- Brother: open Multiple Pages and choose 2 in 1, 4 in 1, or Poster, then set paper size in Basic.
If the Poster option is missing, that is a driver or operating system limitation, not evidence that your printer cannot do it. Updating the driver, or printing the document from a PDF reader instead of a word processor, usually restores it. Free tiling tools sidestep the issue entirely.
How many sheets of paper you need for a poster
Divide the poster width by the printable page width for the number of columns, and the poster height by the printable page height for the number of rows. Multiply them for the page count. On US Letter with a printable area of roughly 8.1 by 10.6 inches, the working numbers are these.
| Poster size | Grid on US Letter | Sheets | Grid on A4 | Sheets |
|---|---|---|---|---|
| 11×17 | 2×2 | 4 | 2×2 | 4 |
| 12×18 | 2×2 | 4 | 2×2 | 4 |
| 18×24 | 2×3 | 6 | 2×3 | 6 |
| 24×36 | 3×4 | 12 | 3×4 | 12 |
| A2 (16.5×23.4) | 2×3 | 6 | 2×2 | 4 |
| A1 (23.4×33.1) | 3×4 | 12 | 3×4 | 12 |
| 27×40 | 4×5 | 20 | 4×5 | 20 |
A 24×36 poster on a regular printer is a 3×4 grid, so twelve sheets of US Letter. That is the number most people search for and the one most often quoted wrong.
If your printer handles Tabloid or 11×17 paper, halve the count for most sizes. A 24×36 poster drops to six Tabloid sheets, and 27×40 drops to eight.
Print at 100%: the scaling rule that matters most
If you take one action from this guide, take this one: print at 100% scale, also labelled Actual Size or No Scaling, with Fit to Page turned off.
Every desktop print dialog fits content to the page by default. On a tiled file that has already been sized correctly, that default shrinks the whole thing a second time. A poster designed at 24×36 comes out closer to 22×33, and the error is invisible until you tape it together.
Where to look, by dialog: Windows and macOS show a Scale field with Fit to Page and a percentage. Acrobat has a Scaling dropdown with Fit, Shrink Oversized Pages, and Actual Size. Browser print previews default to Fit to Page more often than anything else, so check the header settings rather than trusting it.
Verify with a ruler, not by eye. Print one tile, measure from the printed edge to a feature you know the size of, and confirm the scale. Ten seconds here saves reprinting twelve sheets.
What paper should you use to print a poster
This is the most asked question in printing forums, and the reason is usually the same: people want the finished print to look framed and giftable rather than like taped printer paper. The answer is matte, medium-weight paper.
| Paper | Weight | Look | Best for | Watch out for |
|---|---|---|---|---|
| Plain copy paper | 80 gsm | Thin, slightly translucent | Test prints and assembly dry runs | Shows every seam, curls at the edges, fades fastest |
| Matte presentation paper | 120 to 160 gsm | Flat, non-reflective, crisp | Framed and gifted posters, classroom displays | Heavier sheets can jam consumer trays |
| Satin or luster photo paper | 170 to 200 gsm | Soft sheen, deeper blacks | Photographic posters, darker images | Feeds unreliably in many home printers |
| Glossy photo paper | 170 to 250 gsm | High shine, strong contrast | Vivid images viewed without glass | Reflects badly under glass in a frame |
| Cardstock | 200 gsm and up | Thick, rigid | Stencils, signage, standing displays | Most home printers cannot feed it reliably |
For anything going into a frame, matte presentation paper at 130 to 160 gsm is the safe default. Glossy under glass produces reflections that forum users describe as the main reason they avoid it, and matte keeps colors looking consistent across all twelve sheets.
Check your printer’s supported media weight before buying anything above 160 gsm. Photo paper thickness and feed reliability are a recurring failure point, and a printer that stalls on sheet seven leaves you with a partial poster.
For a poster meant to last on a lit wall, choose acid-free stock and avoid direct sunlight. Even good ink fades under UV exposure, so a framed print out of direct light ages better.
Inkjet or laser for art prints
Inkjet wins for posters. Laser wins for text-heavy documents and for people who print constantly. That is the short version of a decision that forum users ask about constantly.
| Factor | Inkjet | Laser |
|---|---|---|
| Color accuracy on photos | Wide gamut, smooth gradients | Sparser color, visible banding in skies and skin tones |
| Print quality setting | Standard, High, and photo modes | Text optimized, image quality varies by model |
| Paper handling | Handles matte and satin paper well | Best with plain and standard office stock |
| Cost per page | Higher ink cost, low ink use on paper stock | Lower cost on text, higher toner waste on full-bleed image pages |
| Maintenance | Cartridge changes, occasional printhead cleaning | Toner changes, near-zero maintenance |
| Best for | Art prints, photos, color posters | Drafts, classroom handouts, high-volume text |
If you do not already own a printer, do not buy one for a single poster. A3-capable inkjets, which can print 11×17 directly and cut your page count in half, are the most common home choice among experienced users in printing forums, and one r/Etsy user printing cards and posters at home singled out an Epson XP-15000 as the model they were glad with.
Large-format plotters are a different category. They are essentially giant inkjets, they are expensive to run, and home users consistently describe them as impractical outside a business.
What DPI does a poster actually need
Effective resolution is the number that matters, not a fixed DPI figure. Take the pixel dimensions of your image, divide by the printed inches on the finished poster, and you have the true resolution at viewing size.
A 3000×4500 pixel image printed at 18×24 gives roughly 167 pixels per inch, which is perfectly sharp for a poster viewed from several feet away. The same image at 24×36 gives 125 pixels per inch, which is where edges start to soften up close but still reads cleanly across a room.
Viewing distance is the variable people forget. Rule of thumb: roughly 150 pixels per inch for something you view from arm’s length, 100 to 125 for a poster on a wall, and 75 to 100 for a large banner you see across a room.
So 300 DPI is not a universal rule. It matters for a close-viewed print and is overkill for a classroom mural. What you should not do is upscale a small image to poster size in an editor, because no amount of interpolation invents detail that was never captured.
Trimming, taping, and mounting the finished poster
Competitors stop at the printing step, but this is the part people actually want, and it is where a poster stops looking like a stack of paper and starts looking like a print.
- Lay the sheets out on a flat surface in page order. Match by image content, not by paper edges, because the printed margins differ slightly page to page.
- Align on the image, not the sheet. Pick two features that cross a seam, such as a line or an edge, and line those up. Trimming will remove the paper edges, but the picture inside them is what has to be continuous.
- Trim on the marked edge. A paper trimmer with a self-healing cutting mat gives the cleanest result. A craft knife and ruler on a mat works well. Leave a small untrimmed margin for now so you have adjustment room.
- Tape from the back. Use plain tape or painter’s tape on the reverse side, one strip per seam. Taping the front leaves a visible ridge under glass and a line across the image.
- Add a backing board. Glue the assembled poster to thin foam board or mount board. This flattens any curl, stiffens the paper, and makes the poster far easier to frame.
- Frame it with a mat. A mat board hides any remaining trimming variation and gives the poster breathing room on the wall. Leave the backing board slightly smaller than the mat window.
- Mount to the wall. For unframed paper, removable poster putty or strips hold a large poster securely without puncturing it. For a heavy poster, a second board sandwiched on the back adds rigidity.
Let a freshly taped poster sit flat under weight overnight before you frame it. Paper that has just been assembled will curl again if you hang it immediately.
For display, keep posters out of direct sunlight and away from radiators. If you are building a gallery wall, match the paper type across every print so the set reads as one collection.
Troubleshooting: five things that go wrong
Every failure below has a specific cause. Match your symptom in the first column and fix the cause in the third.
| Symptom | Likely cause | Fix |
|---|---|---|
| Poster prints too small | Double scaling: tiling software sized the tiles, then the print dialog scaled again | Set Scale to 100% or Actual Size and turn off Fit to Page and Shrink Oversized Pages |
| White gaps between tiles | Sheets trimmed too far, or no overlap was printed | Re-cut using the printed overlap strip as your guide, or regenerate with overlap turned on |
| Edges clipped or cut off | Paper size in the tiling tool did not match the paper in the tray | Confirm the tool’s paper setting matches your actual sheets, and use borderless mode if your printer supports it |
| Blurry output | Source image too small for the poster size, or upscaled during export | Start from the highest-resolution original and print smaller rather than enlarging |
| Different colors on different pages | Cartridge low, printhead dirty, or the print ran across a nearly empty tank | Check ink levels, run a printhead cleaning cycle, and print all pages in one job |
| Poster option missing from the driver | Driver or operating system limitation | Update the driver, or print from a PDF reader or a free tiling tool instead |
If pages look inconsistent in color, printing the whole set in a single job helps. The printer calibrates once at the start, so a single run keeps the sheets closer to each other than three separate runs would.
Owners of inkjets report banding as the most common recurring defect, appearing as faint horizontal lines in large flat areas of sky or wall color. Printhead cleaning and Standard quality instead of Draft resolve it in most cases.
What it costs to print a poster at home
Ink cost is the thing people worry about most, and the reality is usually less dramatic than expected. On a modern inkjet printing on plain or matte paper, the paper is often a larger share of the cost than the ink.
Add up a 24×36 poster as twelve sheets: paper is the fixed part, ink depends on how much of each page is covered. A design with a dark full-bleed background uses far more ink than one with a light background and a centered image.
Time is the real cost. A twelve-sheet poster is roughly 15 minutes of printing, then 30 to 45 minutes of trimming and taping. If you need several, the time adds up faster than the materials do.
Two things reduce the material cost. Printing a test tile first prevents a full reprint. And choosing matte paper over glossy often costs no more, since glossy photo stock costs more per sheet and uses more ink.
When a print shop beats your home printer
Home printing is genuinely viable, and experienced users in printing forums recommend it for art prints and short runs. It is the wrong choice in a few specific situations.
- You need a large seamless size such as 24×36 or bigger with no seams. A wide-format machine prints it in one piece.
- Color accuracy matters for client work, sale prints, or anything a gallery will judge. Retail and shop printers use calibrated wide-format machines.
- You need more than about twenty sheets. Beyond that, per-page shop pricing is usually cheaper than ink and paper at home, and the result arrives finished.
- You want a mounted or framed result without doing trimming, taping, and backing board yourself.
- Your printer cannot feed photo stock. A shop has equipment built for heavy media.
Retail photo services and business print services handle standard poster sizes from a file you upload, and local copy shops will print a PDF on a large-format machine for a flat fee. The uploaded file is usually a high-resolution PNG or PDF at the exact finished size, with matte or glossy finish selected at checkout.
One practical compromise: print a small test poster at home first to confirm your design, colors, and layout, then send the same file to a shop for the full-size version. You get the design loop for free and a clean result.
Frequently Asked Questions
Can I print a poster on a regular printer?
Yes, but not as one sheet. A regular home printer can only produce paper up to Letter or A4, so you tile the poster image across a grid of pages, print them at 100% scale, then trim and tape them together. A 24×36 poster becomes a 3×4 grid, which is twelve sheets of US Letter. Free browser tools such as Rasterbator, Block Posters, and GridPrint generate the tiled file with cut marks and page numbers.
How do I print a poster on my home printer?
Export your design as a print-ready PDF or high-resolution PNG, upload it to a free tiling tool, set paper size to match your tray, set tile scale to 100%, and turn on overlap and page labels. Download the tiled file and open it in a PDF reader. In the print dialog set Scale to Actual Size or 100% and disable Fit to Page, then print a single test tile to verify scale with a ruler before printing the full set.
How to print a 24×36 poster on a regular printer?
Use a 3×4 tile grid on US Letter, which gives you twelve sheets. Upload your file to a free tiling tool, choose US Letter as the paper size, set the tile scale to 100%, and enable overlap and page numbers. Print at Actual Size with Fit to Page turned off, then trim along the cut marks and tape from the back. If your printer handles Tabloid or 11×17 paper, a 2×2 grid reduces the job to six sheets.
What is the best free app to make a poster?
Canva is the easiest all-rounder for beginners and templates. Photopea, GIMP, and Inkscape are free, run on your own machine, and suit photo editing and vector type respectively. PowerPoint and Google Slides handle charts and data-heavy posters well for non-designers. There is no single winner, so pick the tool that matches whether you want templates, photo work, or crisp scalable type.
What is the best paper weight for posters?
For a framed or gifted poster, matte presentation paper between 130 and 160 gsm is the safest choice. It stays flat, avoids reflections under glass, and feeds through most home printers reliably. Copy paper at 80 gsm shows every seam and curls at the edges, while glossy photo paper above 170 gsm looks sharp but often jams consumer trays and reflects badly behind glass.
Is inkjet or laser better for art prints?
Inkjet is better for posters and photographs. It produces a wider color range, smooth gradients without banding, and multiple quality settings for image work. Laser is built for text, costs less per page on documents, and needs almost no maintenance, but its color output is sparser and it handles photo paper poorly. If you print posters regularly, an A3-capable inkjet that handles 11×17 paper cuts your page count in half.
How many DPI for a 24×36 poster?
Divide your image’s pixel width by 24 and its pixel height by 36 to get the true resolution. A 5400×8100 pixel image gives 225 pixels per inch, which is sharp up close. A 3000×4500 pixel image gives 125 pixels per inch, which still reads cleanly on a wall viewed from across a room. Effective resolution and viewing distance matter more than a fixed DPI threshold.
Can ChatGPT create a poster?
It can help with concepts, layouts, headlines, and background ideas, but the images it generates are usually far below print resolution. A typical generated image will soften badly when enlarged to 18×24 or 24×36. Use it to explore directions, then rebuild the design at full size in a tool such as Canva, Inkscape, or GIMP before you print, and confirm the pixel dimensions against your poster size.
Conclusion
To design and print your own posters at home, you need three things in order: a design set to the poster’s final dimensions, a tiled file generated at 100% scale, and a print dialog where scaling is turned off. Everything else is refinement.
Start small. Design an 11×17 poster as a 2×2 grid, print it on matte presentation paper, tape it from the back, and mount it. Once the scale and seams behave, scaling up to 18×24 or 24×36 is just a bigger grid on the same workflow, and the printer you already own handles it.
If the finished size is large enough that seams bother you, or you need color accuracy for client work, send the same file to a print shop instead. You have already done the hard part, which is the design.
Updated for 2026.