
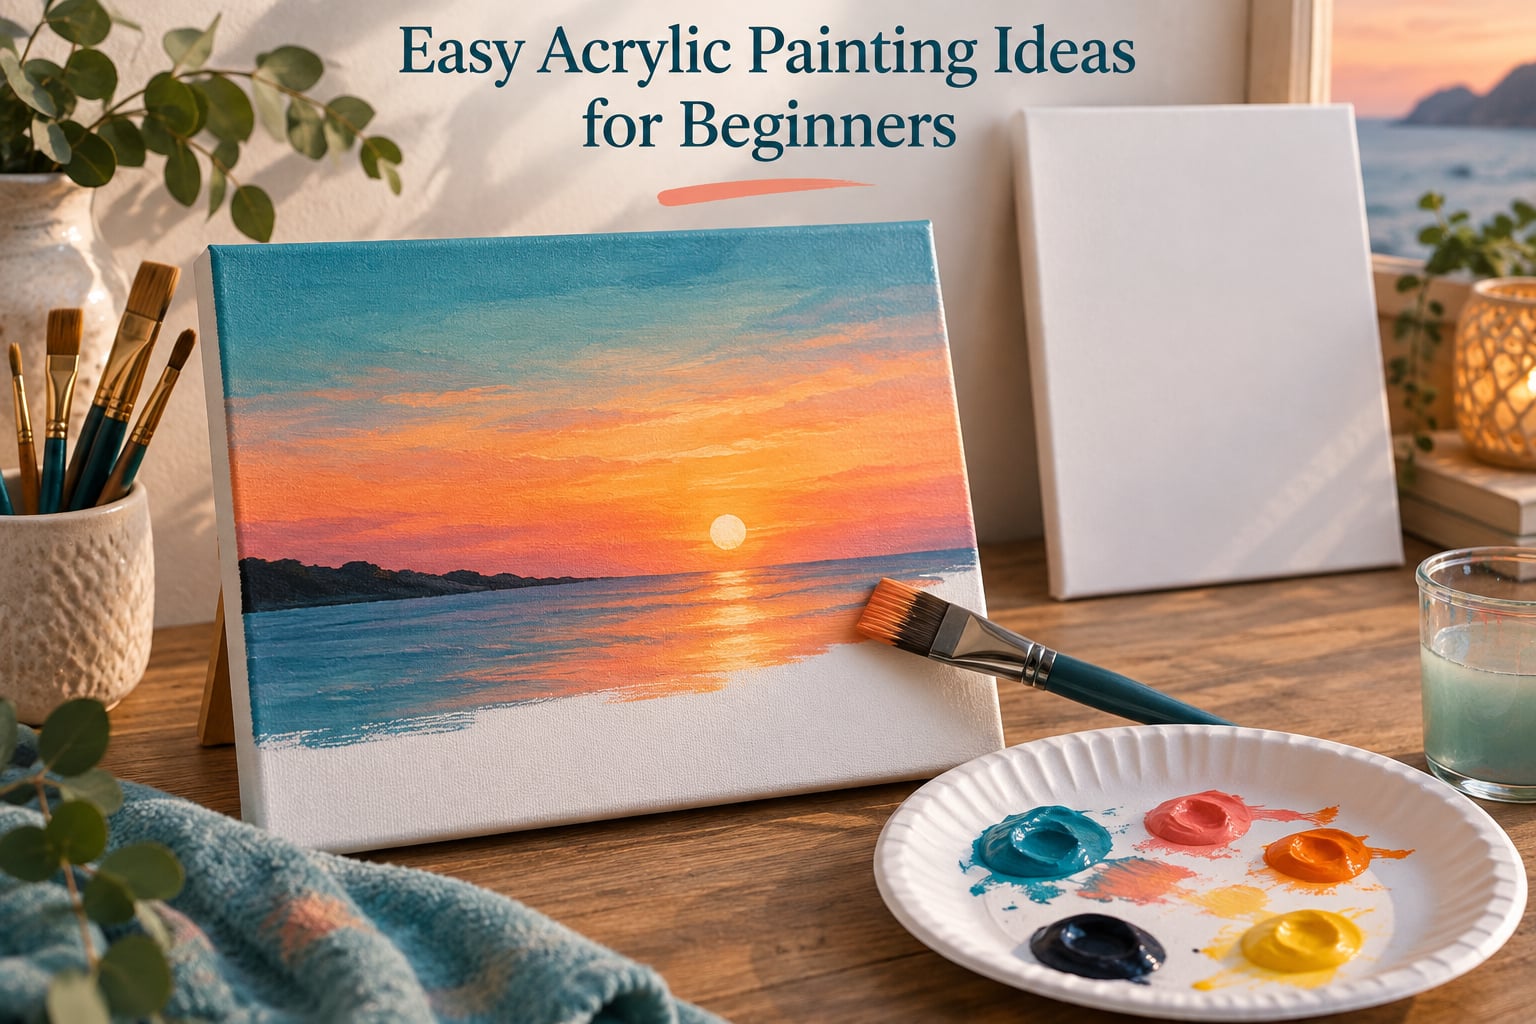
Starting a new hobby usually stalls at the same spot: you buy the paint, you stare at a blank surface, and you have no idea what to put on it. That is where these easy acrylic painting ideas for beginners come in. Every project below is written so you can finish it in a single evening, using five or six colors and a handful of brushes you probably already own. I have arranged them by subject and by how long they take, so you can pick one that matches your evening and your confidence level.
Acrylic is the most forgiving medium available to a new painter. It is water-based, cleans up with soap, works on paper, cardboard, canvas board, and stretched canvas, and it dries in minutes rather than days. Long-time hobbyists on Reddit’s r/acrylicpainting keep telling beginners the same thing: the medium is not the hard part, choosing a project that ends is. So every idea here comes with a difficulty, a time estimate, and the specific skill it teaches you.
I updated this guide for October 2026. It is organized the way I would hand it to a friend sitting down for their first session: start with a sunset, learn the layering habit, then move on to flowers and abstract work.
Table of Contents
- What Is the Easiest Thing to Paint in Acrylic?
- What Makes an Acrylic Painting Easy for Beginners?
- Every Idea at a Glance
- The Beginner Supplies Checklist
- Nature and Scenery Ideas Without the Hassle
- Easy Acrylic Painting Ideas for Beginners: Flowers
- Easy Abstract Ideas You Can Finish in One Sitting
- Family-Friendly Beginner Acrylic Painting Ideas
- What to Avoid Painting as a Beginner
- Core Techniques That Fix Most Beginner Paintings
- Common Mistakes Beginners Make and How to Fix Them
- Troubleshooting: What Went Wrong With My Painting?
- Keeping Paint Fresh and Brushes Alive
- A Four-Month Progression Path for New Painters
- Frequently Asked Questions
- What is the easiest thing to paint in acrylic?
- What are 10 super easy painting ideas for beginners?
- What are some easy acrylic painting ideas for beginners?
- What are some good things to paint with acrylic paint for beginners?
- What are some tips for acrylic painting as a beginner?
- What are common mistakes in acrylic painting?
- What is the 70/30 rule in painting?
- What does adding baking soda to acrylic paint do?
- Conclusion: Start With One Sunset Tonight
What Is the Easiest Thing to Paint in Acrylic?
The easiest thing to paint in acrylic is a simple sky with a horizon line. A rectangle of graded color above a rectangle of flat color gives you a finished, non-awkward result in under an hour, and it teaches you the single most useful habit in the medium: building a painting in thin layers rather than trying to fix one thick, wet passage.
Here are ten easy acrylic painting ideas for beginners ranked roughly from fastest to slowest, so you can stop scrolling and start painting:
- Two-tone sky over a flat horizon – 20 minutes, one flat brush.
- Sunset gradient with a sun disc – 30 minutes, flat plus small round brush.
- Color block stripes – 25 minutes, wide flat brush, no blending required.
- Single flower in a pot – 40 minutes, teaches dots and stems.
- Three simple mountains – 45 minutes, teaches flat shapes and overlap.
- Ocean with a foam line – 45 minutes, teaches horizontal strokes.
- Galaxy swirl – 60 minutes, teaches dot density.
- Balloon cluster – 45 minutes, teaches ellipses and overlap.
- Tape-resist geometric panel – 70 minutes, teaches clean edges.
- Simple house and tree – 60 minutes, teaches straight edges and brush control.
If you only do one, do number two. You will finish it, you will like it, and that is the whole point of a first project.
What Makes an Acrylic Painting Easy for Beginners?
An easy beginner painting uses few colors, shapes you can already draw, and a technique that hides small errors. When those three conditions are true, a beginner can finish a piece in one sitting without buying anything else.
Here is the criteria list I use when I test whether an idea will actually work for a new painter:
- Three to six colors maximum. Every extra color is another chance to muddy the mix. Beginners who start with a dozen tubes spend their first month learning that blue plus green plus yellow equals mud.
- Shapes you can make without drawing skills. Rectangles, circles, triangles, and long straight lines cover sunsets, mountains, flowers, and abstract panels. Curved, tapered forms do not, which is why I keep animals and people out of the first project list.
- A forgiving medium behavior. Acrylic dries fast but stays workable for a minute or two, so you get a small blending window without the long drying times that make oil painting hard to schedule.
- A clear stopping point. If you cannot tell when the painting is finished, it is not beginner-friendly. Every project here ends with a defined last step so you can put the brush down.
- An absorbent surface. Paper, cardboard, and canvas board all drink the water up and let you blend. A slick plastic surface is the exception, and it changes the technique completely.
Notice that none of these criteria mention artistic talent. They are about project selection, and that is the part you can control on night one.
Every Idea at a Glance
Here is the whole list in one table so you can pick by time rather than by scrolling. Difficulty is honest – three means a total beginner can finish it, five means it will stretch you a little.
| Idea | Difficulty | Time | Colors | Skill taught |
|---|---|---|---|---|
| Sunset gradient with sun | 2 | 30 min | 4 | Blending |
| Color block stripes | 1 | 25 min | 3-5 | Flat strokes |
| Simple mountains and lake | 2 | 45 min | 5 | Overlap |
| Ocean and foam line | 2 | 45 min | 5 | Horizontal strokes |
| Single flower in a pot | 3 | 40 min | 4 | Stems and dots |
| Three loose daisies | 3 | 45 min | 4 | Consistent sizing |
| Color block abstract panel | 1 | 35 min | 4-5 | Composition |
| Galaxy night sky | 4 | 60 min | 5 | Dot density |
| Palette knife texture study | 4 | 45 min | 3 | Impasto |
| Balloon cluster | 2 | 45 min | 4 | Overlap |
| Tape-resist panel | 3 | 70 min | 3-4 | Clean edges |
| Simple house and tree | 3 | 60 min | 6 | Straight edges |
| Paper plate suncatcher | 1 | 30 min | 3 | Dots and rings |
| Holiday ornament shapes | 2 | 50 min | 5 | Symmetry |
The Beginner Supplies Checklist
You need seven things, and the honest answer is that five of them cost very little. The biggest reason beginners give up is not talent or technique, it is buying forty products and feeling overwhelmed before the first stroke.
The minimum starter set
- Five or six paint colors. A titanium white, a black, a blue, a yellow, a red, and one extra of your choosing. That is a complete palette. Titanium white is the one people leave out and then spend the whole project trying to mix a pale color that already exists in the tube.
- Two flat brushes. A wide one for skies and backgrounds, roughly one inch, and a narrow one for edges and stems, roughly a quarter inch. Nylon or synthetic bristle is fine and inexpensive; you can upgrade later.
- One small round brush. A size 4 or 6 round is the workhorse for dots, flower centers, and thin lines.
- One painting surface. A stretched canvas for a piece you want to hang, or a canvas board or heavy paper for practice. I recommend a stretched 8×10 inch canvas for a first real painting.
- A palette. A plastic or paper plate works, or a reusable palette with a wells section.
- Two water cups. One for rinsing, one kept clean. Beginners constantly dirty their own rinse water and wonder why colors turn grey.
- A rag and paper towels. Both. The rag is for wiping the brush between colors, the towels for blottering.
| Item | Why you need it | Minimum starter option |
|---|---|---|
| Acrylic paint | The medium itself | Student grade, 6 colors, small tubes |
| Flat brush, 1 inch | Skies and backgrounds | Nylon flat, no upgrade needed |
| Flat brush, 1/4 inch | Stems, edges, small shapes | Nylon flat |
| Round brush, size 4-6 | Dots and thin lines | Synthetic round |
| Surface | Something to paint on | 8×10 inch stretched canvas or heavy paper |
| Palette | Mixing surface | Paper plate or plastic palette |
| Two water cups | Clean rinse water | Any two cups |
| Rag and towels | Wiping and blotting | Old t-shirt and paper towels |
Student grade or artist grade?
Start with student grade. It is more translucent and a little weaker in coverage, which is actually a useful training ground because it forces you to build layers instead of hiding everything under one heavy coat. Move up to artist grade once you are buying your own paint rather than using a family set, because artist grade holds its color better and covers in fewer coats.
Do you need gesso before painting acrylic?
No, not for most beginner work. Gesso is a priming ground that seals an absorbent surface so your paint sits on top rather than soaking in. You need it when you want a smooth, bright surface for fine detail, when you are using very thin washes on raw canvas, or when you are painting on unprimed board and want consistent absorption. For a first sunset on a pre-primed canvas board or heavy watercolor paper, skip it. Our beginner acrylic guide on supports and grounds covers the priming question in more depth if you want the long version.
Nature and Scenery Ideas Without the Hassle
Scenery is the best place to start because the whole picture reduces to stacked horizontal bands. Get the banding right and the rest is decoration.
Idea 1: Sunset gradient with a sun disc
Difficulty 2, about 30 minutes, four colors, teaches blending. This is the project I hand to anyone who says they cannot paint.
- Let the canvas sit for a few minutes, then lightly draw four horizontal pencil lines in the upper half to mark your color bands.
- Load a wide flat brush with a small amount of water and your brightest color, and paint the top band from the left edge to the right edge in one even stroke.
- Work downward, adding a little red, then a little yellow, mixing on the canvas rather than in the palette.
- Continue to the horizon, then dip a small round brush in titanium white and press a flat sun disc where you want it.
Stop there. Let it dry, sign it, and put the brush down.
Idea 2: Color block stripes
Difficulty 1, about 25 minutes, three to five colors, teaches flat strokes and a loaded brush. If you have never picked up a brush, do this one first.
- Use a pencil and a ruler to mark five horizontal bands across the surface.
- Pour each color into its own well on the palette, then dip a wide flat brush in the first color and fill the top band corner to corner.
- Wipe the brush on the rag, load the next color, and fill the band below it.
- Keep the bands crisp by not going back over them, and let each band overlap slightly into the next while still wet.
Idea 3: Three mountains and a lake
Difficulty 2, about 45 minutes, five colors, teaches overlap and value. Mountains are just triangles, which is why this project works so reliably.
- Paint the sky first using the sunset method, stopping about two thirds of the way down.
- Let the sky dry fully, then paint the back mountain as one flat, slightly desaturated blue-purple triangle.
- Paint the front mountain darker and a bit wider, letting it overlap the first one.
- Add a flat band of water below, then a few short horizontal white strokes for reflection.
Idea 4: Ocean with a foam line
Difficulty 2, about 45 minutes, five colors, teaches horizontal strokes and rhythm. Almost all beginners can paint a convincing wave once they stop trying.
- Paint a flat sky, then a flat band of lighter water below the horizon.
- Load a medium flat brush and drag horizontal strokes in a deeper blue, varying the pressure so the stroke tapers.
- Add a curling foam line in white using the side of the brush, pulling the stroke rather than pushing it.
- Add two or three white dashes along the bottom for surf and stop.
Easy Acrylic Painting Ideas for Beginners: Flowers
Flowers rank as a confirmed related search, and they are the best way to move from scenery into a subject with a shape you have to construct. Painters on r/PaintingTutorials describe a single flower in a pot as a reliable first project because a flower is a circle, an ellipse, and a line.
Idea 5: One flower in a pot
Difficulty 3, about 40 minutes, four colors, teaches stems and dot placement. One flower, not a bouquet.
- Paint the pot first as a simple trapezoid, letting it dry before you touch it again.
- Paint a single straight green stem upward from the soil line, using the edge of a flat brush.
- Add two leaves as elongated teardrops angled off the stem.
- Press three overlapping dots of your petal color at the top for the bloom, then a smaller contrasting dot in the center.
Idea 6: Three loose daisies
Difficulty 3, about 45 minutes, four colors, teaches consistent sizing. The trick is making all three flowers the same size, which is what separates a beginner attempt from a child’s drawing.
- Draw three light pencil circles of equal size at different heights.
- Paint the stems first and let them dry, curving each one slightly.
- Press flat elongated dabs of white around each circle to form petals, keeping the dabs the same length.
- Add a yellow dot in each center and step back to check that the flower sizes match.
One warning from the forums worth repeating: tiny brushes are the enemy of a first painting. Every painter I have seen abandon a flower project mentions switching to a small detail brush too early and losing the shape. Keep the flat brush for petals and reserve the round for centers.
Easy Abstract Ideas You Can Finish in One Sitting
Abstract work hides brush control problems better than any other subject, which makes it a confidence builder rather than a challenge.
Idea 7: Color block abstract panel
Difficulty 1, about 35 minutes, four to five colors, teaches composition. Split the surface into four uneven rectangles rather than even ones, because equal blocks look like a chart.
- Mark four blocks with pencil, making the outer edges slightly wider than the center ones.
- Fill each block with a single flat color, working from the back block to the front.
- Let each block dry before filling the next so your brush stays clean.
- Add one thin dividing line in titanium white or black if you want definition, then stop.
Idea 8: Galaxy night sky
Difficulty 4, about 60 minutes, five colors, teaches dot density. This is the most popular first project on r/acrylicpainting, and it is genuinely fun, but it is the hardest item on this list. Reach for it after your first sunset.
- Paint the background by blending three dark colors, black plus blue plus a touch of purple, directly on the canvas.
- While it is still slightly damp, add clouds of white and gray with a wide flat brush, tapping rather than dragging.
- Let it dry for fifteen minutes, then press dots of yellow, white, and pale blue across the surface, varying the size.
- Load the tip of a round brush with titanium white and flick spatters onto the surface by tapping the brush against your finger.
Idea 9: Palette knife texture study
Difficulty 4, about 45 minutes, three colors, teaches impasto. Impasto simply means paint applied thickly enough to hold the mark of the tool.
- Mix your three colors on the palette until they are thick, almost like soft butter.
- Scoop paint onto the canvas with the knife and press it down rather than dragging it, leaving visible peaks and ridges.
- Change the knife angle as you go so the texture changes direction.
- Leave the surface completely alone while it dries, since touching it while drying pulls the paint up.
Family-Friendly Beginner Acrylic Painting Ideas
These are the projects to do with children or alongside them. They are forgiving of wobbly lines and messy water cups, which is exactly what makes them good teaching projects.
Idea 10: Balloon cluster
Difficulty 2, about 45 minutes, four colors, teaches ellipses and overlap. Balloons are ovals plus a line, so children can do this on the first try.
- Paint three or four ovals in different colors, letting each one dry before overlapping the next.
- Add a thin line from the bottom of each balloon, curving them slightly.
- Add a small white highlight dash on the upper left of each balloon for shine.
- Fill the bottom of the canvas with a flat ground color if you want it to read as a scene.
Idea 11: Tape-resist geometric panel
Difficulty 3, about 70 minutes, three to four colors, teaches clean edges. Masking tape blocks the paint and gives you razor-sharp lines that freehand painting cannot.
- Tape the surface into a simple grid or a set of diagonal bands, pressing the tape down firmly along one edge.
- Paint a different color in each section, allowing the tape to do the edge work.
- Let the paint dry fully, which takes longer than you expect, then peel the tape slowly at a low angle.
- Fill any thin gaps with the background color rather than trying to touch up the edge.
Idea 12: Paper plate suncatcher
Difficulty 1, about 30 minutes, three colors, teaches dots and rings. A paper plate is a curved surface, which is a useful lesson in pressure control.
- Fill the plate with a flat base color and let it dry completely.
- Add rings by pressing the rim of a round brush straight down, holding the brush vertical.
- Add dots by pressing the tip of the same brush straight down without twisting.
- Let it dry, then cut out the center and hang it.
Idea 13: Holiday ornament shapes
Difficulty 2, about 50 minutes, five colors, teaches symmetry. Simple circles, teardrops, and stars on a dark background read as holiday decor with almost no drawing skill.
Idea 14: Simple house and tree
Difficulty 3, about 60 minutes, six colors, teaches straight edges. A house is a square with a triangle on top, so straight edges are the only real requirement.
- Paint a flat sky, then a flat green ground band while the sky is still damp.
- Paint the house body as a square, then the roof as a wide triangle overlapping the top edge.
- Add a simple triangular tree beside it using two tones of green, dabbed with a flat brush.
- Finish with a thin dark line for the door and stop before you add windows.
What to Avoid Painting as a Beginner
Some subjects will not teach you anything except frustration. Avoiding them early is not a shortcut, it is the fastest route to actually finishing work.
- Portraits and faces. Faces depend on accurate proportion and value, which takes months of study. A beginner portrait almost always looks wrong in a way that is hard to diagnose.
- Hands. Hands are the hardest common subject in any medium, including oil and digital. No painter skips them.
- Animals and birds. Animal forms need curved tapered strokes and a sense of anatomy. That is a month-two skill.
- Reflections in water or glass. They require matching values precisely and painting thin layers with control.
- Photorealistic still life. Setup and lighting are half the difficulty, and acrylic dries too fast to adjust a setup once you start.
Stick to skies, water, mountains, flowers, balloons, and abstract blocks. You can finish six of those this month, and each one trains a specific part of your hand.
Core Techniques That Fix Most Beginner Paintings
Five techniques cover almost every beginner problem. Learn these and you can look at a blank surface and know what to do.
Layering, not fixing
Acrylic dries fast, which means corrections are expensive. The habit that separates beginners who improve from beginners who quit is accepting each layer before adding the next. A bad layer is not a mistake, it is the base coat for the layer on top of it.
Wet-on-wet for soft blends
Wet-on-wet means painting into paint that is still wet. This is how you get soft sky gradients and clouds without a hard seam. The window is small, roughly a minute or two, so work in a small area rather than across the whole canvas.
Dry brush scumble
Load a nearly dry brush with a thick paint and drag it lightly over a dry layer, letting the texture underneath show through. It is how you get frosted snow, mist, and soft leaves, and it is the easier of the two blending methods for beginners because there is no timing pressure at all.
Transparent wash
A wash is paint thinned with water and applied thin enough that the layer beneath stays visible. It is the fastest way to add shadow and distance, but it means being careful with water, which is where most beginners go wrong.
| Blending method | How you do it | Best for | Watch out for |
|---|---|---|---|
| Wet-on-wet | Paint into a wet layer immediately | Skies and soft clouds | The window is only a minute or two |
| Dry brush scumble | Drag a nearly dry brush over a dry layer | Snow, mist, soft foliage | Too much pressure kills the texture |
| Transparent wash | Thin paint with water, glaze a dry layer | Shadows and distant shapes | Too much water makes it weak and streaky |
Impasto
Impasto is thick paint applied with a palette knife or a stiff brush, holding peaks and ridges. It is the easiest way to make a flat beginner painting look textured and intentional. Use it on a dried base coat, and leave it alone while it dries.
Common Mistakes Beginners Make and How to Fix Them
These are the failures that come up again and again in beginner threads, and every one of them has a specific cause and a specific fix.
Mistake 1: Adding too much water
Why it happens: Paint feels stiff out of the tube, and the instinct is to loosen it. Long-time hobbyists repeatedly tell beginners the opposite, that you should rarely use water at all and mostly paint more thickly.
The fix: Paint from the tube more often than you think you should. Use water only to keep your brush workable and to soften an edge. Over-watered acrylic loses adhesion, lifts off the layer beneath, and turns chalky once dry.
Mistake 2: Hard edges everywhere
Why it happens: The paint dried before you reached the next color, and you painted edge to edge against dry paint.
The fix: Work in sections small enough that each one is still wet when the next begins. Or let a section dry completely and overlap into it with a soft scumble edge, which hides the seam rather than fighting it.
Mistake 3: Muddy colors
Why it happens: Too many colors in one mix, usually with too much water, and usually stirred in the palette until dull.
The fix: Use fewer colors. Three per mix, maximum. Add titanium white to lighten and black to darken rather than reaching for a third hue.
Mistake 4: Overworking with a small brush
Why it happens: The stroke did not look right, so you scrubbed it. Painters on artistforum.com describe this as the single most common finishing error, where a broad intended shape gets reworked with tiny strokes until the surface turns grainy.
The fix: Commit to the stroke. If it is wrong, let it dry and paint over it. That is what layering is for.
Mistake 5: Colors that are too bright from the start
Why it happens: Paint straight from the tube and mix on the canvas, where the ratio is hard to control.
The fix: Pre-mix on the palette, then add a touch of white or a complementary color to knock the brightness down before it touches the surface.
Mistake 6: Fiddling after the painting is done
Why it happens: The paint is still slightly soft and the canvas is still in front of you.
The fix: Decide the last step when you start, write it down, and close the paint when you reach it. Walk away. Wet acrylic that is disturbed while it skins over will lift fibers or drag into streaks.
Troubleshooting: What Went Wrong With My Painting?
Most disappointing first paintings come down to one of four things. This table maps each symptom to its cause and its fix.
| Problem | Likely cause | Fix |
|---|---|---|
| Muddy, dull color | Too many colors and too much water | Limit mixes to three colors, use less water, add white or black to shift value |
| Hard seam between colors | Paint dried before you blended into it | Work in smaller wet sections, or glaze a thin layer over the seam |
| Paint lifting off in sheets | Over-watered layer, or painting on a wet layer | Let each layer dry fully, use less water, do not scrub |
| Sticky or tacky surface | Too much water, or thick paint applied very heavily | Let it cure longer, and use thinner coats going forward |
| Grainy or rough surface | Overworked with a small dry brush | Leave it alone; once cured, the grain often disappears |
| Canvas showing through | Single thin coat with a weak paint | Add a second base coat, or use a paint with better coverage |
Keeping Paint Fresh and Brushes Alive
Acrylic paint cannot be rewetted once it dries, so how you store it during a session matters more than beginners expect.
Cover your palette while you pause. A damp paper towel laid over the paint, with a plastic sheet or a second plate on top, slows drying considerably. The same stack on an old plate, kept in the fridge between sessions, can keep paint workable for days. If you do nothing else, do this one thing.
Use a spray bottle on the palette. A fine mist keeps the surface from skinning over without adding enough water to weaken the paint.
Rinse in two stages. Wipe the brush on the rag until almost no color comes off, then rinse in the clean cup. Beginners often skip the wipe, end up with a permanent grey brush, and blame the paint.
On the distilled water debate you will find in hobbyist forums: both camps exist, and the honest answer is that a dedicated second cup kept clean matters more than the water type. If you are hard on your brushes, distilled water is cheap insurance, but rinsing thoroughly and standing brushes upright with bristles pointing down does most of the work.
When you are done, wash brushes with soap and warm water, reshape the bristles, and store them flat or upright, never in a closed container while still wet.
A Four-Month Progression Path for New Painters
Here is the order I would actually follow, based on what tends to stick. Each month builds one new skill on top of the last, and every project in it comes from the list above.
- Month 1: shapes and flat strokes. Color block stripes, a two-tone sky, and a color block panel. Goal: get comfortable with a loaded brush and stop overworking.
- Month 2: color and layering. A sunset gradient, a single flower in a pot, and three daisies. Goal: pre-mix on the palette and let layers dry.
- Month 3: composition and edges. Mountains and a lake, a balloon cluster, a simple house and tree. Goal: place shapes deliberately and finish with a defined last step.
- Month 4: texture and confidence. A galaxy sky, a palette knife texture study, and a tape-resist panel. Goal: work with less water and add one technique you did not know before.
For practice outside those projects, use the cheapest surfaces you have. A sheet of heavy cardboard, an old canvas you do not like, or the back of a stretched canvas all work, and messing up inexpensive material is how you learn to commit to a stroke.
Frequently Asked Questions
What is the easiest thing to paint in acrylic?
A simple sky with a straight horizon line is the easiest thing to paint in acrylic. You are working with two flat areas and one soft gradient, using four colors and one wide flat brush, and you can finish it in about 30 minutes. It also teaches the habit that matters most in this medium, which is building a painting in thin layers instead of fixing one thick wet passage.
What are 10 super easy painting ideas for beginners?
Here are ten: a two-tone sky over a flat horizon, a sunset gradient with a sun disc, color block stripes, one flower in a pot, three simple mountains, an ocean with a foam line, a galaxy swirl, a balloon cluster, a tape-resist geometric panel, and a simple house and tree. Every one uses fewer than six colors and takes between 20 and 70 minutes.
What are some easy acrylic painting ideas for beginners?
Start with scenery and abstract work because they reduce to bands, circles, and straight lines. Good first subjects are sunsets, ocean and foam lines, mountain ranges, color block stripes, and abstract panels. Move to flowers, balloons, and simple houses once you are comfortable with flat strokes. Save galaxy skies and palette knife texture for your second month.
What are some good things to paint with acrylic paint for beginners?
Paint what is made of two or three simple shapes. That means sunsets, mountains, oceans, single flowers in pots, balloon clusters, simple houses, seasonal ornaments, and abstract color blocks. A paper plate works as a curved-surface exercise, and a stretched canvas makes the best first piece. Avoid faces, hands, and animals, which depend on skills that take months.
What are some tips for acrylic painting as a beginner?
Start with five or six colors, including titanium white, and mix no more than three colors in any one passage. Paint from the tube more often than you think you should instead of thinning with water. Let each layer dry before adding the next. Keep a rag and a second water cup for your brush, and decide the last step before you start so you know when to stop.
What are common mistakes in acrylic painting?
The most common mistake is adding too much water, which weakens adhesion and leaves a chalky, lift-prone layer. Others include hard edges from painting into dry paint, muddy colors from over-mixing, and grainy surfaces caused by reworking with a small dry brush. The fix for all of them is the same: use less water, work in smaller wet sections, and let layers dry before correcting them.
What is the 70/30 rule in painting?
The 70/30 rule is a composition guideline, meaning roughly 70 percent of a painting should be open or negative space and about 30 percent should be your subject. For a beginner that translates into leaving sky, ground, and water areas relatively empty and keeping the object you are painting small. Beginners often reverse the ratio and end up with a crowded surface that has nowhere for the eye to rest.
What does adding baking soda to acrylic paint do?
Adding a small amount of baking soda to acrylic paint thins it slightly and slows drying, which gives you a longer blending window. It is a cheap stand-in for a commercial retarder medium and works well for soft clouds and wet-on-wet blending in a school or family setting. Add it in small amounts, because too much thins the paint past the point where it holds a stroke.
Conclusion: Start With One Sunset Tonight
Pick one project from this list, set out five colors and two brushes, and give yourself thirty minutes. These easy acrylic painting ideas for beginners are built so that finishing is the expected outcome rather than the lucky one, and the skills you pick up in that first session, layering, flat strokes, and letting a layer dry, carry straight into everything after it. Paint something small tonight and hang it, ugly and all.