
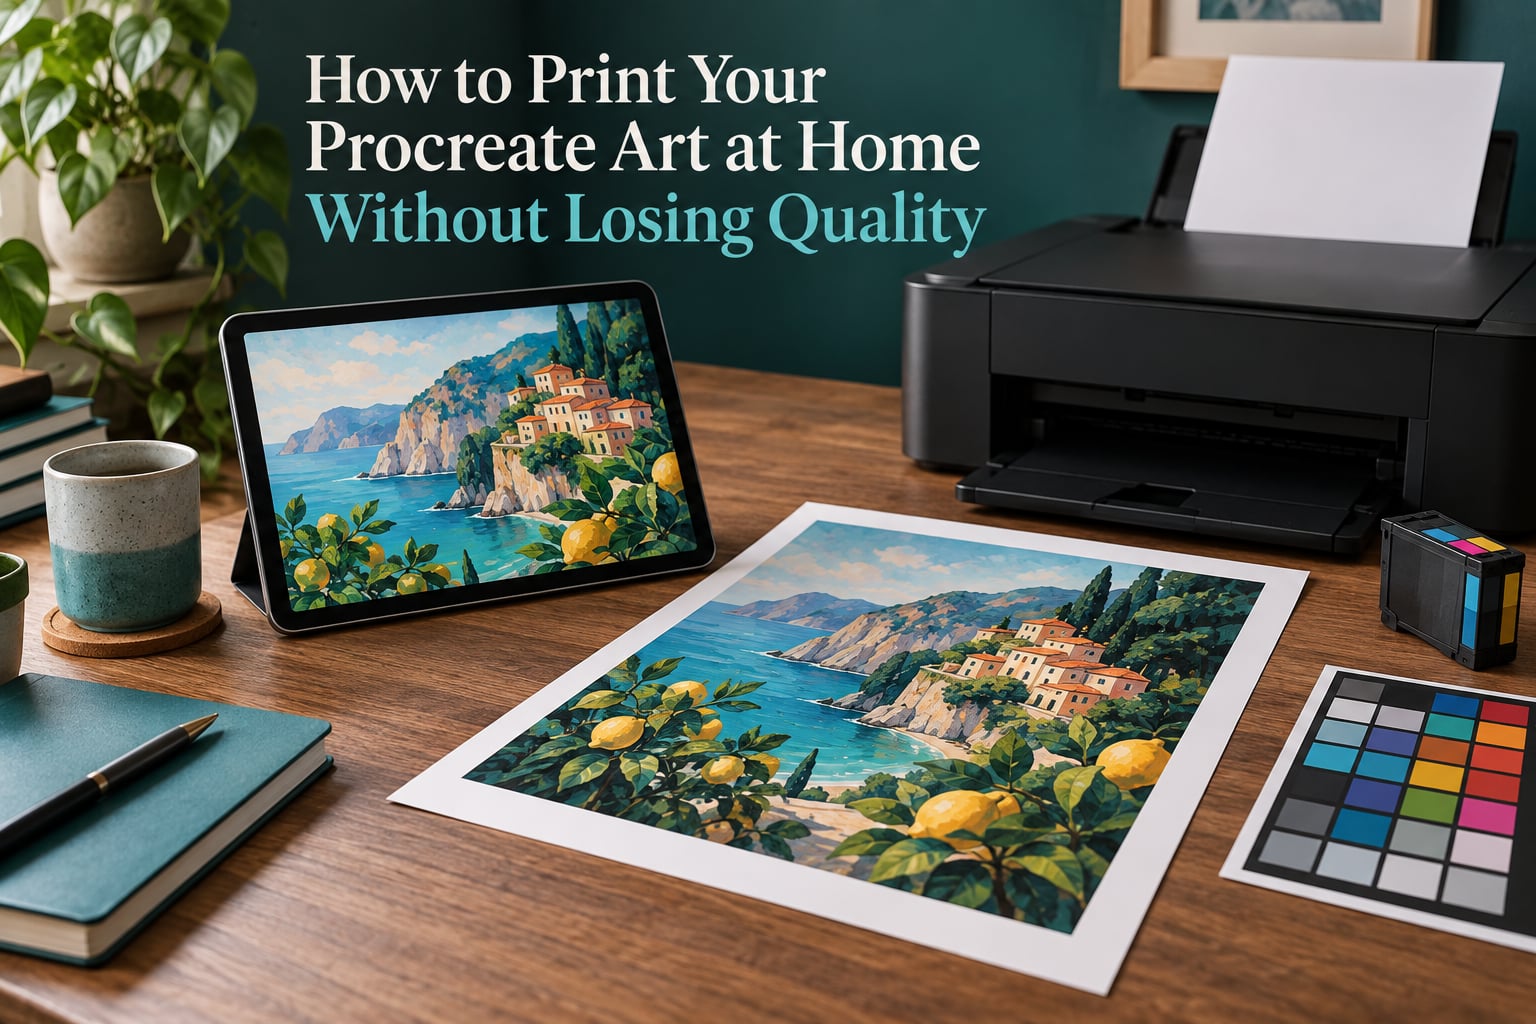
Most blurry Procreate prints are not caused by a bad printer. They are caused by a canvas that was created at the default screen resolution, then enlarged to poster size. Once the pixels are too few for the paper, no driver setting and no ink can bring them back.
This guide walks the whole path, from setting your canvas in Procreate to pulling a finished print off a home printer in 2026. You will get exact tap targets, a print-size-to-pixel lookup table, paper and printer guidance, and a troubleshooting table for the results that come out wrong.
Table of Contents
- What Printing Procreate Art at Home Without Losing Quality Actually Requires
- How to Set Your Procreate Canvas Resolution for Printing
- How to Export Procreate Art at Full Resolution
- How to Print Procreate Art from Your iPad, Step by Step
- How to Print the Exported File from a Mac or PC
- Why Your Colors Look Different on Paper
- Choosing Your Printer, Paper, and Print Size
- Troubleshooting: Why Your Print Came Out Blurry, Pixelated, or Banded
- The Pre-Flight Checklist Before Every Print
- Frequently Asked Questions
- How to export from Procreate without losing quality?
- What DPI should I set in Procreate for printing?
- How can I print my Procreate artwork?
- How do I make Procreate drawings high quality for printing?
- What is the best format to print from Procreate?
- Why does my Procreate print look blurry?
- Will enlarging my artwork look bad?
- Do I need a new iPad to print Procreate art?
- Final Thoughts and Next Steps
What Printing Procreate Art at Home Without Losing Quality Actually Requires
Printing Procreate art at home without losing quality comes down to four things: create the canvas at 300 pixels per inch at your final physical print size, export that file as a full-resolution PNG, print on a photo-capable inkjet with a supported paper type selected, and choose settings that stop the driver from resampling the image. Miss any one of those and the result softens.
Resolution cannot be added later. A canvas created at Procreate’s default 72 PPI screen setting only holds enough pixels for a very small print, and stretching that to A3 or 11×14 will always look soft. The canvas decision happens before you draw a single line, and it is the one decision that determines the quality of everything you print afterwards.
Here is the end-to-end workflow in order:
- Set the canvas size and resolution in Procreate to your final print dimensions at 300 PPI.
- Draw and finish the piece as normal, keeping layers intact.
- Export via Share > Export as a PNG at full resolution, with Reduce File Size switched off.
- Save the PNG to Files on the iPad so the print dialog has a stable source.
- Print from the iPad, Mac, or PC with the correct paper type and the borderless option turned on.
- Check a test print before running a full-size sheet, and adjust saturation if the color reads too dark.
That is the whole method. The rest of this article is the detail behind each step.
How to Set Your Procreate Canvas Resolution for Printing
Set the canvas to the exact physical size you want to print, at 300 PPI, before you start drawing. In Procreate, tap Actions in the top-right toolbar, then tap the wrench icon to open Settings, then tap Canvas. A panel appears with Width, Height, and a resolution slider in PPI. Set the inch dimensions, drag the PPI slider to 300, and everything else follows from there.
The order matters. Change the PPI slider first, then enter the width and height. Procreate recomputes the pixel dimensions as you type, and the megapixel count and file size update live underneath the fields so you can see whether the canvas will still fit in memory.
DPI versus PPI, in plain language
Pixels Per Inch (PPI) describes your digital file: how many screen pixels sit in each inch of the intended print. Dots Per Inch (DPI) describes the printer: how many individual dots of ink or toner it places in each inch of paper. The number 300 is the meeting point. It is the industry floor for continuous-tone photographic and art printing, and almost every home inkjet prints at 600 DPI by depositing several differently sized dots into each 300 PPI pixel position.
| Term | What it measures | Where it applies | What 300 means |
|---|---|---|---|
| PPI | Screen pixels per inch | Your Procreate canvas and exported file | 300 pixels per inch of the file |
| DPI | Ink or toner dots per inch | The printer hardware | Typically 600 or higher, built from 300 PPI pixels |
| MP | Total pixel count, width times height | Both | A 3600 x 4800 canvas is about 17.3 megapixels |
You will hear people say “set 300 DPI in Procreate” constantly, including in most of the forum threads ranking for this question. It is harmless shorthand, and Procreate’s own slider says PPI. Nothing changes by using the sloppy version, but knowing the difference tells you which number you can actually control.
Print size to pixel dimensions at 300 PPI
Use this table to look up the exact pixel dimensions to type into the canvas fields. This is the lookup table that the most-repeated question on the Procreate forums, what size should my canvas be for printing, never had an answer for.
| Print size | Pixel dimensions at 300 PPI | Approx. megapixels | Feasible on iPad |
|---|---|---|---|
| 4 x 6 in (10 x 15 cm) | 1200 x 1800 | 2.2 MP | Yes |
| 5 x 7 in (13 x 18 cm) | 1500 x 2100 | 3.2 MP | Yes |
| A5 (5.83 x 8.27 in) | 1749 x 2481 | 4.3 MP | Yes |
| 8 x 10 in (20 x 25 cm) | 2400 x 3000 | 7.2 MP | Yes |
| A4 (8.27 x 11.69 in) | 2480 x 3508 | 8.7 MP | Yes |
| 11 x 14 in (28 x 36 cm) | 3300 x 4200 | 13.9 MP | Yes, on 6GB or more |
| 11.7 x 16.5 in (A3) | 3508 x 4961 | 17.4 MP | Yes, on 6GB or more |
| 12 x 16 in (30 x 41 cm) | 3600 x 4800 | 17.3 MP | Yes, on 6GB or more |
| 16 x 20 in (41 x 51 cm) | 4800 x 6000 | 28.8 MP | Tight, layer count matters |
| 18 x 24 in (46 x 61 cm) | 5400 x 7200 | 38.9 MP | Risky, keep layers minimal |
| 24 x 36 in (61 x 91 cm) | 7200 x 10800 | 77.8 MP | No, work in chunks |
Two cautions on the lower half of that table. Large canvases hit the iPad memory ceiling, and a 38.9 MP canvas with twenty layers can crash the app mid-session, so keep the layer count lean on anything above A3. For anything past 18 x 24, a 300 PPI native file is not realistic on a tablet, and you will be assembling a large print from tiled sections or handing it to a print service instead.
The 4x5C and screen-ratio trap
Procreate’s gallery templates and most YouTube tutorials use 4 x 5 inches or a screen-friendly 3:2 or 2:3 ratio, which is fine for posting and awkward for printing. A 4x5C at 300 PPI is only 1200 x 1500 pixels, so the largest clean print is a 4 x 5 inch card. If you want an 8 x 10, you need double the width and height, and you have to create it at 2400 x 3000 from the start.
There is a simple formula: pixels = inches x 300. Multiply each print dimension by 300 and you have your canvas. If your file is smaller than that number, the printer will magnify it. If it is larger, the driver downsamples cleanly and you lose nothing but a little speed.
What to do if your canvas is already too small
If your artwork already exists at 72 or 150 PPI, the pixels are gone and no setting brings them back. Three options remain. Print it at a size that matches the resolution you actually have, which for a 150 PPI 2480 x 3508 file is about 16.5 x 23 inches at print-acceptable sharpness, though most people will find it soft before that. Or rebuild the piece at 300 PPI if it took a few hours. Or run it through a genuine AI upscaler that reconstructs detail rather than a simple enlarge, then check the result at 100% before committing paper.
Resizing a canvas in Procreate with Transform does not add detail. It stretches the existing pixels, and the result is the same soft enlargement you would get in the print dialog.
How to Export Procreate Art at Full Resolution
Export with Share > Export, choose PNG, and leave Reduce File Size switched off. The export sheet gives you format options at the top, a scale control in the middle, and the file name at the bottom. Tapping Share, then Export, opens it directly without a save dialog. Procreate exports the flattened composite of every visible layer at the canvas’s full pixel dimensions.
Turn off Reduce File Size unless you have a specific reason. That toggle applies extra compression to the PNG, which shrinks the file but quietly degrades fine gradients and line detail. For print work it buys you nothing you need, and the file still fits comfortably in AirPrint and Photos.
| Format | Compression | Transparency | Best use for printing |
|---|---|---|---|
| PNG | Lossless | Yes, alpha channel | The default answer for art prints, line work, and anything with transparency |
| JPEG | Lossy | No | Photographic or painterly work with no transparency and a tight file size need |
| TIFF | Lossless | Yes | Archival masters and multi-page workflow; some home drivers handle it poorly |
Comic artists on the Tapas forums report a hard-won rule: save as PNG rather than downscaling into a smaller JPEG, because JPEG compression visibly degrades line art and the degradation compounds every time the file is re-saved. The same thinking applies to digital painting, where smooth skin tones and sky gradients show JPEG blocking first.
Two export habits worth building. First, keep a duplicate of the layer file as your master before exporting, so you can re-export at a different size later without flattening your work. Second, when you need a transparent background, hide the background layer, export a PNG with the alpha channel intact, and the printer’s driver will fill the transparency with white. If you want that white baked in, add a solid layer underneath before exporting.
How to Print Procreate Art from Your iPad, Step by Step
You can print Procreate art directly from your iPad to any AirPrint printer on the same Wi-Fi network, and the print dialog will not compress the file. The reliable path is to save the export to Files first rather than printing straight from the Procreate canvas, because the canvas view hands the printer a flattened screen render instead of your full-resolution file.
- Export and save. Share > Export as PNG, then Share > Save to Files, and pick a folder such as On My iPad or iCloud Drive.
- Open the Files app and tap the exported PNG so it opens in the Preview viewer.
- Tap the share icon in the top-right of the viewer, then scroll to Print in the share sheet.
- Pick your printer from the list. If it does not appear, add it in Settings > Printers, and confirm the iPad and the printer are on the same network.
- Set Paper Size to the loaded paper and turn on Show Paper Sizes if the option is greyed out.
- Turn off Print Full Bleed unless the paper size and image size match exactly, since the driver crops to the printer’s unprintable margin otherwise.
- Set the number of copies and tap Print in the top-right.
Paper selection inside this dialog matters more than most people expect. Procreate art sent to a plain sheet looks muted and slightly dull next to the same file on matte photo paper, because the driver lays ink differently for coated media. If your printer has a second tray or a rear sheet feed, load the photo paper there and select it in Paper Size rather than leaving the default in Tray 1.
How to Print the Exported File from a Mac or PC
Printing from a computer gives you more control, and on a Mac it is usually the better route because Preview exposes the fit settings. Open the exported PNG, and on macOS use Preview. In the print panel, set Paper Size to the loaded media, choose the highest Quality or Highest Resolution option rather than Economy, and set Scale to Fit to Page or Actual Size. Avoid Fill Entire Paper, which is a fast route to a soft print because it enlarges the image beyond the printable area.
On Windows, open the file in Photos, print with Ctrl+P, pick your printer, and set the paper size and quality to the same high setting. The key control is Fit to Page. A file at 5400 x 7200 pixels at 300 PPI is 18 x 24 inches, and when you select an 11 x 17 inch sheet, the driver downsamples it cleanly, which is exactly what you want.
If you have color-managed software such as Photoshop, Lightroom, or Affinity Photo on the machine, open the PNG there instead and soft proof it against your paper profile before printing. That is the only way to preview how the highlights will roll off on a glossy sheet, where bright areas tend to flatten.
Why Your Colors Look Different on Paper
Your iPad screen is a backlit RGB display, and paper reflects CMYK ink in daylight. Those two systems share only part of the visible spectrum, so an exact match is impossible, and the difference is not a fault in your export. RGB uses additive light, where adding channels moves toward white, while CMYK uses subtractive ink, where adding channels moves toward black. The consequence is that saturated RGB colors, especially deep blues and violets, sit outside what ink can reproduce.
| Surface | How it makes color | Typical look |
|---|---|---|
| iPad screen | RGB light emitted from behind the pixels | Bright, high contrast, saturated |
| Matte paper | CMYK ink diffused under a matte coating | Soft contrast, slightly muted saturation |
| Glossy photo paper | CMYK ink under a reflective coating | Punchier contrast and saturation, visible glare |
| Fine art cotton rag | CMYK ink absorbed into matte fibre | Lowest saturation, deepest blacks, best for portraits |
Two habits close most of the gap. View your artwork under daylight-balanced room lighting rather than judging it from the iPad, and dial saturation down by 10 to 15 percent before exporting if the print reads as garish on matte media. Glossy paper needs less adjustment, since it already pushes saturation upward. Deep violets and near-neon blues will still shift, and that is a gamut limit rather than a mistake on your part.
Choosing Your Printer, Paper, and Print Size
For digital art at home, an inkjet with at least four dye or pigment inks and a supported photo paper path will handle the vast majority of Procreate styles. Look for a printer that lists matte or fine art media by name in its driver, plus a borderless option, rather than judging by print speed. Color inkjet prints are measured in minutes per sheet and that is normal.
| Printer type | Photo quality | Art handling | Running cost over time |
|---|---|---|---|
| Inkjet, 4 or more inks | Excellent with photo media selected | Handles gradients, skin tones, and fine detail well | Ink is the main ongoing expense, especially for large coverage |
| Office inkjet | Good, limited grey and photo gamut | Banding risk in smooth gradients | Cheaper per page |
| Laser | Weak for continuous tone | Toner is dull and the gamut is narrow, poor for artwork | Low running cost, but not for art prints |
Home sellers posting their pipelines publicly describe a repeatable setup: a consumer inkjet loaded with archival pigment ink, matte art paper at 230 gsm or heavier, prints sleeved in cellophane, and backed with greyboard for shipping. The 230 gsm figure comes up repeatedly because anything thinner bows, wrinkles in the printer, and shows ink bleed on the reverse.
For paper, the choice is a trade between saturation and longevity.
| Media | Finish | Ink usage | Best for |
|---|---|---|---|
| Matte photo paper | No glare | High, the coating spreads ink | Everyday prints, illustrations, anything viewed in mixed lighting |
| Glossy photo paper | Reflective | Lower than matte | Vivid digital painting, pop art, high-contrast pieces |
| Lustre or satin | Slight sheen | Between matte and glossy | A compromise that hides fingerprints better than gloss |
| Cotton rag fine art | Deep matte, textured | High, porous surface | Landscapes, portraits, and pieces you intend to frame long term |
On the cost side, the honest reality is that ink dominates. A full-coverage 16 x 20 photo print pushes close to a quarter of a cartridge’s worth of each color into one sheet, and a small inkjet kit will only carry you so far before cartridges become the real running budget. Test printing at 4 x 6 inches to calibrate settings first, and reserve full-size sheets for artwork you have already proofed.
Bleed and margins are the last settings before you print. Most home printers cannot print to the very edge, usually a quarter inch on each side, and if your image is scaled to fill the sheet, that margin crops your art. For a borderless print, size the canvas slightly larger than the paper, for example 8.25 x 10.25 inches of artwork on an 8 x 10 sheet, so the unprintable strip gets cut away and no white edge shows. Turn off Print Full Bleed in that case, since the driver assumes the image already runs past the edge.
Troubleshooting: Why Your Print Came Out Blurry, Pixelated, or Banded
Match the symptom in the left column to the cause on the right and apply the fix. Almost every disappointing home print traces back to one of six causes, and the file itself is usually not at fault.
| Symptom | Likely cause | Fix |
|---|---|---|
| Blurry or soft overall | File has fewer pixels than the print area needs, so the driver enlarged it | Print at a smaller size, or rebuild the canvas at 300 PPI with pixel dimensions equal to inches x 300 |
| Visible square blocks or pixel steps on diagonal lines | Severe enlargement of a low-resolution file | There is no fix at print time. Recreate at 300 PPI or use a real AI upscaler and inspect at 100% |
| Sharp center, soft edges | Print Full Bleed or Fill Entire Paper enlarged the image to cover the sheet | Turn off both options and use Fit to Page or Actual Size |
| Visible banding in skies or skin | 8-bit source on an economy quality setting, or heavy compression from Reduce File Size | Export PNG with Reduce File Size off, then select the highest quality option in the print dialog |
| White edges around the image | Printer cannot reach the sheet edge and the file was sized exactly to the paper | Add 0.25 inch of bleed to the canvas, or accept the border and size the artwork for a matte |
| Colors much darker or more saturated than the screen | Driver used the plain paper profile, or matte stock needs less saturation | Load the correct paper in the driver profile, then reduce saturation 10 to 15 percent and reprint a test |
| Dots or grainy texture in flat areas | Matte paper photographed with flash, or ink not being absorbed | Let the print dry flat for fifteen minutes before handling, and let light fall from the side rather than head-on |
Two habits prevent most of this. Print one 4 x 6 test from the same file before committing a full sheet, and check the exported PNG on a desktop at 100% zoom, where pixelation is obvious. If the file looks clean there and the print does not, the problem is in the print settings, not the export.
The Pre-Flight Checklist Before Every Print
Run this ten-point list before any Procreate art print leaves the iPad. It takes under a minute and catches the overwhelming majority of failures.
- Canvas pixel dimensions equal print inches multiplied by 300, or larger.
- Canvas resolution slider set to 300 PPI or above.
- Aspect ratio matches the paper, or bleed added deliberately.
- Exported as PNG with Reduce File Size off.
- File opened at 100% zoom and checked for pixelation or banding.
- Correct paper type selected in the printer driver, matching what is physically loaded.
- Highest or Highest Resolution quality chosen, not Economy or Draft.
- Print Full Bleed and Fill Entire Paper turned off unless bleed was added.
- One 4 x 6 test print inspected under room lighting.
- Saturation reduced 10 to 15 percent if the test reads too vivid on matte media.
When the print is finished and fully dry, handle the edges only, and if you are framing it, pick an acid-free mat board for anything you want to keep for decades. Matte paper inside a frame under glass picks up no reflection and no fingerprints, which is another reason many artists settle on matte for finished pieces.
Frequently Asked Questions
How to export from Procreate without losing quality?
Open your artwork, tap Share, then tap Export, and choose PNG. Leave Reduce File Size switched off, since that toggle applies extra compression that softens fine line work and gradients. Procreate exports the flattened composite of all visible layers at the canvas’s full pixel dimensions. Save the result to Files rather than printing directly from the canvas, so the print dialog uses the high-resolution file.
What DPI should I set in Procreate for printing?
Set your canvas to 300 pixels per inch at the final physical print size you want. Technically Procreate measures pixels per inch, while DPI describes the printer’s ink dots, but 300 is the meeting point and the accepted floor for continuous-tone printing. You cannot add resolution later, so this must be set before you draw.
How can I print my Procreate artwork?
Export the piece as a full-resolution PNG and save it to the Files app. Open the PNG, tap the share icon, choose Print, select your AirPrint printer, match the Paper Size to the paper you loaded, turn off Print Full Bleed unless you added bleed, and set the copy count. On a Mac, open the same file in Preview and use Fit to Page or Actual Size at the highest quality setting.
How do I make Procreate drawings high quality for printing?
Quality is decided before drawing. Set the canvas to your intended print dimensions at 300 PPI, and type pixel values equal to inches multiplied by 300. A 12 x 16 inch print needs 3600 x 4800 pixels. Then export as PNG with Reduce File Size off, and print on a photo-capable inkjet with the correct paper profile selected.
What is the best format to print from Procreate?
PNG is the best default format. It is lossless, it keeps an alpha channel so transparent backgrounds survive, and it shows no compression artifacts in gradients or fine lines. JPEG is acceptable for painterly work with no transparency, but every re-save degrades the file further. TIFF is lossless too and suits archival masters, though some home print drivers handle it less smoothly.
Why does my Procreate print look blurry?
Almost always because the exported file has fewer pixels than the print area requires, so the printer driver enlarged it. Calculate the pixels you need by multiplying each print dimension by 300 and compare with your file. If the file is smaller, either print smaller or rebuild the canvas at the correct size. A second cause is Print Full Bleed or Fill Entire Paper scaling the image up to cover the sheet.
Will enlarging my artwork look bad?
It depends entirely on how much you enlarge it. A file created at Procreate’s default 72 PPI screen resolution has very few pixels, so anything beyond postcard size will look soft. A file created at 300 PPI and printed at the same physical size looks sharp, because no enlargement happens. Going more than about 10 percent above a file’s native print size is where results start to degrade visibly.
Do I need a new iPad to print Procreate art?
No. Printing quality depends on the pixel dimensions of your canvas, not on which iPad model drew it. An older iPad can produce a full-quality 8 x 10 print as long as the canvas was created at 300 PPI with the correct pixel dimensions. The real limits are iPad memory on very large canvases, such as anything above 18 x 24 inches at 300 PPI, and whether your printer is reachable over AirPrint.
Final Thoughts and Next Steps
To print your Procreate art at home without losing quality, decide the physical print size first, set the canvas to that size at 300 PPI, export a full-resolution PNG, and print it on a photo-capable inkjet with the correct paper profile. Everything else in the process is a detail, and every one of those details is fixable after the fact except the canvas resolution.
Start with a small piece you already finished, measure its pixel dimensions against the table above, and print one 4 x 6 test. That single sheet will teach you more about your printer’s color and paper handling than another hour of tutorials, and it costs a fraction of a poster. Once the test looks right, scale up to the size you actually want on the wall.