
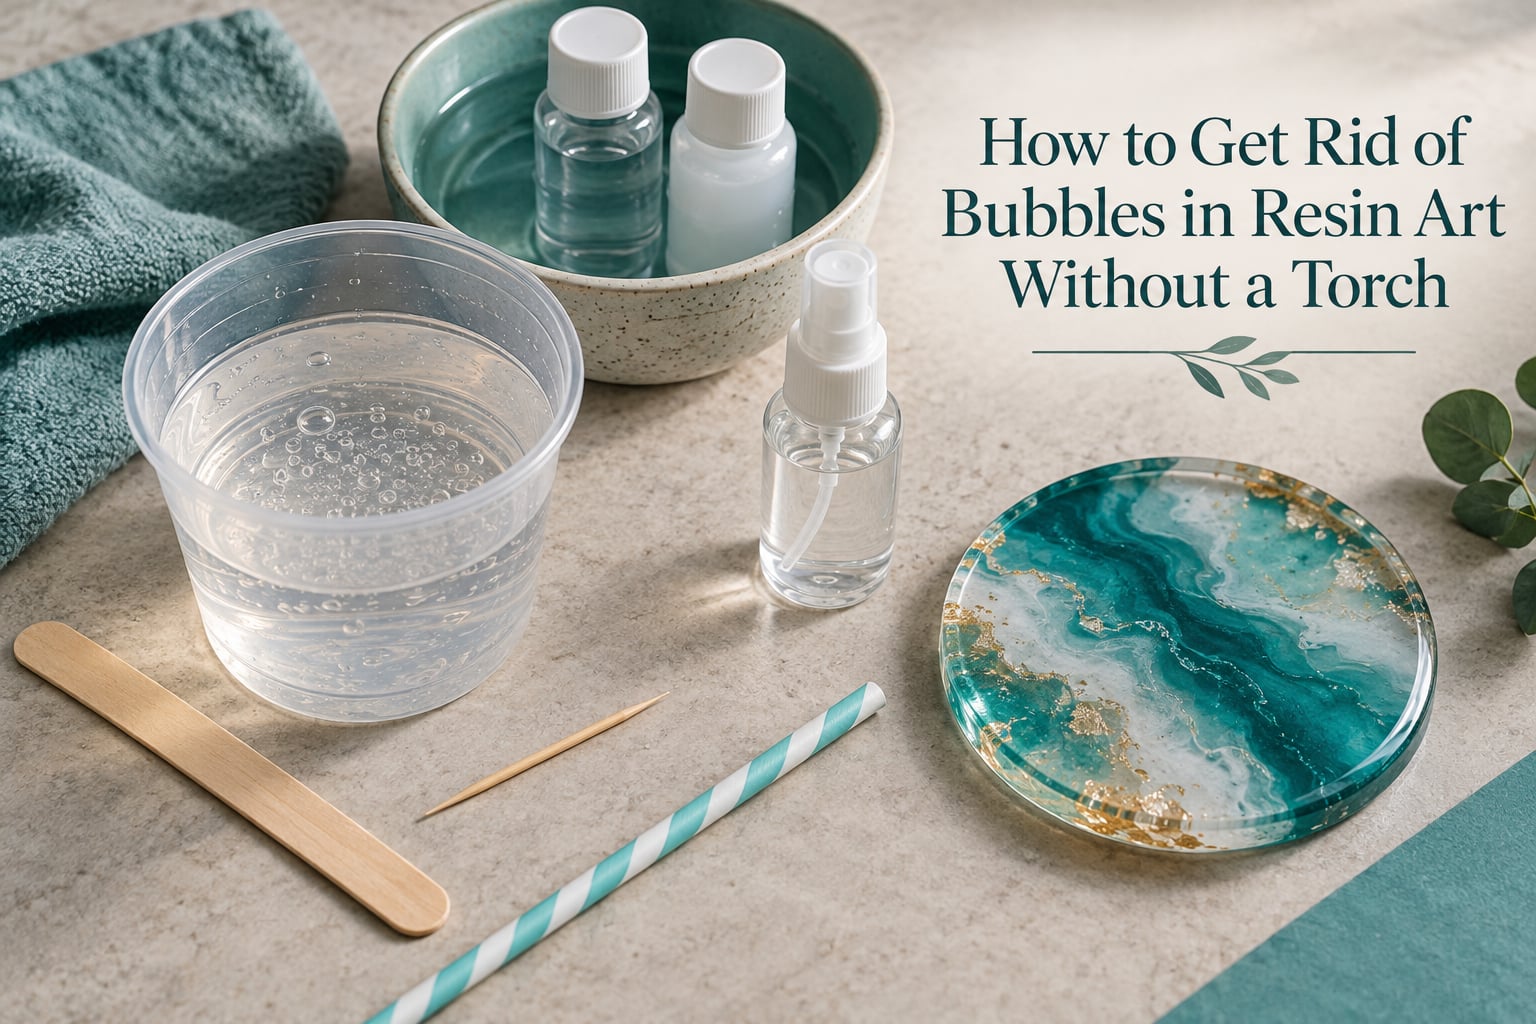
You can get rid of bubbles in resin art without a torch by warming the resin and hardener in a water bath before mixing, letting the mix rest so trapped air rises, and then popping what remains with a light spritz of isopropyl alcohol, a toothpick, or a straw. None of those methods need flame, and all of them cost almost nothing. Add a vacuum chamber, ultrasonic cleaner, or pressure pot only if you pour often enough to justify one.
I’ve poured enough epoxy coasters, trays, and geode canvases to know that a torch is a shortcut, not the answer. It’s also the reason a lot of first projects end in a permanently fused silicone mould. Below is the full torch-free stack, updated for 2026, ordered by the stage of the pour where each method does the most work.
Table of Contents
- Why Do Bubbles Form in Resin Art?
- The Torch-Free Cheat Sheet
- How to Get Rid of Bubbles in Resin Art Without a Torch: 7 Methods
- Method 1: Warm the Resin and Hardener in a Water Bath
- Method 2: Stir Slowly, Then Let the Resin Rest
- Method 3: Spritz the Surface With Isopropyl Alcohol
- Method 4: Pop Surface Bubbles With a Toothpick
- Method 5: Blow Bubbles Out Through a Straw
- Method 6: Drag Bubbles Out With a Plastic Stir Stick
- Method 7: Degas With a Vacuum Chamber, Ultrasonic Cleaner, or Pressure Pot
- Does a Hair Dryer Remove Resin Bubbles?
- How to Remove Bubbles at Each Stage
- Fixing Bubbles That Appear While the Resin Is Curing
- How to Repair Bubbles in Already-Cured Resin
- Bubbles in UV Resin Are a Different Problem
- Safety Notes for Alcohol and Heat Methods
- Preventing Bubbles in the First Place
- Frequently Asked Questions
- Conclusion
Why Do Bubbles Form in Resin Art?
Bubbles are air trapped in liquid epoxy. Once the resin cures, that air is locked inside the piece forever, and it reads as a cloudy white pocket instead of the optically clear finish that makes resin art worth doing.
There are four main sources, and they hit at different points in the pour:
- Mixing. Vigorous stirring folds air into the resin. Whipping is especially bad, because the vortex pulls air down and traps it deep where it cannot rise.
- Pouring. Pouring from a height, pouring in one fast stream, and pouring into a deep mould all trap air pockets. Bubbles also stick to the mould wall, which is where holes appear along the front edge at demoulding.
- Porous inclusions. Dried flowers, unsealed wood, fabric, and paper all breathe air into the resin. A dried flower sealed correctly cannot produce a bubble.
- Cold resin. This is the one most beginners miss. Cold resin is more viscous, so air cannot rise through it, and the result is a cloud of micro bubbles rather than a few fat lumps.
Humidity, dust in the air, and a dusty or oily mould add more. A room at 75 to 80 F gives noticeably cleaner pours than a cold garage, because the resin mixes and flows more freely at the same ratio.
The Torch-Free Cheat Sheet
If you only remember five things, remember these:
- Warm the bottles for about 10 minutes before you even measure. Kills micro bubbles at the source.
- Stir slowly, scrape the sides and the bottom, and let the mix rest 5 to 10 minutes before pouring.
- Spritz isopropyl alcohol at 64 percent or higher over the surface, and keep the bottle moving.
- Toothpick anything still visible, and drag stubborn bubbles to the mould edge with a plastic stir stick.
- Seal every porous inclusion before it touches resin. Prevention beats removal every time.
How to Get Rid of Bubbles in Resin Art Without a Torch: 7 Methods
Method 1: Warm the Resin and Hardener in a Water Bath
Fill a bowl with warm water, submerge both bottles with their lids closed tight, and leave them for about 10 minutes. Then dry the bottles completely, open them, and measure as normal. Warming lowers the viscosity, which is what lets trapped air rise instead of hanging there. Every tutorial and forum thread on the subject repeats this technique, and in my experience it also gives the biggest improvement for the least effort.
The lids stay closed so no water gets into the resin. A drop of water in part A can stop a cure dead, and it is far easier to prevent than to diagnose later.
Method 2: Stir Slowly, Then Let the Resin Rest
Mix at the bottom of the cup, scrape the walls, and fold the resin in slowly rather than stirring quickly. Most of the air you introduce is introduced in the first thirty seconds. After mixing, rest the cup 5 to 10 minutes and watch the surface as air pockets drift upward and pop on their own. Longer rest works better, but you are spending pot life, so find the balance your resin’s instructions allow.
Method 3: Spritz the Surface With Isopropyl Alcohol
Fill a clean spray bottle with isopropyl alcohol at 64 percent concentration or higher and mist it lightly over the poured surface from roughly a foot away. Alcohol lowers the surface tension holding each bubble’s skin together, so the bubble pops. Keep the nozzle moving and keep the spritz light. You want a sheen of mist, not wet patches. A soaked area can stay tacky and refuse to cure properly, which is where the alcohol-cure myth comes from.
Method 4: Pop Surface Bubbles With a Toothpick
Use a wooden toothpick to burst anything the spritz missed, then drag the broken skin toward the nearest mould edge so the pieces float away. Add a second toothpick when you want to nudge a stubborn bubble from two sides. Work while the resin is still fluid; a toothpick has no purchase once the surface starts to gel, and chasing bubbles at that stage usually lifts a small chunk of resin with them.
Method 5: Blow Bubbles Out Through a Straw
Put a clean drinking straw into the resin a short distance from the bottom of the pour and blow steadily through it. The stream of air from your lungs carries CO2 into the resin, and the rising bubbles push surface bubbles aside so they pop against the wall. Rotate around the mould so you reach every corner, and keep blowing gently. This costs nothing, needs no electricity, and works well on shallow pours and coaster-sized work.
Method 6: Drag Bubbles Out With a Plastic Stir Stick
Use a plastic or silicone stir stick to push a bubble toward the mould wall, then pop it as it hits the edge. Never use the wooden stir stick that ships in many resin kits. Wood is porous, it absorbs a little of the uncured resin, and it slowly gives that trapped air back as bubbles. Readers have been pointing this out in forum threads for years, and switching to plastic sticks is one of the cheapest wins in resin art.
Method 7: Degas With a Vacuum Chamber, Ultrasonic Cleaner, or Pressure Pot
These are the flame-free options that do not depend on touching the surface. A vacuum chamber pulls the air out of the whole mix in one pass and does more for a deep pour than any surface method. An ultrasonic cleaner uses vibration to float bubbles to the surface, which suits jewelry and small pieces. A pressure pot compresses trapped air so it becomes optically invisible once the pot is equalized. Pressure pots need a compressor, which rules them out for many apartment crafters.
Does a Hair Dryer Remove Resin Bubbles?
Yes, a hair dryer moves warm air across the surface so surface tension drops and bubbles pop, and it is flame-free. Use it on low or medium heat, attach the diffuser if you have one so the air is spread instead of concentrated, and keep the dryer moving in a steady sweep about a foot above the pour. Two or three passes is plenty.
Do not hover, and do not use the high setting. Concentrated heat for too long can yellow the resin, disturb pigments, or warm the silicone mould enough that the cured piece fuses to it. A hair dryer is a surface tool; it will not reach bubbles trapped in the middle of a deep pour.
How to Remove Bubbles at Each Stage
Before mixing
Warm both bottles for about 10 minutes in a water bath, dry the lids, and seal porous inclusions such as dried flowers and unsealed wood. Dust the mould and the work surface.
While mixing
Stir slowly from the bottom, scrape the sides and base, and avoid any vortex. Let the mix rest 5 to 10 minutes before pouring.
After pouring
Spritz isopropyl alcohol lightly from a foot away, then toothpick anything that survived and drag it to the edge. A straw handles bubbles in the middle of the pour.
While curing
You have very little room to act here. Keep the piece warm and stable, do not move it, and resist the urge to add liquid to a thickening pour.
After curing
Bubbles are permanent. The only fixes are cutting and refilling, or sanding the surface and repouring a thin coat over it.
Fixing Bubbles That Appear While the Resin Is Curing
This is the hardest stage, and it is the one that most write-ups skip. Air trapped deep in the pour keeps migrating upward as the resin thickens, so bubbles can re-emerge on a surface that looked perfect minutes earlier. One r/ResinCasting poster described exactly this: bubbles popped before the piece went into a curing machine, but the air rising out of the resin during the cure had nowhere to escape.
What actually helps:
- Prevent instead of rescue. A thin first layer, cured before the main pour, gives trapped air somewhere to go that is no longer locked in.
- Keep the piece warm while it cures. Warmer resin stays less viscous for longer, so late-arriving bubbles can still reach the surface.
- Pour shallower over any inclusion. Deep pours over flowers and wood hold the most trapped air.
- Do not seal the surface. If a cover or release film is trapping air against the top, leave an edge vented.
Once the resin is soft but not yet firm, a toothpick can still lift a fresh bubble. After that, the only option is repair.
How to Repair Bubbles in Already-Cured Resin
For a single bubble, drill or cut a small hole directly over it, down to the pocket, then fill with freshly mixed resin and let it cure. Sand the repair flush afterwards. A drop of resin on the surface of a cured piece bonds to it well enough to fill a small pinhole, which is enough for surface bubbles but not for a bubble with depth behind it.
For widespread cloudiness, sand the whole surface back with progressively finer grits and pour a fresh thin coat over it. A single sanded-and-repoured coat hides shallow bubbles well. Deep ones reappear, so go back to cutting and refilling the individual pockets. If the piece is cloudy because of micro bubbles rather than discrete holes, sanding will not fix it, because the cloudiness is spread through the full depth of the pour.
Bubbles in UV Resin Are a Different Problem
UV resin cures in minutes under a lamp, which changes the whole game. You have a very short working window, so anything that takes time, like a 10 minute water bath or a 5 to 10 minute rest, is out. Warm the bottle in your hands for a minute, work fast, and use a straw or toothpick rather than a spritz. Light curing also leaves the surface slightly tacky and fingerprints collect, so a quick tacky layer of cured resin over the top often cleans the finish up.
Safety Notes for Alcohol and Heat Methods
Isopropyl alcohol is flammable, and epoxy resin gives off heat as it cures. That combination comes up again and again in resin forums, and the answer is dosage and timing. A light spritz evaporates within a minute or two, well before the exotherm gets going. Stay under the maximum amount your resin instructions allow, do not spray a hot pour, and never spray near a flame or a hair dryer you are running at the same time.
If a pour does not cure, alcohol is almost never the cause. Unmixed resin scraped from the cup walls and inaccurate measuring account for far more soft spots than surface mist. On heat methods, keep the tool moving, work in the cup rather than the mould where you can, and never let a silicone mould get hot enough to fuse to the piece, because that ruins both.
Work in a ventilated space, wear nitrile gloves, and keep your workspace clear of anything flammable. It is a small setup, but it holds up.
Preventing Bubbles in the First Place
Most bubble problems are solved before mixing starts. Seal every porous inclusion with a thin coat of resin or a dedicated sealer, and let it cure fully. Keep the room between 75 and 80 F. Work in a dust-free space away from open windows and fans. Use plastic or silicone stir sticks, never wood. Choose a low-viscosity resin when you can, since thinner resin releases air more readily. And when you have the choice, pour in two thin layers instead of one deep one.
None of that guarantees a bubble-free surface. It just means the ones you fight are the ones you can see, rather than the micro bubbles hiding in a cloudy mix.
Frequently Asked Questions
What is the best way to get bubbles out of resin?
The best way to get bubbles out of resin is prevention plus a two-stage clean-up. Warm the resin and hardener in a water bath for about 10 minutes before mixing, stir slowly, and let the mix rest 5 to 10 minutes so air rises. After pouring, spritz isopropyl alcohol at 64 percent or higher over the surface, then toothpick anything that remains. A vacuum chamber is the best single tool if you pour often.
What is a good bubble remover for resin art?
A good bubble remover needs no flame. Isopropyl alcohol in a fine spray bottle breaks the surface tension that holds each bubble together, so a light spritz makes surface bubbles pop on their own. A toothpick handles what is left, and a drinking straw clears bubbles trapped in the middle of a pour. For deep pours, a vacuum chamber removes air from the entire mix in one pass.
Will a hair dryer remove bubbles from resin?
Yes. A hair dryer on low or medium heat moves warm air across the surface, which lowers surface tension and pops bubbles, and it uses no flame. Add the diffuser attachment if you have one, keep the dryer moving about a foot above the pour, and limit yourself to two or three passes. High heat held in one spot can yellow the resin or warm the silicone mould enough to fuse to the piece.
Can I use a torch to remove bubbles from epoxy resin?
A torch works, but it is not the only option and it carries real risk. Direct flame can yellow the resin, and enough heat on a silicone mould can fuse the cured piece to it permanently. Warm air from a hair dryer, isopropyl alcohol, a straw, or a toothpick handles the same surface bubbles with no flame at all. A pressure pot handles bubbles inside the pour without any heat.
How do I remove bubbles in a silicone mold?
Spritz the poured surface lightly with isopropyl alcohol, then use a toothpick to burst anything left and drag the skins to the mould edge. Bubbles that cling to the mould walls are the ones that become holes along the front edge at demoulding, so push those toward the edge deliberately. Pour in two thin layers rather than one deep one, and let the first layer cure so late-rising air still has an escape route.
Conclusion
Learning how to get rid of bubbles in resin art without a torch is mostly about timing. Warm the resin, stir gently, let the mix rest, and then work the surface with alcohol, a toothpick, a straw, or a plastic stir stick. Save the vacuum chamber and pressure pot for when you are pouring deep enough that surface methods stop being enough.
Try the warm-water bath on your next pour and count the bubbles before and after. You will be surprised how much of the problem was cold resin all along, and how rarely a flame turns out to be the answer.