
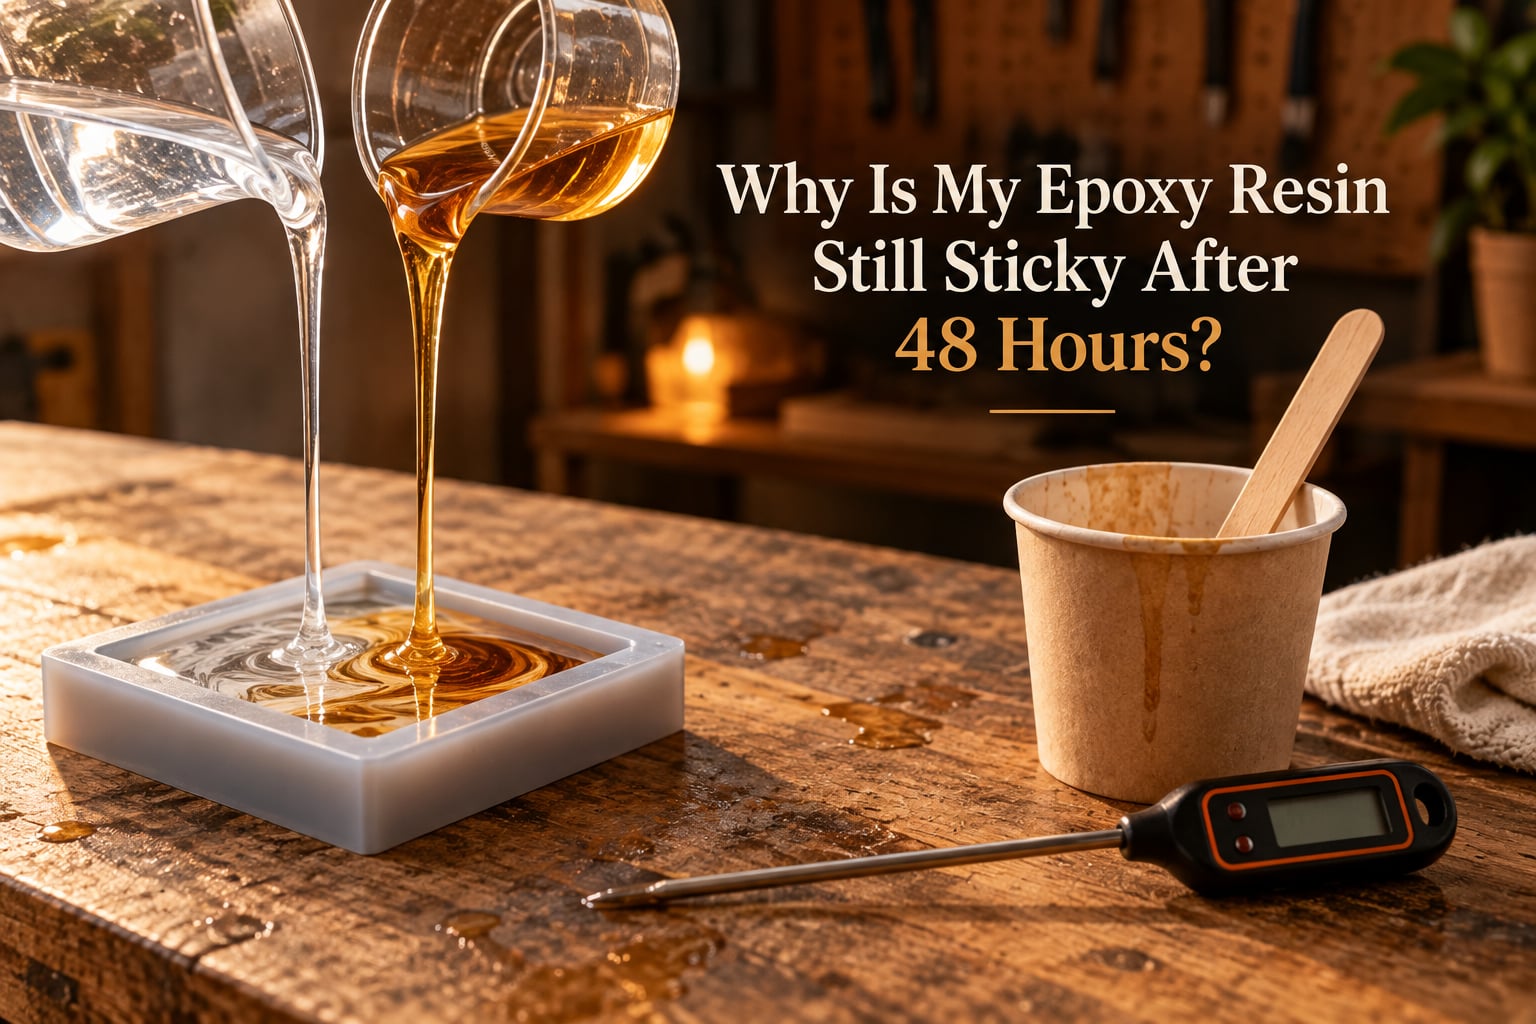
You poured two days ago. The surface feels hard enough to touch, then your fingernail sinks into it and comes away tacky. That is the exact moment most resin artists ask the same question: why is my epoxy resin still sticky after 48 hours?
The short version is that epoxy does not dry, it cures. Part A and Part B react chemically with each other in a fixed ratio, and that cross-linking reaction stalls if the two parts are not combined in the right amounts, mixed until fully uniform, or kept warm enough. A pour that stalls this way will stay tacky forever, no matter how many more days you wait on it.
So the 48-hour mark matters. It is early enough to fix a salvageable piece and late enough that most correct pours have hardened. This guide walks through how to read what you are seeing, what to try first, and when to stop and start over.
Quick answer: Epoxy resin is still sticky after 48 hours for three main reasons: the resin-to-hardener ratio was off, the two parts were not mixed thoroughly enough, or the room and resin were too cold for the cure reaction to finish. Check the pattern of the stickiness first, then warm the piece, and only recoat if the surface is hard underneath.
Table of Contents
- Why Is My Epoxy Resin Still Sticky After 48 Hours?
- Is It Still Curing or Actually Failed?
- The 8 Causes of Sticky Epoxy at 48 Hours
- Temperature: The Most Commonly Missed Cause
- Cure Times by Resin System at the 48-Hour Mark
- The 5-Step Rescue Ladder for a Sticky Pour
- What Not to Do With a Sticky Pour
- Handling Uncured Epoxy Safely
- How to Prevent Sticky Epoxy Next Time
- Frequently Asked Questions
- What to do if epoxy stays tacky?
- Will tacky epoxy eventually dry?
- Why is my epoxy resin still sticky even after 72 hours of curing?
- Can I add more hardener to make epoxy cure?
- Can I pour a new layer of resin over sticky resin?
- Should I sand resin that has not cured?
- Why is my resin hard in some places but sticky in others?
- How do I tell the difference between amine blush and uncured resin?
- How can I get epoxy resin to harden faster?
- Bottom Line
Why Is My Epoxy Resin Still Sticky After 48 Hours?
Where the stickiness appears tells you almost as much as what it feels like. A uniformly soft pour points at ratio or temperature. A hard pour with tacky patches points at mixing. Tackiness only on the surface in a humid room often means amine blush rather than uncured resin.
| What you see | Most likely cause | Will it recover? |
|---|---|---|
| Uniformly soft and rubbery across the whole pour | Wrong mix ratio, or the room was below the working temperature the whole time | Only if the ratio was right and the piece is still warming up; a soaked ratio needs a strip |
| Hard on top, soft underneath, like a shell over a cushion | Surface skin formed while the mass below never finished reacting | Sometimes, after cutting into the soft layer |
| Sticky patches or streaks scattered through an otherwise hard pour | Incomplete mixing, or unmixed resin scraped off the cup walls into the mold | Yes, usually by scooping the soft spots and filling them |
| Tacky only on the very top surface, glassy and waxy | Amine blush from moisture and humidity reacting with the amine hardener | Yes, with a wash and a recoat |
| Fingerprint marks and dents that stay, with no denting deeper | Still curing, but slowly, because the pour is thin or the room is cool | Yes, give it warmth and time |
| Edges, corners and thin areas never hardened while the centre is fine | Edges exposed to more air and cooler surfaces lost heat before reacting | Usually, by warming and waiting longer |
| Cloudy, milky, or waxy patches next to fully cured areas | Moisture contamination on the surface, or a resin that was already past its shelf life | Depends; check whether the resin is hard underneath the cloudy area |
One resin artist on a woodworking forum described almost exactly this split: on a board that was still sticky at 48 hours, the thin areas without excess resin were slowly hardening while the resin-heavy areas never cured at all. That is the signature of a mixed ratio, not a temperature problem.
Is It Still Curing or Actually Failed?
This is the question to answer before you touch anything with a scraper. If you sand a pour that is merely curing slowly, you tear up a cross-link that was still forming, and you turn a recoverable piece into a ruined one.
The cure stages, hour by hour
- Liquid (0 to about 2 hours): the mix is still workable, with most art resins in the 20 to 45 minute pot life range before gel.
- Gel (roughly 2 to 6 hours): the cup contents slump like honey and stop levelling. This is normal and not a failure sign.
- Soft (about 6 to 24 hours): the piece demoulds or lifts and is still bendable. Deep pour castings sit here for far longer than craft resins.
- Firm (24 to 48 hours): hard enough to handle, still not fully cross-linked, and still slightly warm-feeling to some people.
- Full cure (3 to 7 days, sometimes up to 30): the point where every molecule has found its partner. Many manufacturers still warn against loading, sealing or sanding a piece before this stage.
The 48-hour test
Press firmly with a fingernail in the centre and at the edges. If the nail marks it but does not sink in, you have a firm pour that is finishing its cure. Warm the room and leave it alone. If the nail sinks straight through, or the piece bends under light finger pressure, the cure has stalled and you are looking at steps 3 through 5 of the rescue ladder below.
Deeper systems genuinely need longer. A tabletop coating that is tacky at 24 hours can be perfect at 72. A deep pour casting that is soft at 48 hours is normal, not a failure, and stripping it would be the expensive mistake.
The 8 Causes of Sticky Epoxy at 48 Hours
- Wrong resin-to-hardener ratio. Resin-rich, so the resin never fully cross-links.
- Measuring by weight when the ratio is by volume.
- Incomplete mixing, including unmixed resin scraped from the cup walls.
- Cold room or cold resin.
- Too much pigment, mica or dye.
- Water, oil, silicone or amine blush on the surface.
- Wrong, mixed-brand or expired hardener.
- Pour depth that does not suit the resin system.
1. The ratio was wrong
Every epoxy system has a stoichiometric ratio, and once you are off it, some resin is left over with nothing to bond to. That leftover resin is exactly what a tacky surface is. A pour mixed too rich in resin will never harden, no matter the temperature or the time.
The second half of the problem is that the ratio is only correct if you measured it the way the manufacturer specified. Read the label for your specific Part A and Part B, because 1:1 by volume and 1:1 by weight are not the same thing.
2. The weight versus volume trap
For most 1:1 epoxies, 100 parts resin by volume needs roughly 83 parts activator by weight. Pouring equal amounts into identical unmarked cups mixes about 17 percent more hardener than the reaction can absorb, and you end up with a rich resin mix that stays soft. If your set includes a 100:83 ratio card or a printed gram scale, use it.
3. Incomplete mixing, and the scrape trap
Mixing for 30 seconds and calling it done leaves resin-rich streaks that show up later as soft patches. Give it a full two to three minutes and scrape the sides and bottom deliberately.
There is a counter-intuitive twist here that catches almost everyone. Scraping the last resin out of the bucket and tipping it into your mold is a bad idea, because that residue is the least mixed material in the container. Many manufacturers now tell you to leave it in the bucket. If you do pour it in, treat it as a known suspect for the next soft spot.
4. The room was too cold
Cure chemistry is temperature driven. Below about 65F the reaction slows dramatically, and a garage, basement or unheated spare room can hold a pour soft for a week. More on this in the next section, because it is the most fixable cause on the list.
5. Too much colorant
Resin is a clear polymer, and adding pigment, mica or alcohol dye changes the light reaching the reactive groups. Manufacturers typically cap colorant at around 12 percent by weight for a reason. Past that, thick opaque colours and heavy mica loads are a common cause of a gummy, tacky surface even when the ratio and temperature were perfect.
6. Moisture, oils and silicone
Water, skin oils, silicone spray, dust and release-agent overspray all interfere. Most of that shows up as a surface film rather than a soft body, but persistent moisture in a deep pour can upset the cure across a wider area.
That surface film has a name: amine blush. It is a waxy or greasy layer caused by carbon dioxide and moisture reacting with the amine hardener near the surface. Blush is not uncured resin. The material underneath can be completely cured and still have a waxy film sitting on top, which is why the repair is a wash rather than a strip.
7. The wrong, mixed-brand or expired hardener
Hardener shelf life is typically shorter than resin shelf life, and amines are sensitive to how they were stored. A hardener opened months ago and left in a damp shed can sit at the bottom of the bottle and still look normal. Pairs from different brands rarely cross-link properly, even when the printed ratios happen to match.
8. Pour depth that does not match the system
Thin films lose heat to the air and cure slowly, which is why edges and thin details can lag behind a thick centre. Very large masses behave differently, running an exotherm and shrinking enough to stress the pour. Check the manufacturer’s stated pour depth rather than guessing.
Temperature: The Most Commonly Missed Cause
Most art and coating epoxies specify a working range of roughly 70 to 84F, and they mean the resin itself, not the room readout. A 72F room does not help if your Part A has been sitting in a cold garage all night.
Below about 65F, expect the reaction to crawl. In warm conditions, epoxy cross-links fast in the first few hours and then tails off. In cool conditions the whole curve shifts right, which is why the same batch can behave differently in two weeks of July versus two weeks of January.
Warming the bottles before you pour
- Set both Part A and Part B in a container of warm water until the bottles reach roughly 75 to 80F. Do not use boiling water, and do not heat bottles directly on a hob or radiator.
- Dry the bottles completely and let them settle back to about 70 to 75F before you open them.
- Warm the room itself as well, and aim for a stable 70F or above for the whole cure.
A heat gun or torch in the first few hours is a tool resin artists use to pop surface bubbles, and it may nudge a sluggish cure along. Overdoing it is the risk: heat can yellow the resin and can drive off the surface amines, making the top layer worse rather than better. Keep it moving, keep it brief, and never use a torch on a pour you are trying to save.
Cure Times by Resin System at the 48-Hour Mark
Part of the confusion in the 48-hour question is that people compare a deep pour casting to a craft coaster. These systems are not on the same clock.
| Resin system | Typical touch cure | Full cure | Still tacky at 48 hours means |
|---|---|---|---|
| Art and craft resin | 6 to 12 hours | 24 to 72 hours | Almost certainly a failure: ratio, mixing or cold |
| Tabletop and countertop coating | 12 to 24 hours | 3 to 7 days | Check the surface; heavy coats can be slow |
| Deep pour casting resin | 24 to 48 hours | 5 to 7 days or more | Often still normal; check the centre and the edges separately |
| Jewelry, dice and small castings | 4 to 10 hours | 24 to 48 hours | A failure unless the whole batch was warm |
| Marine and structural epoxy | 12 to 24 hours | 7 to 30 days | Common, especially in cold weather; do not load it |
These are general ranges, not specifications. Your own data sheet wins every time, and forum builders working with marine epoxy on boat projects routinely report boards that were still tacky and unsandable at 48 hours and fully cured later, in the same room and the same mix.
The 5-Step Rescue Ladder for a Sticky Pour
Work down this ladder in order and stop as soon as the next step stops making sense. Each rung has a decision test so you do not sand a cure that is still finishing.
Step 1: Warm it and wait
Move the piece to a room at 70F or warmer, away from cold concrete, single-glazed windows and evening drafts. Add gentle warmth if you have it, but keep it even, and give the piece 24 more hours before you touch it. This is the correct step whenever the pour is firm under the tack, and the correct first move whenever the ratio was measured properly.
Step 2: Wipe the surface
If the surface is hard and only tacky to a fingertip, dampen a cloth or paper towel with isopropyl alcohol and wipe the surface to remove the oily film. Sand lightly with 220 to 320 grit if it is not fully cured but is hard enough to scuff. This step fixes amine blush and surface contamination only, so if a fingernail still sinks in, move on rather than repeating the wipe.
Step 3: Sand and recoat
For a hard-but-tacky surface that responds to the alcohol wipe, scuff the whole surface evenly, clean it with alcohol, and pour a fresh coat. The new coat bonds to sound cured resin underneath, and this is the most common successful repair on the list.
Never pour over resin that is still soft or rubbery. The new liquid will not penetrate or bond to uncured material, and you will end up with a bonded skin over a soft core that fails later. If the material under your fingernail is soft, skip to step 4.
Step 4: Cut out the soft spots
Pop, scoop or drill out every area that is soft, then fill the cavity with freshly mixed epoxy. The surrounding cured material gives the new pour a rigid wall to bond against, which is exactly what a soft island in a deep pour was missing. This is the fix dice makers on r/DiceMaking reach for when a coaster comes out melty on the bottom only.
Step 5: Strip and re-pour
If the pour is uniformly rubbery all the way through, the cure reaction never started properly and no coating will save it. Pop it out of the mold, remove it from the substrate, and start again. If the piece is bonded to wood or a tabletop, pop and pry rather than sand, because thinning a soft layer spreads resin onto the whole surface.
Do not throw it away. Failed epoxy sands down into filler, and small castings can often go straight back into the mold for a clean second pour once the residue is removed.
What Not to Do With a Sticky Pour
- Do not add more hardener. No, adding more hardener will not fix a soft pour. The problem is either too much resin, no reaction at all, or a cure that is simply slow, and extra hardener makes a rich mix worse. It can also leave an unreacted amine haze on the surface.
- Do not pour a new layer over wet or soft resin. It cannot bond to material that has not cross-linked.
- Do not mix Part A from one kit with Part B from another. The cross-link chemistry is matched, and mismatched pairs stay gummy.
- Do not assume 24 hours means fully cured. That is a handling cure, not a chemical one, and it is why deep pour and marine systems are still soft days later.
- Do not torch a pour aggressively to force it. A quick bubble-popping pass is fine. Sustained heat yellows the resin and can drive off the surface amines.
- Do not guess a ratio from memory. Look at the label for the kit in your hands, because ratios differ between brands and even between products from the same brand.
Handling Uncured Epoxy Safely
Uncured epoxy is a sensitiser, and skin contact can trigger a contact dermatitis that shows up hours later and can persist long after the pour is finished. Work in gloves, keep the room ventilated, and keep uncured resin off your skin and out of your eyes.
If resin does contact skin, wipe it off before it cures and wash with warm water and soap. Do not use solvents on skin. Dried epoxy on a work surface can usually be popped or sanded, but handle sanding dust with a mask and gloves, since fine epoxy dust irritates lungs.
How to Prevent Sticky Epoxy Next Time
Almost every sticky pour is one of four things: a measurement mistake, a mixing mistake, a temperature mistake or a contamination mistake. Work through these three phases and you remove most of them.
Before pouring
- Read the data sheet for your exact kit: ratio, working temperature, pot life, cure time and maximum pour depth.
- Check the room with a thermometer, not a guess, and warm the room first if it is below 70F.
- Warm both bottles in a water bath before you open them.
- Run a small test batch first. Mix two tablespoons, pour it into a scrap mould, and check it in 24 and 48 hours. This costs you one cup of resin and tells you everything you need to know.
- Check the hardener date and smell it. Amine hardeners that have gone off are noticeably off.
- Clear the workspace of silicone spray, oils, dust and release agent overspray.
During the pour
- Measure by weight if you have a scale, or use the volume marks the manufacturer supplies. Do not eyeball equal heights in unmarked cups.
- Mix for a full two to three minutes, scraping the sides and bottom deliberately.
- Pour two cups, then transfer to a second clean cup and mix again. This double-cup method is the cheapest insurance in resin work.
- Leave the last residue in the mixing cup rather than scraping it into the mould.
- Keep colorant within the manufacturer limit, usually around 12 percent by weight.
- Stay inside the stated pour depth, and remember thin films cure slowest.
After the pour
- Keep the room warm and stable through the whole cure, not just the first day.
- Leave the piece alone until it is firm to the touch, and wait for the stated full cure before sealing, sanding heavily or putting weight on it.
- Dehumidify in humid weather, and avoid pouring in a room that is also doing something wet.
- Expect a 24-hour check to be a handling check, not a finished cure.
Frequently Asked Questions
What to do if epoxy stays tacky?
Warm the room to at least 70F and give the pour another 24 hours first. If the surface is hard but tacky, wipe it with isopropyl alcohol and sand lightly with 220 to 320 grit before recoating. If the material is soft all the way through, the cure has stalled and no coating will fix it: cut out the soft spots and refill, or strip and re-pour.
Will tacky epoxy eventually dry?
Only if the cure reaction is still running. A pour that is firm under the tack and curing in a warm room will finish on its own. A pour that is uniformly soft and rubbery has stalled, usually from a wrong ratio, incomplete mixing or cold, and it will stay that way indefinitely. Press with a fingernail to tell the two apart.
Why is my epoxy resin still sticky even after 72 hours of curing?
At 72 hours a normal art or craft resin should be hard, so a tacky surface at that point points to a real failure rather than a slow cure. Check the ratio first, then the mixing time, then the room temperature where the piece has been sitting. Deep pour and marine epoxies are genuine exceptions, since they can need a week or more.
Can I add more hardener to make epoxy cure?
No. Adding more hardener to a soft pour will not start a cure that never began, and on a resin-rich mix it pushes the imbalance further off. It can also leave an unreacted amine haze on the surface that stays tacky permanently. Warm the piece and wait, then recoat or strip based on what the fingernail test tells you.
Can I pour a new layer of resin over sticky resin?
Only over a hard, fully cured surface that is merely tacky, wiped with isopropyl alcohol and scuffed with 220 to 320 grit. Never pour over resin that is still soft or rubbery, because fresh liquid cannot bond to uncured material and you will end up with a skin over a soft core.
Should I sand resin that has not cured?
Not yet if it is still soft. Sanding a pour that is merely curing slowly tears up cross-linking that was still forming, and resin that is still in the gel or soft stage can gum the paper and pull up in sheets. Wait until it is hard enough to scuff and produces fine dust rather than a sticky smear, and wait for the full cure before heavy sanding.
Why is my resin hard in some places but sticky in others?
Uneven curing almost always means uneven mixing or uneven mass. Patches of resin-rich material from incomplete mixing stay soft while fully blended areas harden, and unmixed resin scraped from the cup walls is a common source. Thin edges lose heat and cure slower than a thick centre. Cut out the soft spots and refill them with freshly mixed epoxy.
How do I tell the difference between amine blush and uncured resin?
Amine blush is a waxy or greasy film on a surface that is completely hard underneath, and it appears most often in humid conditions. Uncured resin feels soft or rubbery all the way through and dents under a fingernail. Blush wipes off with isopropyl alcohol and needs a recoat; uncured resin needs cutting out or stripping.
How can I get epoxy resin to harden faster?
Heat is the only reliable lever, because the cross-linking reaction is temperature driven. Warm the room to 70F or above, warm both bottles in a water bath before mixing, and keep the whole cure at a stable temperature. Torching the surface is not a cure strategy: it can yellow the resin and drive off the surface amines.
Bottom Line
Most people searching why is my epoxy resin still sticky after 48 hours are looking at one of three things: an off ratio, resin that was not fully mixed, or a room that was too cold to finish the reaction. The fingernail test tells you in two seconds which world you are in.
Firm with a sticky skin means warm it, wipe it, and recoat. Uniformly soft means the cure stalled, so cut out the spots or strip it and pour again. Either way, the fix for the next piece is a scale, a thermometer and a two-minute mix.