
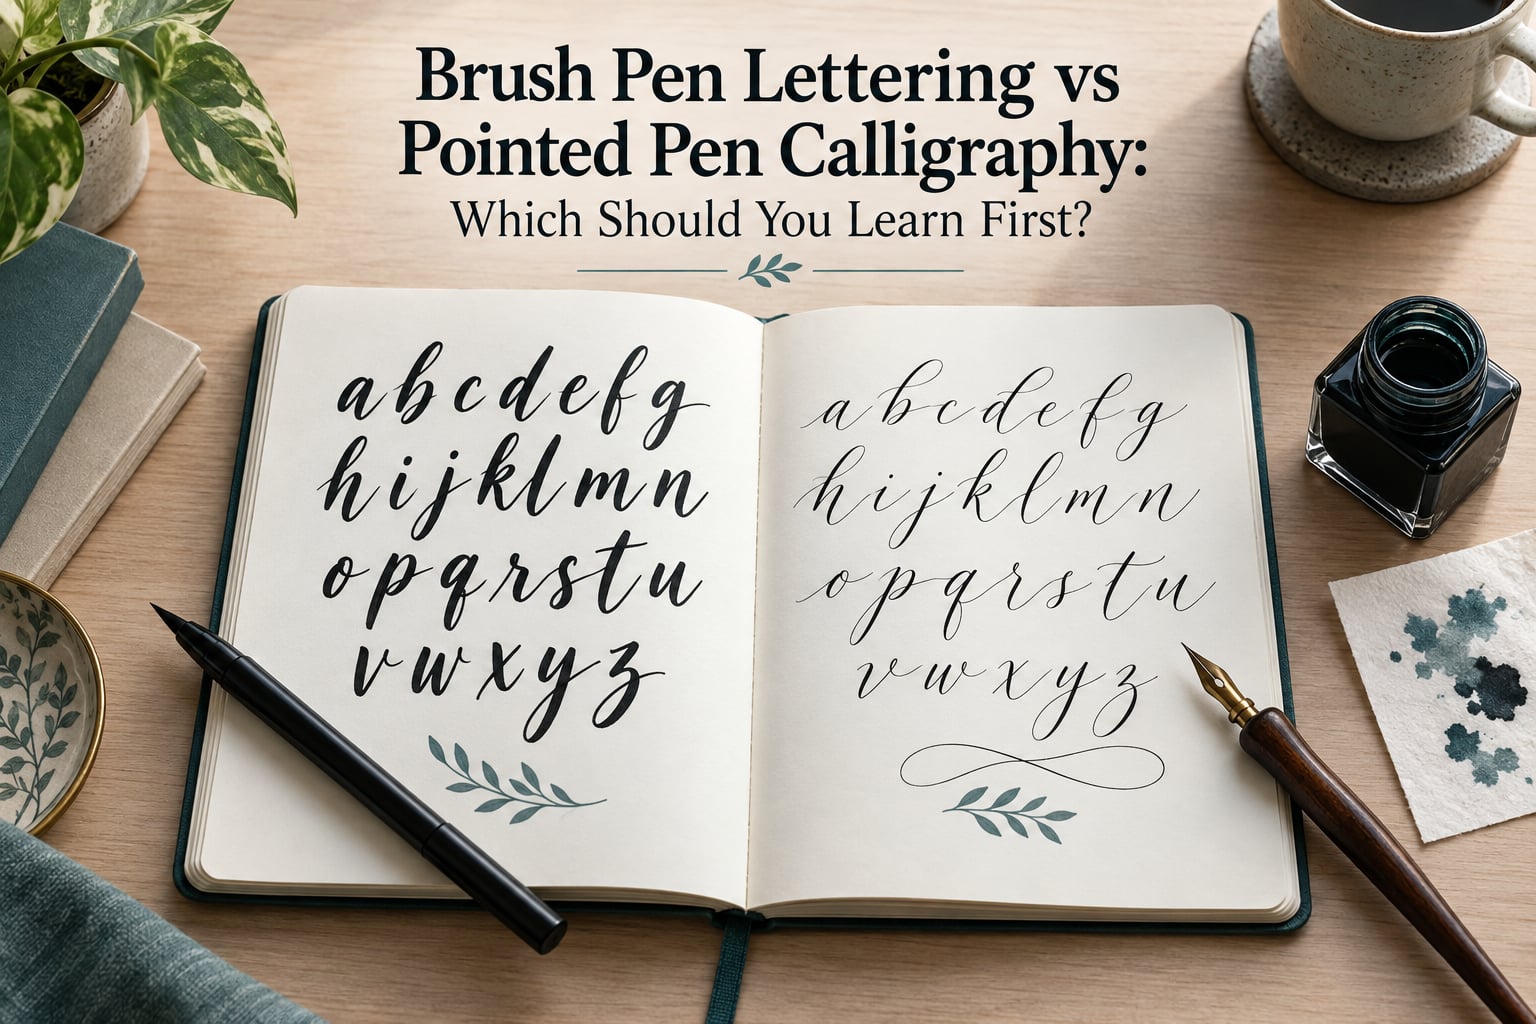
Short answer: learn brush pen lettering first if you want thick-thin contrast in your very first sitting, low commitment and no ink cleanup. Start with pointed pen calligraphy instead if the goal is wedding invitations, formal stationery or Copperplate-style script, because the pen angle, hairline control and letterform foundations you build there carry into every other script you will ever learn.
Both routes end up making the same marks: thick downstrokes and hairline upstrokes. The difference is the mechanics you spend the first six months training, and that is where the decision actually matters.
Below I break down how each tool works, what each one teaches, how long each takes to feel natural, and what happens to your handwriting habits when you move between them.
Table of Contents
- What Is the Difference Between Brush Pen Lettering and Pointed Pen Calligraphy?
- Brush Pen Lettering vs Pointed Pen Calligraphy at a Glance
- Brush Pen Lettering: What It Is and What It Teaches You
- Pointed Pen Calligraphy: What It Is and What It Teaches You
- What Each Path Requires: Tools, Paper and Ink
- Learning Curve: How Long Until You Can Write With Confidence
- Common Beginner Mistakes in Each Style (and the One-Line Fix)
- Which Should You Learn First?
- What Transfers When You Switch (and What Does Not)
- A 30/60/90-Day Progression Path From Brush Pen to Pointed Pen
- Left-Handed and Right-Handed Notes
- Third Paths: Water Brush, Broad-Edge and Rigid Nib Pens
- Is Brush Lettering Real Calligraphy?
- Frequently Asked Questions
- What is the difference between brush pen lettering and calligraphy?
- What is the best pen for a beginner learning calligraphy?
- What is a good basic calligraphy pen for beginners?
- Are brush pens good for calligraphy?
- Is brush pen easier than pointed pen for beginners?
- Can you learn brush pen and pointed pen at the same time?
- How long does it take to learn pointed pen calligraphy?
- Final Verdict: Pick One and Give It 30 Days
What Is the Difference Between Brush Pen Lettering and Pointed Pen Calligraphy?
Brush pen lettering makes thick-thin contrast with pressure on a flexible brush tip, lifting on upstrokes. Pointed pen calligraphy makes the same contrast by pressing a split nib’s two tines apart while holding the pen at a fixed 55-degree angle in an oblique holder. One is a squeeze-and-lift skill, the other is a squeeze-and-hold-the-line skill.
That single mechanical difference cascades into everything else. With a brush pen you can hold the pen at any angle that feels comfortable and still get a usable line, so a wonky wrist costs you very little. With a pointed pen, a drifting pen angle immediately thickens your hairlines, and hairline quality is what separates a page that reads as script from a page that reads as a mistake.
There is a second, quieter difference. A brush tip splays like a miniature paintbrush and recoils on its own, so your contrast is a function of how hard you push. A nib’s tines separate and stay separated, and how far they open depends on both pressure and the angle the nib is dragged at. Ink flow, nib damping and how often you dip all become part of the technique.
What they share is the part beginners skip: stroke order, slant, the relationship between the baseline, waist line and x-height, and the patience to build one letterform until it is repeatable. Brush pen lettering is often called modern calligraphy; pointed pen is traditional script. The letterforms look related because the underlying construction is the same.
Brush Pen Lettering vs Pointed Pen Calligraphy at a Glance
| Factor | Brush Pen Lettering | Pointed Pen Calligraphy |
|---|---|---|
| How contrast is made | Pressure on a flexible tip, lift on upstrokes | Tine separation plus a fixed 55 degree pen angle |
| Core tool | Self-contained pen, no separate ink | Detachable nib, holder, ink |
| Setup before first stroke | Uncap and write | Mount nib, load ink, set angle, dip and blot |
| Time to first decent piece | Same session | Several sessions |
| Time to comfortable consistency | Weeks | A few months |
| Forgiveness of mistakes | High, easy to restart a letter | Low, blobs and scratches show immediately |
| Color and gradient work | Natural strength | Possible, slow |
| Cleanup | None | Rinse nib, wash holder, manage blotting paper |
| Best projects | Bullet journal headers, social graphics, greeting cards, modern quotes | Wedding invitations, envelope addressing, certificates, formal stationery |
| Biggest beginner risk | Pressing on upstrokes, no habit of pen angle | Angle drift, scratching, over-dipping |
Brush Pen Lettering: What It Is and What It Teaches You
Brush pen lettering trains the thing beginners actually need first: pressure control. You learn to press on downstrokes, lift on upstrokes, and produce a thick-thin line that repeats the same way every time you draw the letter. That control is the foundation of nearly all modern lettering, whether it is done with a pen, a paintbrush or a stylus.
It also teaches stroke order and letterform construction without any of the intimidation that comes with an ink bottle. Several people in r/Lettering describe their first brush pen session as the moment calligraphy stopped feeling like a foreign language.
What it does not teach you is pen angle. Because the tool forgives any wrist position, you can get very good at lettering without ever establishing a 55-degree angle, and that habit has to be installed later if you ever pick up a nib. More on that below.
Brush Pen Tip Types: Hard, Firm, Soft and What Each Teaches
Brush pens differ more than the packaging suggests, and the tip is what sets the ceiling on your line quality.
- Hard tip – a stiff synthetic or nylon point. Extremely consistent, almost impossible to flex, so it teaches control and precision rather than contrast. A good first stop for shaky hands and for practising letterforms.
- Firm tip – a middle ground that flexes under moderate pressure. This is where most beginners should live first because the thick-thin range is wide but forgiving.
- Soft felt tip – a dense synthetic or real-hair felt. Large colour range, blends well for gradients, and gives the most dramatic contrast, but the tip shape changes as you use it.
- Fibre or bristle brush – behaves like a miniature paintbrush. The most expressive and the least forgiving, because a bristle tip splays unevenly if you drag it sideways.
A common progression is hard or firm tip first, then a soft felt tip once your pressure is steady. The Pentel Fude Touch, Kuretake Fudebiyori, Tombow dual brush and Zig brush pens all sit in the firm-to-soft range and are the pens most beginners in the forums name first.
Pointed Pen Calligraphy: What It Is and What It Teaches You
Pointed pen calligraphy uses a thin metal nib with two tines, mounted in a holder and fed with liquid ink from a bottle. You hold it at a fixed angle, drag it, and the tines open on downstrokes to make thick lines and stay together on upstrokes to make hairlines.
What it teaches is foundational in a way brush pen work is not. A fixed pen angle forces your hand into the position a historical scribe would have used, and the letterforms that come out of that position are the letterforms used in Copperplate and Spencerian. Learn it first and every script you touch afterwards starts from a better baseline.
It also trains consistency, because ink runs out. You get used to working in short bursts, blotting, and dipping on a rhythm. That pacing is part of real calligraphy and no pen can teach it.
On tool choice, community consensus in r/Calligraphy is that a G nib is probably the easiest to start with. The Nikko G is inexpensive, easy to find and flexible enough to make the classic thick-thin contrast without being so soft that it turns to mush. Stiffer options like the Brause Rose and the Zebra G are also widely recommended for people who want a firmer line at first.
What Each Path Requires: Tools, Paper and Ink
The brush path is a one-item kit. A firm or soft brush pen, a smooth sheet of paper and a few minutes of practice time are the whole setup. There is nothing to assemble, nothing to rinse and nothing to spill.
The pointed pen path is a short list, and any of these items can be picked up one at a time rather than all at once:
- A flexible pointed nib, with a G nib as the common beginner choice
- A pen holder, either an oblique that fixes the angle for you or a straight holder you angle yourself
- Black ink, either a waterproof dip ink or a fountain pen ink that flows well
- Blotting paper or a scrap towel for cleaning tines between words
- Smooth paper with some tooth, or a practice grid with baseline and waist line
Paper matters more than beginners expect. Brush pen lettering will mark most paper, including ordinary copy paper, though a smoother sheet gives a cleaner line. Pointed pen work shows paper texture immediately because the tines catch on it, so anything with a pronounced tooth will drag.
One practical tip from the forums: do not use a paper towel as a blotter. Fibres stick to the tines and spread the ink, which is how beginners end up with a fuzzy, scratchy line that they blame on the nib.
Learning Curve: How Long Until You Can Write With Confidence
The honest framing is that brush pen lettering gives you something presentable in the first session, while pointed pen calligraphy gives you something you can build on for years. Those are different timelines, not competing ones.
| Stage | Brush Pen Lettering | Pointed Pen Calligraphy |
|---|---|---|
| First session | Readable thick-thin strokes, uneven letterforms | Scratching, hesitation, occasional blobs, understanding the angle in theory |
| One week | Consistent lowercase alphabet, smooth entry strokes | Angle roughly held, understrokes and overturns recognisable |
| One month | Full words with steady weight, better spacing and slant | Full words with effort, hairlines still too thick in places |
| Three months | Confident pieces, can experiment with color and layout | Controlled hairlines, faster rhythm, real consistency between letters |
| Twelve months | Advanced composition and illustration | Legible invitations, envelopes, and a foundation for Spencerian or Copperplate |
Brush pen plateaus early, which is its own kind of problem. Once the alphabet looks right there is nowhere to push, and that is the moment many people decide they have outgrown the tool. Pointed pen hits that wall much later, which is exactly why the dip pen path suits anyone who intends to keep going.
Common Beginner Mistakes in Each Style (and the One-Line Fix)
In brush pen lettering:
- Pressing on upstrokes. The upstroke should be a light lift, not a pushed line. If the tip splays into a blob, your hand is pressing instead of lifting.
- Dragging sideways. Sideways movement frays the tip and roughens the line. Move only up, down and along a curve.
- Tip fraying from practice. This comes up constantly in the forums: the more you write, the faster a felt tip degrades. Keep a spare pen in the bag and swap rather than pushing through a rough tip.
- Skipping the guidelines. Without a baseline, waist line and x-height guide, letterforms drift upward page by page.
In pointed pen calligraphy:
- Drifting pen angle. The moment the angle moves off 55 degrees, hairlines thicken. An oblique holder removes this variable entirely, which is why it is the first thing to buy.
- Too much ink. Over-dipping floods the tines and produces heavy, blobby starts. Less ink, wiped against the nib shoulder, gives a cleaner entry.
- Starting a letter with a downstroke. Understrokes first, then the downstroke on top, is the order that keeps tines separated properly.
- Blotting with the wrong material. Use blotting paper or a scrap of smooth card, pressed not dragged.
Which Should You Learn First?
Work down this list and stop at the first match.
- You want thick-thin script for headers, social graphics or a journal. Start with a brush pen. You will have usable results this week.
- You are planning wedding invitations, envelope addressing or formal stationery. Start with a pointed pen. Guests read the hairline quality before anything else, and brush pen hairlines cannot match it.
- You already write cursive and want to improve your letterforms. Start with a pointed pen. A pen, then a nib, then a pointed pen, is the natural order and going straight to a dip pen from brush lettering means unlearning habits you just built.
- You are left-handed and worried about smearing or hand drag. Start with a brush pen, then move to a pointed pen with a straight holder once you have a fast-drying ink you trust. See the handedness section below.
- You cannot commit to a second medium yet. Start with a brush pen. It travels in a pencil case, costs one purchase, and needs no cleanup.
- You already own a brush pen set and are wondering what now. That is a head start, not a dead end. The set is not wasted, but treat it as a controlled entry and add a 55-degree angle drill now so you are not correcting pen angle from scratch later.
There is also a defensible minority position that beginners should not start with a brush pen at all. The argument is that brush lettering and ordinary cursive are written very differently, so starting with a brush pen trains a hand shape you will have to break. If you already have good cursive and know you want traditional script, that argument is worth taking seriously.
What Transfers When You Switch (and What Does Not)
Four skills transfer cleanly from brush pen to pointed pen, and they are the four that take longest to build anywhere.
- Stroke order. Entry strokes first, downstrokes over them, and connecting strokes last. This is identical in both mediums and it is the single biggest shortcut available to you.
- Letterform construction. If you can build an a from a compound curve and an oval, you already know the geometry of Copperplate lowercase.
- Slant and x-height relationship. Consistent slant and proportion transfer directly, and most brush pen students get them right quickly.
- Practice discipline. Daily short sessions build the same muscle memory in either medium.
Three things do not transfer at all, and these are the habits that make the switch feel like starting over.
- Fixed pen angle. Brush pen students rarely establish one. Expect to spend the first few pointed pen sessions on nothing but angle, holding a letter rather than writing one.
- Hairline quality. A hairline from a brush pen is a light lift, which leaves room for error. A hairline from a nib is the tines staying barely open, and a few degrees of tilt turns it into a thick stroke.
- Pressing on upstrokes. This is the habit that catches people hardest. On a brush pen the upstroke can be slightly heavy and still look fine; on a nib it produces a visibly thick exit stroke that breaks the whole line.
The reverse also holds. A pointed pen student who picks up a brush pen will struggle less with angle and more with pressure, because pressure control is the one thing the dip pen never asks of you. The weight of a brush pen line comes from the hand, and that takes deliberate practice.
One left-handed writer in r/Calligraphy described exactly this arc: pointed pen first, discouragement, a move to firm-tipped brush pens, and pointed pen being noticeably easier when they returned to it months later. That is the transfer working in the direction most people need it.
A 30/60/90-Day Progression Path From Brush Pen to Pointed Pen
Here is the timeline the forum answers keep circling without quantifying. It assumes 15 to 20 minutes of practice, five or six days a week.
Days 1 to 30: Brush pen fundamentals and the angle drill
Warm up on the basic strokes, then from week two add a deliberate pen angle drill every session. Hold a pen at 55 degrees, drag a line, and mark the angle on your paper with a ruler. This single habit is what makes the later switch painless.
Days 31 to 60: Introduce the dip pen equipment
Buy a G nib, a straight holder and an oblique holder, and a bottle of ink. Spend the first two weeks on angle and hairlines only, writing single strokes rather than words. It feels slow and it is supposed to. Most frustration in pointed pen comes from starting with whole words before the tines behave.
Days 61 to 90: Letters, then words
Build the lowercase alphabet one letter at a time, then join them. Expect the first month of joined writing to look worse than your brush pen work. It passes.
If you want to start pointed pen first, run the same plan in reverse: get comfortable with the dip pen in the first 60 days, then use months three and six to add brush pens for headers, color and layout work. Do not try to run both at full intensity in the same month.
Left-Handed and Right-Handed Notes
Handedness affects the brush pen path far less than it affects the dip pen path, mainly because lefties can rest their hand below the writing line with a firm brush pen and move on.
With a pointed pen, a lefty has three options. An underhand grip keeps the hand below the line but rotates the wrist. A hooked grip curls the wrist up and over, which handles the angle but puts the hand directly on the wet line. A straight holder preserves the natural hand position but makes the 55-degree angle your responsibility, since an oblique holder angles the nib for a right-handed writer’s hand shape.
For smearing, the fix is ink and paper rather than technique. A fast-drying waterproof dip ink behaves far more like a brush pen than a watercolour ink does, which is why lefties in the forums tend to report the switch as a breakthrough. Blotting each word and working on a surface you can angle also helps.
Third Paths: Water Brush, Broad-Edge and Rigid Nib Pens
A water brush is a traditional paintbrush that holds water instead of ink, used with watercolor. A broad-edge nib produces contrast from the angle of a flat chisel edge rather than from pressure or tines, which is worth an afternoon for sign painting but does not teach the skills that transfer to script. Rigid or hard nib pens, including fountain pens with italic or stub nibs, sit between the two: they teach pen angle and letterform construction without ink bottles, which makes them a reasonable first stop for someone who finds a pointed pen intimidating but knows they want traditional script skills.
Is Brush Lettering Real Calligraphy?
By the strict historical definition, no: traditional calligraphy means broad-edge and pointed pen work with a nib and liquid ink, and brush pens are a modern tool. By the working definition most writers use, yes, because the letterforms, stroke order and pressure control are the same skills taught in script classes. Neither answer helps you choose. What matters practically is that brush pen students usually reach pointed pen with better pressure control, and pointed pen students usually reach brush pens with better pen angle. Whichever order you pick, plan to end up using both.
Frequently Asked Questions
What is the difference between brush pen lettering and calligraphy?
Brush pen lettering uses a self-contained pen with a flexible tip that makes thick-thin contrast through pressure on downstrokes and lifting on upstrokes. Traditional calligraphy uses a metal nib, usually pointed, that makes contrast by pressing the tines apart while holding a fixed 55 degree angle in a holder. Both build the same letterforms from the same stroke order.
What is the best pen for a beginner learning calligraphy?
It depends on the style you picked. For brush pen lettering, start with a firm-tipped synthetic pen such as a Tombow dual brush, Pentel Fude Touch or Kuretake Fudebiyori. For traditional script, start with a flexible G nib such as the Nikko G in a holder, plus an ink and some blotting paper. Buy the pen first and add the rest later.
What is a good basic calligraphy pen for beginners?
A good basic option is a hard or firm-tipped brush pen, because it gives you thick-thin contrast while staying consistent and forgiving. If you already write cursive and want traditional script skills, the better starting point is a flexible pointed nib, commonly a G nib, held at 55 degrees in an oblique holder. Both are widely available and both teach transferable skills.
Are brush pens good for calligraphy?
Yes, for modern lettering, journaling, headers, greeting cards and social graphics, and they are excellent for building pressure control. They are not the right tool for wedding invitations or formal stationery, where hairline quality is judged closely and a brush pen cannot produce a true hairline. They are also forgiving enough to be the better first medium for most beginners.
Is brush pen easier than pointed pen for beginners?
Brush pen lettering is easier. You get a usable thick-thin line in the first session, there is no ink to manage, and a mistake costs nothing. Pointed pen calligraphy takes longer because you must learn a fixed pen angle, ink flow and hairline control at the same time, and the difference shows up in the quality of the finished piece.
Can you learn brush pen and pointed pen at the same time?
You can, but not at full intensity. Beginners who run both at once tend to switch pen angle habits between the two. A better approach is to spend 30 to 60 days on one, add a short angle drill from the other, and switch properly once the first is comfortable. Progress in the second medium then happens much faster.
How long does it take to learn pointed pen calligraphy?
Expect readable single strokes in the first week, recognisable words after a month with effort, and controlled hairlines somewhere around three months of regular practice. Comfortable invitation-level work usually takes closer to a year. The variables are how often you practise, whether you use an oblique holder, and how quickly you fix bad habits like pressing on upstrokes.
Final Verdict: Pick One and Give It 30 Days
For brush pen lettering vs pointed pen calligraphy, the deciding question is not which looks better. It is what you plan to write and how long you plan to keep writing.
Pick brush pen lettering if you want results in week one, minimal commitment, and pressure control as your base skill. Pick pointed pen calligraphy if you want invitations, formal stationery, or a foundation that carries into Copperplate and Spencerian later.
Either way, give your choice 30 days of short daily practice before you judge it. Most of the frustration people report with pointed pen calligraphy comes from a week of dabbing at it, not from the medium itself, and most of the boredom with brush pens comes from a month of not progressing past the alphabet.
And if you are still unsure, start with a firm-tipped brush pen this week, and add a 55-degree angle drill to your practice. That drill costs you five minutes a day and it is the one habit that makes the switch later a smooth step instead of a restart.