
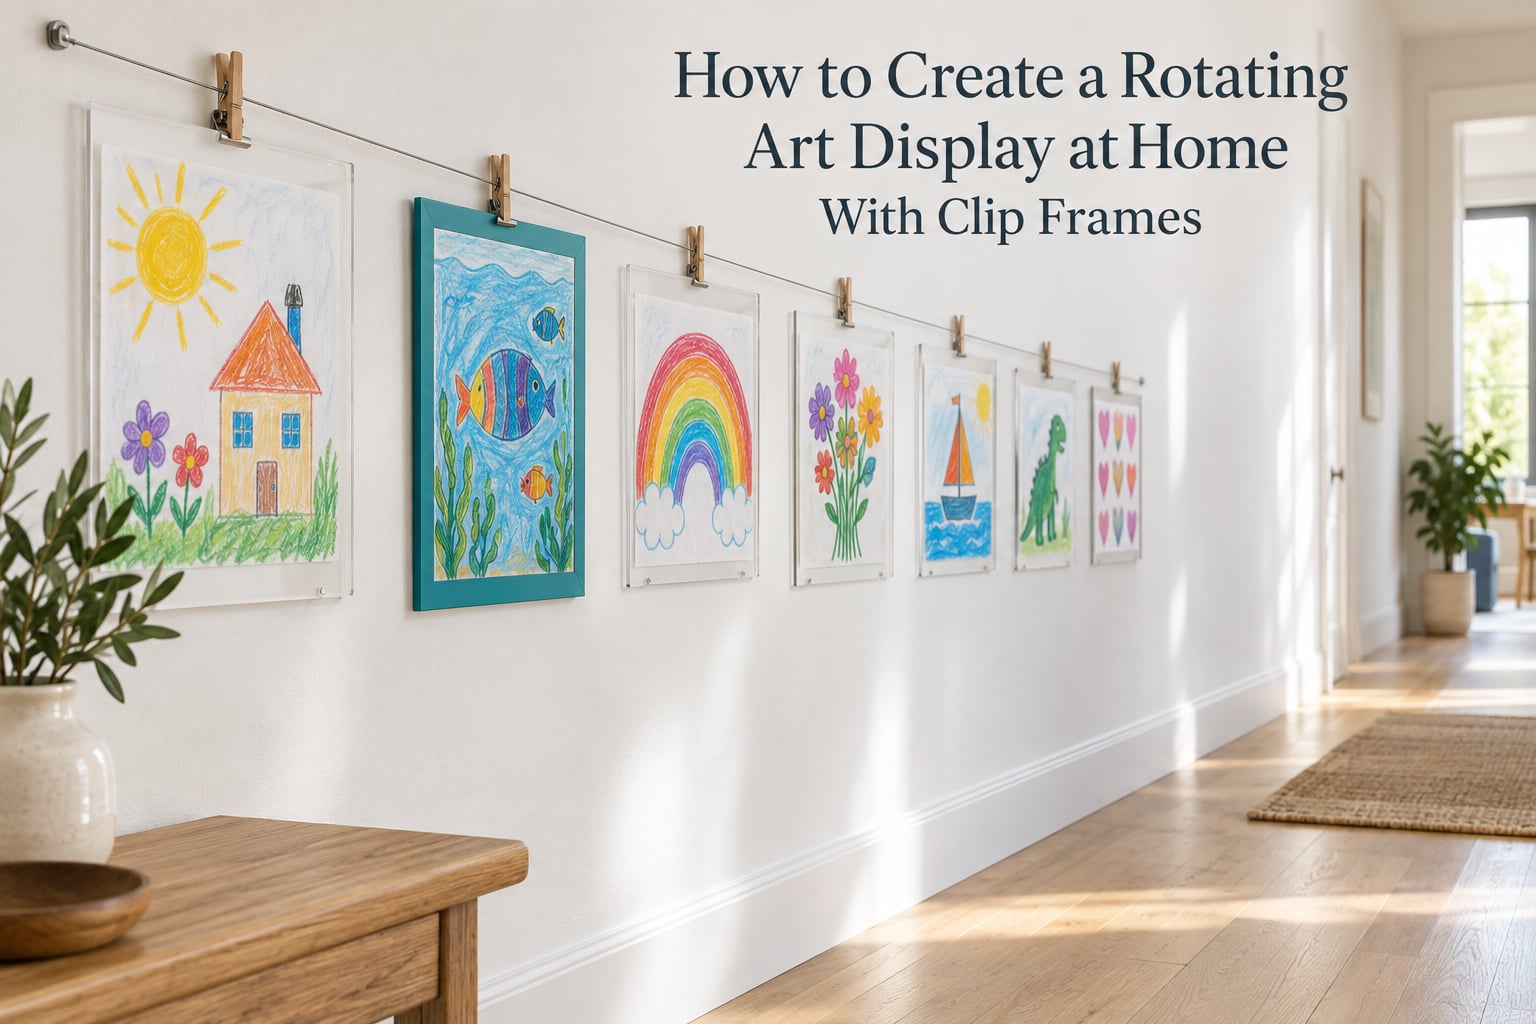
Creating a rotating art display at home with clip frames gives you one wall spot you can change in seconds. Clip frames hold artwork borderless behind a sheet of glazing, and a taut wire line, a lazy-Susan turntable, or a pivoting double-sided panel lets you spin new pieces into view without putting a second hole in the wall. That combination is the whole idea: a fixed gallery wall shows you everything you hung on day one, while a rotating display shows whatever is worth showing right now.
It is built for anyone with more artwork than wall space. Parents with an endless supply of kids’ drawings, artists rotating a portfolio or a series, and anyone who wants a hallway that changes with the season all get the same payoff. I have watched the same wall go from Halloween costumes to a full set of school portraits in an afternoon, with no tools beyond a level and a pair of hands.
Below I break the project into two build methods plus a standing option, then cover the details competitors usually skip: where to hang it, how to stop a wire line from sagging, and how to reassemble a clip frame once art is inside it. Use the quick comparison first, then pick a method and build.
Table of Contents
- What Is a Clip Frame (and Why It Works as the Base of a Rotating Display)
- How to Create a Rotating Art Display at Home With Clip Frames: Three Methods
- What You’ll Need
- Method 1: The Clip-String Rotating Wall (No Build, About 20 Minutes)
- Method 2: The Clip-Frame Turntable Display (The Main Build)
- Hanging It Right: Height, Spacing, and Anchors
- Renter-Friendly Ways to Mount Without Drilling
- How to Rotate the Display and Keep It Fresh
- Mistakes to Avoid (and the Quick Fix for Each)
- Where This Display Works Best
- Sourcing: Thrifting vs. Buying
- Frequently Asked Questions
- Conclusion
What Is a Clip Frame (and Why It Works as the Base of a Rotating Display)
A clip frame is a frameless display: a sheet of glazing, either glass or acrylic, held against a rigid backing board by small spring clips along the edges. Artwork sits protected behind the glazing with no border around it, and the clips release in seconds so you can swap the piece whenever you want. Because there is no moulding to remove, nothing has to be unframed, unmatted, or re-glazed.
That last point is the whole reason clip frames pair so well with rotation. A traditional frame needs tools and four hands to change; a clip frame needs two thumbs.
Two honest limitations. Clip frames are borderless by design, so a matted or dry-mounted piece may not physically fit the glazing area. And clip-frame owners on r/framing report the spring clips are genuinely hard to refit under the frame lip once artwork is in, so load the art in a flat position on a table and slide the whole thing onto the wall rather than loading it in place.
How to Create a Rotating Art Display at Home With Clip Frames: Three Methods
All three routes use the same clip frames. What changes is the mechanism that brings a new piece into view: you swap along a line, you spin a turntable, or you flip a pivoting panel.
| Method | Skill level | Swap time | Wall damage | Best for |
|---|---|---|---|---|
| Clip-string line | Beginner | Seconds | One anchor point or removable strips | Kids’ artwork, seasonal swaps, rentals |
| Clip-frame turntable | Beginner to intermediate | About a minute per piece | Two anchors, or freestanding | Hallways, home offices, larger collections |
| Pivoting double-sided panel | Intermediate woodworking | About a minute per piece | One anchor or tabletop | Two-sided viewing, narrow walls, art fairs |
What You’ll Need
For the turntable and line builds, the list is short. The only items you cannot substitute are the clip frames themselves and the hardware that carries the rotation.
- Clip frames, sized a little larger than your artwork
- Steel picture wire or jute twine, 1.5 to 2 times the width of your display area
- Clips, clothespins, or mini clip hangers, one per piece
- Wall anchors or removable picture strips
- One lazy Susan bearing set for the turntable build
- A thin plywood or foam board panel to mount the clip frames onto
- A 3/8 inch dowel rod for the pivoting version
- Level, tape measure, stud finder, and fine sandpaper
| Item | Quantity | Where to source | Cost tier |
|---|---|---|---|
| Clip frames | As many pieces as you want to show | Framing suppliers and online frame retailers | Medium |
| Picture wire or jute twine | 1.5 to 2 times display width | Hardware or craft aisle | Low |
| Clips or clothespins | One per piece, plus spares | Craft, hardware, or dollar aisle | Low |
| Lazy Susan bearing set | 1 | Hardware or woodworking supplier | Low to medium |
| Thin plywood or foam board | 1 panel, sized to the frame row | Timber yard or craft store | Medium |
| Removable strips or hangers | 2 to 4 | Hardware or home goods | Low |
One tip from the framing community worth repeating: you can order clip frames with the glazing already included, so you are not sourcing a separate sheet of acrylic and cutting it to size. Members on largeformatphotography.info describe that as the simple route, and it is the one I would take on a first build.
Method 1: The Clip-String Rotating Wall (No Build, About 20 Minutes)
This is the fastest way to get a display that changes weekly. It needs no woodworking and leaves one small hole, or none at all if you use removable strips.
- Measure the span. Mark where you want the line to start and end, and add 4 inches of wire for the tensioning run at each side.
- Mark the center height. Aim for 57 to 60 inches from the floor to the middle of the line, then make a light pencil mark at each end.
- Set the anchors. Drive a screw into a stud if one lines up. In drywall, use a rated hollow-wall anchor sized for the total weight of the wire plus every clip and frame on it.
- Tension the line. Screw the wire to the first anchor, pull it taut to the second, and screw it off. If the line dips in the middle, add a second screw a few inches along the wire and pull the midpoint up to it. A second fixing is the standard fix for twine sag and it works on wire too.
- Clip and rotate. Hang the clip frames or bare art with clips, spacing them evenly. Every swap from here is a matter of unclipping one piece and clipping the next.
Wrap or sand the cut ends of the wire before you start. A raw wire end will nick the wall or your fingers on the first swap.
Method 2: The Clip-Frame Turntable Display (The Main Build)
A clip-string wall rotates by swapping. A turntable rotates by spinning, and that means a whole row of clip frames stays on the wall at once. This is the build that answers “how do I make a DIY rotating display” with something you can actually keep up.
- Build the backing panel. Cut thin plywood or foam board 2 inches taller than your clip frames and as wide as the row you want. Sand the edges and seal the face so the clips have a flat surface to grip.
- Mark the clip positions. Lay the clip frames face down on the panel, space them evenly, and trace around each one. This guarantees the art sits on a level line once the panel is hung.
- Fix the panel to the wall. Mount D-ring hangers or a French cleat on the back, then hang the empty panel first and check it with a level before anything else goes on.
- Fit the turntable. Screw the lazy Susan bearing set to the back of the panel at the center of the row. A center-mounted bearing is what makes the rotation even instead of lopsided.
- Load the clip frames. Set each one on the panel, feed the spring clips under the glazing lip, and press until they seat. Load every piece flat on a table or the floor first, never against the wall.
- Check the swing. Push the row gently. If it binds at one end, the clip frames are sitting proud of the panel. Shim that end with a thin scrap of wood until the row turns freely end to end.
- Cut the retention line. Run a thin wire or cord across the front of the row, a half inch below center, and fasten it at the panel edges. This is what keeps a clip from swinging open as the display turns.
- Level and load your art. Load every slot now while the line is empty, then add artwork one piece at a time. You can rotate the display with a full load in seconds from here.
For a narrow wall or a tabletop, skip the bearing and use a 3/8 inch dowel through the panel as a pivot, with a single-sided and a double-sided panel either side of it. One maker tip that speeds up swapping enormously: cut a pass-through slot in the panel, or run double-sided tape on the back of each piece, so you can change art from behind the frame instead of reaching around it.
Hanging It Right: Height, Spacing, and Anchors
The 2/3 rule says the bottom of your wall art should sit about two-thirds of the way up the wall, or roughly 6 to 8 inches below the ceiling line. Use it as a ceiling guide, not a target for a low display, since a rotating line has its own visual weight.
For eye level, aim for 57 to 60 inches from the floor to the center of the line. That is roughly adult eye height and still reachable by most school-age children. If the display serves the kids’ room, drop the center to 48 to 54 inches and accept that adults will look slightly down at it.
- Space clip frames 3 to 4 inches apart, and 6 to 8 inches for a looser salon-style grid
- Use a 4 foot level across the whole row, not a short one on each frame
- Anchor into a stud wherever the row allows, and cycle anchors for the spans between
- Check the anchors by loading the finished row and standing back, not by tapping the empty wall
Renter-Friendly Ways to Mount Without Drilling
Rotating displays are unusually rental-friendly, because the hardware is the only part that touches the wall. Three options work.
- Removable picture strips. Two strips rated above the loaded weight of the row, with a 24 hour wait before loading. The line build works best here because the load is light.
- A tension rod. A brass or wood rod wedged between two walls or inside a shelving gap, with the wire clipped to the rod. This needs no wall contact at all.
- Freestanding. Build the turntable panel and set it on a console table, a mantel, or an easel-style A-frame stand. A rotating display that lives on furniture can move rooms with you.
Whatever you choose, put the mounting method up front when you plan the display. It determines how many pieces you can safely add later, and it is the first question anyone in a rental asks.
How to Rotate the Display and Keep It Fresh
Rotation only works if the changing is easy enough to actually do. Our rule is one swap every two weeks, scheduled rather than aspirational.
Pick a theme per cycle instead of dumping in everything. Six recent school portraits, or six landscapes, or one season of the kids’ artwork, reads as a gallery wall. A mixed pile reads as a noticeboard, and people stop looking at it.
Keep the pieces in a single shallow bin behind a sofa or on a closet shelf so the swap is one step. Store them face to face with acid-free interleaving or plain glassine, never bare against each other, or the glazing and paper will both suffer. Retire anything to a portfolio once it has sat off the wall for a full cycle, which is what keeps a display from becoming a backlog drawer.
Mistakes to Avoid (and the Quick Fix for Each)
The line sags in the middle. Fix it with a second fixing point and a tensioned midpoint, as described in Method 1. Steel wire resists stretch far better than twine, which is the other half of the fix.
Clips will not reach the lip. A small clip on a large frame cannot travel far enough. Match the clip size to the frame height, or hold the piece with corner mounts and a retention line instead.
Uneven spacing. Trace each frame onto the panel before mounting instead of eyeballing. If you are using a wire line, mark every position with painter’s tape and transfer those marks with a level.
The row bows or binds when it turns. Something is sitting proud of the backing panel, usually a clip frame with an overhanging edge. Shim the tight end and re-test before loading art.
Glazing gets broken. Put the display high enough that a child cannot reach the edge of a frame, and in a hallway rather than a playroom. For anything lower than about 5 feet in a busy house, use acrylic instead of glass. Acrylic scratches more readily, but it is far lighter and it will not shatter.
For acrylic or watercolor paintings, skip glazing entirely. Watercolor paper cockles against a non-breathable backing, and acrylic paint can stick to glazing over time. Float those pieces in an open frame or on a shallow ledge instead.
Where This Display Works Best
- Hallway. The turntable panel, centered at 57 to 60 inches, turns a blank corridor wall into the first thing guests see.
- Kids’ room. The clip-string line, dropped to child height, so they can swap their own work without asking for a step stool.
- Home office. A narrow pivoting double-sided panel next to the desk, holding a rotating portfolio on one side and reference prints on the other.
- Mudroom or kitchen. A short line at 54 inches for school papers, drawings, and the week of the menu.
- Small apartment. The tension rod version, or a freestanding panel on a console, since neither touches the wall at all.
Sourcing: Thrifting vs. Buying
Clip frames are the one place where thrift logic fails. Used clip frames come with scratches, tired springs, and often no glazing, so the low-tier route is to buy new clip frames in the glazing size you need and thrift everything around them.
Three practical tiers. The lowest-cost build is a wire line with thrifted frames, garden twine, and clothespins, with no hardware at all. The middle build adds one lazy Susan bearing set and a cut panel, which is where a display stops being a string and starts being an object. The premium build buys new clip frames, a hardwood panel, and concealed mounting, and that is the version that survives a move to a different house.
One piece of advice on the framing side: poster frames often look cheaper than clip frames until you add a sheet of glazing and a backing board to match. That is the price confusion that trips people up, and it is worth pricing the full sandwich rather than the empty moulding.
Frequently Asked Questions
What is a clip frame?
A clip frame is a frameless display. A sheet of glazing, glass or acrylic, is held to a rigid backing board by small spring clips along the edges, so artwork sits protected with no border around it. The clips release in seconds, which is what makes clip frames the fastest way to swap art.
How do I make a DIY rotating display?
The fastest method is a taut wire line across a wall with clips or clip frames hung along it, which takes about 20 minutes. The build that keeps a whole row on the wall is a plywood panel with clip frames fixed to it and a lazy Susan bearing set centered on the back, so the entire row spins to bring a new piece into view.
What is the 2/3 rule for wall art?
The 2/3 rule says the bottom edge of your wall art should sit about two-thirds of the way up the wall, leaving roughly 6 to 8 inches of space below the ceiling line. It works as a ceiling guide, though a rotating line usually looks better centered at 57 to 60 inches from the floor.
How do I keep a wire and clip line from sagging?
Use steel picture wire rather than jute twine, and tension it hard between two anchors. If it still dips in the middle, add a second screw a few inches along the wire and pull the midpoint up to it. That extra fixing point is the standard fix for twine sag and it holds far better than tape alone.
What is the best way to display kids’ artwork?
A clip-string line or a clip-frame row at a child’s height, 48 to 54 inches from the floor, works best. Children can unclip one piece and clip up the next without adult help, and nothing new is hung each time. Rotate weekly and keep only the current cycle on the wall.
How high should a rotating art display hang so kids can reach it?
Hang the center of the line 48 to 54 inches from the floor for a kids’ room, which most school-age children can reach and swap on their own. Keep glazed frames at 60 inches or higher in hallways and play areas so nothing fragile sits within a child’s reach.
What is the best frame for a poster?
A clip frame is the best choice when you will change the poster often, because artwork slides in and out in seconds with no tools. A poster frame is cheaper and sturdier for a piece you will never swap. Below about 5 feet, choose an acrylic-glazed clip frame rather than glass.
Conclusion
How to create a rotating art display at home with clip frames comes down to one decision: swap along a line, or spin a panel. Start with the clip-string wall if you want it up tonight, and move to a lazy-Susan panel once you are ready for a whole row that turns in seconds. Either way, the clip frames keep the art protected and borderless, and the rotation keeps the wall from ever going stale. Pick one theme, schedule the swap, and the first rotation is a two-minute job.