
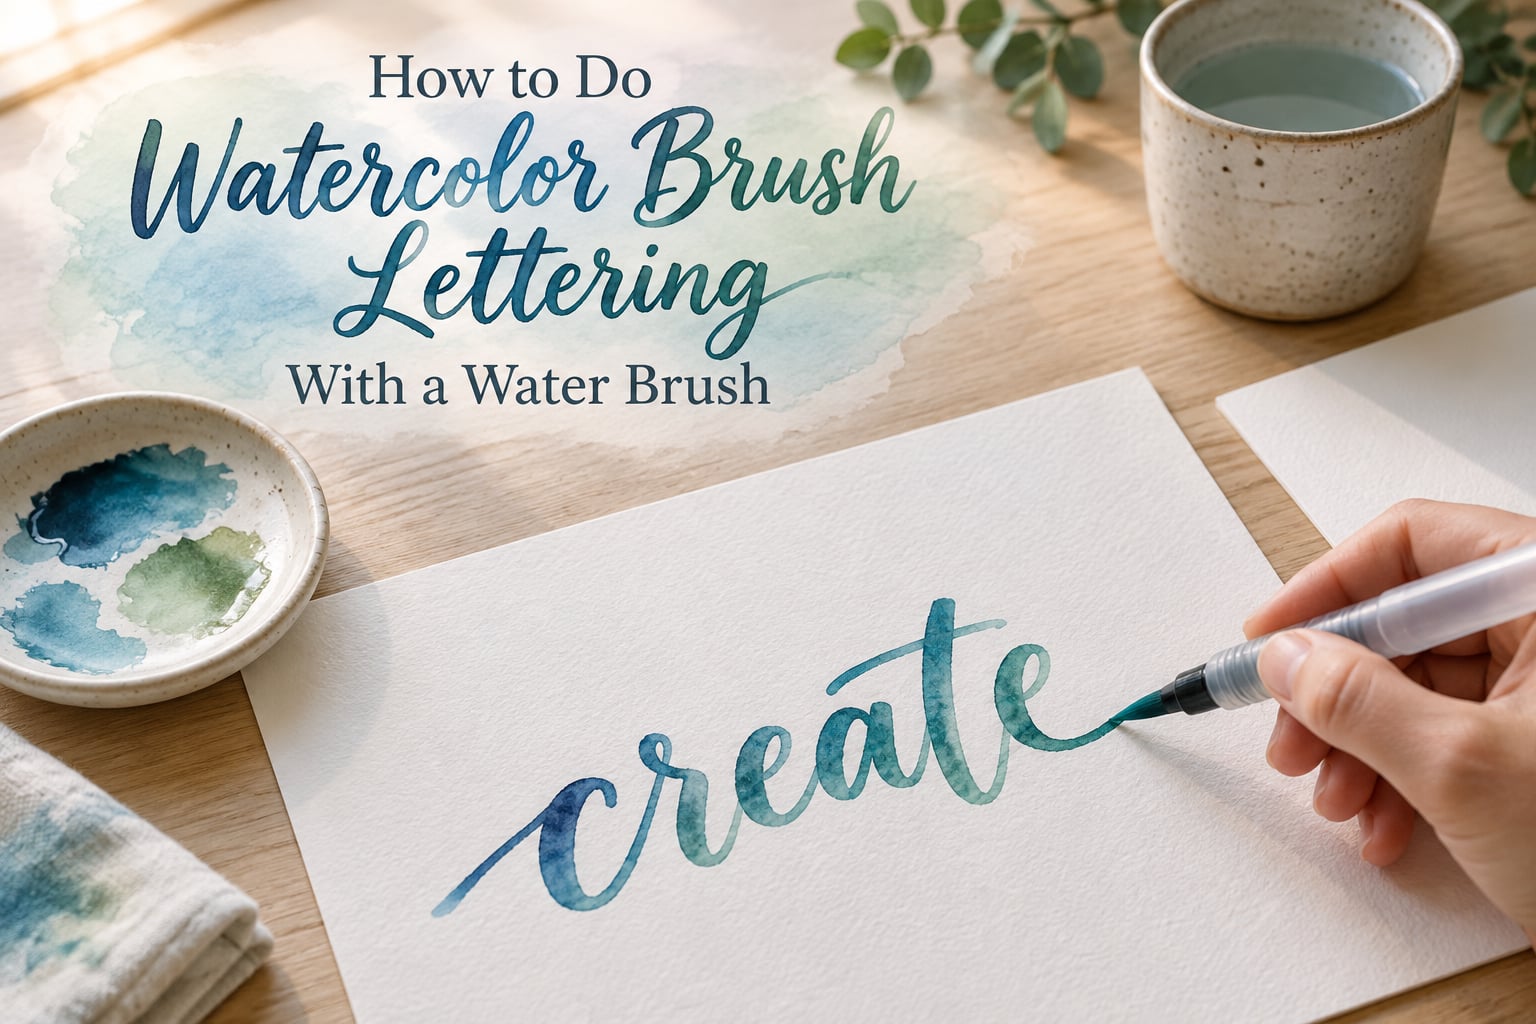
A water brush is the shortest route from “I want to try brush lettering” to a finished watercolor piece you would actually hang on a wall. There is no cup to tip over, no brush to load twice, and no palette sitting off to the side of your workspace. This guide walks through how to do watercolor brush lettering with a water brush from a blank sheet to a dried word, including the water-to-paint ratio nobody explains well and the watercolor-specific mistakes that catch every beginner.
I have kept water brushes in my kit for years and taught the technique to people who had never lettered before. What separates the fast learners is not talent, it is learning to watch the tip instead of watching the letter.
Table of Contents
- What Is a Water Brush and Why Use One for Lettering?
- What You’ll Need to Start
- How to Hold the Water Brush
- The Core Rule – Thin Upstrokes, Thick Downstrokes
- How to Do Watercolor Brush Lettering With a Water Brush: 6 Steps
- The Water-to-Paint Ratio Is the One Variable That Controls Everything
- Four Color Techniques to Try Once the Basics Are Solid
- Water Brush vs Regular Watercolor Brush
- Paper Matters More Than the Brush
- Ten-Minute Warm-Up Drills
- Common Mistakes and How to Fix Them
- Care and Storage
- Project Ideas to Keep the Momentum
- Frequently Asked Questions
- How to use a water brush for watercolor?
- What is the best paint brush for lettering?
- What are the differences between a water brush and a regular watercolor brush?
- Can I use water with brush pens?
- How to use a brush pen correctly?
- How to do lettering step by step?
- What are the best markers for brush lettering?
- How do you use watercolor pens for beginners?
- Conclusion
What Is a Water Brush and Why Use One for Lettering?
A water brush is a calligraphy-style brush with a built-in water reservoir. You squeeze the handle to push clean water through the bristles, then dab that wet tip into a puddle of diluted paint and letter directly from it.
That single design decision buys you four things a regular brush does not offer:
- Portability. The water travels inside the tool, so a sketchbook on a park bench needs nothing else but paint.
- A self-contained water supply. No cup means no drips across your paper and no walking around the table mid-phrase.
- Color blending in the stroke. Because you can re-wet the tip at any moment, two colors merge in a single pull.
- Consistent pressure. The synthetic tip flexes and snaps back like a brush pen, so line weight does not drift as your hand tires.
The honest tradeoff: a water brush holds noticeably more water than a dipped brush, so your instinct to soak it is usually wrong. That one fact explains most of what follows.
What You’ll Need to Start
You need very little, and every item below has a specific job in the method.
- A water brush. A medium pointed tip is the most versatile size for lettering. Thick tips bog down in counters, thin tips run dry halfway down a downstroke.
- Watercolor paint. Pans or tubes both work. Pan sets travel better; tubes let you mix a custom puddle in a lid or dish.
- 140 lb cold press watercolor paper. The weight matters more than the brand, because you will be laying water on the sheet.
- A water cup. Yes, still, for cleaning between colors and for re-diluting a dried puddle.
- Tissue or a paper towel. For wiping the bristles and for blotting a puddle before you load.
- A pencil with a soft eraser. For a light sketch you erase at the end.
- Masking tape or a clipboard. Paper that buckles pulls your baseline out of line, and tape holds it flat.
A slanted palette or a small ceramic dish matters more than people expect, because you need a puddle to dab into. A flat mixing tray works too.
How to Hold the Water Brush
Hold a water brush more upright than you would an ink brush pen, closer to the angle of a dip pen. If the tip is bending sideways, you are too flat and your line weight will be wrong in a way that is hard to see until the word is finished.
Three rules fix most shaky lines:
- Watch the bend. The bristles should bend toward the tip, not away from it and not to the side.
- Rest the side of your hand on the paper. The pinky and the heel of the palm anchor, and the hand stops drifting.
- Move the whole arm. Users in brush lettering communities repeat this constantly: push from the elbow, not the wrist. A wrist-only stroke shakes on the downstroke and thickens on the way up.
The Core Rule – Thin Upstrokes, Thick Downstrokes
Thin upstrokes and thick downstrokes are the whole foundation of brush lettering, and every letter is a set of those two strokes. The downstroke is a straight pull from the top of the letter to the baseline with full pressure. The upstroke returns to the top with almost no pressure, so the line thins as it climbs.
Pressure is the only control you have, and it is a dial rather than a switch. Pressing harder bends more bristles and lays a wider line.
The most common failure is pressure-drag: you press hard into a downstroke, then keep the pressure on as the stroke turns the corner. That drag creates a blob at every join and is why a beginner’s letters read as heavy and unreadable even when the shapes are right.
How to Do Watercolor Brush Lettering With a Water Brush: 6 Steps
These six steps take you from a blank sheet to a finished word. Work on the step that fails you rather than moving on.
Step 1: Sketch the word lightly
Pencil in the word at a comfortable size, letters about an inch tall, then erase most of the pencil later. The sketch keeps the spacing honest, but it must be faint enough that you can paint straight over it.
Step 2: Dilute your paint into a puddle
Squeeze water into the brush, dab the wet tip into a small puddle of paint, and stir until it is the consistency of cream. Paint straight from the pan is too thick for lettering; it skips and leaves a dry-brush texture.
Step 3: Load the tip
Dab the brush into the puddle until the bristles are fully saturated to the ferrule. You want the color to fall off the tip, not to sit on it. Squeeze out a small drop on a tissue if a bead of water forms at the point.
Step 4: Lay down the downstrokes first
Fill every downstroke in the whole word before you touch a single upstroke. This is the single biggest technique upgrade beginners can make, because the downstrokes have time to settle and the thin upstrokes stay clean on top.
Step 5: Reload and pull the upstrokes
Squeeze the reservoir, dab into the same puddle, and pull each upstroke with light pressure. Reloading mid-word is normal and in watercolor it blends invisibly, so never ration the water to avoid a seam.
Step 6: Lift highlights, then let it dry flat
With a clean damp tip, dab the centers of thick downstrokes to pull a lighter core through the color. Then leave the sheet flat and untouched until it dries, roughly ten minutes, because moving it while damp is how you get a smudged baseline.
The Water-to-Paint Ratio Is the One Variable That Controls Everything
Too much water gives you bloom and lost edges; too little gives you skipping. The physical signs appear in the first second of the stroke, and once you can name them you can fix any of the problems in the next section.
| Water level | What it looks like | Why it happens | How to fix it |
|---|---|---|---|
| Too dry | The brush skips, the line breaks up, and you see a rough dry-brush texture | Not enough water in the reservoir, or the paper was never dampened at that spot | Squeeze the reservoir twice more and work the tip in the puddle for three full seconds |
| Just right | The stroke flows, the color settles into the paper texture, and edges soften slightly | Tip loaded to the ferrule, paint mixed to a cream consistency | Nothing. Note the feel and repeat it |
| Too wet | Pigment spreads past your line, the downstroke pucks into a blob, and the counter fills in | Excess water squeezed from the reservoir, or a puddle that was never stirred in | Dab the tip on tissue twice, reload from a thinner puddle, and press harder on the downstroke |
A useful test: pull one stroke on scrap paper before you start. If it sits on the surface and slides, add paint. If it catches and skips, add water.
Four Color Techniques to Try Once the Basics Are Solid
Single color wash. One diluted puddle, the whole word. Focus on pressure and reloading, nothing else.
Two-color blend. Load one color, pull a downstroke, then re-wet and dip the tip in the second color and pull the next. The transition happens inside the bristles.
Ombre gradient. Dilute your puddle more than feels right, because you are about to add water. Pull the downstrokes, then reload with clean water and pull the upstrokes. The color fades from the base of each stroke to the top.
Lifting color with clean water. On a damp but not dripping stroke, run a clean damp tip down the center of a downstroke to pull a lighter core through it. Lifting only works while the paint is still wet, and the window is short.
Water Brush vs Regular Watercolor Brush
A water brush and a regular watercolor brush differ most in water control, and that difference changes your whole process.
| Water brush | Regular watercolor brush | |
|---|---|---|
| Water source | Built-in reservoir in the handle | Separate cup you dip into |
| Water control | Coarse. One squeeze releases a large amount | Precise. You touch the tip to how much you want |
| Portability | Self-contained, travels anywhere | Needs a cup and a water source |
| Blending and lifting | Easy, since the tip re-wets on demand | Easy, but you must manage a second brush |
| Cleaning | Rinse, wipe the bristles in their direction, store drained | Rinse and reshape, dry flat on the paper |
| Best for | Learning, travel, gradients, mixed media | Fine control, long sessions, larger washes |
Beginners often ask whether a water brush is worth buying over a regular brush. The answer is yes if you letter away from a desk, and no if you already have a good pointed brush and a steady setup.
Paper Matters More Than the Brush
Cold press paper has a slight tooth that grabs pigment and gives strokes texture. It suits art prints and anything you want to feel hand-painted. Hot press paper is smooth, so strokes lay flatter and ink brush pens and fine detail behave better on it.
Weight decides whether you can put water on the sheet at all. Around 140 lb is the practical floor for lettering with a water brush. Lighter paper buckles within a few strokes, and once the edges wave, your baseline goes with them.
Two habits prevent buckling: tape the corners down before you start, and lay the finished sheet flat somewhere you can walk past it without brushing the edge.
Ten-Minute Warm-Up Drills
Ten minutes a day beats an hour once a week, and the drills below build exactly what lettering needs. Run them in order.
- Downstrokes (2 min). Straight vertical pulls at three pressures, light, medium, heavy. Keep every line parallel.
- Upstrokes (2 min). Same lines coming back up with a feather touch. The gap between up and down is your core skill.
- Underturns (1 min). The u-shape that forms the bottom of n, m, and h. Pressure on the way down, light on the way up.
- Overturns (1 min). The arch that forms the top of n, m, and h.
- Compound curves (2 min). An overturn flowing straight into an underturn without a pause or a blob at the join.
- Bounce lettering (2 min). Write words where the letter height rises and falls across the baseline instead of sitting flat. This is where hand lettering stops looking like handwriting.
Practise the first two drills with an ink brush pen on printer paper before you touch watercolor. The muscle memory transfers directly and your good paper stays clean.
Common Mistakes and How to Fix Them
Blooming and bleeding past the line. Too much water, or too much left sitting before you start the next stroke. Dab the tip on tissue twice and reload from a thinner puddle.
The word looks blurry. Watercolor does this for two reasons. Either the sheet was still soaking wet when you started, or you let each letter dry completely before moving on. Wait for a matte, cool-to-the-touch surface, not a dry-looking one.
Paint reactivates when you go back over it. This is the mistake nobody warns you about. A half-dry stroke that your damp brush touches again releases its pigment and pushes a hard edge outward, so a soft blend turns into a dark ring. Fix it by finishing a color pass on the whole word before reloading, and by accepting that some seams are the price of the medium.
Hard edges drying mid-word. You waited too long between colors. For a two-color blend, work within a few seconds. For separate colors, commit to the break and go the other way, using clean water to soften the join deliberately.
The tip is fraying. Pressing too hard, or scrubbing back and forth like a marker. Cut back to light pressure, drag in one direction, and keep the brush more upright. A frayed tip holds too much water and will keep failing until you address the habit.
The paper is buckling. Heavily watered sheets warp and your letters drift. Tape the corners, use 140 lb paper, and keep water off the edges.
The letters are mushy. Too much water in the downstrokes fills the counters and the word stops reading. Blot, reload lighter, and press a little harder.
Care and Storage
Water brush cartridges that dry out stiff are usually the reason a brush stops working, and that failure is easy to prevent.
- Rinse. Run the bristles under water until the color clears.
- Swish. Work the tip in a clean glass of water to flush pigment from between the bristles, not just off the surface.
- Wipe in the direction of the bristles. Draw the tip through a damp tissue from ferrule to point. Wiping across frays the tip.
- Squeeze out the water. Empty the reservoir so nothing sits against the cartridge seal.
- Store dry. Cap it and put it away dry. Never store it standing on the tip.
Pigment paint is the one that needs the full routine. If a residue builds up, a night with the bristles in clean water and a gentle wipe usually clears it.
Project Ideas to Keep the Momentum
Letter the same word in a different color each day for a week. It trains reloading without asking you to think.
Envelopes are the most forgiving practice, since a wobbly letter still gets delivered. Journal headers and gift tags add a second layer of usefulness. Once the strokes feel automatic, take a single word to a full 300 lb art print, where the paper can take the water without buckling.
Frequently Asked Questions
How to use a water brush for watercolor?
Squeeze the handle to push water into the bristles, dab the wet tip into a puddle of diluted paint, and use it like a pointed brush. Apply full pressure on downstrokes and a feather touch on upstrokes, and reload from the reservoir whenever the color runs thin. Lay all downstrokes for a word first, then pull the upstrokes in a second pass.
What is the best paint brush for lettering?
A medium pointed round brush is the standard choice for brush lettering, because it comes to a fine point and still holds a full belly of paint. Size medium is the usual starting point for beginners. A flat brush suits block styles and broad lettering, but it is harder to control on curves and thin strokes.
What are the differences between a water brush and a regular watercolor brush?
A water brush carries its water inside the handle, so it travels well, never needs a cup, and can re-wet the tip instantly for blending and lifting. A regular brush gives far more precise control over the water amount because you choose the load each time. Beginners often find the water brush easier to start with and the regular brush better for detail work.
Can I use water with brush pens?
No. Ink brush pens use a water-based dye or pigment ink that dissolves when you add water, so it bleeds, fades, and pools instead of flowing. If you want to control water, use a dedicated water brush with real paint. If you want the snap-back feel of a brush pen, use it dry and treat it as a separate skill.
How to use a brush pen correctly?
Hold it at roughly a 40 degree angle with the tip bending toward the page, rest the side of your hand down for stability, and move the whole arm. Build letters from basic strokes rather than shapes. Squeeze for downstrokes and glide almost without pressure for upstrokes, and never scrub back and forth, which frays the tip.
How to do lettering step by step?
Start with a faint pencil sketch, then paint all the downstrokes across the whole word, then return and pull the upstrokes with light pressure, reloading between letters. Thin upstrokes and thick downstrokes are the rule underneath every letter. Keep the tip more upright than feels natural and let the hand rest on the page for stability.
What are the best markers for brush lettering?
Look for a flexible synthetic tip, a fine point, and ink that does not fade in sunlight. Dual-tip markers with a brush nib and a fine nib give you both heavy downstrokes and hairline details in one tool. Test any marker on scrap paper first, because some bleed through thin paper even when the line looks clean.
How do you use watercolor pens for beginners?
Activate each pen by pressing the nib down on scrap paper until the color flows, and always keep it upright. Use light pressure for thin lines and full pressure for thick downstrokes, the same rule as a brush pen. Unlike a water brush, pens carry a fixed amount of ink, so when the color fades you need a second pen rather than more water.
Conclusion
Learning how to do watercolor brush lettering with a water brush comes down to two habits: hold the brush upright enough that the tip bends toward the bristles, and watch the water load instead of guessing it. Downstrokes first, upstrokes second, and a light touch on the returns will get you most of the way there.
Squeeze water into a brush, mix a puddle thinner than feels comfortable, and paint one word tonight. Whatever goes wrong will be visible on the page within ten seconds, and now you know what each sign means.