
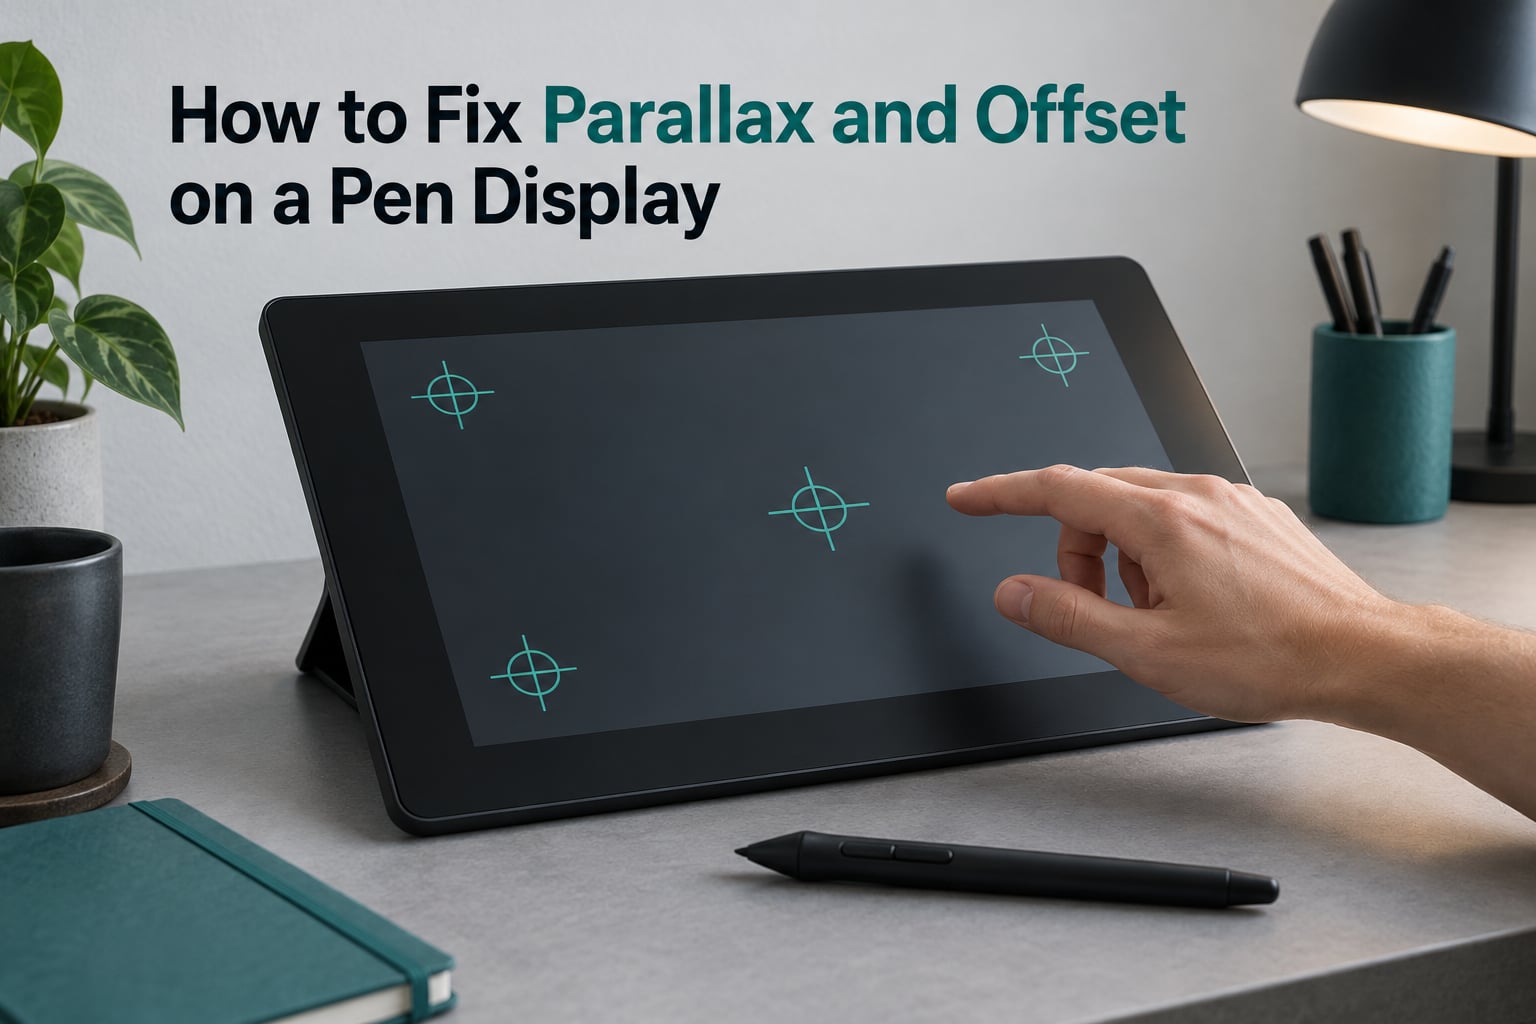
If you want to fix parallax offset on a pen display, the fix is almost always a short ordered sequence rather than a new piece of hardware. If your cursor sits a few millimetres away from your pen tip, the cause is usually a calibration or scaling setting you can change in about ten minutes.
I have watched this problem get misdiagnosed more than almost any other in digital art. People blame the digitiser, buy a replacement pen, and return the display, when the actual cause was a display running at 125% scaling or a calibration that was never saved. So this guide follows a fix order instead: diagnose the symptom first, calibrate, check scaling, check the working area, then the driver, then the hardware.
One thing to settle before you start. A small residual offset on a pen display is physics, not a fault. If you want to fix parallax offset on a pen display, the honest goal is to reduce it enough that your line work and clicks feel accurate, not to eliminate it completely. On a non-laminated panel you will probably always have one to three pixels of difference between the tip and the cursor, and no driver setting removes that.
The advice below covers Windows and macOS, and it names the exact menu path for Wacom, Huion, XP-Pen, Xencelabs, and VEIKK. If you only read one section, read the diagnosis list first, because most wasted troubleshooting comes from fixing the wrong problem.
Table of Contents
- What Parallax and Offset Actually Are (and What Is Normal)
- Quick Diagnosis: Parallax, Lag, Palm Rejection, or Hover?
- How to Run Screen Calibration on a Pen Display
- Fix 1: Set Display Scaling to 100% Before You Calibrate
- Fix 2: Match the Working Area to Your Display
- Fix 3: Update, Reinstall, or Reset the Driver
- Fix 4: Check the Pen Nib and Re-pair the Pen
- Per-Brand Calibration Instructions: Wacom, Huion, XP-Pen, Xencelabs, and VEIKK
- Fix 5: Physical and Ergonomic Adjustments
- When You Cannot Fully Fix Parallax
- Frequently Asked Questions
- How do I fix my Wacom pen calibration?
- My Wacom pen is misaligned. How can I fix this?
- How to fix XP-Pen stylus offset?
- My Huion pen is misaligned. How can I fix it?
- How can I fix the XP Pen cursor appearing on the wrong monitor?
- I can’t calibrate my Wacom pen. What should I do?
- Why is my pen lagging when I draw on my tablet?
- Can I completely remove parallax offset?
- Conclusion
What Parallax and Offset Actually Are (and What Is Normal)
Parallax offset on a pen display is the visible gap between where the pen tip touches the glass and where the cursor appears. It comes from the stack of layers between your pen and the pixels: protective glass, an air gap, the display panel, and the sensing layer underneath.
Here is what that stack means in practice. The sensing layer reports the pen position at the surface of the glass, because that is where the electromagnetic signal originates. You, however, are looking at pixels sitting deeper in the panel. When the distance between those two points changes, your apparent viewing angle changes too, and the cursor appears displaced from the tip.
The gap grows in two situations: when you hold the pen more upright, and toward the edges and corners of the active area. It shrinks when you sit more directly over the screen and lean in. That is why the same display can feel well aligned for one artist and badly aligned for another at the same desk.
Some displays bind the glass, panel, and sensing layer together with optical adhesive. That is called full lamination, and it is a hardware characteristic, not a setting. Fully laminated displays have almost no visible gap. Budget displays that leave an air gap between the glass and the panel will always have some, which is why the same driver settings produce different results on different models.
What is normal versus what is a fault. One to three pixels of residual offset at a comfortable working angle is normal on any non-laminated pen display, and the community consensus on r/huion is blunt about it: a slight offset is normal, and calibration minimises it rather than removing it. A fault is different. Faults drift, jump, or get worse over time. Faults appear on one screen region only. Faults change when you change pen angle rather than staying roughly constant. If your offset fits those descriptions, work through the fixes below, and if it survives all of them, read the section on when the hardware is the problem.
Quick Diagnosis: Parallax, Lag, Palm Rejection, or Hover?
Run this test before you change anything. Each entry below gives you how the problem behaves, how to confirm it in under a minute, what is actually causing it, and where the fix lives.
Parallax offset. The cursor sits beside the pen tip, roughly constant, and gets worse at the edges. Confirm it by tilting the pen from upright to flat and watching the gap change size. The cause is the air gap between glass and panel. The fix is screen calibration, then display scaling.
Input latency. The cursor trails the pen by a visible delay but sits under the tip when you pause. Confirm it by drawing a slow circle and watching the gap close when you stop moving. The cause is latency, or an app using the wrong input API. The fix is to switch between Wintab and Windows Ink, close background apps, and check the cable port.
Palm rejection threshold. The cursor jumps or skips to the wrong spot while your forearm rests on the screen. Confirm it by lifting your hand clear and watching tracking become clean. The cause is the palm rejection threshold. The fix is to raise the palm rejection or touch rejection setting, or to raise the display on its stand so your wrist clears the surface.
Hover offset or hover disabled. The cursor sits a small fixed distance from the tip and the hover preview is missing or offset. Confirm it by checking whether hover works at all in the app. The cause is a hover setting in the driver. The fix is to enable pen hover in the driver, then recalibrate.
Working area mapped to the wrong screen. The cursor appears on a different monitor entirely. Confirm it by looking at the second display. The cause is the working area mapping. The fix is to re-map the working area to the pen display.
Worn nib or dying pen battery. Tracking is erratic and slightly wrong, and gets worse over minutes. Confirm it by checking the nib tip and the pen battery. The cause is the nib or the battery. The fix is to replace the nib, then charge or re-pair the pen.
Two more checks worth doing. If the offset is identical whether you draw in Photoshop, Krita, or Clip Studio Paint, the problem is at the driver or display level, not the app. If it appears in only one app, the app is likely reading the tablet through a different input API, and changing the API in that app usually fixes it. A user on the mypaint community dealing with an XP-Pen Artist solved offset drawing on Linux by switching from the Wintab stack to the Windows Ink API, which is the same class of fix.
How to Run Screen Calibration on a Pen Display
Screen calibration samples several fixed points on your display, asks you to click each one precisely with the pen, and stores a correction matrix that maps pen position to cursor position. The tool lives inside your brand’s driver panel, not in your drawing app, and the whole process takes about two minutes.
1. Connect the pen display and let the driver finish installing. Confirm the pen shows up in your driver panel before you go any further.
2. Open your brand’s driver software. Wacom users open Wacom Center, XP-Pen users open DriverManager, Huion users open the Huion driver panel, and Xencelabs and VEIKK users open their respective driver apps.
3. Select your pen display from the device list in the driver panel, not your drawing tablet if you own both.
4. Find the Calibration option in the panel. Depending on the app it is called Calibrate, Screen Calibration, or Calibration under the device settings.
5. Sit square to the display and lean in slightly. A calibration done at a slouched angle will be wrong the moment you straighten up.
6. Click each crosshair target as precisely as you can. Most tools show between three and nine targets, spread across the corners, edges, and centre. Do not rush the corners, because corner error is what you will notice later.
7. Click OK or Apply to save, then close the driver panel and restart your drawing app. A restart matters, because many applications read the working area once at launch and ignore later changes.
Two failure modes that silently waste this process. The first is not pressing OK. The calibration data is discarded if you close the window without confirming, which is exactly why people report calibrating successfully and seeing no change. The second is closing the driver panel before you have hit every target, which leaves the matrix incomplete. A second gotcha specific to XP-Pen: launch the calibration tool before connecting the tablet, or the targets will not register where you click them.
When your calibration disappears. Calibration data is not permanent. Rearranging your displays, changing screen resolution or scaling, plugging the display into a different port, and updating the driver can all discard it. Pen displays also ship factory-calibrated, and that factory data is lost if the display configuration changes afterwards. If your alignment survived a Windows or macOS update before, it was luck, not design.
Fix 1: Set Display Scaling to 100% Before You Calibrate
Set your display scaling to 100% and make the pen display your primary monitor before you calibrate. A scaling mismatch between the tablet and the monitor is the single most common reason calibration appears to succeed and changes nothing.
On Windows, open Settings, then System, then Display, then Scale, and set it to 100%. If you have several displays, open Display settings for the pen display specifically rather than the primary one, because scaling is stored per monitor.
On macOS, open System Settings, then Displays, select the pen display, and choose the default scaled option for that display rather than a higher resolution mode. macOS HiDPI scaling is the equivalent trap.
Why it matters technically: the digitiser reports coordinates in physical panel space, while the operating system delivers cursor positions in scaled logical space. When the two values disagree by a factor of 1.25, the calibration matrix is solved against coordinates the system will not actually use, so the correction lands in the wrong place. Fixing the scaling first, then calibrating, is the difference between a fix that holds and one that drifts back within a week.
If the offset is stubborn on an XP-Pen display, one community-documented trick is to set the pen display as the primary monitor, wait, then switch the primary monitor back to your main display. That forces Windows to re-enumerate the displays and sometimes makes a stubborn calibration finally register.
Fix 2: Match the Working Area to Your Display
Map the working area to the pen display only, and lock the aspect ratio. A wrong working area does not look like a small parallax gap, it looks like a badly offset pen, which is why it gets misfiled.
On Windows, open your driver panel, go to the working area or area settings, select the pen display from the screen dropdown, and enable the option labelled keep aspect ratio or constrain proportions. The drawing area should match the shape of the screen exactly. If it is stretched horizontally or vertically, your strokes will land in the wrong place even with perfect calibration.
On multi-monitor setups, check which monitor the driver thinks you are drawing on. The cursor appearing entirely on the wrong monitor is a working area selection problem, not parallax. Set the pen display as the primary monitor, relaunch the driver, and select the correct screen again.
Wacom users on Windows can also check the mapping through the Windows Tablet PC Settings panel and the classic Wacom properties dialog, where the mapping tab lets you switch between the whole screen, a single display, and a custom region.
Fix 3: Update, Reinstall, or Reset the Driver
If calibration and scaling are both correct and the offset persists, the input stack is the next suspect. A clean driver reinstall fixes a meaningful share of cases, and users stuck with unresponsive pen detection on r/wacom often resolve it without rebooting at all.
First, try the quick restart. Open Wacom Center, click the gear icon in the upper right, and choose Restart Driver. On other brands, the equivalent is restarting the driver service or simply unplugging and replugging the USB cable. This restores pen detection far more often than it has any right to.
Then, on Windows, do a clean reinstall. End the PenTablet process in Task Manager. Delete wintab32.dll from C:WindowsSystem32 and C:WindowsSysWOW64. Open Device Manager, expand Human Interface Devices, right-click the tablet and digitiser entries, and uninstall them. Reboot, reinstall the driver from the manufacturer’s site, and calibrate again.
On macOS, pen input is gated by a privacy permission many people never know exists. Open System Settings, then Privacy and Security, then Input Monitoring, and confirm your drawing app and the pen driver are both listed and enabled. If the entry is missing entirely, launch the drawing app once so macOS offers to add it. Wintab support on macOS is also worth a look, since a macOS build talking to an older driver can produce offset that no calibration setting will fix.
On Windows 11, check which input API your app uses. Open Settings, then Bluetooth and devices, then Pen and other input, and look at the option for choosing how pen input works in Windows. Windows Ink is a common source of added latency and different offset behaviour on third-party tablets. Many drawing apps let you toggle between Windows Ink and Wintab in their own tablet preferences, and switching between them often changes the alignment noticeably.
Finally, on Windows Tablet PC Settings and in your drawing app, make sure the pen is set to absolute coordinates mode rather than relative. Relative mode maps the pen to the whole screen, which behaves nothing like a pen display and produces constant offset.
Fix 4: Check the Pen Nib and Re-pair the Pen
Replace the pen nib and re-pair the pen before you decide anything is wrong with the display. Both worn nibs and a tired pen battery produce erratic tracking that reads exactly like offset.
A nib worn down to a wide, rounded shape increases the contact area with the glass, and tracking becomes fuzzy in a way that looks like misalignment. Pull the nib off, check whether the tip is flattened or ragged, and fit a fresh one. It is a two-minute change and it is on the standard manufacturer troubleshooting list for a reason.
Pen type matters here. Battery-powered active pens need re-pairing when the battery drains, and some models stop tracking properly before they warn you. Most EMR pens used on pen displays have no battery at all, so battery is not a factor, but they are still worth inspecting for a damaged tip or a dirty sensing ring near the base. If your pen lost tracking suddenly rather than gradually, re-pair it before touching any driver settings.
Clean the pen barrel and the base of the display too. Interference from a poorly grounded USB port or a metal object resting against the pen can degrade tracking intermittently, and that shows up as jumping rather than a steady gap.
Per-Brand Calibration Instructions: Wacom, Huion, XP-Pen, Xencelabs, and VEIKK
These are the exact paths, because brand-specific menu paths are what people actually search for and generic advice gets dismissed.
Wacom (Cintiq, Wacom One, Intuos Pro). Open Wacom Center, select your pen display from the device list, and open the calibration option for that device. If pen input is unresponsive, click the gear icon in the upper right corner and choose Restart Driver. On older Wacom drivers the tool is reached through the Windows Tablet PC Settings panel, or through Wacom properties in Control Panel, then the Calibration tab. A known Wacom behaviour worth knowing: after recalibrating, the cursor can jump to the centre of the screen and then drift again, which usually means the working area is set to the wrong display rather than that calibration failed.
Huion (Kamvas and other displays). Open the Huion driver panel from the system tray, select the display, and choose Calibration or Screen Calibration from the device settings. On macOS, open the Huion app from Applications and select the same calibration option. If calibration runs but the offset does not change, set display scaling to 100% and recalibrate, because scaling is the usual cause on Huion units.
XP-Pen (Artist, Deco, and Star). Open DriverManager, select the pen display, and use the calibration option for the device. Launch DriverManager before you connect the tablet, click every target, and then click OK, because XP-Pen discards calibration data if the window is closed without confirming. For a full fix on a misbehaving unit, set scaling to 100%, set the pen display as primary monitor, and reinstall the driver cleanly using the wintab32.dll method described above.
Xencelabs. Open the Xencelabs driver application, select the pen display, and open the Calibration tab. Set the working area to the pen display and keep aspect ratio enabled before you calibrate.
VEIKK. Open the VEIKK driver, select the display, and run screen calibration from the driver menu. The VEIKK documentation lists cursor offset and inaccurate tracking as a standard symptom with screen calibration as the listed remedy, and it also flags incorrect display mapping as a separate cause worth checking.
Two behaviours are shared across all five brands. In every driver panel, the calibration tool will not save without an explicit OK or Apply. And in every brand, calibration is discarded when the display configuration changes, so treat recalibrating as a routine step after a monitor swap rather than a sign that something broke.
Fix 5: Physical and Ergonomic Adjustments
Sit square to the display, raise it so you look down at it, and keep your drawing hand centred. Ergonomics change the offset more than most people expect, because the parallax error is a function of viewing angle.
Sit directly in front of the panel rather than off to one side, and raise the display on its stand so your eyes look down at it instead of across at it. That reduces the angle between your line of sight and the panel, which is the same reason the offset shrinks as you lean in.
Keep your drawing hand centred relative to the screen. Working at the far edge of a wide display at a steep angle gives you the largest parallax error the panel physically allows, and no calibration matrix corrects for every angle at once.
Check your screen protector. A thick matte or anti-glare protector adds real distance between your pen and the pixels, and the gap grows with it. If you added a protector after the display felt accurate and the offset appeared afterwards, removing it or moving to a thinner protector is a genuine fix rather than a compromise. A factory-fitted or thin optical protector is usually fine.
Finally, check whether the stand is at full height and the panel is not tilted back. A display angled away from you makes every stroke harder to place accurately, whether or not calibration is perfect.
When You Cannot Fully Fix Parallax
Some offset cannot be removed, and knowing the difference saves you from endless troubleshooting. A non-laminated panel with an air gap has a fixed physical limit on how closely the cursor can match the tip.
Here is what you are looking at when the offset is hardware rather than software. The offset is present in every application. It is present with a different pen, on a different computer, and after a full driver reinstall. It is worst in the corners and does not change after calibration. And it changes noticeably as you vary the pen angle, which tells you the digitiser is reporting correctly and you are seeing the air gap.
A failing digitiser looks different. Offset that appears only in one region of the screen, that worsens over days rather than staying constant, or that comes with dropped tracking and phantom touches, is not parallax. That is a hardware fault, and the escalation path is manufacturer support first, then warranty. A college IT knowledge base makes the same point in a different context: pen displays ship factory-calibrated, and when something is wrong with tracking rather than alignment, support handles it rather than settings.
There is one more honest limit. If you work at an extreme angle, such as reclining with the display on a raised mount, you are outside the range the calibration matrix was solved for. Fixing that means fixing your posture or your stand, not your software.
Frequently Asked Questions
How do I fix my Wacom pen calibration?
Open Wacom Center, select your pen display, and run the calibration tool for that device. Before you start, set display scaling to 100% and make the pen display your primary monitor, then sit square to the panel and click every crosshair target. Press OK to save, close the driver panel, and restart your drawing app. If pen input is unresponsive, click the gear icon in the upper right of Wacom Center and choose Restart Driver.
My Wacom pen is misaligned. How can I fix this?
Misalignment on a Wacom is usually a working area or calibration problem rather than a hardware fault. Set display scaling to 100%, select the correct monitor in the working area settings, keep aspect ratio enabled, and recalibrate. If the cursor jumps to the centre of the screen after recalibrating and then drifts again, the working area is mapped to the wrong display.
How to fix XP-Pen stylus offset?
Open DriverManager, select the pen display, and run calibration. Launch DriverManager before connecting the tablet, click all targets, and press OK, because XP-Pen discards the data if you close the window without confirming. If the offset persists, set display scaling to 100%, set the pen display as primary monitor, and reinstall the driver after deleting wintab32.dll from System32 and SysWOW64.
My Huion pen is misaligned. How can I fix it?
Open the Huion driver panel, select the display, and choose Calibration or Screen Calibration. The most common reason Huion calibration appears to succeed with no change is a display scaling mismatch, so set the display scale to 100% first, then recalibrate. On macOS, open the Huion app and use the same calibration option.
How can I fix the XP Pen cursor appearing on the wrong monitor?
That is a working area mapping problem, not parallax. In DriverManager, open the working area or area settings, choose the pen display from the screen dropdown, and enable keep aspect ratio. Set the pen display as the primary monitor, relaunch the driver, and select the correct screen again if you use multiple displays.
I can’t calibrate my Wacom pen. What should I do?
Start with display scaling. Set the pen display scale to 100% and make it the primary monitor, then calibrate again. If the calibration tool will not open or the targets do not register, restart the driver from Wacom Center using the gear icon in the upper right, and on macOS confirm the app is enabled under System Settings, Privacy and Security, Input Monitoring. A clean driver reinstall is the last step.
Why is my pen lagging when I draw on my tablet?
Lag is a different problem from parallax offset, and the difference is easy to test. With lag, the cursor trails your pen while you move and catches up when you pause. On Windows, check Settings, Bluetooth and devices, Pen and other input, and try switching between Windows Ink and Wintab, since each app uses a different input API. Close background applications, move the cable to a different USB port, and check that the pen is in absolute coordinates mode.
Can I completely remove parallax offset?
Not entirely. Parallax comes from the layers between your pen and the pixels, so a display with an air gap between the glass and the panel always has some. Full lamination removes almost all of it, but that is a hardware characteristic, not a setting. A residual one to three pixels at a comfortable working angle is normal, and screen calibration reduces it enough for accurate line work.
Conclusion
To fix parallax offset on a pen display, work in a fixed order. Diagnose the symptom so you are not repairing lag or palm rejection. Run screen calibration and press OK to save it. Set display scaling to 100% and make the pen display your primary monitor. Match the working area to the display with aspect ratio locked. Restart or reinstall the driver, including the wintab32.dll step on Windows. Check the nib and re-pair the pen. Then adjust your sitting position, display height, and any screen protector.
Expect a small residual offset afterwards, and that is fine. A few pixels at a comfortable angle is what the hardware allows on a display with an air gap, and calibration gets you the rest of the way. If the offset changes with pen angle, jumps, or appears in only one region of the screen, that is a different problem and it belongs with the manufacturer.
Last updated: October 2026.