
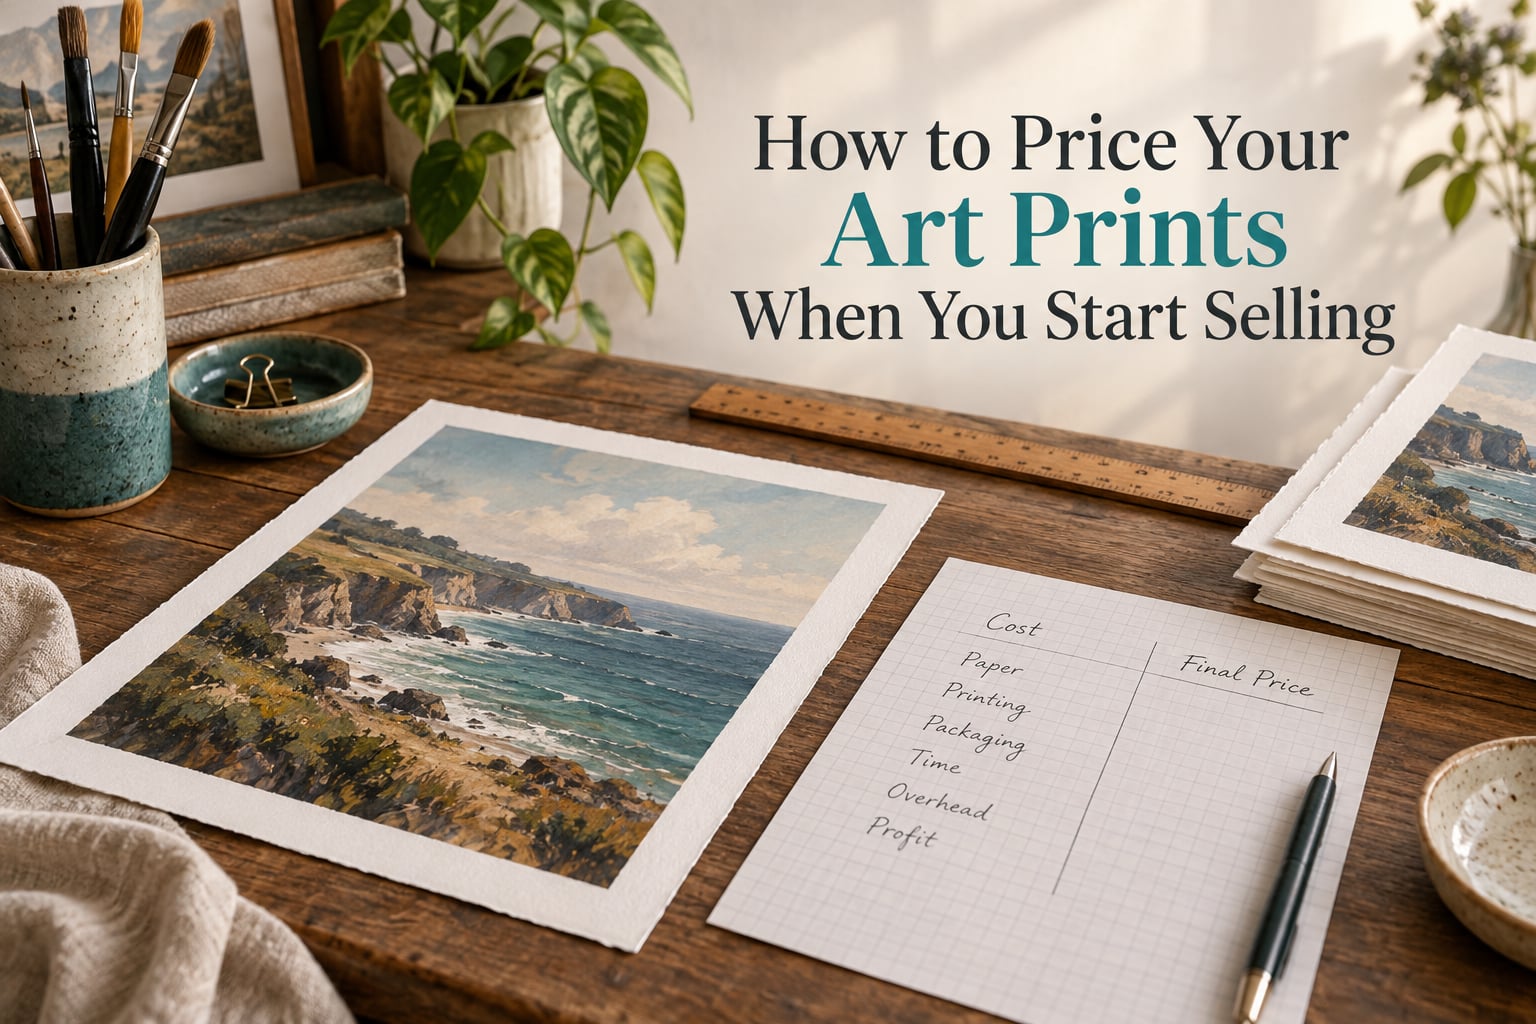
Almost every artist starting to sell prints hits the same wall, and it is rarely a talent wall. It is a pricing wall. On r/artbusiness, a starting artist with more inbound interest than they can handle wrote: “I have gotten a lot of people who are interested in buying my art but I am not quite sure how to price it. Should it be time the main part? Should it be the surface I’m covering? Or the cost of materials?” The question is genuinely good, and almost nobody has ever answered it with a number.
That is why pricing art prints feels like guessing. You have no sales history, no benchmark in your head, and a deep-seated fear of pricing high and watching a listing sit there. So you do the safe thing. You price low, sell two prints, and quietly conclude that selling prints does not work. Meanwhile the artist who charged properly made the same sale and could afford to keep going.
The good news is that this is a calculation, not a talent test. Add up everything one print actually costs you, including your own time, then mark up to a margin you can defend. This guide walks through that calculation step by step, gives you a worked example with real numbers, and finishes with a size-by-size price table you can use tonight.
Table of Contents
- The Short Answer: How to Price Art Prints in 2026
- What Should You Charge for Art Prints?
- The Cost-Plus Pricing Formula for Art Prints
- Step 1 to Step 5: Calculate Your Total Cost Per Print
- Include Your Labor in the Price
- A Worked Example: From Materials to a Final Price of 84
- Price by Print Size: A Size-to-Price Guide
- Print-on-Demand vs. Self-Hosted Pricing
- Marketplace vs. Own Store: What You Actually Keep
- Open Edition vs. Limited Edition Pricing
- The Cost Worksheet: Fill In Your Own Numbers
- How to Benchmark the Market in 5 Steps
- Common Beginner Pricing Mistakes
- When and How to Raise Your Prices
- Frequently Asked Questions
- How much should I charge for my art prints?
- How can I calculate the price of an art print?
- What is the formula for calculating artist pricing?
- How to price your artwork as a beginner?
- How much should I sell a 5×7 art print for?
- What is a good price for an art print?
- How much should a beginner painter charge?
- How do I find out how much my prints are worth?
- What is the 70/30 rule in art?
- Should I include shipping in the price of my art print?
- Conclusion
The Short Answer: How to Price Art Prints in 2026
Price each print with this formula: Price = Total Cost Per Print ÷ (1 − target margin − fee rate). Total cost per print is the sum of printing, paper, packaging, labor, and a share of your overhead. Target margin is the profit you want as a percentage of the sale price, and fee rate is the total percentage the platform and payment processor take. With costs of 42 and fees near 10 percent, a 40 percent margin gives a price of 84.
That is the whole method. The rest of this article is the detail that makes those numbers yours instead of guesses.
What Should You Charge for Art Prints?
A defensible starting point is to work from your cost stack and then check the result against what comparable artists are actually listing. Beginners tend to do one without the other, which is why their prices feel arbitrary.
Here is the pattern most finished catalogues follow. All figures are in US dollars and assume an open edition, buyer-paid shipping, and a print that includes a modest labour allowance. Treat these as bands to sanity-check against, not as rules.
| Format | What buyers expect | Entry price band |
|---|---|---|
| Small unframed paper print (5×7 to 8×10) | Impulse or gift purchase | 16 to 32 |
| Mid-size unframed paper print (8×11 to 11×14) | The core of most catalogues | 28 to 60 |
| Large paper print (16×20 to 18×24) | Statement piece, usually a wall | 95 to 120 |
| Canvas print | Premium durability, no frame needed | 22 to 150 depending on size |
| Framed print | Ready to hang, biggest perceived value | 40 to 255 depending on size |
| Signed and numbered limited edition | Collectible, edition size on the label | 1.5x to 3x the open edition price |
Two things move a buyer up these tiers, and neither of them is talent. Format does: a framed or canvas version raises perceived value because the buyer does not have to do anything to hang it. Scarcity does: a numbered edition of 50 is a different object from an open edition, and most buyers will pay for the difference without being asked.
One caution about market research. The lowest prices you will find when you search art prints are usually heavily discounted digital downloads, not physical prints. They are a different product with no production cost, no packaging, and no shipping, and copying them downward is the most common way beginners underprice themselves.
The Cost-Plus Pricing Formula for Art Prints
What is the formula for calculating artist pricing? It is cost-plus pricing, and every variable in it comes out of your own records rather than out of a competitor’s listing page.
Price = Total Cost Per Print ÷ (1 − Target Margin − Fee Rate)
Here is each variable in one line.
- Total cost per print — printing, paper, packaging, your labor, and your share of overhead, all divided by how many prints you produced.
- Target margin — the profit you want expressed as a percentage of the sale price, not a percentage of your costs. Aim for 30 to 50 percent as a beginner.
- Fee rate — the combined percentage taken by your marketplace, your payment processor, and any advertising costs you plan to carry.
Why you divide instead of multiplying: markup versus margin
This is the most misunderstood pair in print pricing, and getting it wrong is why so many sellers think they are making money when they are not. A markup is calculated on cost. A margin is calculated on the price the buyer pays. They are not the same number.
Take a 42 dollar cost. Adding a 50 percent markup gives a price of 63, and the margin on that sale is 33 percent, not 50. If you wanted a true 50 percent margin, the price has to be 84. The larger the margin you are chasing, the wider the gap between the two methods, and division is the version that gets you there.
When cost-plus is not enough
Cost-plus sets your floor. It does not set your ceiling. If an image is trending, if a gallery is showing it, or if a brand wants a licensed version, you can price on perceived value instead and the formula becomes a sanity check rather than the answer.
Beginners should run cost-plus first, sell into it, and treat value-based pricing as a later move. It is much harder to raise a price than to set a good one.
Step 1 to Step 5: Calculate Your Total Cost Per Print
How do I calculate how much to charge for a print when I have never sold one? You total every cost that one print creates, in five steps, and divide by the number of prints in the run. Here is the order that works, because each step depends on the one before it.
Step 1: Add up printing, paper, and materials
Start with what the printer charges for the run, then add the paper if you supply it yourself, plus ink, mounting board, and any finishing. Divide the total by the number of prints and you have your true base cost per print.
Paper choice moves this number more than most beginners expect. A standard uncoated sheet is a fraction of the cost of a 100 percent cotton rag giclée, and the quality gap is obvious to buyers, which is why the higher paper supports a higher price rather than a lower one.
A useful side note from print-shop editorial: prove the image, the size, the paper, the price, and the packaging before you automate any of it. Print-on-demand is a good answer to a question you have already answered yourself.
Step 2: Price your own time
Add an hourly rate multiplied by every hour the run took, including the hours that produced the artwork itself. We go deeper on this in the next section, because it is where most beginners undercharge by the widest margin.
Step 3: Add packaging and shipping
A rigid mailer, a backing board, and a tube are real costs, not freebies. Then decide who pays the postage. The two clean options are to add postage to the order at cost, or to set a free-shipping threshold above which you absorb it. Both work; what does not work is absorbing shipping silently and wondering where the margin went.
Framed work changes the shipping line item sharply because of weight and breakage. If you ship framed pieces, get a current flat rate for your most common box size and build that into the frame tier rather than discovering it after a sale.
Step 4: Convert platform fees into a percentage
Etsy has historically combined a small listing fee with a transaction fee and a payment processing fee, and taken together those land close to a tenth of the sale for a typical new shop. Check the current numbers on the platform’s own fee page before you commit to a price, because these rates change and this article will not be updated as often as they are.
Self-hosted stores usually land cheaper per sale, but you absorb payment processing and the cost of driving your own traffic. That trade is worth it once you have an audience, and rarely worth it before you do.
Step 5: Allocate your overhead
Add a share of the costs that exist whether or not you sell: design software, file storage, a printer and ink for proofs, insurance, and the portion of your internet and phone bill that supports the work. Divide that monthly total by the number of prints you sell in a month.
This is the line most beginners skip, and it is the reason some artists never make more money no matter how many prints they sell.
Include Your Labor in the Price
Should time be the main part of the price? The honest answer is that it should be a meaningful part, but it should not be the whole price. Pricing purely by the hour punishes you for working fast and rewards you for working slowly, and it ignores the fact that a print can be derived from a single original that took weeks.
A workable method: pick an hourly rate that reflects what you would accept as pay for a freelance hour in your field, count every hour across the run, and add the total to the cost stack before you apply any markup. Even half an hour per print changes your price materially across a run of fifty.
Framed that way, labor stops being a source of guilt. It stops being the thing you feel bad about charging for and becomes one documented input among several, sitting in the same column as paper and postage.
A Worked Example: From Materials to a Final Price of 84
Here is the entire calculation for one open edition of 11×14 giclée prints on cotton rag, self-fulfilled, with the buyer paying postage. Every number below is replaceable with your own.
| Cost line | How it is calculated | Amount |
|---|---|---|
| Printing | Local lab, giclée on 100 percent cotton rag, divided across the run | 18.00 |
| Paper and finishing | Sheet stock, archival pigment ink, trimming | 6.00 |
| Labor | Half an hour of preparation at 24 an hour | 12.00 |
| Packaging | Mailer, backing board, tube | 3.00 |
| Overhead allocation | Monthly software, storage, proofs, insurance divided by prints sold | 3.00 |
| Total cost per print | 42.00 |
Now apply the formula. Target margin 40 percent, fee rate 10 percent.
42.00 ÷ (1 − 0.40 − 0.10) = 42.00 ÷ 0.50 = 84
Check the result by working backwards. A sale at 84 minus fees of 8.40 minus costs of 42.00 leaves 33.60, which is exactly 40 percent of 84. The arithmetic closes.
Notice what a 40 percent markup would have given you: a price of 63, profit of 12.60, and a real margin near 20 percent. You would have done considerably more work for a third of the money.
Now apply the same logic to a print-on-demand 8×10 with a base cost of 12.00, the same 40 percent margin, and the same 10 percent fees: 12.00 ÷ 0.50 = 24. That is the number to test on the marketplace before you start scaling runs.
Price by Print Size: A Size-to-Price Guide
How much should I sell a 5×7 art print for? Between 16 and 22 unframed is a defensible opening range, and anything under 10 is almost certainly absorbing your costs. Use the table below as the ladder for the rest of your catalogue.
| Print size | Unframed paper | Canvas | Framed |
|---|---|---|---|
| 5×7 | 16 | 22 | 40 |
| 8×10 | 26 | 34 | 60 |
| 8×11 | 28 | 36 | 65 |
| 11×14 | 60 | 78 | 140 |
| 16×20 | 95 | 120 | 210 |
| 18×24 | 120 | 150 | 255 |
Prices climb faster than area because larger pieces cost more to produce, weigh more to ship, and carry more perceived impact on a wall. The jump from 8×11 to 11×14 is where most beginners hesitate, and it is the single best place to test whether your buyers will follow you up the ladder.
Note that the 11×14 unframed figure of 60 assumes a thin labour allowance. Once you pay yourself a real hourly rate as in the worked example, that same print lands at 84, which is a legitimate price for a giclée edition rather than a mistake. Price the tier you are actually making.
Framed and canvas figures are rough, so rebuild them locally. Get a current quote for the frame sizes and canvas types you plan to offer, add the labour to mount and package them, then run the same formula.
Print-on-Demand vs. Self-Hosted Pricing
Print-on-demand providers such as Printful and Gelato handle printing, packing, and postage so you never hold inventory. The trade is straightforward: you give up control of your cost and your margin, and you gain a business you can start this week with no upfront spend.
The pricing rule is the same either way, because the base cost is just the first line. Take the provider’s base price for the size and format, add any shipping subsidy if you want free postage, then apply your margin and fee rate on top. At a 12.00 base and 10 percent fees, a 40 percent margin puts you at 24. If that feels low for a piece you spent a week on, the answer is to move up in size, in format, or to self-fulfil.
Marketplace models like Redbubble, Society6, and Fine Art America set the retail price and pay you a royalty, commonly in the 25 to 50 percent range depending on the tier you qualify for and the format the buyer chooses. That makes them attractive for volume and for testing which designs people want, and it makes them a poor place to build a brand, because you do not control your own storefront, your customer relationship, or your bundle pricing.
A widely circulated print-selling guide puts average per-print earnings at a couple of dollars on the lower-margin marketplaces and in the tens of dollars on a self-hosted store paired with a print-on-demand provider. That data is well over a year old now, so use it to understand the shape of the difference rather than to set a number. Check the current rates yourself.
Marketplace vs. Own Store: What You Actually Keep
The question behind every beginner’s platform choice is what they will actually make. This table answers it in structural terms rather than currency terms, because rates change and structure does not.
| Marketplace | Own store | |
|---|---|---|
| Upfront cost | Listing and shop fees | Subscription, domain, payment setup |
| Per-sale take | Often a tenth or more | Payment processing only |
| Traffic | Provided by the platform | You bring it yourself |
| Pricing control | Limited by platform rules and competition | Yours, including bundles and tiers |
| Customer data | Owned by the platform | Yours |
| Best for | Testing designs and finding your first buyers | Once you have an audience to send to it |
Beginners should start on a marketplace and migrate the winners. There is no prize for being self-hosted before you have anything to sell, and every hour spent on a storefront is an hour not spent making the work.
Open Edition vs. Limited Edition Pricing
An open edition has no cap. A limited edition has one, printed on the label with the buyer’s number out of the total. The edition size is what changes the price you can defend.
| Open edition | Limited edition | |
|---|---|---|
| Edition size | Unlimited | Typically 25 to 100 |
| Relationship to price | Sets the baseline | 1.5x to 3x the open edition price |
| What justifies the premium | Nothing beyond quality | Numbering, a signature, and a closed run |
| Restock risk | None | Once closed, it is closed |
The rule that makes limited editions work is that the edition must genuinely close. Numbering a run of 100 and then quietly reprinting destroys the reason people paid more, and buyers in the communities that discuss this notice. Pick a size, honour it, and move on to the next image.
Signed and numbered is the cheapest premium available to you. It costs a signature and a numbering pen, and it lets you hold a higher price on the same production cost.
The Cost Worksheet: Fill In Your Own Numbers
Copy this table into a spreadsheet and fill in one column per print size. It takes about twenty minutes and it is the difference between pricing and guessing.
| Line item | 5×7 | 8×10 | 11×14 | 16×20 |
|---|---|---|---|---|
| Printing | ||||
| Paper and ink | ||||
| Packaging | ||||
| Labor hours | ||||
| Hourly rate | ||||
| Overhead share | ||||
| Total cost | ||||
| Target margin | ||||
| Fee rate | ||||
| Final price |
Fill one column completely before starting the next. The first size takes longest and teaches you what the printer’s pricing structure actually looks like.
How to Benchmark the Market in 5 Steps
How do I find out how much your prints are worth? You compare, but you compare correctly. A long-running pricing thread on r/cyanotypes with dozens of replies makes the same point from the seller’s side: the number only means something next to other numbers from the same size, format, and medium.
- Search your niche, not the word art. Search the subject matter buyers would actually type.
- Filter to your size and format, so you are not comparing a 5×7 download against an 18×24 canvas.
- Record ten real prices from sellers with a comparable body of work, not one or two extremes.
- Take the median rather than the average, because a couple of premium listings will drag an average away from what most sellers are doing.
- Adjust for what is different about yours: format, paper, edition size, signature, framing, and how established the seller is.
If your formula result lands well under the median, you have three honest options. Improve what the buyer sees, cut your cost stack, or accept that you are building something and price below the market deliberately. What is not on the list is simply charging less because you feel you do not deserve more. That is a decision about self-worth wearing a business costume, and it will not hold up when the rent is due.
At art fairs and local markets, benchmark in person. Advice that circulates on the art fair insiders forum is to visit a few fairs, note the setup, the sizes, and the prices around you, and set your range inside the established band for that room. In-person pricing is a different sub-problem from online pricing, and the buyer in front of you is comparing you to the next booth, not to a search result.
Common Beginner Pricing Mistakes
Pricing from fear. This is the big one. Artists describe pricing so low they make pennies or so high they never sell anything, and then treating the whole topic as a coin flip. A formula removes the guesswork that fear feeds on.
Pricing by time alone. A piece that took three months and a piece that took three days should not carry the same hourly rate on their surfaces. Your labour belongs in the stack, but it is one input among several.
Copying a competitor’s listing price. You cannot see their costs, their edition size, their shipping terms, or how long they have been selling. You can see the number, and the number is the least informative part.
Forgetting fees and shipping. Both are remembered individually and summed never, so the price quietly absorbs them. The margin disappears and nobody can say why.
Discounting to win a sale. A discount teaches buyers to wait for the next one. If you want to move a print, change the format or offer a bundle rather than cutting the headline price.
Guessing run size. “How many prints should I make” is asked constantly in artist communities and answered almost nowhere. The answer ties directly to price: a small run gives you a high per-print base cost and a higher defensible price, a large run lowers unit cost but ties up more money before you know what sells. Run ten to twenty-five of your top image, watch what happens, then commit.
Offering digital downloads as a comparison. Download listings priced in the single digits are the most visible thing in search results and they are not the same product. They will drag your reference point down if you let them.
When and How to Raise Your Prices
Pricing is not a one-time decision. A catalogue repriced every six months behaves very differently from one that never moves, and most sellers never touch a price after setting it.
Review prices on a fixed cadence, say every six months, and move them for one of four reasons: your cost stack changed, the format changed, the edition size closed, or your audience grew. Growth is the reason most people defer, and it is the clearest one. If your social following tripled since last autumn, the price you set back then is no longer a current price.
On the amount, raise 10 to 15 percent at a time. A jump of 20 percent or more on existing work reads as a different business to a buyer who followed you, and returning customers notice most. Raise, watch conversion for a month, and raise again only if sales held.
Repricing an existing catalogue does not mean cutting prices on anything already sold. The work is not repriced retroactively, and your shipping terms and return policy are what protect a customer relationship across a price change. State the change plainly on your shop, and let older buyers keep the benefit of what they were offered.
One last note for 2026. A number of illustrators and digital artists are moving into physical prints this year specifically because generated images are undercutting digital-only work. If that is your situation, you are arriving with no pricing framework and no sales history, and you should treat the worksheet above as a starting discipline rather than something you can skip. The calculation is the same whether you have been selling for ten years or ten days.
Frequently Asked Questions
How much should I charge for my art prints?
Charge the result of your cost stack divided by one minus your target margin and fee rate. For an open edition 11×14 giclée with a total cost of 42 and a 40 percent margin against 10 percent fees, the price is 84. As bands, small unframed prints sell from 16 to 32, mid-size paper prints from 28 to 60, and framed pieces from 40 upward depending on size.
How can I calculate the price of an art print?
Add up printing, paper, packaging, labor at an hourly rate, and your share of overhead to get total cost per print. Then divide that total by one minus your target margin and your platform fee rate. The result is your retail price. Work backwards afterwards to confirm the margin you actually land on matches the margin you intended.
What is the formula for calculating artist pricing?
Price equals total cost per print divided by (1 minus target margin minus fee rate). Total cost covers materials, printing, packaging, labor, and overhead. Target margin is the profit you want as a percentage of the sale price, typically 30 to 50 percent. Fee rate covers marketplace and payment processing takes, commonly near 10 percent.
How to price your artwork as a beginner?
Run the cost-plus formula for each size you plan to offer, then check the result against ten comparable listings in your niche and take the median. Start in one format, set your margin, and adjust as you learn what sells. A worksheet with one column per size is the fastest way to build a whole catalogue in twenty minutes.
How much should I sell a 5×7 art print for?
Between 16 and 22 unframed is a defensible starting range for a 5×7, and 22 to 28 on canvas. A price under 10 usually means the print is absorbing its own production, labor, and packaging. Many of the cheapest listings in search results are digital downloads rather than physical prints, so they are not a fair comparison.
What is a good price for an art print?
A good price is one that clears your total cost including labor, hits the margin you set, and still sits inside the band comparable artists in your niche are charging. If your number is far below the median of ten comparable listings, improve the presentation, trim the cost stack, or accept a deliberate below-market position rather than pricing from discomfort.
How much should a beginner painter charge?
Price originals and prints on separate logic. An original is priced on size, materials, and the market for your work, which is why it carries far more value. A print is priced on production cost plus a margin. Beginners often conflate the two, which is why a low print price feels normal when it is not.
How do I find out how much my prints are worth?
Search your subject matter rather than the word art, filter to your size and format, record ten real prices from comparable sellers, and take the median instead of the average. Then adjust for format, paper, edition size, signature, and how established that seller is. A median matters because a couple of premium listings will pull an average away from what most sellers charge.
What is the 70/30 rule in art?
The 70/30 rule is a gallery convention: a gallery takes roughly 30 percent of a sale made through its space, and the artist keeps 70 percent. It does not apply when you sell prints directly on your own store or through a print-on-demand provider, where the platform takes a much smaller percentage instead. The 30 percent figure becomes relevant only when you consign work to a gallery.
Should I include shipping in the price of my art print?
Either works, but pick one and make it visible. The cleanest option for beginners is to charge postage at cost and keep the print price honest, so the listing price stays comparable. The alternative is a free-shipping threshold set above your average order, which raises your average order value. Never absorb shipping silently, because that is where margin quietly disappears.
Conclusion
Knowing how to price your art prints when you start selling comes down to one habit: total every cost, pay yourself an hourly rate, and mark up to a margin you can defend. That gives you a number instead of a feeling, and a number is the only thing that tells you whether selling prints is worth continuing.
Fill in the cost worksheet for one size tonight. That single column is the next step.