
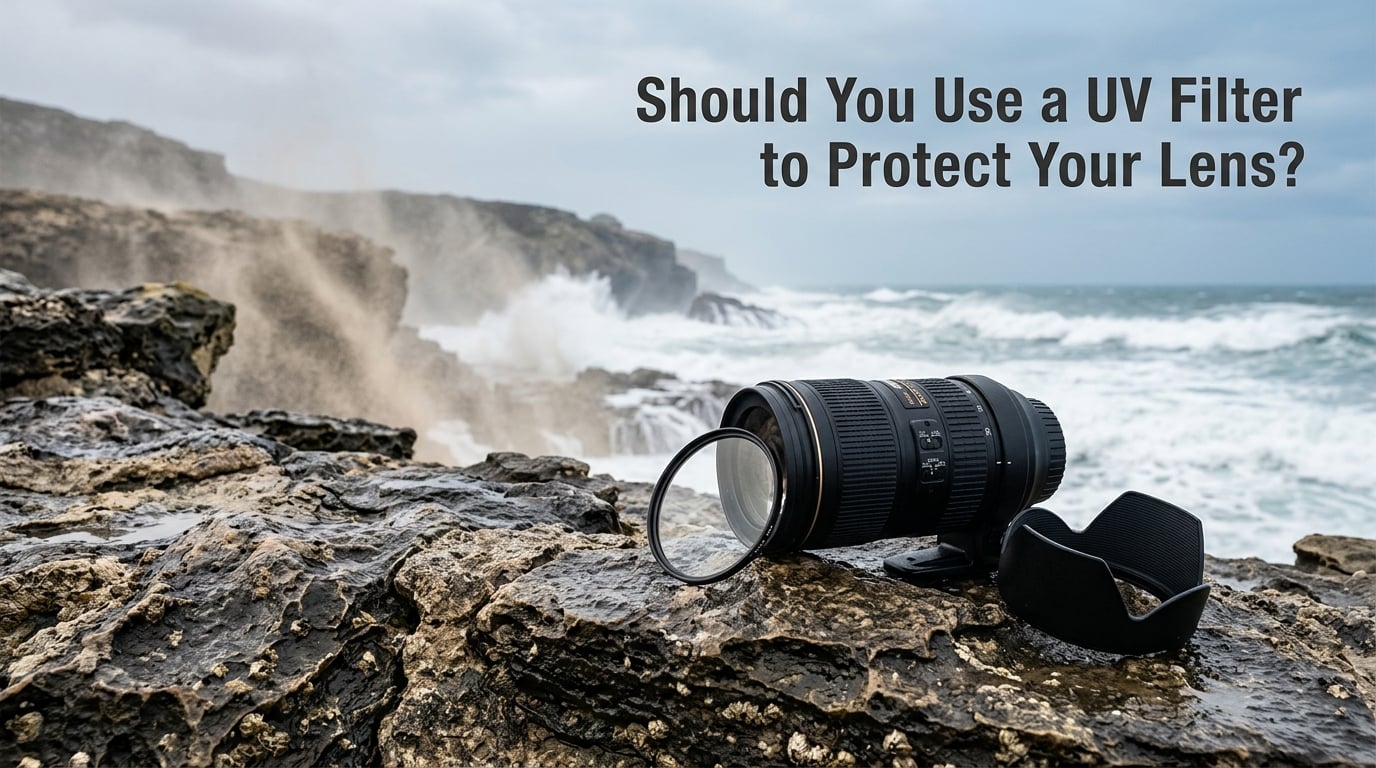
Short answer: on a modern digital camera, a UV filter no longer does any optical work — the sensor already blocks ultraviolet light with its own UV/IR cut filter. What you are really buying with one is a sacrificial plastic disc in front of your front element, and whether that trade is worth making depends almost entirely on where and how you shoot.
That sounds simple, but the debate around it has been running for decades and the honest answer has three parts. This guide breaks down what a UV filter does to your files, when the protection genuinely pays off, and a step-by-step framework for deciding whether to mount one at all.
Table of Contents
- Should You Use a UV Filter to Protect Your Lens? The Short Answer
- What a UV Filter Actually Does to Your Images
- How a UV Filter Changes Image Quality
- The Case for a UV Filter: When Protection Wins
- The Case Against: Why Many Pros Leave the Filter Off
- UV Filter vs Lens Hood: Which Protects More?
- Should You Use a UV Filter to Protect Your Lens? A Step-by-Step Decision Framework
- How to Choose a UV Filter If You Decide to Use One
- UV vs ND vs CPL vs Clear Protective Filters
- Frequently Asked Questions
- Do I really need a UV filter for my lens?
- Should I use a UV filter to protect my lens?
- Will a UV filter affect picture quality?
- What are the disadvantages of using a UV filter?
- Is a lens hood better than a UV filter for protection?
- Do professional photographers use lens filters?
- How do I choose the right UV filter for my lens?
- Which is better, an ND filter or a UV filter?
- Final Verdict on UV Filters
Should You Use a UV Filter to Protect Your Lens? The Short Answer
No, not for UV protection. Every digital camera sensor sits behind a built-in UV/IR cut filter, so an external UV filter blocks light that would never have reached the sensor anyway. Its only remaining value is physical: it takes scratches, salt spray, sand and impact instead of your front element. If you shoot in clean, calm conditions, your lens hood does that job better and costs you nothing optically.
Here is the three-part version that covers almost every situation:
- Optical value: none on digital bodies. Skip it if your only reason is ultraviolet light.
- Protection value: real but situational. Strongest at beaches, deserts, mountain routes and event work where debris and spills are likely.
- Image quality cost: near zero with a quality multicoated filter, clearly visible with a cheap one.
Professionals split on this more than you would expect. Plenty of landscape and mountain shooters run bare glass, while many wedding and event photographers never remove a filter. Both camps are usually right for their own working conditions.
What a UV Filter Actually Does to Your Images
A UV filter is a piece of glass with a coating that blocks wavelengths roughly between 320 and 400 nanometres. On film bodies, that mattered. Early film stocks were sensitive to ultraviolet light, and unfiltered shots at altitude or near water picked up a blue haze that ate contrast and shifted colour.
Digital changed the physics. Sensors have a layered filter stack over the silicon that includes hot-mirror elements blocking both UV and infrared. That is not a marketing claim — it is a manufacturing requirement, because ultraviolet light would otherwise fog the sensor over time and skew every colour reading.
There is one narrow exception. If you shoot with a lens built before the 1950s, or you have had a body modified for full-spectrum or ultraviolet fluorescence work, the built-in blocking no longer applies and a UV filter becomes a creative tool rather than a shield. That is a niche, deliberate setup, not everyday shooting.
Beyond wavelengths, adding a filter puts two extra air-glass interfaces into the optical path. Light reflects a small amount at every one of those boundaries, and that reflected light is what shows up later as flare, ghosting or a flat, hazy look. A filter does not create those problems from nothing — it gives stray light an extra surface to bounce off on its way into the frame.
How a UV Filter Changes Image Quality
Every optical surface reflects about a fraction of a percent of the light that hits it. A good multicoated filter pushes that figure down to a level you rarely see, which is why the debate exists at all. The measurable differences fall into four categories.
Veiling flare and contrast loss
Veiling flare is the broad wash of light that lifts your blacks and drains contrast from an entire frame, usually when a bright source sits just outside or near the edge of the shot. A filter’s coating and the air gaps it introduces give that stray light a path to scatter across the sensor. Shooting into a low sun over water is the classic case where you will see it immediately.
Ghosting around light sources
Ghosting shows up as discrete shapes rather than a wash: circles, polygons or inverted images of the light source, often lined up along the frame centre. These are reflections between parallel surfaces — the filter, the lens front group and the sensor stack. On a digital body, a cheap filter with flat, uncoated surfaces makes this dramatically worse than bare glass.
Vignetting and halo on wide angles
A filter with a thick metal rim can intrude into the frame on wide-angle lenses, darkening corners. Combined with a strong single-coating design, you can also get haloing around high-contrast edges. Ultra-slim rims and multi-layer coatings exist specifically to solve this, which is another reason the budget tier tends to cause trouble on fast wide-angles.
What multicoating and Schott glass actually fix
Multicoating means several anti-reflective layers stacked on each surface, each tuned to cancel a different band of reflected wavelengths. Better glass from makers like Schott reduces absorption and internal scatter, so less light turns into stray glow. One credible test worth reading is Roger Cicala’s stacked-filter experiment at Lensrentals, which mounted a long column of inexpensive and premium filters on one lens and compared 100 percent crops: several quality filters in series were barely distinguishable from bare glass, while a comparable stack of cheap ones turned milky and lost bite.
That result is the whole argument in miniature. The number of filters matters less than the quality of each one.
The Case for a UV Filter: When Protection Wins
The protection argument is not superstition. A scratched or chipped front element is the most common non-electrical failure on a lens, and unlike a blown fuse or a dead pixel it rarely affects performance enough to justify a repair.
Sand, salt spray and desert conditions
Salt crystallises in the microscopic pits of a coating and is genuinely corrosive. Wind-blown sand acts like sandpaper at close range, and once grit is on the front element, every wipe grinds it further in. Photographers working beaches, dunes and high mountain approaches consistently report filters that were sandblasted into opacity and cleaned up, replacing a front element that would otherwise have been destroyed. If that describes your shooting, the filter is doing its job by failing in place of the glass.
Weather sealing on specific lenses
Some lenses are sealed at the front only when a filter is fitted. Michael Fryd, writing on the Canon EF lens range with reference to Canon’s own EF Lens Work documentation, identified a small set of Canon models whose weather sealing is specified as complete only with a filter mounted. Check your lens documentation before assuming you are protected by the bare barrel.
Nothing in that discussion applies broadly. For the overwhelming majority of camera systems, a filter is not a sealing component and removing it does not open a leak path.
Weddings, events and photojournalism
Event work is full of hazards that outdoor shooters rarely face: hair spray, confetti, drinks, flour, smoke machines and crowded rooms. A widely repeated account from a working wedding photographer describes a bridesmaid’s hairspray landing directly on a front element, a coating that never fully recovered. On a body you carry all day, a cheap disc is cheap insurance against exactly that kind of accident.
Resale value and peace of mind
A front element in perfect condition moves a lens up a tier when you sell it, and buyers notice. Some photographers treat the filter as an accessory that travels with the lens rather than a cost, accepting the small optical risk in exchange for keeping the glass pristine. If you shoot mostly in low light, where any stray light shows immediately, peace of mind may cost you more than the filter ever will.
The Case Against: Why Many Pros Leave the Filter Off
The counter-argument is that protection is often overstated and the optical cost is real. Camera store staff report seeing shattered filters constantly while damaged front elements without any filter in place are comparatively rare, because glass front elements are tougher than the thin filter discs people put over them.
Steve Perry’s controlled testing is the most-cited evidence in the debate. His results showed that a filter does not reliably save a lens from a drop — the filter breaks, and the lens behind it usually survives the impact anyway. The protective value is concentrated in abrasion, salt and chemical exposure, not in falls.
There is a subtler cost people rarely mention: internal reflections between parallel surfaces. When a filter, an internal lens group and the sensor stack sit close to parallel, light bounces between them and returns as a faint, low-contrast copy of the subject. On digital sensors this is usually manageable, but on lenses designed for high resolution across the frame it is a small permanent tax on the look of your files.
Then there is the failure mode nobody likes. If a filter does crack, the fragments sit directly against your front element, and removing them without scratching the glass takes care. The protective disc can become the thing that damages the surface it was protecting.
UV Filter vs Lens Hood: Which Protects More?
The lens hood wins on protection and costs nothing in the image. It shades the front element from direct impact, blocks stray light that would otherwise cause flare, and is designed as part of the lens rather than an accessory clamped on afterwards. For impact and flare, it does more than a filter does.
Where the hood falls short is abrasion and contamination. It sits at the same distance from the front element, so it deflects drops and large debris but does nothing about grit, salt or fingerprints, and it offers no sacrificial layer to wipe a dirty lens against. In dusty or coastal work, the hood handles the big hits and the filter handles the small abuse.
Plenty of working photographers run both at the same time. That combination is the default I would suggest for any lens used outdoors.
Should You Use a UV Filter to Protect Your Lens? A Step-by-Step Decision Framework
Work through these five questions in order. The first yes decides it.
Step 1: Is your shooting environment abrasive? Beaches, dunes, exposed ridges, dusty construction sites, coastal cliffs, open-air concerts. If airborne grit or salt spray is normal where you are standing, a quality filter is worth mounting as a sacrificial layer. If you shoot indoors, in a studio, or on ordinary city streets, it is not.
Step 2: Does your lens documentation require one? Check the manufacturer notes for your specific model. A handful of lenses specify weather sealing that is only complete with a filter fitted, and that is the single clearest reason to buy one that is not about scratches.
Step 3: What is the lens worth to you? Front element replacement is a meaningful expense on a high-end lens and an unpleasant surprise on an entry-level one. The higher the replacement cost relative to the filter cost, the faster the filter pays for itself. If you have gear insurance that covers accidental damage, the calculation shifts again — you are paying twice for the same protection.
Step 4: How do you shoot in bad light? Indoor events, night streets, backlit portraits and shooting toward a low sun are where any veiling flare from a filter becomes visible. Wide-angle fast zooms are where thick rims cause vignetting. Frequent low-light and wide-angle work pushes the answer toward bare glass.
Step 5: If you are fitting one, can you afford a properly coated filter? The gap between a good multicoated filter and a budget one is larger than the gap between any two budget ones. If you can only afford the cheap tier, skip the filter rather than degrade every frame you take.
That is the framework. A yes on steps 1 or 2 means fit a good one. A no on both, combined with frequent low-light or wide-angle shooting, means leave the front element clean and shoot with the hood instead.
How to Choose a UV Filter If You Decide to Use One
Match the thread size first, and this is where most mistakes happen. The number stamped on your lens, such as 58mm or 77mm, must match the filter exactly. Buying a larger filter and leaving an adapter ring on permanently adds thickness that can cause vignetting and increase the chance of a filter contacting the front element.
Treat multicoated as the minimum, not the upgrade. Look for multi-coated, multi-layer or equivalent language, and favour brands with well-established coating processes, since the coating is the entire difference between a neutral disc and a source of stray light.
For wide-angle lenses, choose an ultra-slim rim with a low-profile design. A thin ring keeps the filter out of the frame and reduces the risk of touching the glass while you screw it on. Some premium glass types, including Schott-produced glass, resist staining and flare better than generic glass at the same nominal thickness.
You will also see magnetic filter systems marketed as a modern alternative to screw-on rings. They attach quickly and are popular with shooters who swap filters often, though the magnetic joint adds moving parts to protect. Whatever the mounting system, the rules are the same: a clean surface, a proper fit, and no optical path you do not need.
Finally, consider coverage. A UV filter plus a hood gives the front element two layers of protection, and it costs you only the extra weight of a thin disc. A filter alone, without a hood, leaves the front element shielded from grit but wide open to the flare a hood would have blocked.
UV vs ND vs CPL vs Clear Protective Filters
These four get confused constantly, and only one of them is a pure protection device.
UV filter. Blocks ultraviolet light, which digital sensors already block. Modern versions are effectively clear protective glass. Low optical cost, modest protection value.
Clear protective filter. No wavelength filtering at all. Purely a physical shield, usually a good option for anyone who wants a barrier but does not need optical correction.
Circular polarizer. Rotates on the mount so you can cut reflections from water, glass and wet rock, and deepen sky contrast. It costs about two stops of light, which means slower shutter speeds or wider apertures, and it has no protective function at all. This is a creative tool, not a shield.
Neutral density filter. Cuts light evenly across the frame so you can use a long shutter for smooth water or a wide aperture in daylight. It has no protective role either, and it is the filter most often left permanently mounted by landscape shooters who work in bright conditions.
If your goal is protecting front elements, a UV or clear protective filter is the right category. If your goal is controlling light, you are looking at polarizers and neutral densities, which are a separate purchase decision with a separate cost in image quality.
Frequently Asked Questions
Do I really need a UV filter for my lens?
Only for physical protection, never for UV light. Your sensor has a built-in UV and IR cut filter, so a UV filter adds no optical benefit on a digital camera. Fit one if you shoot in sand, salt spray or heavy dust, if your lens documentation requires it for weather sealing, or if the peace of mind matters to you. Otherwise use a lens hood.
Should I use a UV filter to protect my lens?
Use one when the environment is abrasive, when weather sealing on your specific lens depends on it, or when you carry an expensive body in high-risk situations. Skip it for ordinary indoor, studio and clean outdoor work, and skip it entirely if your budget only covers a poorly coated filter. A lens hood is the better default.
Will a UV filter affect picture quality?
A properly multicoated filter is close to optically neutral and the difference is usually invisible in a normal file. A cheap single-coated filter can add veiling flare, ghosting, vignetting on wide angles and a general loss of contrast. Stacked-filter testing has shown that several quality filters together are still near-transparent, while a matching stack of budget ones turns noticeably milky.
What are the disadvantages of using a UV filter?
The main drawbacks are extra air-glass interfaces that scatter stray light, possible vignetting from thick rims, the risk of internal reflection between parallel filter and sensor surfaces, and the awkward job of cleaning broken glass off a front element. Filters also add weight, cost money per lens, and a badly chosen thread size can sit proud of the barrel and collect flare.
Is a lens hood better than a UV filter for protection?
For impact and stray light, yes. A hood is engineered to shield the front element and it contributes nothing to the image. A filter earns its place against grit, salt and chemicals, and it gives you a sacrificial surface to wipe. Many working photographers mount both, using the hood for the big hits and the filter for the fine abrasive damage.
Do professional photographers use lens filters?
Both habits are common. Landscape, mountain and low-light shooters often work with a bare front element and a hood, while wedding and event photographers frequently keep a filter mounted for protection. Controlled testing from wildlife photographer Steve Perry found filters do not reliably save a lens from a drop, though forum reports describe filters protecting against sand, salt spray and hairspray.
How do I choose the right UV filter for my lens?
Match the thread size printed on the lens exactly, choose a multicoated or multi-layer coated filter as your minimum, and use an ultra-slim rim on wide-angle lenses to avoid vignetting. Avoid cheap single-coated glass, which is where the optical penalties come from. If you use one, pair it with the lens hood rather than relying on the filter alone.
Which is better, an ND filter or a UV filter?
They serve entirely different purposes. A UV filter is a protective disc with no optical job on a digital body. An ND filter reduces light evenly so you can shoot long exposures or wide apertures in bright conditions, and it costs about two stops, so it is a creative tool you leave on for a reason. You may need both at once for a long exposure in a harsh environment.
Final Verdict on UV Filters
The question of whether you should use a UV filter to protect your lens has a definite technical answer and a genuinely personal second half. Technically, your digital sensor already blocks ultraviolet light, so the filter does nothing for the image. Practically, it is a sacrificial disc that matters enormously on a beach and hardly at all in a studio.
My advice is straightforward. Start with the lens hood on every lens, and treat it as the primary shield. Then walk through the five-step framework: if your environment is abrasive, or your lens documentation calls for a filter to complete weather sealing, mount a properly multicoated one and accept the small optical cost. If neither applies, run bare glass and spend the money on a second lens instead.
Whichever you choose, this guide is current as of 2026 and worth revisiting whenever you change shooting environments — a filter that made no sense in the studio can make a lot of sense the first weekend you shoot on an exposed shoreline.