
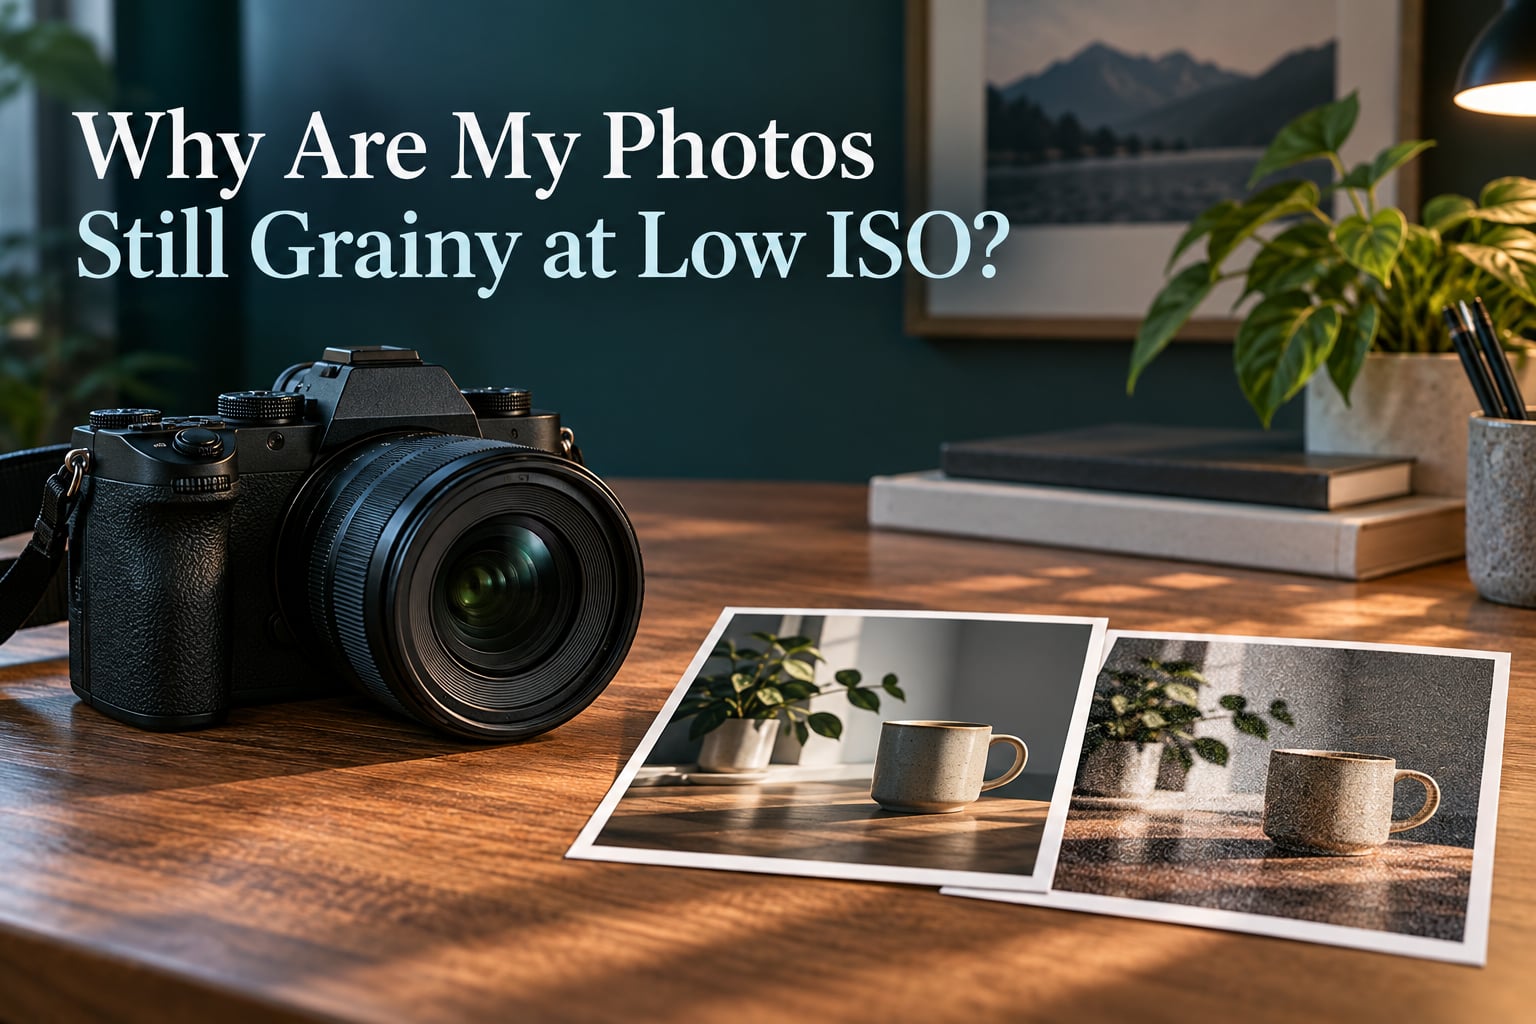
If you are searching for why your photos are still grainy at low ISO, here is the short answer: ISO does not create noise, it amplifies noise that is already in the file. Grain at a low ISO almost always comes from something else — an underexposed frame you brighten in post, a long exposure that heated the sensor, a small or older sensor, JPEG compression, or simply viewing the file at 100% on a big monitor. In almost every case your camera is not broken.
The reason this confuses people is that the ISO dial is the most visible control on the camera, so it takes the blame for everything. The top answer on r/AskPhotography puts it plainly: ISO does not produce noise, insufficient light does — ISO is a gain amplifier, so it is only showing noise that was already there. The DPReview forum reaches the same conclusion from the other direction, noting that the predominant source of noise is the light captured at the sensor, not the ISO number printed next to it.
Below is what noise actually is, the seven causes that show up at low ISO, a 60-second diagnostic to work out which one is yours, and the fixes for each.
Table of Contents
- What Grain Actually Is (and How to Tell Luminance From Chrominance Noise)
- How ISO Actually Works: The Volume Knob, Not the Light Switch
- The 7 Reasons Your Photos Are Grainy at Low ISO
- The Underexposure Paradox: Why ISO 100 Underexposed Is Noisier Than ISO 400 Exposed Properly
- A 60-Second Diagnostic to Identify Your Actual Cause
- How to Fix Grainy Photos in Camera
- How to Fix Grainy Photos in Post-Processing
- Frequently Asked Questions
- Why are my photos grainy even with low ISO?
- Does higher ISO cause noise?
- At what point does ISO get grainy?
- Is 3200 ISO too high?
- Why is my higher ISO photo grainier than my low ISO one?
- Why does my RAW look noisier than the JPEG from the same frame?
- How do I reduce noise in low light photography?
- Should I turn long exposure noise reduction on?
- Is my camera broken if photos are grainy at low ISO?
- How do I know if my camera has hot pixels or noise?
- Final Thoughts
What Grain Actually Is (and How to Tell Luminance From Chrominance Noise)
Digital noise is random variation in brightness or colour, pixel by pixel, introduced by the sensor and its readout circuitry. It is electronic static, not a lens problem and not a focus problem. It is also completely different from film grain, which is a physical, structured pattern rather than random electronic fluctuation.
There are three physical sources, and it helps to know them because each one behaves differently:
- Shot noise — the randomness of light itself. Photons arrive in random clumps, so a dim scene has a genuinely low signal-to-noise ratio. This is the floor you cannot edit away.
- Read noise — the small random error introduced each time the sensor is read. The read-out circuitry adds a fixed amount of uncertainty no matter how bright the scene is.
- Thermal noise — heat in the sensor’s own electronics, which grows the longer the shutter stays open. This is why long night exposures are noisier than short ones at the same ISO.
On top of those, there are two types you can actually see, and telling them apart tells you a lot about the cause.
| Type | What it looks like | Where it shows up | Usual cause |
|---|---|---|---|
| Luminance noise | Random grey speckle, like film grain in texture | Everywhere, but worst in shadows | Low signal, amplified read noise |
| Chrominance noise | Coloured blotches, mottling, red green or blue flecks | Flat areas — sky, skin, walls, shadow gradients | Hot pixels, long exposure heat, high gain |
Colour noise in flat areas like a dusk sky is a strong hint that you are looking at either hot pixels or heat-related noise rather than simple gain. James Staddon on the Lenspiration forum made the same read: long exposures make the sensor generate heat while the shutter is open, producing coloured red, green and blue flecks concentrated in dark areas.
One more thing to separate out: hot pixels. A hot pixel is a single stuck point that shows the same colour in every frame at the same position. Grain moves around and changes shape. If the marks are in the same place in every shot, that is a hot pixel, not noise, and the fix is a sensor clean or a dark frame subtraction.
How ISO Actually Works: The Volume Knob, Not the Light Switch
A sensor collects photons. The camera then converts that weak electrical signal into digital numbers. In dim light only a few photons reach each pixel, so the signal is tiny and the inherent noise of the process is comparable in size to the signal itself.
ISO is the second step, not the first. It is a gain amplifier — the volume knob on a radio. Turning the volume up does not make the broadcast cleaner, it just makes everything audible, static included. The same applies to the signal-to-noise ratio: raising ISO raises the signal and the noise by the same factor, so the ratio between them does not improve.
ISO also does not collect more light. It cannot. The photons that reach the sensor at ISO 100 are exactly the photons that reach it at ISO 6400. Exposure is governed by aperture, shutter speed and ISO together, so the only way to genuinely improve the signal is to let more light in or keep the shutter open longer.
There is a nuance that trips up a lot of people: base ISO is not always the lowest number on the dial. Modern mirrorless bodies use dual gain, sometimes called dual ISO, where the amplification pipeline switches from a low-noise mode to a different mode partway up the range. The lowest printed ISO is the cleanest only because it sits in the first mode. This is also why ISO 3200 can look fine on one camera and rough on another — you may be comparing two different gain stages. We cover this more in the section on sensor size and generation below.
The 7 Reasons Your Photos Are Grainy at Low ISO
- You underexposed and you brighten it in post. This is the single most common real-world cause. A shadow lifted several stops in an editor is a very dark measurement being amplified, and amplification brings noise with it.
- Your exposure was long enough to heat the sensor. Anything past a few seconds starts adding thermal noise and hot pixels, no matter how low the ISO.
- Your sensor is physically small. Phones and compacts pack tiny pixels, and each one collects fewer photons, so the signal-to-noise ratio is worse at every ISO including the lowest.
- Your camera generation is older. An older body at ISO 100 can be noisier than a recent body at ISO 3200. Canon 60D and Rebel T2i owners see this constantly, as do early mirrorless bodies.
- You are looking at JPEG compression artifacts. Blocking and mushy edges in shadows are sometimes mistaken for noise, and they are not the same thing at all.
- You switched to RAW and lost the camera’s noise reduction. Your camera smooths JPEG files before writing them. The RAW file keeps everything, so the noise that was always there is suddenly visible.
- You are judging the file at 100% on a large monitor. Pixel-for-pixel on a 27-inch screen is roughly the viewing distance of a postage stamp. Grain is real but often invisible at normal size.
A beginner photography group thread put the first four of those together in about as many words: not enough light, high ISO, underexposing, and looking at the image more than 100% zoomed in. That list is not wrong — it is just unordered, and the ordering is what tells you what to change.
Here is the same information arranged the way you would actually use it at the desk:
| Symptom | Likely cause | First thing to change |
|---|---|---|
| Noise only in shadows after editing | Underexposure plus brightening | Expose correctly in camera, or bracket |
| Coloured flecks, worse at night or on long exposures | Sensor heat and hot pixels | Shorten the exposure, use stacking |
| Grain everywhere at ISO 100 in daylight | Small or older sensor | Check the body generation, accept some grain |
| RAW looks noisy, JPEG from the same frame looks clean | In-camera noise reduction absent in RAW | Apply NR in post instead |
| Blocky, mushy shadows in an exported file | JPEG compression artifacts | Export smaller, or work in 16-bit |
| Fine detail looks smeared and strange | High ISO noise reduction smearing | Lower the in-camera NR setting |
| Perfect at fit-to-screen, terrible at 100% | Viewing size | Judge the image the way it will be seen |
The Underexposure Paradox: Why ISO 100 Underexposed Is Noisier Than ISO 400 Exposed Properly
Here is the rule worth memorising: an underexposed photo shot at a low ISO that is brightened in post will show more noise than a correctly exposed photo shot one or two stops higher in ISO.
That inverts the instinct most beginners have, which is to drop the ISO to keep the file clean and then recover the brightness later. The logic feels sound and it is exactly backwards. Lowering the ISO and keeping the exposure time means the sensor collects fewer photons, and a frame with too little signal has a poor signal-to-noise ratio before any editing happens. Brightening then amplifies the shadow noise along with the shadows.
The better move is to accept a higher ISO number and expose properly. ISO 400 on a recent body is extremely clean. ISO 100 that is two stops short and then lifted two stops in the editor is not.
Expose to the Right works on the same principle. If you push the exposure so the histogram sits near the right edge without clipping, you collect a stronger signal, then pull the brightness back in post. The highlight end of the scale has the most tolerance — files typically hold a stop or two more there than in the shadows — so you are protecting the recoverable part of the range.
James Staddon described the pattern from a photographer’s side of it: the problem with grain in sunset pictures is that the shot almost always gets brightened in post-processing, and that is where the grain comes from. Shoot the sunset brighter than feels natural and you will not need the slider afterwards.
A 60-Second Diagnostic to Identify Your Actual Cause
Run through this in order before changing any settings or shopping for anything. Most people reach the correct answer in about a minute.
Step 1. Open the RAW file and the JPEG from the exact same frame. If the JPEG is clean and the RAW is noisy, the cause is in-camera noise reduction that RAW does not get. Stop here and read the post-processing section.
Step 2. Check the histogram. If a large share of the image is crammed against the shadow end, you underexposed, and any brightening will expose noise. This is cause one.
Step 3. Look at the shot at fit-to-screen, not at 100%. If it looks fine and only looks grainy magnified, the file is normal and your viewing habit is the cause.
Step 4. Compare the marks across three frames. Same position and same colour every time means hot pixels. Random and moving means noise.
Step 5. Check the exposure time. Anything over a few seconds opens the door to thermal noise, regardless of ISO.
Step 6. Note whether the noise is monochrome speckle or coloured blotches. Monochrome points at signal and gain. Colour in flat areas points at heat and hot pixels.
Step 7. Check the body. A small sensor or a camera from many years ago will be grainy at ISO 100 in broad daylight, and that is a hardware fact rather than a mistake on your part.
How to Fix Grainy Photos in Camera
Capture-time fixes are always better than editing, because nothing you do in software can recreate detail the sensor never collected. Seven steps, roughly in order of impact.
1. Add light before anything else. More photons is the only real cure. Open the aperture, add a flash, bounce a wall, use a reflector, or move somewhere brighter. The consensus advice on r/photography for low light situations is consistent on this: a lens with a wider aperture beats any amount of ISO juggling. r/AskAstrophotography makes the same case from the night-sky side, where cool sensors and stacking beat chasing a lower ISO number.
2. Keep the shutter short when you can. Heat is a function of time, not of ISO. A faster shutter at the same exposure means a higher ISO, and that trade is usually worth making. This is the flip side of the paradox above: people jump to ISO to avoid a long exposure, then blame the ISO, when the long exposure was the better option.
3. Stack short exposures instead of taking one long one. For star trails, astro and night landscapes, shoot several frames at two seconds each and blend them. The sensor never gets hot, each frame has less dark current, and the average is cleaner than any single long frame.
4. Turn long exposure noise reduction on for long frames. The camera shoots a matching dark frame and subtracts it, which removes fixed-pattern noise and hot pixels. The cost is that the frame takes twice as long, which is why it is a poor choice for timelapses or stacking. It does nothing below roughly one second, so leaving it on is harmless for normal shooting.
5. Lower aggressive in-camera noise reduction. High ISO NR smooths luminance aggressively, which smears fine detail such as hair, foliage and fabric. Sharpening afterwards brings the noise-looking texture back and makes the image worse, not better. Turn the setting down and handle noise in post where you have a mask.
6. Shoot RAW. Not for noise reasons — for latitude reasons. The RAW file keeps the full data range so you can recover shadows and highlights in post instead of losing them to the JPEG’s in-camera decisions.
7. Run your own ISO sweep test to find your maximum working ISO. Shoot the same static scene at every ISO in steps, in the RAW format, under the light you actually shoot in. Open the files at 100% and find the point where you no longer want the image. That number is your working ceiling, and it is usually well above what the forums tell you to fear.
How to Fix Grainy Photos in Post-Processing
Post cannot invent detail, but it can remove a great deal of the visible grain, especially in the right order.
1. Fix the exposure first. Before touching noise reduction, set the overall brightness to where the image is meant to sit. Noise reduction applied to a wrongly exposed file is wasted effort, and pushing brightness after smoothing re-introduces what you just removed.
2. Apply chrominance reduction before luminance reduction. Colour noise is the most objectionable and the cheapest to remove. High chrominance smoothing clears mottled skies and skin almost without touching detail. Luminance smoothing is the one that starts eating texture, so save it for last and use it sparingly.
3. Use masks instead of global sliders. Noise reduction on the whole frame degrades the entire image. Apply it to the shadows, the sky and the background, where the signal-to-noise ratio is worst, and leave the in-focus subject alone. Detail masking lets you exclude edges and eyes.
4. Watch the order of operations. Noise reduction should happen before sharpening and before any resizing. Sharpen last, moderately, because sharpening amplifies whatever grain is left, and downscaling afterwards is the most effective final reduction of all.
5. Use AI denoising with realistic expectations. Modern tools are genuinely good at the heavy cases and they will happily produce a clean-looking file. Look closely at edges, hair, grass and text, because that is where the trade shows. If you are delivering a large print, an AI pass at high resolution is usually a good final stage. If you are delivering a small web image, ordinary NR is enough.
One more practical point that comes up constantly: sometimes the noise should stay. A grainy frame at a party or a night market beats no frame at all, and heavy noise reduction can produce artefacts that are harder to live with than the grain was. Judge the result at the size it will be displayed, and keep the version that looks right.
Frequently Asked Questions
Why are my photos grainy even with low ISO?
ISO does not create noise, it amplifies whatever signal and noise the sensor already collected. Grain at a low ISO almost always comes from underexposing and brightening in post, a long exposure heating the sensor, a small or older sensor, JPEG compression, RAW without in-camera noise reduction, or viewing the file at 100%. Your camera is almost certainly working as designed.
Does higher ISO cause noise?
Not directly. Raising ISO amplifies the signal and the existing noise by the same amount, so the signal-to-noise ratio does not improve. What changes the ratio is collecting more light. That is why a correctly exposed frame at ISO 400 often looks cleaner than an underexposed frame at ISO 100 that you brighten later.
At what point does ISO get grainy?
There is no single number, because it depends on sensor size, camera generation and light. A recent full frame body can be clean at ISO 3200, while a small-sensor compact or an older DSLR can look rough at ISO 400. The only reliable answer is to run your own ISO sweep at matched settings and find where the 100% view stops satisfying you.
Is 3200 ISO too high?
On most modern mirrorless and DSLR bodies, no. ISO 3200 is comfortably usable and prints fine at normal viewing sizes. The number that matters is the one you can reach without underexposing. If reaching ISO 3200 lets you expose correctly, it beats a lower ISO that leaves the frame two stops short.
Why is my higher ISO photo grainier than my low ISO one?
Because the low ISO shot was underexposed, or shot with a short shutter in dim light. Brightening a dark frame amplifies its shadow noise. The two photos have the same sensor and the same electronics; the difference is how much real signal each one recorded before the gain stage.
Why does my RAW look noisier than the JPEG from the same frame?
Because your camera applies noise reduction before writing a JPEG and does not apply the same reduction to RAW. The RAW file keeps the original data, including noise that the JPEG smoothed away. Switch your viewing habit to judging RAW, then apply chrominance and luminance reduction yourself in post where you can mask it.
How do I reduce noise in low light photography?
Add light first, because only more photons improve the signal-to-noise ratio. Then keep exposures short, stack several short frames rather than one long one, turn on long exposure noise reduction for genuinely long shots, and lower aggressive in-camera high ISO noise reduction so fine detail survives.
Should I turn long exposure noise reduction on?
Yes for exposures longer than about a second, because it captures a matching dark frame and subtracts it, removing hot pixels and fixed-pattern noise. The trade is time, since the frame takes twice as long, which makes it a poor choice for timelapses and stacking. Below a second it does nothing at all.
Is my camera broken if photos are grainy at low ISO?
Rarely. Most small-sensor compacts, older DSLRs and phones are genuinely grainier than recent full frame bodies at every ISO, including the lowest. A useful test is to shoot a flat grey wall in daylight at ISO 100 and compare against a current body. Gaps are normal; coloured dots fixed in the same position are not.
How do I know if my camera has hot pixels or noise?
Take three frames of the same static scene and compare them. Marks that appear in the same position and the same colour in every frame are hot pixels, and they are fixed by a sensor clean or a dark frame subtraction. Marks that move around and change shape between frames are ordinary noise.
Final Thoughts
If your photos are still grainy at low ISO, the answer is almost never the ISO number. It is nearly always how much light reached the sensor, how long the sensor was warm, how big the sensor is, or how you judged and edited the file afterwards.
Work the diagnostic in order, fix the exposure before you touch any slider, and add light before you raise ISO. Do those three things and most of what looked like a broken camera turns out to be an underexposed frame that needed a wider aperture or a higher ISO all along.