
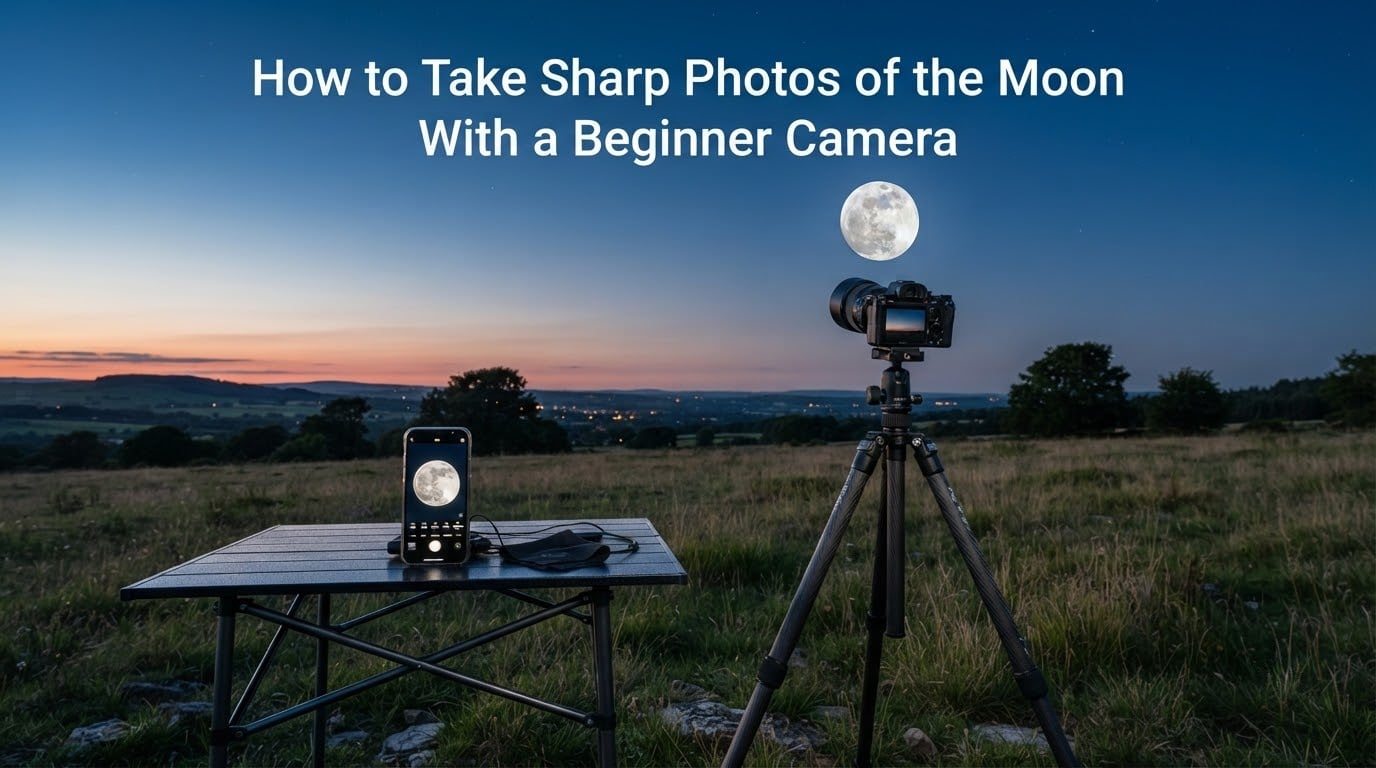
To take sharp photos of the moon with a beginner camera, put the camera on a tripod, switch to manual focus, and use live view at high magnification to get focus crisp on the terminator. Start at ISO 100, f/5.6 to f/8, and a shutter speed of 1/250 at 200mm or 1/500 at 300mm. Shoot RAW, use the two-second self-timer instead of touching the shutter, and check the histogram so the bright limb does not clip to white. That combination fixes the three reasons almost every first moon photo fails: camera shake, missed focus, and overexposure.
None of that needs a telescope or an expensive telephoto lens. What it needs is for you to stop letting the camera make decisions, because the camera’s automatic systems are calibrated for daylight scenes and the moon is roughly 400,000 times brighter than the landscape around it. A camera that meters the night sky will expose for darkness and render the moon as a featureless white disc, then move the moment you press the button and record that movement as blur.
I have watched beginners go from a blank white circle to a photo with visible craters in a single evening, and the change almost always came from the same three fixes: stabilize the camera, focus manually, expose for the moon. Everything else in this guide is detail on those three ideas.
Table of Contents
- What Camera Settings Are Best for Moon Photos?
- How Much Focal Length Do You Need to Photograph the Moon?
- How to Focus the Moon Sharply With a Beginner Camera
- Step-by-Step: How to Shoot a Sharp Moon Photo
- Why Is Your Moon Photo Blurry?
- When to Shoot the Moon for Maximum Detail
- What to Do After the Shot: Cropping and Sharpening in Post
- Frequently Asked Questions
- What camera settings are best for moon photos?
- How do I get sharp photos of the moon?
- Why is the moon so hard to photograph?
- How do I set my camera to take a picture of the moon?
- What is the 11 rule for moon photography?
- Is 300mm enough for moon photography?
- What are some tips for taking good moon photography shots?
- Do you need a telescope to photograph the moon?
- Conclusion: Your First Sharp Moon Photo
What Camera Settings Are Best for Moon Photos?
Best settings for moon photography scale with how long your lens is, because the moon drifts across the sky and a long lens magnifies that drift. The table below is the canonical starter point. Pick the row that matches your focal length, take a test shot, then adjust from the histogram.
| Focal length | ISO | Aperture | Shutter speed | Focus mode |
|---|---|---|---|---|
| 50mm (kit or prime) | 100-200 | f/5.6 | 1/60 | Manual, live view |
| 200mm | 100 | f/5.6 – f/8 | 1/250 | Manual, live view |
| 300mm | 100 | f/5.6 – f/8 | 1/500 | Manual, live view |
| 500mm and beyond | 100 | f/5.6 – f/8 | 1/1000 | Manual, live view |
Set white balance to daylight rather than auto. Auto white balance shifts between frames on a dark background, which makes stacking multiple exposures for the dark limb difficult later. Shoot RAW so you have room to recover highlights and push contrast after the fact. If your camera has an electronic shutter, turn it off; the moving sensor distorts the disc slightly and a mechanical or electronic-first curtain is cleaner.
A note on the f/11 idea. The old f/11 rule for photographing the moon came from daylight photography, where f/11 was the sharpest aperture available. Modern lenses are sharp wide open, and stopping down to f/11 on a kit lens loses detail to diffraction instead of gaining it. f/5.6 to f/8 is the honest sweet spot for a beginner kit. Across photography forum threads on CloudyNights and r/AskPhotography, the most-repeated baseline is the same: low ISO, f/5.6 to f/11, and a shutter speed that matches the focal length.
How Much Focal Length Do You Need to Photograph the Moon?
The moon spans about half a degree of sky, so the focal length question is really a question about how much of the frame you want it to fill. With a standard 50mm lens the moon is a small bright disc with no resolvable detail. It is a real photo, but it is not a crater photo.
| Focal length | Moon width in frame (full frame body) | What you can actually see | Minimum shutter speed |
|---|---|---|---|
| 50mm | About 5% of frame width | A clean disc, no surface detail | 1/60 |
| 200mm | About 20% of frame width | Large maria, broad craters, clean edges | 1/250 |
| 300mm | About 30% of frame width | Individual craters along the terminator | 1/500 |
| 500mm | About 50% of frame width | Small crater chains and shadow detail | 1/1000 |
So is 300mm enough? Yes. 300mm is the point where crater detail becomes genuinely visible, and it is the most common focal length people own in a zoom lens. A crop-sensor camera stretches the reach of that same lens by about 1.5 times, so a 300mm on a crop body frames the moon roughly like a 450mm does on a full-frame body.
If all you have is the 18-55mm kit lens that came with your camera, do not buy anything yet. Shoot the moon at 55mm, then crop the disc in editing and you will have a usable result. Where kit lenses really fall short is aperture: many are f/5.6 at the long end, and at that stop the moon sits small enough in the frame that you will be enlarging it in software more than you would like. That is a detail problem, not a failure.
Longer is not automatically better, either. Beyond 500mm the moon’s own apparent motion starts to dominate, and a beginner at that focal length spends the session fighting shutter speed rather than learning composition. Work up in steps.
How to Focus the Moon Sharply With a Beginner Camera
Turn off autofocus and focus manually. The moon is a bright, high-contrast target against a dark sky, which is exactly the situation where contrast-detect autofocus locks on easily in good conditions but hunts badly when haze, a thin cloud layer, or low light throws it off. Manual focus is more predictable and it teaches you what sharp actually looks like.
- Switch to live view. Turn on the rear screen or electronic viewfinder.
- Magnify to 10x or more. Use the zoom buttons on the camera. This is the single most recommended trick in forum threads: at 10x you can see individual craters, and focus becomes a judgment you can make instead of a guess.
- Aim at the terminator. The terminator is the line dividing the lit and unlit halves. It has the highest contrast on the disc, so it is the easiest place to judge focus precisely.
- Turn the focus ring until the craters along that line look hardest. Tiny manual movements. Focus on the moon itself rather than on a distant treeline.
- Re-check focus before every frame. Temperature change and the tiny vibration of adjusting the tripod head can both move focus.
Do not use the infinity mark on your lens. It is the most common reason people get a soft moon, and the reason is physical: the moon is not at infinity, it sits roughly 384,000 km away, and the infinity mark is calibrated for objects millions of times further. The focus difference is small, but at 300mm a small focus error is magnified into obvious softness. Manual focus on the terminator sidesteps the problem entirely.
If your camera has no manual focus ring at all, use single-servo autofocus, zoom the live view screen in, and confirm the result on the rear screen before shooting. Confirm it again on your first few frames, because autofocus will drift.
Step-by-Step: How to Shoot a Sharp Moon Photo
This is the full sequence. It takes about ten minutes once you have done it a few times, and it works with any camera that has a manual mode and a tripod thread.
- Check the forecast and moonrise times. Look for a clear window, and check the moon phase so you know what you are expecting to see. Shoot when the moon is well above the horizon; a low moon looks larger through haze and sits in unsteady air.
- Set up the tripod. Mount the camera with a telephoto lens. Turn off image stabilization, because a stabilizer on a tripod actively hunts and softens the image.
- Switch to manual mode. Choose a mode with no auto ISO, no auto white balance, and no auto aperture.
- Set ISO 100. If the moon is a thin crescent, raise to ISO 400 for the Earthshine on the dark side.
- Set the aperture to f/5.6 or f/8. Wide open is acceptable on a fast prime. Avoid f/16 and beyond on a kit lens.
- Set the shutter speed from your focal length. Use 1/250 at 200mm, 1/500 at 300mm, 1/1000 at 500mm. If the moon looks streaked, halve the exposure time.
- Focus manually in live view at 10x on the terminator. Take the time to get this right. It is the step that separates a soft disc from a detailed one.
- Release the shutter without touching the camera. Use the two-second self-timer or a remote release. Pressing the button with your finger records the movement as blur.
- Check the histogram and zoom into the image. You want the histogram peak pushed to the left but not touching the left wall. If the bright limb is clipping, drop the shutter speed a stop and shoot again.
Then repeat. Take a bracketed series at your metered exposure plus a third stop either side, and you can combine them later for a disc that holds detail from the bright limb all the way to the shadowed edge. Forum regulars on DPreview and ThePhotoForum commonly describe the same move: meter with the smallest spot you have, then bracket around it.
Why Is Your Moon Photo Blurry?
Blurriness in a moon photo has four causes and only one of them is about focus. Find your symptom in the table below, because the fix for each is different and beginners usually address the wrong one first.
| Symptom | Cause | Fix |
|---|---|---|
| Blurry all over, edges soft | Camera shake from touching the shutter | Two-second self-timer or remote release; never touch the camera |
| Sharp centre, soft edges | Image stabilization fighting the tripod | Turn stabilization off when the camera is on a tripod |
| Everything soft at any magnification | Missed focus, or the infinity mark | Manual focus in live view at 10x on the terminator |
| Streaked or smeared edge | Moon’s own motion during a slow shutter | Shorten the shutter speed to match the focal length |
| Soft when only heavily cropped | Digital zoom or upscaling a small disc | Shoot longer, then crop in editing; never use digital zoom |
| Featureless white disc | Camera metered the night sky | Manual exposure and exposure compensation around -2 to -3 stops |
| Blurry only on a bad night | Atmospheric turbulence near the horizon | Shoot higher in the sky, or average down multiple frames |
The five beginner mistakes that produce all of the above: pressing the shutter by hand, leaving image stabilization on with the camera mounted, trusting the infinity mark, using digital zoom to make the moon look bigger, and trusting auto exposure. Digital zoom deserves a specific warning because it feels like zooming. It is not. It crops a small area of the sensor and stretches it to fill the frame, permanently destroying the detail you were trying to capture.
One more, less obvious: a long lens on a light tripod head. The lens itself swings, and a heavy telephoto on a small head vibrates for a second or two after you release the shutter. Hang a bag under the lens to damp it, and let the rig settle for a few seconds before firing.
When to Shoot the Moon for Maximum Detail
Full moon is the worst time for detail and the best time for a beginner’s first attempt. A fully lit moon is flat, with the sun straight overhead and no shadows inside the craters. Photograph it for a clean silhouette, a moonrise composition, or a landscape, and switch to a partial phase when you want texture.
| Phase | What to aim for | Timing note |
|---|---|---|
| New moon | Not visible; pair with stars instead | Darkest skies of the month |
| Thin crescent (1-3 days) | Earthshine on the dark limb plus a bright crescent | Sunset to about 45 minutes later |
| First quarter | Best overall crater detail and shadow relief | Sunset to midnight |
| Gibbous | High contrast, terminator receding toward the limb | Evening through early morning |
| Full moon | Cleanest overall disc, flat lighting, moonrise over scenery | Sunset to sunrise |
| Last quarter | Second-best detail, craters lit from the opposite side | Midnight to sunrise |
The single highest-value two-hour window in a month is around first quarter and last quarter. The terminator runs down the middle of the visible disc, low sun angles throw long shadows into every crater, and the contrast along that line is what makes manual focus easy. Beginners who shoot at first quarter rather than full moon report dramatically better results with the same camera and the same settings.
To capture Earthshine on a thin crescent, you need a separate exposure for the dark side. Start at ISO 400, f/2.8 to f/4, and 1 to 4 seconds, then check for trailing on the crescent edge. The tension is real: long enough to reveal the faint glow, short enough to avoid smearing the bright limb. One wide exposure and one short one, blended in editing, is easier than compromising on a single frame.
Clear nights are not equal. A night with steady, transparent air after a cold front gives a crisp disc. A night with haze or rising warm air gives a shimmering one, and no amount of shutter speed fixes shimmer because it is the atmosphere moving. When the moon looks soft at 10x magnification before you even press the shutter, the night is not the night.
What to Do After the Shot: Cropping and Sharpening in Post
Start from the RAW file. Apply lens corrections first if your lens needs them, since vignetting and corner softness are fixed in this step rather than worsened later. Then set contrast, apply a modest amount of sharpening, and crop.
Cropping is the answer to the small-disc problem. A clean shot at 200mm can be cropped to roughly double its apparent size before it stops holding up, which is often enough to make crater detail readable. Crop generously around the disc and leave a little breathing room; a moon that bleeds off the edge of the frame reads as an accident.
Keep sharpening restrained. Heavy unsharp masking on a blown-out lunar surface creates dark halos along the bright limb, which is the classic giveaway of a processed moon shot. A small radius at low amount, applied before the final resize, keeps the terminator crisp without ringing. If you took a bracketed series, blending the exposures buys more real detail than any sharpening setting ever will.
One caution on composites. If you blend the moon into a foreground scene, check where the moon actually sat in the sky at that moment and how high it was. A moon placed where it could never have been from that viewpoint is noticeable, and it is the kind of detail that gets pointed out in comments.
Frequently Asked Questions
What camera settings are best for moon photos?
Start at ISO 100, f/5.6 to f/8, and a shutter speed matched to your focal length: 1/60 at 50mm, 1/250 at 200mm, 1/500 at 300mm, 1/1000 at 500mm. Switch to manual focus and use live view at 10x magnification on the terminator. Shoot RAW, set white balance to daylight, and use the two-second self-timer so the camera is not touched.
How do I get sharp photos of the moon?
Sharpness comes from three fixes. Stabilize the camera on a tripod and fire the shutter with the self-timer or a remote release, with image stabilization switched off. Focus manually in live view at 10x magnification on the terminator, the line between the lit and dark halves. Then use a shutter speed fast enough for your focal length so the moon’s drift does not smear the edge.
Why is the moon so hard to photograph?
The moon is a bright subject in a dark scene, so the camera meters the surrounding sky and overexposes the moon into a white disc. At the same time, any hand movement is magnified by a long lens into obvious blur, and the moon drifts across the sky during long exposures. Managing all three at once is why the moon demands manual settings.
How do I set my camera to take a picture of the moon?
Set the camera to manual mode with no auto ISO, auto white balance, or auto aperture. Use ISO 100, f/5.6 to f/8, and 1/250 at 200mm or 1/500 at 300mm. Mount on a tripod, turn off image stabilization, focus manually in live view at 10x, and release the shutter with the two-second timer. Check the histogram afterwards and bracket a stop either side.
What is the 11 rule for moon photography?
The f/11 rule is an old guideline of shooting the moon at f/11 and 1/250 second, derived from daylight photography where f/11 was the sharpest aperture available. Modern lenses are sharper wide open, and stopping a kit lens all the way down to f/11 loses detail to diffraction. For most beginner cameras, f/5.6 to f/8 produces the sharpest lunar images.
Is 300mm enough for moon photography?
Yes. At 300mm the moon fills roughly 30 percent of the frame width on a full-frame body, and individual craters along the terminator become visible. A 50mm lens gives you a clean disc with no surface detail. A crop-sensor body extends that 300mm reach by about 1.5 times, framing the moon like a 450mm lens would on a full frame.
What are some tips for taking good moon photography shots?
Shoot near first or last quarter, when the terminator throws shadows into the craters. Check the histogram so the bright limb does not clip to white, and bracket exposures a stop either side. Keep a bag hanging under a long lens to damp tripod swing. Use RAW and white balance set to daylight, crop generously, and keep sharpening light to avoid dark halos.
Do you need a telescope to photograph the moon?
No. A telephoto lens of 200mm or more gives sharp, detailed moon photos on its own, and every setting in this guide works without any telescope. A telescope is a cheaper way to reach higher magnification through afocal shooting or a T-ring adapter, but it is optional and it makes focus more demanding rather than less.
Conclusion: Your First Sharp Moon Photo
Sharp moon photos come down to three fixes, and none of them require new gear: stabilize the camera on a tripod, focus manually in live view on the terminator, and expose manually with a shutter speed matched to your focal length. Start at ISO 100 and f/5.6 to f/8, use the two-second timer, and check the histogram before you trust the frame.
Pick a night near first or last quarter rather than full moon, find the moonrise time, and give yourself twenty minutes. The first frame will not be right. The tenth usually is, and the next target after that, stars and planets, uses the same skills with a much harder subject. Updated for 2026, this guide will keep working as the moon keeps coming back around.