
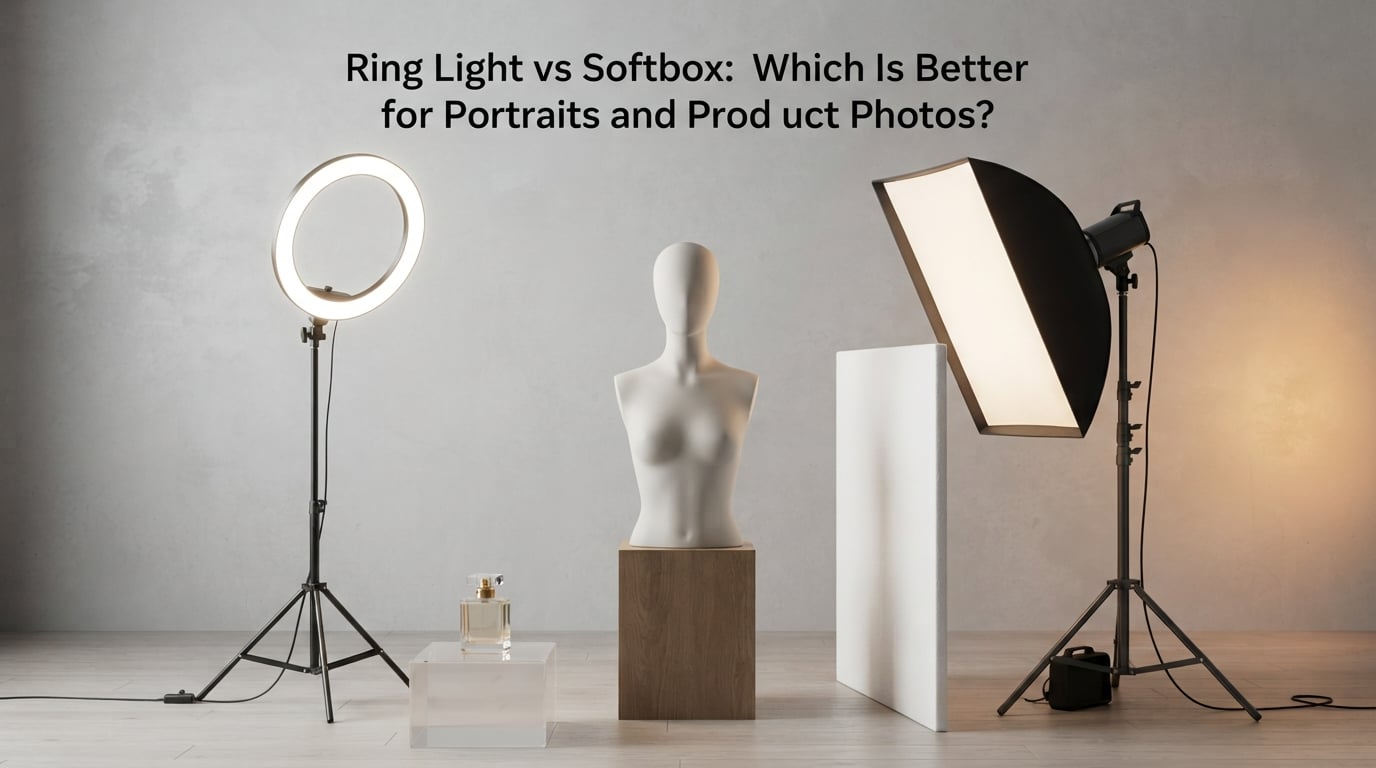
If you are searching for a ring light vs softbox answer, here is the short version: a softbox produces better portraits and better product photos because its light comes from a direction you control, while a ring light wraps your subject in even light from the camera’s own axis. A ring light earns its keep in one narrow lane: close-up, face-forward video where you want zero shadows.
The reason this argument confuses people is that both fixtures are sold with the promise of “perfect lighting,” and they deliver completely different kinds of light. One removes depth. The other builds it.
Below is the mechanism behind that difference, a side-by-side comparison of every factor that matters, placement recipes with real angles, and a decision framework based on what you actually shoot. I have spent years lighting portraits and small product sets, and the honest answer rarely matches the marketing on the box.
Quick answer: Softbox wins for portraits and product photos. It creates a gradual shadow gradient, renders surface texture honestly, and can be angled so reflections on glossy surfaces fall out of frame. A ring light produces flat, near-shadowless light with a visible circular catchlight, which suits close-up video calls and beauty tutorials but flattens shape and stamps a ring into glasses and shiny packaging.
Table of Contents
- How a Ring Light and a Softbox Actually Produce Light
- Ring Light vs Softbox: The Side-by-Side Comparison
- Ring Light vs Softbox for Portraits
- Ring Light vs Softbox for Product Photography
- How Big a Softbox Should You Buy
- Common Mistakes to Avoid With Either Light
- What to Do If You Already Own a Ring Light
- Strobe vs Continuous LED for Each Use Case
- Which Should You Choose
- Frequently Asked Questions
- Are ring lights better for photography than softboxes?
- Is ring light good for product photography?
- What type of light is best for portrait photography?
- What is the best type of lighting for taking product pictures?
- Are ring lights bad for eyes?
- Which is better, LED light or ring light?
- What are the common mistakes to avoid in product photography?
- What is the 3 lighting rule?
- Conclusion
How a Ring Light and a Softbox Actually Produce Light
A ring light is a circular LED array mounted in the same plane as the camera lens. Every diode on that circle points forward at the same time, and the camera shoots through the middle of it. Light therefore arrives at your subject from dead ahead, and because it arrives from all points on the circle, the tiny shadow a nose or a bottle cap would normally cast is filled in by its neighbours.
A softbox is a bare source fired into a fabric-lined frame with a diffusion panel stretched across the front. Diffusion means the panel scatters the raw LED or flash output across a large surface, so the light reaching the subject has many small source points rather than one. Many small sources wrap around a shadow edge, which softens it.
Why size and distance decide softness
Softness is not a property of the fixture alone. It is a ratio between how large the emitting surface is and how far away it sits from the subject. A small panel far away produces a small angular size, so the shadows come back hard.
Falloff is how quickly light drops in brightness as you move away from the source. Light follows the inverse square law, meaning brightness changes with the square of the distance: move a light twice as far away and it delivers roughly a quarter of the light. That is also why a softbox pushed across the room stops being soft, even though nobody changed the modifier.
Ring lights have almost no falloff advantage to offer here, because their light is frontal and even by design. The look is deliberate, not a defect of construction.
Ring Light vs Softbox: The Side-by-Side Comparison
This is the table to come back to. Every row reflects how the two fixtures behave in practice rather than how they are marketed.
| Factor | Ring light | Softbox |
|---|---|---|
| Light shape | Flat circle, coplanar with lens | Rectangular, square or octagonal emitting panel |
| Shadow behaviour | Very soft or absent; shadow sits directly under the subject | Soft, directional, with a clear gradient that describes form |
| Catchlight in eyes | Unmistakable ring or donut | Single soft rectangle or octagon |
| Specular reflection on glossy surfaces | Ring repeats across glass, screens and packaging | Controllable; angle it and the highlight moves out of frame |
| Skin texture | Smoothed out, sometimes waxy | Renders texture truthfully, harder to flatter |
| Coverage area | Tight; one face, one small product | Wide enough for half-body, group and large product work |
| Portability | Often one piece, clamp or desk stand | Head, stand and modifier are separate and bulky |
| Setup time | Under a minute | Several minutes, plus a sandbag on a full-size stand |
| Power draw and heat | Lower draw, but warm to the touch after long sessions | Strobes fire in bursts and stay cool between shots |
| Footprint in a small room | Minimal | A 5-foot octabox on a stand eats a corner |
| Best for | Video calls, streaming, beauty tutorials, matte demos | Portraits, headshots, product and food photography |
Ring Light vs Softbox for Portraits
For portrait work, a softbox is the better tool, and the reason is physical rather than aesthetic. A portrait reads as three-dimensional because light wraps around one side of the face and fades on the other. That fade is the shadow gradient, and it is the single feature viewers use to judge whether a face looks sculpted or pasted onto the frame.
A ring light erases that gradient before it forms. On close skin the effect can read as flattering and soft. On an older face, a textured face, or any face with strong cheekbones, it reads as flat and slightly plastic.
The catchlight tells the truth
The catchlight is the bright reflection of your light source in the subject’s eyes, and it is the fastest way a viewer reads your setup. Ring light catchlights are circular. Members of the dpreview.com forums described ring lights shot off camera as producing “definitely weird catchlights,” and photographers photographing a ring light itself point out that the circle shows up in frame as a visible source that cannot be hidden or turned off.
A softbox gives you a rectangular or octagonal catchlight, and you can steer it toward the camera or away from it depending on the mood. That is control, and control is what portrait lighting is.
Portrait recipe: 45-degree key with a white fill card
- Place the key at roughly 45 degrees off-axis. Stand the softbox about 45 degrees to one side of the camera and raise it to about 45 degrees above eye level. This is the classic starting position for a reason: it gives a shadow gradient without dropping the eye socket into darkness.
- Set the distance before you worry about brightness. Fill the frame with the subject first, then stop down until the background is clean. Moving a softbox far enough back to collapse the background also shrinks its apparent size and hardens the light, so bring the background in with distance and a longer lens instead.
- Add a white fill card on the opposite side. Place a white card or foam board roughly opposite the key, close to the lens axis. It bounces a controllable amount of light back into the shadow side and lets you set a 70/30 ratio between the lit and shadow sides.
- Turn the rim on last. If you need separation from a busy background, add a second light behind the subject at a high angle, aimed down at the shoulders. A strip softbox aimed at the backdrop creates a gradient instead of a hotspot.
- Feather, do not point. Aim the softbox so the part of the diffusion panel nearest the subject does most of the work. Pointing the dead centre straight at the subject creates a hotspot and a hard core to the shadow.
Three-point lighting in one sentence: one key light sets the exposure and the shadow gradient, one fill light controls how dark the shadow side goes, and one back or rim light separates the subject from the background. A ring light can do none of the three independently, which is why portraits shot on one usually look like a video call rather than a photograph.
Ring Light vs Softbox for Product Photography
Here the softbox advantage is larger, and the reason is that products have surfaces that reflect light rather than absorb it. Working product photographers in the r/productphotography community describe the square softbox as the standard for this work, and posters billing small businesses specifically ask whether a ring light is acceptable for product shots, which tells you how the question is answered in practice.
Glossy versus matte surfaces
A matte product, such as a matte-finish cosmetic bottle or a fabric pouch, is lit by the same principle as skin: directional light describes its shape. A glossy product, such as a phone, a bottle with a lacquered cap or a watch face, is lit by reflection.
With a ring light, that reflection is a ring, and it lands wherever the geometry puts it, which is usually dead centre on the most important part of the product. With a softbox, the reflection is a rectangle, and the reflection point depends on the angle between the light, the surface and the lens.
How to push a reflection out of frame
Start at 30 to 45 degrees off-axis and work from there. As you rotate the light away from the camera axis, the specular highlight slides across the surface and off the front face entirely. Small increments matter: 10 degrees often decides whether a watch crystal is readable or washed out. Flag the light with black card and foam board if it is still spilling where you do not want it.
Flat lay recipe: overhead plus two angled softboxes
- Place the key overhead and centred for even coverage across the whole surface, then switch it off for every frame to check for hot spots and reflections.
- Add two softboxes at roughly 45 degrees on either side, set at about half the brightness of the overhead source, to shape the edges of the product and keep shadows from going dead.
- Use a sheet of white acrylic as a base so the product sits on a surface that bounces a little light back underneath it. This removes the contact shadow that makes a flat lay look pasted on.
- Shoot at f/8 or f/11 with a tripod and a timer so the whole set stays sharp while you swap lights, then review at full size before you commit.
Forum threads about product lighting also surface a practical warning about single-light setups: light falls off across the set, so shadows land where you did not plan them. The fix is rarely a more expensive fixture. It is a second light or a white bounce card, which is why the recipes above all use two or more sources.
How Big a Softbox Should You Buy
Beginners ask this constantly and get vague answers, so here is a direct mapping. The rule of thumb: your modifier should be roughly as wide as the subject is tall, measured across the broadest part you need to cover.
| Softbox size | Typical use | Watch out for |
|---|---|---|
| 16 inch | Headshots, jewellery, small cosmetics, bottles | Too small for a full body or a large bag; edges will cut off on a wide frame |
| 24 inch | Half-body portraits, mid-size products, food | Needs a stand with real weight; the modifier is the first thing to tip over |
| 32 inch | Full-body portraits, apparel, larger packaging | Large footprint; awkward in a small room and closer to a wall than the light is to the subject |
| 36 inch and up | Groups, furniture, oversized products | Two-person minimum; the modifier and stand dominate the space |
Shape matters as much as size. A square softbox is the neutral default and the product photography standard. A rectangular or strip softbox produces long, narrow catchlights that read as elegant on faces and throw even gradients down a backdrop. An octabox gives a round catchlight with no visible corners, which sits somewhere between a square and a ring in appearance while keeping real shadow direction.
Common Mistakes to Avoid With Either Light
- Putting the softbox too far away. Inverse square falloff cuts brightness, and the shrinking angular size hardens the shadows. Close the distance and add a flag instead of stepping back.
- Lighting straight from the camera axis. This is the ring light’s signature look, and it is the fastest way to make a face or a bottle look flat.
- Ignoring feathering. Feathering means angling a modifier so its nearest edge, not its centre, faces the subject. Pointing the centre creates a hotspot and a hard core in the shadow.
- Failing to check reflections with the lights off. Sweep the set with only ambient light before you power up. Every bright edge you see in ambient light is a reflection waiting to appear.
- Overpowering a single source across a large set. Falloff leaves one end of the table darker than the other. Add a bounce or a second light rather than raising the first.
- Trusting colour from a budget panel. Check the CRI rating. Below 90, saturated reds, blues and skin tones shift, and product colours no longer match what a customer receives.
What to Do If You Already Own a Ring Light
If a ring light is already on your desk, you are not stuck, and you do not need to replace it. Five changes will move most of the results toward what a softbox gives you.
- Move it off-axis. Any distance and angle off the camera axis, even 30 degrees, brings back a shadow gradient immediately.
- Bounce it. Aim the ring at a white ceiling or wall and let the surface act as the source. You get a much larger effective emitter and softer shadows for free.
- Add diffusion. A thin white diffusion layer or a scrim across the ring face spreads the output and lifts the contrast between the lit and shadow sides.
- Demote it to a fill light. Once you own a keyed light, the ring works well as fill, angled low and close to reduce shadows on the far side of the face.
- Hide the ring reflection. For glasses and glossy products, angle the ring so the circle lands on the frame instead of the lens, or mask it with black card.
Strobe vs Continuous LED for Each Use Case
Both fixture families can be driven by a continuous LED panel or a strobe, and the choice often matters more than the modifier.
A continuous LED is simpler. You see the exact light before the shutter fires, which is why it dominates video, calls and streaming setups. It also runs warm and draws power for the whole session, and that heat is worth keeping in mind when a subject sits close to it for a long interview.
A strobe fires in a fraction of a second. It is brighter, cooler between shots, and its duration is short enough that you can freeze motion, which is why it remains the working choice for product photography and portraits with a decisive moment. The trade-off is that you have to learn flash exposure and you lose the instant preview.
Which is better depends on the output. For a talking-head video, a continuous LED with a dimmer and adjustable colour temperature beats everything else. For a product set, a strobe gives you the power to shoot at f/11 without a long exposure.
Which Should You Choose
Use these five questions in order and the decision makes itself.
- Are you shooting glossy products? Choose a softbox. Refraction control is the deciding factor, and a ring light cannot give it to you.
- Is your subject a face at close range for video? Choose a ring light. Zero shadows and even coverage are exactly what you want for a call or tutorial.
- How big is the subject? A ring light is a one-subject tool. Anything larger than a head and shoulders or a bottle-sized object needs a softbox you can move back from.
- How much room do you have? In a small room, a 24 inch softbox on a short stand plus a white bounce card is a workable minimum footprint. A 36 inch modifier will not fit comfortably.
- How often do you shoot? Occasional close-up video justifies a ring light. Paid work, repeated sessions or a growing catalogue justifies a softbox, because you can add heads to the same stand as your skills improve.
One last consideration that is rarely mentioned: most ring lights below about 200 lumens of claimed output and many cheap ones have poor CRI and only a single brightness and colour setting. If colour accuracy matters, check the CRI and TLCI numbers before buying, and assume any ring light with no dimmer will frustrate you within a week.
Frequently Asked Questions
Are ring lights better for photography than softboxes?
No. A softbox produces better results for portraits and product photos because its light arrives from a direction you control, producing a gradual shadow gradient that describes form. A ring light arrives from the camera axis, so it fills in shadows and flattens shape. Ring lights are better for one job only: close-up, face-forward video where shadow-free even light is the goal.
Is ring light good for product photography?
It is usable for matte, flat products shot straight on, but most working product photographers treat it as the wrong choice. Photographers in the r/productphotography community describe the square softbox as the standard for product work. A ring light also stamps a circular reflection across glass, screens and lacquered packaging, and you cannot steer it out of frame.
What type of light is best for portrait photography?
A large softbox used as a key light, placed roughly 45 degrees off-axis and 45 degrees above eye level, with a white fill card opposite it. The softbox gives a soft shadow gradient and a controllable catchlight, and its size relative to the subject decides how gentle that gradient is. A ring light is reserved for close-up video rather than photographic portraits.
What is the best type of lighting for taking product pictures?
For most product work, start with one overhead softbox centred on the set for even coverage, then add two softboxes at roughly 45 degrees on either side at about half brightness to shape edges and keep shadows alive. Lay the product on a white acrylic base to soften the contact shadow, and sweep the set with lights off to catch every reflection before you power up.
Are ring lights bad for eyes?
Shooting stills is not a concern. The common complaint is not eye safety but the flat, shadowless look that a frontal ring produces on a face, and the visible ring catchlight in the eyes. The occasional red-eye effect reported with ring flashes comes from light entering the pupil and reflecting off the retina at the lens axis, which a softbox placed off-axis avoids entirely.
Which is better, LED light or ring light?
For video, calls and streaming, a continuous LED with adjustable brightness and colour temperature is better, because you see the exact light before recording and can adjust it in real time. A ring light is a continuous LED in a different shape. For still product photography, a strobe is often better than both, because its short flash duration freezes motion and keeps the set cool.
What are the common mistakes to avoid in product photography?
The most common are placing the light too far away so inverse square falloff hardens the shadows, lighting from the camera axis so the product looks flat, leaving reflections uncontrolled on glossy surfaces, and powering a single source across a large set so one end falls off into shadow. Check reflections with the lights off, flag the light, and add a bounce or second source instead of raising output.
What is the 3 lighting rule?
The three-point lighting rule says a portrait setup uses three separate roles: a key light that sets exposure and creates the shadow gradient, a fill light that controls how dark the shadow side goes, and a back or rim light that separates the subject from the background. Each role needs its own head and stand, which is exactly what a single ring light cannot provide.
Conclusion
Back to the original question of ring light vs softbox: for portraits and product photos, a softbox wins, because direction creates depth and lets you place a reflection exactly where you want it or nowhere at all. A ring light is a purpose-built tool for close-up, face-forward video, and it does that job better than a softbox ever will.
Start with one 24 inch softbox, a white fill card and a stand, and learn to place it at 45 degrees. If you already own a ring light, move it off-axis before you buy anything else. That single change will teach you more about light than any gear upgrade.