
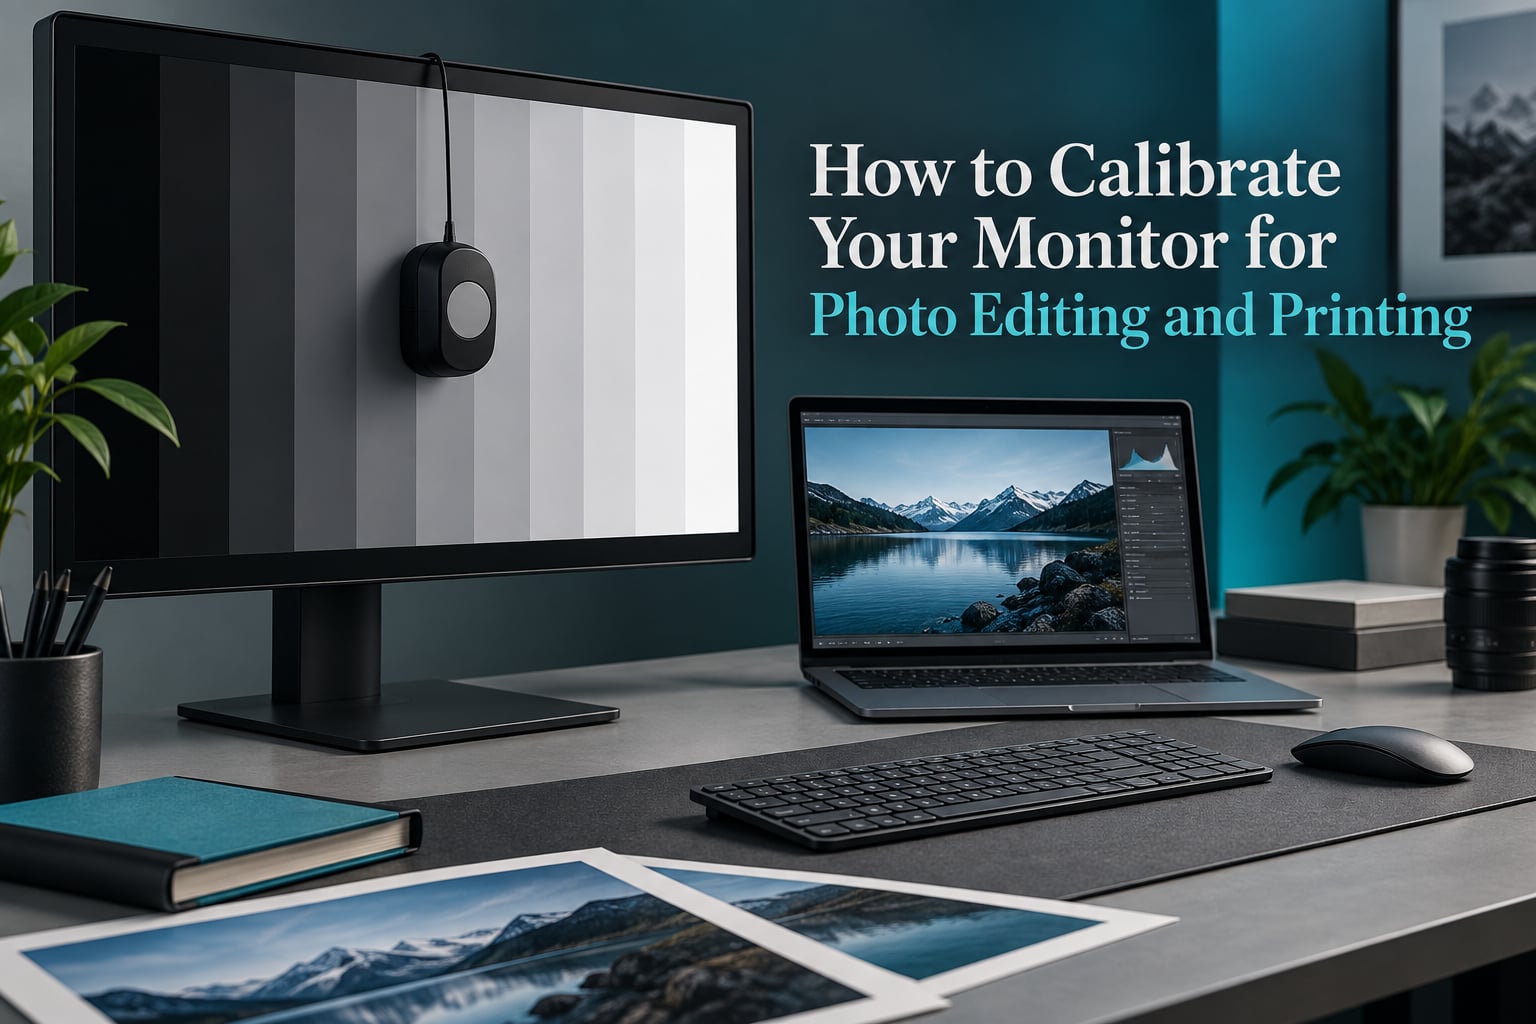
Last updated: October 2026
Learning how to calibrate your monitor for photo editing is the single highest-leverage habit you can add to a color-critical workflow. An uncalibrated display is not neutral: it ships with whatever white point, gamma curve and brightness the manufacturer felt like applying, and that default rarely matches the sRGB or Adobe RGB specification your images are encoded to. The result is images that look right in your editor and wrong everywhere else.
This guide walks through the whole process: what calibration fixes, how to prepare your workspace, which target values to enter, the step-by-step hardware colorimeter workflow, the free methods and their honest limits, how to verify the result, and how to calibrate for print matching. Budget roughly 30 minutes for the first run and about 10 minutes a month after that.
Table of Contents
- Quick Answer: How Do You Calibrate Your Monitor Display?
- What Monitor Calibration Actually Does (and What It Doesn’t)
- Before You Start: 6 Preparation Steps
- Choosing Your Target Settings: White Point, Gamma, and Luminance
- How to Calibrate Your Monitor Step by Step
- Step 1: Install the software and connect the device
- Step 2: Choose your target settings in the software
- Step 3: Let the display warm up if it has not already
- Step 4: Mount the colorimeter
- Step 5: Run the measurement pass
- Step 6: Let the software adjust RGB gains
- Step 7: Save the ICC profile with a clear name
- Step 8: Make sure the profile loads automatically
- Step 9: Read the report before you close the software
- Free Methods: OS Built-In Tools and Web Test Pages
- How to Choose a Calibration Method and Device
- How to Verify Your Calibration Worked
- How Often Should You Recalibrate?
- Calibrating for Print: White Point, Soft Proofing, and Printer Profiles
- Troubleshooting: When Colors Look Worse After Calibrating
- Frequently Asked Questions
- How do I calibrate my monitor display?
- What brightness should my monitor be for photo editing?
- What should I look for in a monitor for photo editing?
- Can I calibrate my monitor using my phone?
- What is the best monitor calibration for photo editing?
- Do I need to calibrate my monitor to edit photos?
- How do I know if my monitor is calibrated?
- Why does my print look different from my screen?
- Conclusion
Quick Answer: How Do You Calibrate Your Monitor Display?
You calibrate a monitor by measuring its real output and correcting it to a known reference. Warm the display for 30 minutes, set it to native resolution, dim the room, and turn off any adaptive brightness or color-shifting features. Then place a hardware colorimeter flat against the screen, let the software flash color patches while the sensor reads the light coming back, and let it build a custom ICC profile. Your operating system loads that profile automatically so colors translate correctly in every app.
The four numbers most people need: white point D65 (about 6,500K) for screen work or D50 (about 5,000K) for print matching, gamma 2.2, and a target luminance of roughly 100–120 cd/m2 in a normally lit room or 60–80 cd/m2 in a controlled dark room.
What Monitor Calibration Actually Does (and What It Doesn’t)
Calibration corrects the gap between what your display is actually emitting and what the target standard says it should emit. That gap shows up as a shifted white point, an off-tone gray ramp, crushed or lifted blacks, and a brightness level that forces your eyes to constantly re-adapt.
What calibration does not do is expand your panel’s color gamut. If your monitor cannot physically reach a deep saturated cyan, no software will make it reach. Calibration makes the colors you can produce correct and repeatable — it does not create new ones.
It also does not control the room. A perfectly calibrated display sitting in a sunlit room with a bright window behind it will look wrong no matter what the report says. Ambient light is half of color management; the other half is the display.
Is monitor calibration worth it? For anyone who prints, sells prints, retouches for clients, or matches images to brand specifications, it is a prerequisite rather than an upgrade. For gaming, general browsing, or streaming where nobody is judging color accuracy, it is largely wasted effort — and we say so plainly rather than telling every visitor to buy a device.
What calibration cannot fix: a panel with a narrow gamut, glossy glare in a bright room, a backlight with visible banding at low brightness, or the reality that most people will view your work on uncalibrated phones and laptops.
Before You Start: 6 Preparation Steps
Preparation decides whether a calibration session produces a usable profile or a wasted one. Most disappointing results trace back to something skipped here rather than to the device itself.
1. Warm up the display for at least 30 minutes
Backlights and panel electronics stabilize as they heat. Calibrating a display that has been on for five minutes produces a profile that will be wrong within the hour. Some professionals leave a monitor on all day for exactly this reason.
2. Set the display to its native resolution
Any scaling or non-native resolution forces the graphics card to resample every pixel, which softens edges and alters gamma. The calibration is meaningless if the operating system is rewriting the image before it reaches the panel.
3. Turn off adaptive color and brightness features
This is the step people miss. Disable Night Shift on Mac, Night Light on Windows, True Tone, auto-brightness, ambient light sensors, and any dynamic contrast or eye-care mode. These features silently rewrite your color after you calibrate.
4. Control the ambient light
Close blinds, turn off overhead lights you are not using, and position the screen perpendicular to any window rather than facing it. For print work, a neutral viewing environment at roughly 5000K matters as much as the monitor itself.
5. Clean the screen
Dust, fingerprints, and anti-glare coatings scatter light. A colorimeter reading taken through a smudged surface is a reading of the smudge plus the panel.
6. Reset the display to factory settings
Reset the monitor’s own controls first, then calibrate. If you calibrate on top of whatever the previous owner or the factory left behind, the software is fighting an unknown starting point. Set the monitor to a fixed input, disable any picture-mode presets, and start from neutral.
Choosing Your Target Settings: White Point, Gamma, and Luminance
The target settings tell the calibration software what “correct” means. Enter the wrong target and you will get a perfectly executed calibration toward a goal you do not want.
White point: D65 or D50?
D65 is the sRGB and standard web/photo white point at roughly 6,500K. D50 is the print and print-proofing white point at roughly 5,000K. Use D65 for anything displayed on screens, which covers the large majority of your work.
Use D50 only when print matching is the primary goal. Setting D50 for screen delivery is a common mistake that pushes a slight yellow cast into everything you make.
Gamma 2.2 is the default
Gamma 2.2 matches how sRGB-encoded images are meant to be viewed on a display. Leave it alone unless you have a specific reason, such as editing HDR or Rec. 709 video content.
Luminance depends on your room, not your screen
What brightness should my monitor be for photo editing? The honest answer is that a correct calibration makes the room comfortable at a normal display brightness. In a normally lit room, target around 100–120 cd/m2. In a dark or controlled room, target 60–80 cd/m2, which is easier on the eyes and gives a more reliable read.
Forced high brightness to compete with a sunny room is a mistake. The display is then correct in isolation and wrong the moment the light changes.
| Setting | For screen delivery | For print delivery |
|---|---|---|
| White point | D65 (about 6,500K) | D50 (about 5,000K) |
| Gamma | 2.2 | 2.2 |
| Target luminance | 100–120 cd/m2 typical room | 60–80 cd/m2 controlled room |
| Backlight | Leave at whatever keeps the target luminance | Same, verified in the report |
| Viewing environment | Neutral, moderate ambient light | D50 or standardized booth light |
| Recalibration | About once a month | About once a month, plus after firmware updates |
How to Calibrate Your Monitor Step by Step
This is the hardware colorimeter method, the same workflow used by the Spyder, Calibrite, and X-Rite software suites. The steps are software-agnostic; only the button labels change between brands.
Step 1: Install the software and connect the device
Install the manufacturer’s software, plug the colorimeter into a free USB port, and let it run any firmware update before you start. A stale firmware version is a common source of flaky readings.
Step 2: Choose your target settings in the software
Set the white point, gamma, and luminance targets from the table above before you mount the device. Many suites also ask whether you want a single shared profile or a separate profile per display — pick per-display if you have more than one screen.
Step 3: Let the display warm up if it has not already
Even if you have had the monitor on all morning, the software’s warm-up timer is a useful discipline. It keeps the profile honest and costs nothing but patience.
Step 4: Mount the colorimeter
Hang or rest the device flat against the center of the screen in a matte area, well clear of the bezel. Center placement matters: many panels are not perfectly uniform from edge to edge. Close any application that dims or overlays the screen.
Step 5: Run the measurement pass
The software will display a sequence of color patches — typically dozens of grays, primaries, secondaries, and skin-tone patches. Leave the screen untouched while it runs. Touching the desk, bumping the arm, or closing a lid introduces errors the report will show you later.
Step 6: Let the software adjust RGB gains
After measuring, the software works out how far off the display is and nudges the red, green, and blue gain and offset values until the output matches the target. On some panels this step is skipped because the hardware has no user-accessible controls; that is normal.
Step 7: Save the ICC profile with a clear name
Name it something you will recognize later, with the display and white point included, such as your studio display D65. A profile named “Monitor Profile 1” tells you nothing six months from now when you are debugging.
Step 8: Make sure the profile loads automatically
Assign the new profile to the correct display in your operating system’s color management settings and set it to load on startup. A profile that sits in a folder but is not attached does nothing at all — this is the most common reason people feel calibration “didn’t take.”
Step 9: Read the report before you close the software
The before-and-after report shows you the error before and after. Do not skip it. The next section explains exactly what the numbers mean.
| Step | What you do | Why it matters |
|---|---|---|
| Set targets | Enter white point, gamma, luminance | Defines what “correct” means |
| Warm up | 30 minutes minimum | Backlight output stabilizes with heat |
| Mount | Flat, centered, matte area | Edge panels are less uniform |
| Measure | Let all patches run undisturbed | Movement skews the readings |
| Adjust | Let the software set RGB gains | Moves output onto the target |
| Save | Name the ICC profile clearly | Findable later |
| Attach | Assign to display, load at startup | Unattached profiles do nothing |
Free Methods: OS Built-In Tools and Web Test Pages
Both major operating systems ship with a calibration assistant, and several websites will check your display’s gamma and gray response for nothing. Neither produces a real ICC profile, and both have hard accuracy ceilings.
Windows Display Color Calibration
Search for “Display Color Calibration” in the Start menu. The assistant walks you through gamma, brightness, contrast, and color balance using visual judgment against a sample image you adjust yourself. It is a genuine improvement on an uncalibrated display and it takes ten minutes. It cannot measure anything, so its accuracy depends entirely on your eyes and it produces no profile.
macOS Display Calibrator Assistant
Available from the display’s Advanced calibration options or through System Settings. The visual matcher is better than the Windows equivalent, and the advanced path lets you set a white point and choose whether the assistant is run as an administrator. Still an eyeball method, still no profile.
Web test pages
Lagom’s LCD monitor test pages and Eizo’s online test are the two most widely used. They are excellent for checking gamma ramp, banding, and text clarity after a hardware calibration, and a poor substitute for one before it.
Can you calibrate your monitor using your phone?
No, not in any meaningful sense. Phone apps measure the light reflected off your screen using the phone’s own camera and ambient light sensor, with no colorimeter filter and no control over the display’s output. They cannot adjust anything. At best they give you a rough luminance estimate, which is occasionally useful for setting a starting backlight level and nothing more.
| Method | What it measures | Accuracy ceiling | Creates a profile | Best for |
|---|---|---|---|---|
| OS built-in assistant | Nothing — visual matching | Moderate, varies per user | No | Free, quick improvement on a bad default |
| Web test page | Nothing — you compare against a reference | Diagnostic only | No | Verifying a hardware calibration |
| Hardware colorimeter | Actual panel output via sensor | High and repeatable | Yes | Print matching and paid client work |
| Manufacturer hardware calibration | Internal sensor or front probe | High, on supported models | Yes | Owning a display with built-in calibration |
How to Choose a Calibration Method and Device
If your display has a built-in hardware calibration system — EIZO’s ColorFrame on the ColorEdge line, NEC’s MultiSync software on supported professional panels — use it. It is designed for that panel, needs no extra hardware, and the software already knows the display’s characteristics.
Device tiers
- Budget colorimeter: a filtered tri-stimulus sensor. Good enough to correct a badly set display to well within acceptable tolerance for screen delivery.
- Mid-range colorimeter: the sweet spot for most photographers. Better repeatability, often a lens-based optical system that is easier to keep clean, and usually multi-display support.
- High-end spectrophotometer: spectral sampling rather than filters. Best repeatability, and the right choice for wide-gamut work or matching to paper whites.
For a clear comparison of specific models, the DataColor SpyderX range and the Calibrite Display product line are the two most common recommendations in photography forums, and the recurring theme across those threads is that the hardware performs similarly and the software experience differs most.
What to look for in a monitor for photo editing
- A factory calibration report and a hardware calibration menu with direct RGB gain control
- Factory gamma and white point set to sRGB or Adobe RGB rather than a wide-gamut default
- Low delta E from the factory, ideally below 2 on a supplied report
- 10-bit or at minimum 8-bit + FRC panel depth for smooth gradients in skies and skin
- A matte or semi-matte coating to limit reflections during critical work
- Enough brightness to hit 120 cd/m2 comfortably at a low backlight setting
- A colorimeter’s ability to create a separate profile per display if you use more than one screen
Laptop screens versus external wide-gamut monitors
Built-in laptop panels are increasingly wide-gamut, glossy, and bright, and many ship with no user controls. You can calibrate them, but you are correcting a panel you cannot adjust, so the achievable improvement is smaller. When we have compared the same edit on a calibrated laptop panel and a calibrated external display, the laptop usually runs warmer and flatter.
The practical fix is to treat the external display as your reference and keep the laptop’s brightness low. If you must edit on the laptop panel alone, accept that your images are being judged on the least trustworthy screen you own.
Multiple monitors each need their own profile
Two screens are two displays with two different panels, two different backlights, and usually two different factory white points. Calibrating once and applying the same profile to both is the cause of the mismatched look people describe between screens. Calibrate each one in turn, save both profiles, and attach each to its own display in your OS settings.
Then match the two to the same target luminance. Screens at 200 cd/m2 and 90 cd/m2 will never look like a matched pair no matter how accurate each profile is.
How to Verify Your Calibration Worked
You know it worked when the report shows low error numbers and the operating system confirms the profile is attached. Here is how to read what you are looking at.
Average versus maximum Delta E
Delta E is a single number describing how far a measured color sits from its target. Lower is better. The report gives you two: an average across all measured patches and the maximum single error, usually the worst patch on the display.
- Average Delta E under 2: indistinguishable from correct in real editing work
- Average Delta E 2 to 3: fine for web and general use
- Average Delta E above 3: something is off — recheck warm-up, ambient light, and target settings
- Maximum Delta E: this is the one to watch. A high maximum with a good average means a few specific patches are badly off, usually deep saturated colors near the gamut boundary
Spot checks you can do yourself
- Open a neutral gray reference image. If the gray has a color cast, the profile is not attached or the white point is off.
- Check that near-black and near-white both land where you expect rather than clipping.
- Look at a known skin-tone reference for a shift toward green or magenta, which signals a bad RGB gain adjustment.
- Visit Lagom or Eizo after calibrating to confirm gamma ramp, banding, and text rendering.
- Confirm in your OS color settings that the named profile is attached to the right display.
How Often Should You Recalibrate?
Once a month is the standard cadence, and the reason is display drift. Panels do not stay at their factory settings. Backlight output falls gradually, and the color balance of the RGB primaries shifts with it. The same profile that measured Delta E 1.5 last month can read 3 or 4 next month with no obvious change on screen.
Rebuild your profile rather than reusing the old one. Reusing it means your edits are drifting even though you believe the display is calibrated.
Recalibrate immediately rather than waiting for the monthly date if any of these happen:
- A firmware update on the display
- A major operating system update that changes the color management subsystem
- A change to your room lighting or desk position
- A drop, bump, or move of the monitor
- A sudden change in how your prints look
Devices also age. Colorimeter filters and sensors drift, and manufacturers publish a service interval. If your device is many years old and you are chasing print matching, having it serviced or replaced removes a variable you otherwise cannot see.
Calibrating for Print: White Point, Soft Proofing, and Printer Profiles
Here is where most guides stop and most frustration begins. Calibrating your monitor correctly does not make your prints match it. The monitor is one link in a chain that includes the printer, the ink, the paper, the driver, and the light in the room you judge the print in.
Use a D50 profile for print work
If print matching is your goal, calibrate a second profile at D50 and roughly 100 cd/m2 rather than fighting the D65 profile you use for web work. Two profiles, one display, cleanly named, is a normal professional setup and takes a few extra minutes.
Load the printer’s ICC profile, not a guessed one
Install the ICC profile supplied for your exact printer, ink, and paper combination. Then in your editing software, set the paper simulation to that profile and turn soft proofing on. Use relative colorimetric intent, which keeps blacks black and lets the profile simulate paper white correctly. Perceptual intent is useful for high-contrast media but is less predictable for fine art work.
Set the right viewing conditions
A print judged under household lighting at 2700K will look warm and dull next to a print judged under a 5000K viewing booth. If your prints are for a client or a gallery, ask how they will be lit and match your soft proofing environment to that. ISO 12647-2 / Fogra standards describe the reference viewing conditions print buyers expect.
Why prints still shift
Four things cause most print-to-screen mismatches, and only one of them is your monitor:
- The paper’s white point is not the same as your monitor’s white point, and its brightness and gloss reflect light differently
- The printer profile does not match the actual paper stock, or the wrong profile is loaded
- The ink limit or gammas chosen in the printer driver clip shadows or highlights
- The print is judged under different lighting than the soft proof
Printers treat this as a normal problem. The standard workflow is to print a test sheet, adjust the paper-specific settings until the physical print matches your expectation, and save those as a custom paper profile. A monitor profile alone will never close that loop.
Editing for uncalibrated viewers
Most of the people who see your work will view it on phones, laptops, and cheap monitors that nobody calibrated. Trying to make your image look right on every uncalibrated screen leads to over-correction and dull, milky files. Calibrate your display, edit to the standard, and trust it. If your work must survive bad viewing, build the adjustment into the delivery file deliberately rather than by distorting the master.
Troubleshooting: When Colors Look Worse After Calibrating
Calibration making things look wrong is the most common complaint in photography forums, and it nearly always has one of five causes.
1. Ambient light changed
The profile is correct for the light it was measured in. Move your desk, open a curtain, or work at night and everything shifts. Close the light source or recalibrate under the conditions you actually edit in.
2. A hardware gamma override is still enabled
Many gaming monitors apply a hardware-side gamma curve to darken bright content. It overrides your profile entirely. Turn it off in the display’s on-screen menu and recalibrate.
3. The profile is not attached
If your OS is still using the default profile, you are comparing an uncalibrated display against the expectation of a calibrated one. Check the color settings for the specific display and confirm the named profile is selected and set to load automatically.
4. Expectation mismatch
A calibrated display shows correct color, which is often flatter and less contrasty than the oversaturated look you got used to. You are not seeing worse color — you are seeing accurate color for the first time. Give it a few editing sessions before you change anything.
5. You are comparing against an uncalibrated second screen
Long-time shooters report calibrating rarely or eyeballing for years without visible harm, and that is not crazy. What breaks is comparing a calibrated display to an uncalibrated one side by side. Cover the other screen while you work.
Prints still look wrong after calibrating
If you have calibrated, attached the profile, and soft proofed with the correct printer profile, and the print still lands wrong, stop adjusting the monitor. Work through the paper, ink, and driver chain described in the print section, and print a test sheet. This exact problem is the single most repeated complaint across dpreview, Luminous Landscape, and fujix-forum threads, and in those discussions it consistently traces back to the printer side rather than the display.
One rule to keep: a monitor profile is one input. If the result is wrong, work outward from the display — print profile, paper, driver, viewing light — before touching the calibration again.
Frequently Asked Questions
How do I calibrate my monitor display?
Warm the display for 30 minutes, set it to native resolution, turn off Night Shift, True Tone, and auto-brightness, and dim the room. Then place a hardware colorimeter flat against the center of the screen, let the software flash its color patches, and save the resulting ICC profile. Assign that profile to your display in the operating system and set it to load automatically.
What brightness should my monitor be for photo editing?
Set a target luminance of roughly 100-120 cd/m2 in a normally lit room, or 60-80 cd/m2 in a dark or controlled room. Let the calibration software set the backlight to hit that target rather than choosing a brightness number by eye. Pushing the display brighter than the room requires only creates a display that is correct until the light changes.
What should I look for in a monitor for photo editing?
Look for a factory calibration report, a hardware calibration menu with direct RGB gain control, a factory white point and gamma set to sRGB or Adobe RGB, 8-bit plus FRC or 10-bit color depth, and a matte or semi-matte coating. Brightness that comfortably reaches 120 cd/m2 at a low backlight setting matters for a controlled room.
Can I calibrate my monitor using my phone?
Not meaningfully. Phone apps use the phone’s camera and ambient light sensor to estimate reflected light, with no colorimeter filter and no way to control the display’s output. They cannot produce an ICC profile or correct your white point, so they are limited to a rough brightness estimate. Use a hardware colorimeter instead.
What is the best monitor calibration for photo editing?
A hardware colorimeter running dedicated software, with a profile generated for your exact display. If your monitor has a built-in hardware calibration system, such as EIZO ColorFrame or NEC MultiSync on supported models, that is the better option because the software already knows the panel. Free OS assistants improve a bad default but cannot measure anything.
Do I need to calibrate my monitor to edit photos?
Yes, if you print, sell prints, retouch for clients, or match images to a specification, because an uncalibrated display has whatever white point, gamma, and brightness the factory applied. If you only browse, game, or stream and nobody judges your color accuracy, it is not worth the effort.
How do I know if my monitor is calibrated?
Check the calibration report. An average Delta E below 2 and a maximum Delta E in the same range indicate accuracy good enough for professional work. Then confirm the profile is actually attached to the display in your operating system’s color settings, and spot check with a neutral gray reference image and a free test page such as Lagom or Eizo.
Why does my print look different from my screen?
A monitor cannot predict how paper reflects light. The paper white point, ink limit, driver settings, and the lighting in the room you judge the print in all affect the result. Install the correct printer ICC profile for your exact paper, use relative colorimetric intent, soft proof with it, and print test sheets until the physical result matches. That is a paper-side fix, not a monitor-side one.
Conclusion
To calibrate your monitor for photo editing, you need four numbers and twenty minutes a month. Set white point to D65 for screen work or D50 for print matching, gamma to 2.2, and luminance to 100–120 cd/m2 in a normal room or 60–80 cd/m2 in a dark one. Warm the display, control the light, measure with a hardware colorimeter, save the profile, and attach it to the right screen.
Then read the report, spot check with a reference image, and rebuild the profile once a month. If you print, add a D50 profile, the correct printer ICC profile, and a test-sheet loop. Everything past the monitor is paper, ink, driver, and room light, so work outward from the display rather than chasing it again when a print lands wrong.