
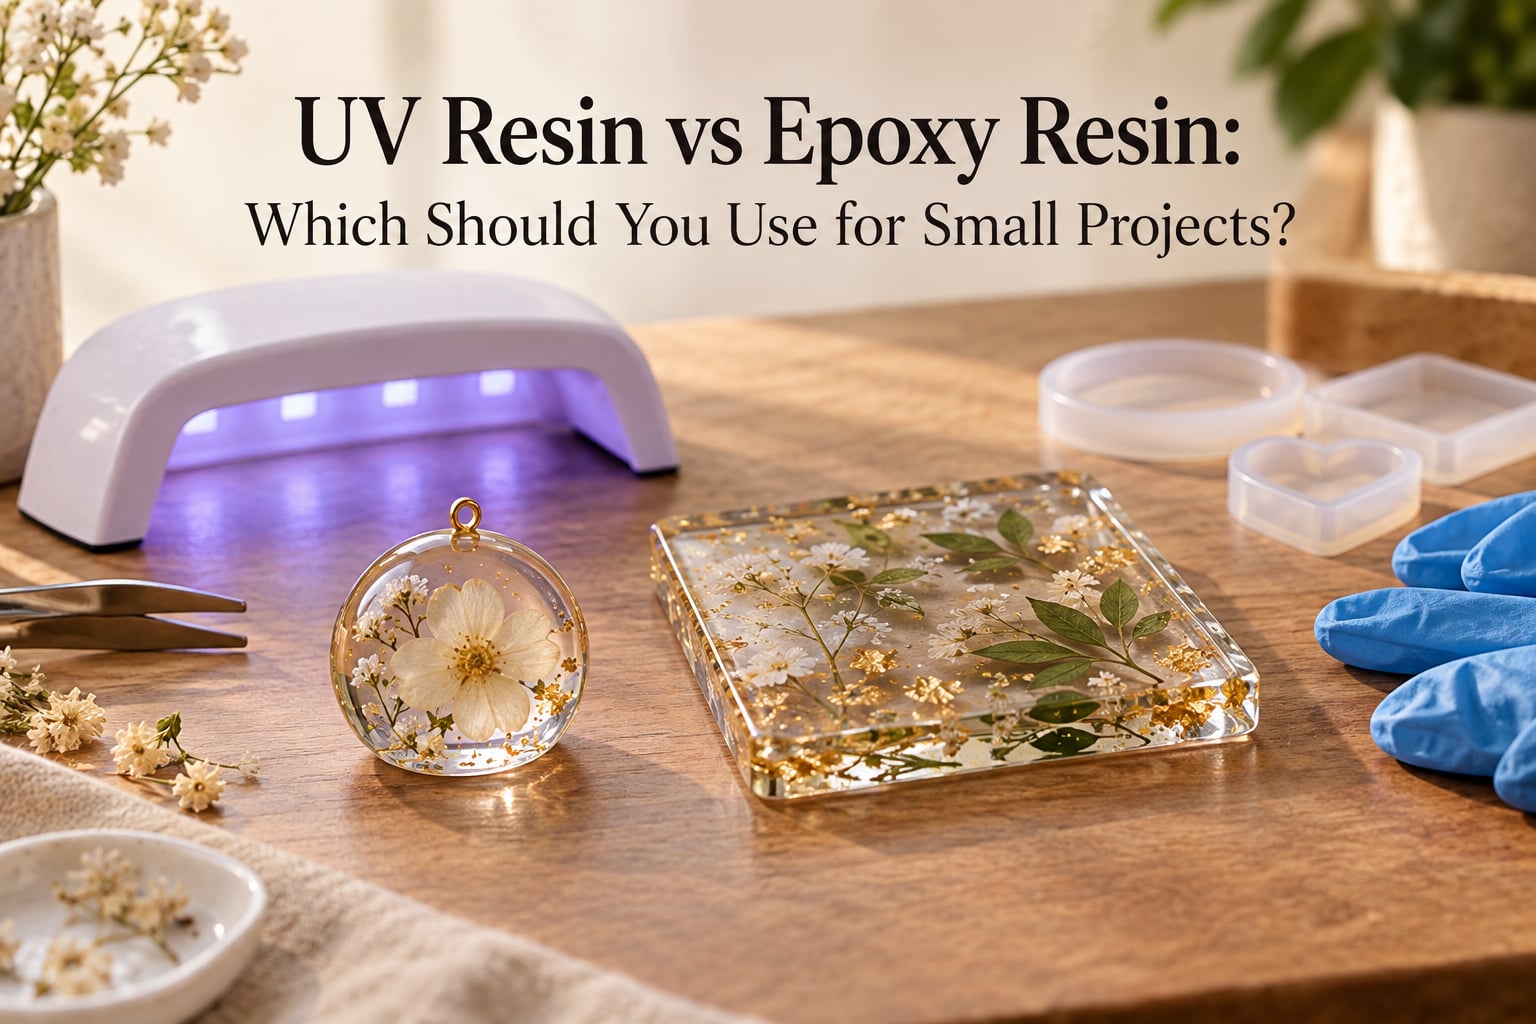
Two bottles, one decision, and almost every beginner picks the wrong one first. This guide settles the UV resin vs epoxy resin question with plain numbers: how long each one takes to harden, how thick you can pour it, what it sticks to, what it costs you per finished piece, and which one suits the small objects most people actually want to make.
Both resins turn liquid craft supplies into glass-clear, glossy solids. They reach that finish in completely different ways, and every practical difference between them traces back to those two curing mechanisms. Once that part clicks, choosing between them takes about ten seconds.
Quick verdict: For small projects, use UV resin when you want speed, thin layers and instant corrections. Use epoxy resin when you need real depth, volume and time to adjust. Most makers end up owning both: epoxy for the body, UV resin for the top coat and hardware. If you only buy one to start with, buy the one that matches your first three projects.
This page was last checked in September 2026. Everything below is written for someone who has never poured resin, and no brand names are needed for any of it.
Table of Contents
- What Is the Difference Between UV Resin and Epoxy Resin?
- How Each Resin Cures
- UV Resin vs Epoxy Resin: Head-to-Head Comparison
- Curing Time: Minutes vs Hours
- Pour Depth and Project Size Limits
- What Surfaces Does Each Resin Stick To?
- When to Use UV Resin
- When to Use Epoxy Resin
- Which Should You Use for Small Projects?
- Cost: What Each Resin Costs Per Finished Project
- Using Both Resins Together
- Common Mistakes and Troubleshooting
- Safety for Beginners
- Small Project Ideas by Resin Type
- Frequently Asked Questions
- Is UV resin or epoxy resin better for jewelry?
- What will UV resin not stick to?
- Can I mix epoxy and UV resin together?
- Why is my UV resin still tacky after curing?
- Why is my epoxy resin sticky?
- Is UV resin safer than epoxy resin?
- Is UV resin easier than epoxy resin?
- What are the potential downsides of using UV resin?
- Conclusion
What Is the Difference Between UV Resin and Epoxy Resin?
UV resin is a single-part, ready-to-use liquid that hardens when ultraviolet light reaches it. Epoxy resin is a two-part system, a liquid resin and a separate hardener, that hardens through a chemical reaction once the two are mixed in the correct ratio.
That one sentence explains almost every practical difference. UV resin waits for light. Epoxy resin starts a countdown the moment you pour Part B into Part A, and that countdown cannot be paused, reset or restarted.
The words you will see on the bottle
- Cure or curing — the chemical change that turns liquid resin into solid plastic. Uncured resin is soft, tacky or completely liquid.
- Pot life — how long you have to work with resin after mixing before it becomes too stiff to shape.
- Pour depth — the thickness of liquid resin you lay down in one go. Depth is the single biggest practical limit in resin crafting.
- Mixing ratio — the proportion of resin to hardener, written as 1:1 or 2:1 by volume. Getting this wrong is the top cause of failed epoxy.
- Tacky — the surface stays soft and slightly sticky after you thought it had cured. Tacky means under-cured, not wet.
One more term worth knowing: doming. That is pouring a small pool of resin and letting it level itself into a shallow dome over a flat item such as a photo or a vinyl sticker. It is the classic first UV resin project.
How Each Resin Cures
UV resin sits liquid and completely unaffected until UV light or a UV lamp reaches it. The light triggers a photo-initiated reaction that hardens the resin in seconds at the surface, but only to a depth of roughly 1 to 3 mm. Anything below that stays liquid, and opaque pigment or a chunky inclusion sitting on top will block the light and make the problem worse.
Epoxy resin cures on a chemical timer. When you mix Part A and Part B in the right proportion, a cross-linking reaction runs from the outside in and hardens the material over hours, regardless of thickness. Thick pours actually work in epoxy’s favour, though a very large pour can generate enough heat from the reaction to distort the piece or crack the mould.
This is the practical upshot: UV resin cures where light can reach, epoxy resin cures where it sits. A shallow dome and a 20 mm paperweight are not the same problem, and they are not solved by the same bottle.
UV Resin vs Epoxy Resin: Head-to-Head Comparison
Here is the full comparison in one place. The bolded cell in each row is the stronger option for most small projects.
| Factor | UV Resin | Epoxy Resin |
|---|---|---|
| Cure time | 60 to 120 seconds under a lamp | 12 to 72 hours to full cure |
| Cure mechanism | UV light triggers the reaction | Chemical reaction between two parts |
| Mixing required | None, single part | Yes, Part A and Part B by ratio |
| Maximum reliable pour depth | 1 to 3 mm in one pass | 20 mm or more per pour |
| Working time before it sets | Unlimited while liquid | 5 to 40 minutes of pot life |
| Cost per ounce | Higher | Lower |
| Cost for a typical small project | Lower, tiny volumes used | Higher, larger volumes used |
| Equipment required | UV lamp | Cups, sticks, gloves, scale |
| Bubble removal | Time to spare, heat or torch | Fast, before the pot life runs out |
| Long-term yellowing | More likely over years | Stable UV-stable grades exist |
| Best for | Bezels, doming, keychains | Coasters, paperweights, deep casts |
| Biggest drawback | Thin pours only | Rushing causes sticky spots and bubbles |
One row deserves a note. Cost per ounce favours epoxy, but a ring or a domed charm uses a fraction of what a coaster uses, so the per-ounce number stops being the number that matters once the project is small.
Curing Time: Minutes vs Hours
UV resin under a proper lamp is touchable in about a minute and fully hardened in two. A UV nail lamp works for small pieces, and a torch or UV flashlight speeds up spot curing and bubble removal. Makers on r/resin and r/UVresin warn that plain sunlight is not a substitute: it is inconsistent, slow and completely weather dependent.
Epoxy resin works to a timetable. Most small craft epoxies give you somewhere between 5 and 40 minutes of pot life at room temperature, then they gel. Touch-dry can arrive in a few hours, but full cure commonly takes 12 to 72 hours depending on the product, the depth of the pour and how cold the room is.
That gap defines the whole working experience. In epoxy you are racing a clock that starts at mixing. In UV resin nothing happens until you choose to make it happen, so a mistake that would be fatal in epoxy can simply be cured again, or buried under another layer.
What you can still fix in each window
With UV resin you can reposition an inclusion, pop a bubble with a torch, add a layer and re-cure, indefinitely. With epoxy you have a short window to nudge things into place and a narrow one to torch off bubbles, after which the resin has already decided.
Beginners repeatedly report on craft forums that this forgiveness is the deciding factor. The first pour you do will probably have something wrong with it, and the resin that lets you correct it teaches you faster.
Pour Depth and Project Size Limits
The 1 to 3 mm rule is the one number to memorise for UV resin. Light penetrates only so far, so a pour deeper than a few millimetres cures at the top and stays liquid underneath, no matter how long you leave it under the lamp. This is the single most common UV resin failure, and it is why nobody casts a paperweight with UV resin.
Thread on r/ResinCasting treat deep pour as a hard dividing line: UV resin for shallow detail and thin pieces, epoxy for anything with volume. If your project is thicker than a few millimetres anywhere, epoxy is the correct answer and no technique will rescue a deep UV pour.
How to test a UV pour before you commit to it
- Drop a small bead of resin on a scrap of the same material and put it under the lamp for the full cure time.
- Press a fingertip lightly on the surface. Firm with no tack means cured; soft or tacky means the light is not getting through.
- Flip the bead over and check the underside. If it is liquid, the pour is too deep or the inclusions are blocking the light.
That test takes two minutes and saves a ruined piece. Do it every time you change resin, pigment or mould material.
For deep work in UV resin the fix is layers, not patience. Pour 1 to 3 mm, cure it fully, then pour the next layer and cure again. A dozen thin layers build more depth than one thick pour, and the bond between cured layers is strong.
What Surfaces Does Each Resin Stick To?
Adhesion is the question beginners ask most and articles answer least. Neither resin is a universal glue. Both bond well to clean, dry, slightly textured surfaces and both struggle with anything oily, dusty, flexible or already cured.
| Surface | UV Resin | Epoxy Resin |
|---|---|---|
| Glass and mirrors | Excellent, if degreased | Excellent, if degreased |
| Wood | Good | Excellent, seals the grain |
| Metal | Adhesion is unpredictable, prime it | Excellent after abrading |
| Paper and card | Good, seals the surface | Good, seals the surface |
| Epoxy clay | Good once cured | Best bond, chemically fuses |
| Plastic such as ABS | Poor, test first | Poor, test first |
| PTFE plastic and tape | Will not stick | Will not stick |
| Wax, oiled or silicone surfaces | Will not stick | Will not stick |
So what will UV resin not stick to? Anything silicone or PTFE, any waxed or freshly oiled surface, most unprimed plastics, and any skin. Dust is the quiet killer: resin bonds to a clean surface and floats over a dusty one, so wiping with alcohol before pouring is worth the extra minute.
Nothing bonds reliably to a skin surface, so always pour into a mould or onto a moulded base rather than onto your hand. Preserved flowers and paper inclusions also need sealing first, usually with a thin UV resin layer cured first, or the surrounding resin will soak into them and cloud the piece.
When to Use UV Resin
Choose UV resin when the piece is small, thin, and you want to finish it in one sitting. It is the right call for jewellery bezels, pendants, rings, stud earrings, keychains, charm settings and domed stickers or photos.
It is also the right call when you expect to get it wrong, which for a first project is certain. Because nothing cures until you switch the lamp on, you can pause, fix the placement, and carry on. A beginner who pours UV resin learns shape control, bubble removal and layer building in a single afternoon.
Keep UV resin for surface work too. A thin UV top coat over a cured epoxy piece cures in a minute, adds depth and gloss, and bonds well enough to survive handling.
When to Use Epoxy Resin
Choose epoxy resin whenever the project has volume, a wide flat surface, or an inclusion that needs to sit inside the resin rather than on top of it. Coasters, small trays, paperweights, pyramids, geode-style slices and paper-craft inclusions are all epoxy jobs.
The long pot life is the other reason. Epoxy gives you minutes of working time to arrange flowers, settle layers, correct a tilt and torch out bubbles before the material gels. That adjustability is what makes a good deep cast possible.
Watch the heat on large pours. A thick epoxy pour in an insulated mould can heat up enough to warp the piece or stress the mould, which is why deep casts are often built in stages rather than one enormous flood.
Which Should You Use for Small Projects?
For most small projects, use UV resin if the piece is thin, flat, and you want it finished in minutes. Use epoxy resin if the piece is deeper than a few millimetres, needs a big flat surface, or has something suspended inside it.
Put more simply: if the resin is a coating or a setting, choose UV resin. If the resin is the object, choose epoxy resin. A domed charm is a coating. A coaster is an object.
For jewellery specifically, UV resin handles the bezel, the doming and the bail, while epoxy resin handles a chunky pendant body or a pendant with dried flowers set inside it. On r/jewelrymaking, makers describe exactly that split: cast the body in epoxy, finish with UV.
If you are buying your first bottle, match it to the project already on your bench. Most beginners start with a small flat charm or a set of earrings, and that is a UV resin job. If your list is coasters and paperweights, start with epoxy.
Cost: What Each Resin Costs Per Finished Project
Epoxy resin is cheaper per ounce, and UV resin is more expensive per ounce. That comparison stops being useful the moment the project gets small, because a ring or a domed charm uses a very small volume while a coaster uses a great deal.
Count what a single piece actually consumes. A small domed charm might use a few grams. A coaster might use a substantial fraction of a cup. Spread across twenty charms, UV resin is the cheaper option per finished item, which is exactly the point makers make on crafting forums about cost-per-ounce being misleading.
Now count the extras. UV resin needs a UV lamp, and a cheap lamp that is too weak will leave you with tacky pieces forever. Epoxy resin needs mixing cups, sticks, nitrile gloves, a small accurate scale for the ratio, and a workspace with no dust. None of these are free, and they decide the real difference for a beginner.
One more cost factor is waste. Epoxy waste comes from mixing too much at once and losing the pot life. UV resin waste comes from curing a pour that was too deep and having to discard it. Measure carefully, mix small batches, and both costs fall.
Using Both Resins Together
The two resins can be combined, but only in a specific order. Never mix liquid epoxy and liquid UV resin together in one cup. The two chemistries do not cooperate, and the result is unpredictable, sometimes rubbery and sometimes liquid.
The rule that works: epoxy builds the body, UV resin handles the finish. Layering cured epoxy with UV resin is reliable, because the UV resin is a fresh liquid being cured on its own terms against a solid surface.
The hybrid sequence for a pendant or a charm
- Cast the body in epoxy resin and let it cure completely, following the full cure time on the label rather than the touch-dry time.
- Wash the cured surface with warm water and mild soap, then dry it fully. Any remaining moisture blocks the bond.
- Pour a thin UV resin layer over the top, cure it, and repeat for the depth and gloss you want.
- Use a final UV layer to attach the bail, jump ring or hardware, and cure the metal in place rather than trying to position it afterwards.
The same order works with UV resin underneath and epoxy on top, provided the UV layer is fully cured first. A wet UV layer under epoxy stays liquid and ruins both.
Common Mistakes and Troubleshooting
Almost every resin problem has a cause you can identify. Work through these in order and most failed pieces are recoverable.
Why is my UV resin still tacky after curing?
The usual causes are an underpowered or poorly positioned lamp, a pour deeper than 3 mm, opaque pigment or inclusions blocking the light, or a surface that never fully cured because you pulled the piece out too early to look at it.
- Move the piece to the centre of the lamp and make sure the lid is closed so no light escapes around the edges.
- Cure again for the full recommended time, several cycles if needed, rather than one long guess.
- Check the underside with a fingertip. Still soft underneath means the pour is too deep, not under-cured.
- If the pour is too deep, sand or file the liquid layer away, clean the surface, and rebuild in 1 to 3 mm layers.
- If pigment or an inclusion is the blocker, remove it, or accept that it has to sit on the surface rather than inside the resin.
A piece can also smoke, twist or warp under a lamp that is far too strong or held too close. Back the lamp away and use shorter bursts.
Why is my epoxy resin sticky?
Sticky epoxy is almost always a ratio error or under-mixing. Too little hardener leaves a permanently soft surface, and too much hardener leaves a brittle one. A stirrer that never reaches the corners of the cup leaves unmixed pockets that cure as sticky islands.
- Check the ratio printed on your specific product, commonly 1:1 or 2:1 by volume, and measure with a proper scale or marked cup.
- Stir slowly for a full two to three minutes, scraping the walls and the base of the cup several times.
- Pour from a second cup into a third to break up any unmixed pockets.
- Wait for the full cure time before judging it. Surface tack in the first hours is normal, permanent tack is not.
If a cured piece has an isolated sticky spot, sand it back, clean it, and pour a fresh thin layer over the area.
Air bubbles
Bubbles come from fast pouring, vigorous stirring, and resin falling from a height. Stir slowly, pour from close to the surface in one steady stream, and hit the piece with a torch or a heat gun held a little distance away. In UV resin you can do this calmly; in epoxy you have to move fast.
Safety for Beginners
Neither resin is dangerous in normal hobby use, and both deserve basic respect. The main difference is that uncured epoxy is a skin sensitiser, and a UV lamp is a light source you should not look into.
| Safety point | UV Resin | Epoxy Resin |
|---|---|---|
| Skin contact risk | Mild irritation | Can cause lasting sensitisation |
| Gloves needed | Recommended | Essential, nitrile |
| Ventilation | Normal room is fine | Work in a ventilated space |
| Eye protection | Good practice | Good practice |
| Light exposure | Never look at the lamp | Not applicable |
Wear nitrile gloves when handling epoxy resin, always. Uncured epoxy can penetrate nitrile gloves over time, so change them if resin sits on the outside, and never use latex gloves, which are too thin. Uncured epoxy on skin can cause contact dermatitis that returns on every future exposure, which is why gloves matter far more with epoxy than with UV resin.
With UV resin, wash your hands after pouring and resist the urge to touch the piece while it cures. A fingerprint pressed into soft resin stays there permanently, and the uncured resin can irritate skin and stick to it. Keep the lamp closed while it runs and never look directly at the bulbs.
Neither resin is a food-safe or drink-safe surface without a specific certified top coat, and neither belongs in a childcraft session without an adult handling the pour.
Small Project Ideas by Resin Type
Start with something you will finish in one session. These are ordered by difficulty within each resin.
Best first UV resin projects
- Domed vinyl stickers or printed photos
- Simple ring settings with a flat bezel
- Stud earrings with a shallow back
- Charm settings for a necklace
- Keychain charms with a small bail
- Domino or game-piece pendants
- A clear coat over paper cutouts
- Light-up phone case decorations
Best first epoxy resin projects
- Cork-backed coasters
- Small square trays and dishes
- Paperweights with pressed flowers
- Geode-style slices from silicone moulds
- Paper crafts sealed in clear resin
- Wood slices with bark edges
- Pyramids and faceted shapes
- Botanical pendants with dried flowers set inside
Choose one project from the first list and one from the second if you can. You will learn both learning curves in a week rather than a year.
Frequently Asked Questions
Is UV resin or epoxy resin better for jewelry?
Use UV resin for bezels, doming, stud earrings, charm settings and bail attachment, because those pieces are thin and cure in about 60 to 120 seconds. Use epoxy resin when the jewellery has a deep body or inclusions suspended inside it, such as a pendant with dried flowers. Many makers cast the body in epoxy and finish it with a UV top coat.
What will UV resin not stick to?
UV resin will not bond to silicone or PTFE plastic, to waxed or freshly oiled surfaces, or to skin. It also grips poorly on unprimed plastics and on dusty surfaces. Wipe the area with alcohol and let it dry fully before pouring, and always pour into a mould or onto a moulded base rather than onto bare skin.
Can I mix epoxy and UV resin together?
No. Never combine liquid epoxy resin with liquid UV resin in one cup. The two chemistries react unpredictably and can leave a rubbery or permanently liquid result. Layering them works well in a fixed order: cast the body in epoxy and let it cure completely, then pour cured-on UV resin over it as a top coat or for hardware attachment.
Why is my UV resin still tacky after curing?
The usual causes are an underpowered or mispositioned lamp, a pour deeper than 3 mm, opaque pigment or inclusions blocking the light, or lifting the piece out too early. Cure again for the full recommended time with the piece centred under the lamp, then press a fingertip on the surface. If it is still soft underneath, the pour is too deep and needs sanding back and rebuilding in thin layers.
Why is my epoxy resin sticky?
Sticky epoxy is almost always a mixing ratio error or under-mixing. Check the ratio printed on your product, commonly 1:1 or 2:1 by volume, measure it accurately, and stir slowly for a full two to three minutes while scraping the walls and base of the cup. Pouring between two more cups breaks up unmixed pockets.
Is UV resin safer than epoxy resin?
It is milder, but it is not risk-free. Uncured epoxy resin is a skin sensitiser that can cause lasting contact dermatitis, so nitrile gloves are essential when handling it, along with ventilation. UV resin causes less skin irritation but uncured resin still sticks to skin and can leave permanent fingerprints, and you should never look directly into a UV lamp.
Is UV resin easier than epoxy resin?
Yes, for a first project. UV resin is single-part and needs no measuring or mixing, and nothing happens until you switch the lamp on, so you can pause, reposition an inclusion, pop a bubble and re-cure as often as you like. Epoxy is harder because the pot life clock starts the moment you mix Part A and Part B.
What are the potential downsides of using UV resin?
The main limits are pour depth, equipment and permanence. UV resin only cures to roughly 1 to 3 mm, so deep pours stay liquid underneath. You need a UV lamp, and a weak lamp leaves permanently tacky pieces. It is more expensive per ounce, more prone to yellowing over time, and it can smoke or warp if the lamp is too strong or too close.
Conclusion
The UV resin vs epoxy resin choice comes down to one question: is the resin your coating, or is it your object? Thin, flat and fast to finish means UV resin. Deep, wide or volume-filled means epoxy resin.
Buy the one that matches the first three projects on your list, cure a test bead before you pour anything that matters, and wear gloves. Once you have one down, the other is a single afternoon of learning away.