
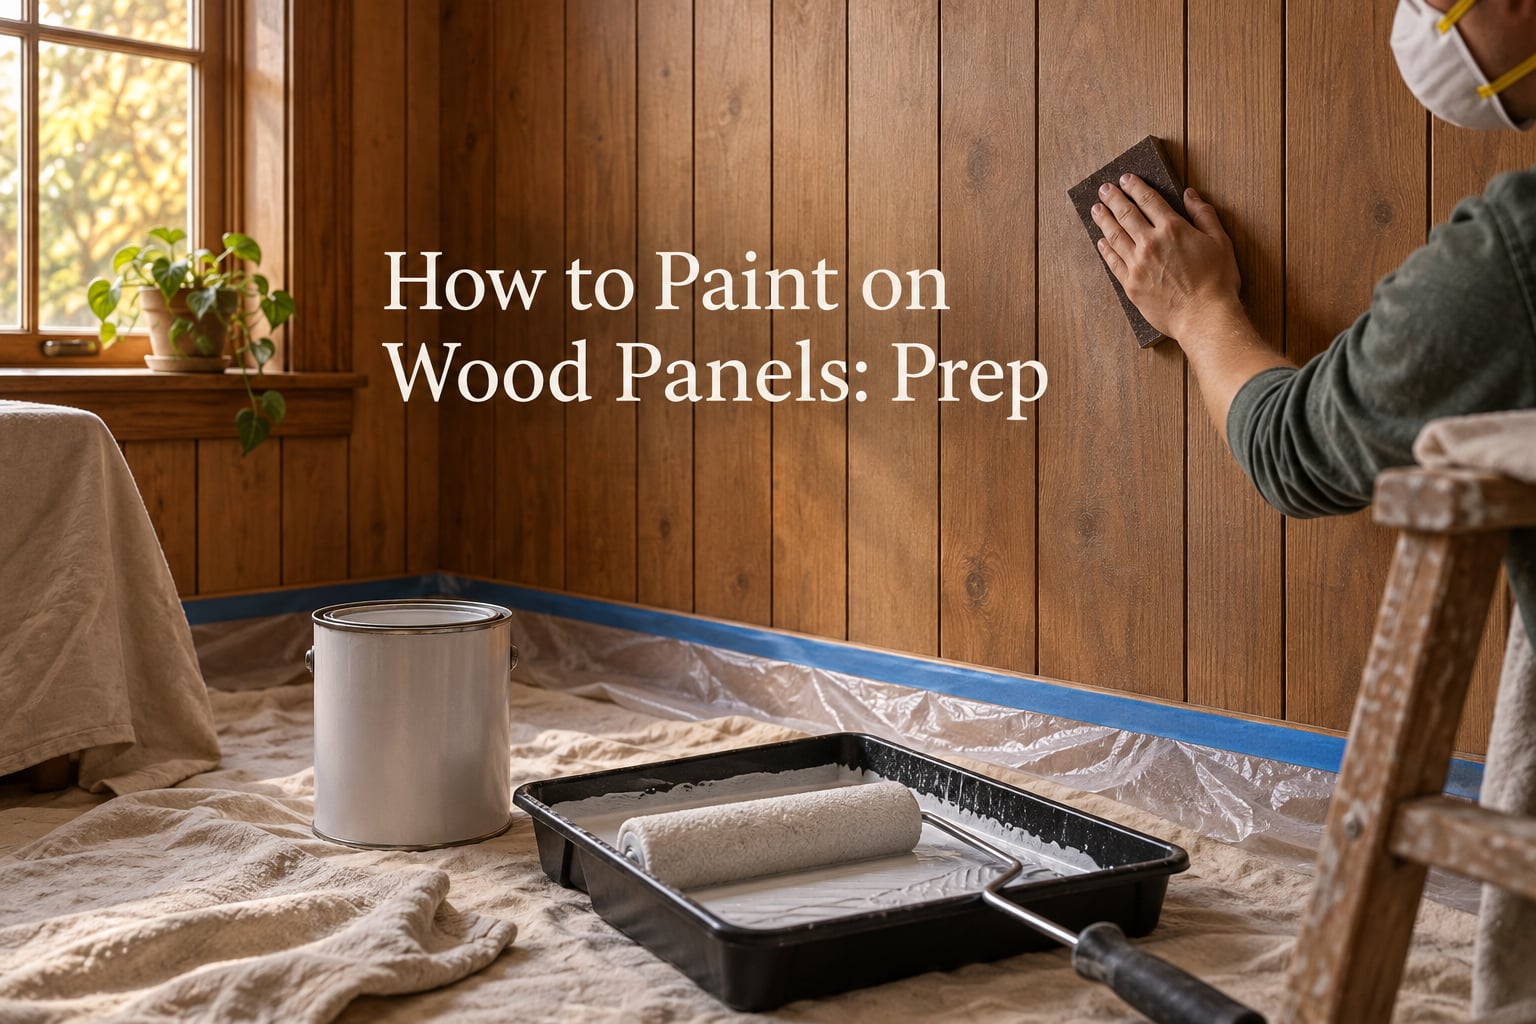
You can paint over wood paneling, and most rooms go from dark and dated to bright in a weekend of work. The paint itself is the easy part. The prep is what decides whether the color is still there in five years or peeling off in sheets by Christmas.
Most paneling arrives from the factory with a clear sealer or an ultra-smooth face. That finish exists to keep moisture out, and it repels paint just as well as it repels water. Until you break that sheen and give the primer something to bite into, nothing you roll on will stay put.
Table of Contents
- Can You Just Paint Over Wood Paneling? The Short Answer
- The Prep Sequence at a Glance
- What Kind of Paneling Do You Have?
- Safety First: Lead Paint, Pre-1978 Homes and Composite Paneling
- How to Paint on Wood Panels: The Prep Sequence Step by Step
- Should You Paint the Paneling or Remove It?
- What Is the Best Primer to Use When Painting Over Wood Paneling?
- How Many Coats of Primer Does Paneling Need?
- Keep the Grooves or Fill Them?
- How Do I Fill in the Grooves in My Paneling Before Painting?
- What Type of Paint Do You Use on Wood Paneling?
- Materials and Supplies Checklist With Quantities
- When Not to Paint Paneling
- Troubleshooting: Symptom, Cause, Fix
- Frequently Asked Questions
- Can I just paint over wood paneling?
- Do I need to sand wood paneling before painting?
- What is the best primer to use when painting over wood paneling?
- How many coats of primer does paneling need?
- How many coats of paint does wood paneling need?
- Should I fill the grooves in my paneling or paint over them?
- Will painted pine paneling crack at the seams?
- Can basement paneling be painted if it feels damp?
- Final Thoughts
Can You Just Paint Over Wood Paneling? The Short Answer
Yes, you can paint over wood paneling. Clean the surface to remove grease, scuff-sand it with 120 to 150 grit or apply a liquid deglosser to break the sheen, repair any damage, seal it with a bonding stain-blocking primer, then finish with two topcoats. Skip any one of those steps and the paint is likely to peel.
We have walked through a lot of paneled rooms, basements and cabin interiors, and the failure pattern is remarkably consistent. Paint coming off in sheets six months later is almost never a bad paint job. It is an unprepped surface with nothing under the topcoat to hold on to.
The Prep Sequence at a Glance
This is the whole job in five lines. Each step below has its own section further down with the details.
- Clean and degrease. Wash every board with a 1:1 vinegar and water solution, or TSP if the paneling is greasy or in a kitchen. Rinse with clean water and dry fully.
- Scuff-sand or degloss. Break the factory sheen with 120 to 150 grit sandpaper, or use a liquid deglosser if sanding is not an option. The surface should feel dull and slightly powdery.
- Repair and fill. Replace loose boards, drive nails below the surface, and fill nail holes, cracks and gaps with spackle or joint compound.
- Prime with a bonding stain blocker. One coat of a shellac-based or oil-based stain-blocking primer seals tannins and knot resin so they cannot bleed into the topcoat.
- Apply two topcoats. Cut in with an angled brush, brush into the grooves, then roll the flats. Allow the full recoat window between coats.
What Kind of Paneling Do You Have?
Knowing your substrate in the first ten minutes saves you from the most expensive mistake in this job: sanding through a thin veneer and exposing the particle board underneath.
Stand at the wall and knock on it with your knuckles. A hollow, repeating, drum-like sound means sheet paneling. A solid thud with irregular knots scattered across it means real tongue-and-groove wood.
Then check an edge that is not visible from the room, like the strip under a switch plate. Sheet paneling is a thin face veneer over particle board or fiberboard, and a light scuff exposes the core immediately. Solid boards have thickness you can see and a continuous grain you can follow.
If what you have is prefinished sheet paneling, that factory face is the hardest surface in the whole job. Neither paint nor latex primer will take without cleaning, deglossing and a bonding primer. Users on r/DIY and r/HomeImprovement report peeling sheets within months when that step got skipped.
Safety First: Lead Paint, Pre-1978 Homes and Composite Paneling
If your home was built before 1978, treat any existing coating as lead paint until a test says otherwise. Sanding and scraping lead paint creates dust that is genuinely dangerous to children and pets, and the federal Renovation, Repair and Painting rule sets the requirements for work in those homes.
Pick up a test kit at the hardware store and test a few spots before you touch anything. If the result is positive, either hire a certified firm or follow the full containment and cleanup protocol. Do not sand lead paint bare-handed in a closed room.
Old composite sheet paneling is a separate concern. Its binder can release a formaldehyde odor when you sand or cut it, so open windows, run a shop vacuum with a HEPA filter, and wear a dust mask rated for particulates.
How to Paint on Wood Panels: The Prep Sequence Step by Step
Step 1: Clean and degrease every board
Mix a 1:1 solution of white vinegar and warm water, apply it with a sponge or a damp rag, and scrub each board top to bottom. Greasy paneling in a kitchen or a paneled den needs a real degreaser instead, and TSP is the old standard for cutting through years of built-up film.
Pay attention to the grooves. Dust and film collect at the bottom of every V-cut and that residue is what makes primer bubble later.
Step 2: Scuff-sand or degloss the surface
Use 120 to 150 grit sandpaper with a sanding block and work along the grain. You are not removing material. You are putting a fine scratch pattern on a slick surface so primer has something mechanical to grip.
If the paneling is too soft to sand safely, a liquid deglosser dissolves the sheen chemically with no dust at all. Several DIYers on r/paint describe liquid sandpaper applied twice and wiped down as the alternative, and it does work on prefinished surfaces.
Do not sand thin veneer hard. A couple of gentle passes is all a face veneer can take before the fibers lift and you have a bigger repair job than the one you started with.
Step 3: Repair and fill
Replace any board that rattles or feels soft. Drive proud nails down with a hammer and a nail set, then fill each hole with spackle.
Fill nail holes and small cracks with spackle, or joint compound for wider gaps. Benjamin Moore makes the spackle-versus-caulk point plainly: spackle and joint compound dry hard, while caulk stays slightly flexible, so caulk suits a moving joint and the wrong choice for a hole you want to sand level.
Step 4: Remove the dust completely
Vacuum with a shop vacuum, then wipe every surface with a tack cloth. Dry sanding dust packed into a groove will bump up through the primer and roll onto your topcoat as a gritty skin. Fold the dirty side of the cloth inward as you go.
Step 5: Tape and protect
Mask baseboards, chair rails, crown molding, windows and floors. On real solid wood, tape on the panel face itself can pull the finish when you remove it, so tape the trim and flooring and rely on a steady cut-in line at the panel edge.
Should You Paint the Paneling or Remove It?
Painting is the right call when the boards are solid, sound and structurally part of the house. It is fast, it is cheap compared with demolition, and on solid original wood it is fully reversible because nothing is removed.
Removal makes more sense in a few clear situations: the paneling is already delaminating, a buyer would pay more for exposed original wood in a historic home, or you plan to hang drywall and lose the wall area entirely.
On resale, painted paneling is neutral in most 1960s and 1970s track homes. In a house with original mid-century wood it is a permanent change to a feature buyers actively seek, so check before you commit.
What Is the Best Primer to Use When Painting Over Wood Paneling?
The best primer for paneling is a shellac-based stain blocker. It seals water, smoke and tannin bleed, kills factory sheen adhesion problems, and it is the most-recommended choice on r/HomeImprovement and r/woodworking for real pine, where water-based primers repeatedly let knots bleed through.
You cannot paint directly on wood without primer. Bare wood drinks the first coat, tannins and knot resin migrate upward, and the topcoat sits on a moving substrate instead of a sealed one.
| Primer type | Best for | Watch out for |
|---|---|---|
| Shellac-based stain blocker | Knotty pine, tannin bleed, prefinished sheet paneling, water stains | Strong odor, shorter pot life, not scrubbable once set |
| Oil-based stain blocker | Oily and resinous wood, factory finishes, maximum adhesion | Longer clean-up, 24 hour dry before topcoat |
| Latex bonding primer | Clean, previously painted paneling; easier water clean-up | Weaker on resin and tannin bleed than shellac |
| Plain latex primer | Nothing on raw paneling | Poor adhesion on sealed wood, peels in sheets |
Knots are the reason this choice matters. Skip the stain blocker on knotty pine and the knots telegraph amber rings through a white topcoat within a few weeks. Stained or water-marked paneling needs the same treatment.
Our own rule on an accent wall: primer is never the place to save effort. A bonding stain blocker costs one extra coat of labor and it is the cheapest insurance against a failed topcoat.
How Many Coats of Primer Does Paneling Need?
One coat of a good stain-blocking primer is enough for light paint on sound paneling. Go to two when the paneling is dark, stained, knotty, or the topcoat is a deep color, because any shadow of the old finish that shows through reads as blotchiness.
There is a trick worth knowing. Have the primer tinted at the counter to match your topcoat color. It is the easiest way to avoid a third finish coat.
| Day | Task | Dry time before the next step |
|---|---|---|
| Day 1 | Clean, degloss, fill, vacuum and tack | Fill dry to the touch, roughly 2 to 4 hours |
| Day 2 | First primer coat | 24 hours for shellac or oil, 4 to 6 for latex |
| Day 3 | Second primer coat if needed, then topcoat one | Recoat window per the label, humidity permitting |
| Day 4 | Topcoat two | Full cure takes 2 to 4 weeks, avoid hanging items early |
Recoating too soon is a top cause of lifting. If the label says four hours but the room is cold and damp, the surface can still be soft enough to pull the topcoat with your roller.
Keep the Grooves or Fill Them?
Keep the grooves unless you want a flat, drywall-like wall. Filling is a surfacing project, not a paint job, and it multiplies the time and materials by a large margin.
| Factor | Keep the grooves | Fill the grooves |
|---|---|---|
| Look | Vertical shiplap-style lines, texture reads as intentional | Flat wall, paneling disappears |
| Time | One extra brush pass per coat | Fill, dry, sand, skim, dust, prime |
| Cracking risk | None, joints stay flexible | Real on solid wood, which moves with humidity |
| Best for | Dining rooms, halls, basements, accent walls | Dark rooms, seller’s paint-over projects, wainscot you want flat |
Several users describe the kept grooves as a feature once the room is painted, since the vertical lines read as a deliberate paneled design. On solid pine that argument is stronger, because the boards will move in winter whether or not you filled anything.
If you do fill, do not caulk every seam. Caulk stays rubbery and can tear away from the joint before the paint film above it fails, leaving a worse gap than you started with.
How Do I Fill in the Grooves in My Paneling Before Painting?
Work on small sections so the filler does not dry in the groove before you can level it.
- Apply spackle or joint compound into the groove with a flexible putty knife, pressing firmly so it fills to the back of the V.
- Let it dry completely, then sand level with 120 to 150 grit, following the direction of the grain.
- Apply a thin skim coat over any shrinkage and sand again until the groove is flush with the flats on both sides.
- Vacuum and tack the surface before priming, because filler dust is light and travels.
Expect hairline cracks months later on solid tongue-and-groove. The boards expand and contract across the width with seasonal humidity and a rigid filler bridges that movement. Users caution against filling grooves in older homes for the same reason, since the filled surface can pop out in pieces if the wall takes a knock.
What Type of Paint Do You Use on Wood Paneling?
Use a quality interior latex or acrylic enamel paint in two topcoats. Sheen is a personal call, and each one trades scrubbability against the way the wall shows every imperfection you just fixed.
| Sheen | Best for | Trade-off |
|---|---|---|
| Flat | Ceilings, rarely used on paneling | Shows every groove and dent |
| Eggshell | Walls, wainscoting, family rooms | Moderate scrub resistance, hides flaws well |
| Satin | Hallways, dining rooms, high-traffic walls | Brighter, so filled grooves read more |
| Semi-gloss enamel | Trim, doors, baseboards, chair rails | Shows every flaw, easiest to scrub |
Application order
Cut in first with a 2 inch angled brush along the ceiling line, the baseboard line and the chair rail cap. Then run a brush pass down every groove, because a roller will not load a V-cut and users routinely report thin unpainted stripes from skipping this step.
Roll the flats with a 3/8 inch nap roller in a W pattern. Keep a wet edge and do not go back over a section you have already laid down.
Two topcoats are the minimum. A single coat lets grain and old stain telegraph through as a blotchy shadow, which is the exact look people paint paneling to escape.
Materials and Supplies Checklist With Quantities
Here is what a standard 12 by 12 room with 8 foot ceilings needs, based on paneling plus roughly 40 linear feet of baseboard and chair rail. Groove filling adds a full extra set of compound and sanding.
- TSP or a strong degreaser, plus a 1:1 vinegar and water solution for a normal wash
- 120 to 150 grit sandpaper, about 6 sheets for a scuff pass
- Liquid deglosser, one gallon, if you are skipping sanding or the wood is too soft to scuff
- Shellac-based or oil-based stain-blocking primer, roughly 1 gallon for walls and trim
- Spackle for nail holes and cracks, joint compound if you are filling grooves, paintable caulk for moving joints
- Shop vacuum with a HEPA filter, plus tack cloths
- 2 inch angled brush for cutting in and grooves
- 3/8 inch nap roller, one frame and two covers
- Interior latex or acrylic enamel paint, 2 gallons for two coats on the walls plus trim
- Masking tape, plastic sheeting and a drop cloth
If a contractor quotes this work, ask them to name the primer product in the written scope. A bid that says primer without a product name may well mean a plain latex primer, and the callback costs more than the primer ever would.
When Not to Paint Paneling
Do not paint paneling that feels damp, musty or soft. Paint cannot fix a water problem, and sealing damp wood traps the moisture and turns the wall into a peel zone within a season.
Get the leak fixed first, let the boards dry back to normal weight, and replace anything swollen, blistered or delaminated. Mold has to be addressed before anything goes on the surface.
Troubleshooting: Symptom, Cause, Fix
These are the failure modes that come up most in DIY threads, mapped to their real cause and the fix that works.
Paint peels off in sheets
The cause is a surface that was never deglossed or a topcoat applied over a plain latex primer. Strip back to a dull, uniform surface, then run a bonding stain blocker before two fresh topcoats.
Amber or yellow rings around knots
Tannin and resin are migrating up through the primer, which means the primer did not block stain. Sand the affected area lightly, seal it with two coats of shellac-based stain blocker, allowing full dry between coats, and repaint.
Grain and old stain show through as blotches
One coat over dark or stained wood, usually with no primer or a tinted one. Add a second primer coat and a full second topcoat. Tinting the primer to the topcoat color prevents this in the first place.
Thin lines of bare wood in the grooves
The roller was used without a follow-up brush pass. Cut in with a 2 inch angled brush and run it down every groove before rolling, and pick up a satin or higher sheen to help the V-cuts read cleanly.
The second coat lifts or drags
You recoated inside the product’s window in a cool or humid room. Wait the full label time, run a fingernail across a hidden spot, and only then apply the next coat.
Filled seams crack after a season
Solid wood moved with seasonal humidity and a rigid filler bridged the joint. There is no durable repair short of removing the filler and keeping the grooves, which is why many people stop filling in the first place.
Frequently Asked Questions
Can I just paint over wood paneling?
Yes. Clean the surface to remove grease, scuff-sand it with 120 to 150 grit or apply a liquid deglosser, fill any damage, prime with a bonding stain-blocking primer, then apply two topcoats. Skipping the deglossing or the primer is the most common reason painted paneling peels off in sheets.
Do I need to sand wood paneling before painting?
A light scuff with 120 to 150 grit sandpaper is ideal because it dulls the factory sheen without removing material. A liquid deglosser works as well and produces no dust. On thin veneer over particle board, keep the sanding gentle or use the deglosser instead, because aggressive sanding can expose the fiberboard core.
What is the best primer to use when painting over wood paneling?
A shellac-based stain-blocking primer is the best choice, especially on knotty pine and prefinished sheet paneling. Oil-based stain blockers are close behind for resinous wood. Plain latex primer is not enough on sealed paneling because it lacks the bonding and stain-blocking performance that sealed wood surfaces require.
How many coats of primer does paneling need?
One coat is enough for light paint on sound paneling. Use two coats when the paneling is dark, stained or knotty, or when you are applying a deep color. Tinting the primer to match the topcoat color also lets you skip a third finish coat.
How many coats of paint does wood paneling need?
Two topcoats. A single coat lets grain, knots and old stain telegraph through as a blotchy shadow. Keep a wet edge, brush the grooves before rolling the flats, and wait the full recoat window on the label, longer in cold or humid conditions.
Should I fill the grooves in my paneling or paint over them?
Keep the grooves unless you want a flat, drywall-like wall. Filling takes far more time and materials, and on solid tongue-and-groove wood the rigid filler can crack as the boards move with seasonal humidity. Use spackle or joint compound for holes and gaps, and paintable caulk only for joints that must flex.
Will painted pine paneling crack at the seams?
Filled seams on solid pine can show hairline cracks because the boards expand and contract across their width with humidity. Leaving the grooves unfilled avoids the problem entirely, and painted paneling that was primed properly has held up for years in family rooms and basements.
Can basement paneling be painted if it feels damp?
No. Paint cannot fix a moisture problem, and coating damp wood traps the water and guarantees peeling. Find and repair the leak, let the boards dry back to normal weight, and replace any that are swollen, soft or delaminated before prepping the surface.
Final Thoughts
How to paint on wood panels comes down to four prep actions and a little patience: clean the boards, break the sheen, seal the wood with a bonding stain blocker, and lay down two topcoats. That sequence works on sheet paneling, knotty pine, wainscoting and beadboard alike.
Before you start, tap the wall to find out what you have and grab a lead test if the home is old enough to need one. Those ten minutes decide the rest of the job, and getting them wrong is what turns a weekend project into a strip-and-start-over.