
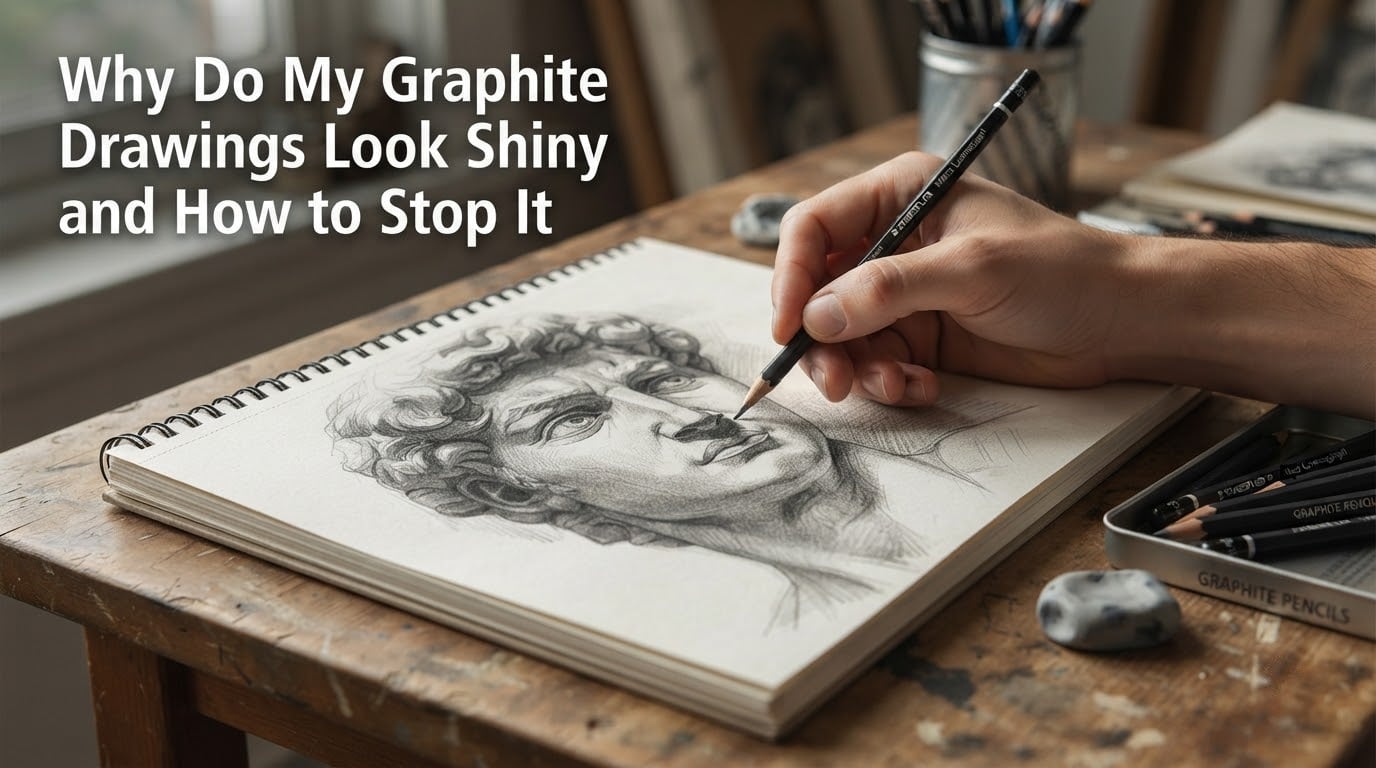
Graphite drawings look shiny when the graphite particles get polished flat against the paper fibers, and that polished surface reflects light like a mirror instead of absorbing it. The good news is that graphite shine is entirely preventable once you understand why it happens, and I have fixed it on hundreds of my own drawings over the years. In this guide I will walk you through the science of the sheen, the paper, pencil, and layering choices that stop it before it starts, and the finishing steps that lock in a true matte black when you need it.
If your carefully shaded graphite drawings keep turning into a streaky, reflective mess under the lamp, you are not doing anything wrong; you are just using techniques that work against the medium. Let me show you how to flip the script.
Table of Contents
- Why Graphite Drawings Look Shiny: The Science Behind the Sheen
- Choose Drawing Paper With Enough Tooth
- Use Lighter Pressure and Build Up in Thin Layers
- Pick the Right Pencil Grade for Deep Darks
- Try Graphite Powder Instead of Pencils
- Seal and Matte Your Drawing With Fixative or Varnish
- Watch Out for Humidity and Environmental Factors
- Store and Preserve Graphite Drawings Properly
- Common Mistakes to Avoid
- Frequently Asked Questions
- Conclusion
Why Graphite Drawings Look Shiny: The Science Behind the Sheen
Graphite becomes shiny because the particles and the paper underneath get polished into a smooth, mirror-like surface. A graphite pencil is not pure carbon; it is a mixture of graphite powder and a clay binder. The higher the clay content, the harder the pencil, and the harder the pencil, the more it grinds and flattens everything in its path.
When you press down, the graphite fills the tiny gaps between paper fibers, and the abrasive clay pushes those fibers flat. The result is a tightly packed, almost metallic-looking layer that reflects light back at the viewer instead of soaking it up. That is the graphite sheen, and it is the number one reason your drawings read as grey under raking light.
Three things drive the shine: paper tooth, pencil hardness, and pressure. Paper tooth is the natural texture of the drawing surface; toothier papers have more peaks and valleys to hold graphite without crushing them flat. Pencil hardness ranges from 9H (mostly clay, very pale) to 9B (mostly graphite, very dark), and softer grades lay down more material faster. Pressure is the lever most of us pull too hard, because we think harder means darker. It does not. It mostly means shinier.
Choose Drawing Paper With Enough Tooth
Paper selection is the single biggest factor in whether your graphite drawings look shiny or read as deep matte blacks. Smooth, hot-pressed papers like Bristol board have very little tooth, so the graphite piles up on top of the fibers and any pressure polishes it into a reflective crust. You want a paper with visible tooth that can hold multiple layers without the surface going slick.
For most realistic graphite work I reach for a medium-tooth drawing paper around 80 to 110 lb (130 to 200 gsm). Stonehenge, Strathmore 400 Series Drawing, and Fabriano Artistico are good benchmarks. The surface should feel like a fine orange peel under your fingertip, not slick like tracing paper. Sketch paper from a student pad is usually too thin and too smooth, and it is the fastest path to shine.
If you want to test your paper before committing, scribble a small 1-inch square with a 4B pencil, then layer another five passes over the same spot. Press firmly on the second layer. If the square starts to reflect your lamp, that paper does not have enough tooth for the look you want. Switch papers before you start a major piece.
Use Lighter Pressure and Build Up in Thin Layers
The biggest habit change that stops graphite shine is using lighter pressure and stacking many thin layers instead of one or two heavy ones. Pressing harder does not make a value meaningfully darker past a certain point; it mostly polishes the surface and traps more clay residue that scatters light.
Here is the workflow I teach every beginner in our studio: start with a hard lead like 2H or H to lay in the lightest tones and gently score the tooth open. Move to HB or 2B for mid values, then 4B for darks, and only reach for 6B to 9B for the deepest accents. Each pencil lays down a thinner, more even layer than the last, so the graphite never piles up enough to polish.
Use the side of the lead, not the point, for broad areas. Side strokes cover more tooth per pass and put less pressure on any single fiber. Keep your pencil moving in small circles or crosshatch patterns, and let the layers build up over five to ten passes instead of trying to nail the value in one or two. Your darks will look richer and stay matte instead of turning into a metallic sheen.
Pick the Right Pencil Grade for Deep Darks
Pencil grade selection is the second habit that decides whether your graphite drawings look shiny or stay deep and matte. Softer pencils like 6B to 9B are the ones most likely to cause shine because they dump so much graphite in a single pass that the surface saturates almost instantly.
The trick is to reserve your softest pencils for accents, not for filling large areas. Use an HB or 2B to build the base of a dark region over five or six light layers, then finish with one or two strokes of a 6B to deepen the deepest pockets. The 6B alone would have polished itself shiny; layered over an already dark base, it just tips the value a little deeper without flattening the surface.
A quick grade reference from light to dark: 2H and H for the lightest values and initial sketching, HB and 2B for general mid-tones, 4B for shaded form, 6B for deep darks, and 8B to 9B for accents and the darkest blacks. Most artists only need a 2H, HB, 2B, 4B, and 6B to handle almost any graphite drawing without shine.
Try Graphite Powder Instead of Pencils
If you want to avoid graphite shine altogether and fill large flat areas quickly, graphite powder is the cleanest solution. Reddit artists in r/Arttips have been recommending it for years, and it is one of the few methods that genuinely eliminates shine instead of managing it.
To use graphite powder, dip a soft brush or a cotton swab into the powder and tap it across the tooth of the paper. The graphite settles into the valleys between fibers without compressing them, so the surface stays matte even at very dark values. You can then sharpen edges with a kneaded eraser or a hard pencil for highlights.
Powder is messy, so work over a separate sheet of scrap paper and tap off the excess before lifting the brush. Blend with a soft brush in small circles for smooth gradients. It is a different feel from pencil work, but for backgrounds, large shadow areas, and hyperrealistic gradients, it is the most reliable way to keep graphite drawings from looking shiny.
Seal and Matte Your Drawing With Fixative or Varnish
If a drawing is already done and you need to lock in the values without adding more shine, a fixative spray or matte varnish is the right move. Professional artists on WetCanvas and across art forums consistently recommend a workable fixative for in-progress layers and a final matte varnish for finished pieces.
For graphite work, choose a fixative labeled workable and matte rather than gloss. Gloss fixatives will deepen your drawing but they also add a reflective coating, which is the opposite of what you want. Workable matte fixatives hold graphite in place between sessions without changing the surface sheen, and they let you keep layering on top.
Application matters as much as the product. Hold the can 10 to 12 inches from the paper, spray in short bursts while moving across the surface, and let each coat dry before adding the next. Two or three light coats are far better than one heavy coat, which can puddle and darken unevenly. Test on scrap paper first to see how many coats your fixative needs to set the graphite without visibly darkening it.
Watch Out for Humidity and Environmental Factors
Humidity and temperature quietly drive a lot of the graphite shine problems artists run into. Paper absorbs moisture from the air, and damp fibers are softer, which means the pencil point crushes them flat faster and the graphite polishes more easily. Cold studios make the same thing worse because the air holds less moisture and the paper dries unevenly.
If you are working in a humid environment, let your paper acclimate to the room for an hour before you start drawing, and consider running a dehumidifier in your workspace. Store finished drawings in a climate-stable area, because cycles of damp and dry will gradually push graphite particles into the polished, shiny state even if the original drawing was matte.
Cold working surfaces can also be a culprit. If your drawing board is in a chilly room, warm it slightly with a hair dryer on low before you start so the paper is not cold enough to condense moisture on the surface. It is a small detail, but reviewers on artist forums report that it makes a noticeable difference in how the tooth responds to the pencil.
Store and Preserve Graphite Drawings Properly
Even a perfectly matte graphite drawing can turn shiny over months or years if it is stored wrong. The graphite is still on the surface, and friction, humidity, and oils from skin or framing materials can polish it back into a sheen long after you have put the pencil down.
Place a sheet of glassine paper over the graphite surface before stacking or framing. Glassine is a smooth, air-resistant paper that does not abrade the graphite and blocks moisture transfer. Avoid plastic sleeves for long-term storage, because they can trap humidity against the paper and slowly dampen the fibers.
Frame graphite drawings with a mat spacer so the glass never touches the artwork. Mount the piece with archival tape on the corners rather than adhesive across the back, and keep finished work out of direct sunlight, which fades paper and accelerates the polish effect. A simple folder of glassine sheets in a dry drawer will keep a graphite drawing looking fresh for decades.
Common Mistakes to Avoid
Most graphite shine problems come down to a handful of repeat mistakes. Skipping them is faster than fixing the shine after it appears.
Do not press harder to get darker values. Harder pressure polishes the surface and rarely gets the value you actually wanted. Build dark areas with more light passes instead.
Do not use a hard pencil on smooth paper for large dark areas. The combination crushes fibers and creates a metallic sheen. Match a softer pencil to a toothier paper for the same range of values.
Do not use hairspray as a final fixative on a finished drawing. Forum artists have been warning against it for years because hairspray yellows over time, can darken unevenly, and is not archival. A real matte fixative costs only a little more and is built for the job.
Do not blend with your finger. Finger blending pushes skin oils into the paper and creates a polished, shiny spot that is almost impossible to remove. Use a blending stump, a soft brush, or odorless mineral spirits for the smoothest gradients.
Frequently Asked Questions
What can I use to seal graphite drawings?
Use a workable matte fixative spray between layers and a final matte varnish or archival fixative once the drawing is complete. Hold the can 10 to 12 inches from the paper and apply two or three light coats rather than one heavy coat.
Does hairspray seal graphite?
Hairspray can hold graphite in a pinch, but reviewers and professional artists do not recommend it for finished work. It yellows over time, can darken unevenly, and is not archival. A proper matte fixative spray is a safer choice for graphite drawings.
What cleans off graphite?
A soft brush, a kneaded eraser, and a clean white vinyl eraser all lift graphite from paper without damaging the surface. For more stubborn spots, a small amount of odorless mineral spirits on a cotton swab can lift graphite cleanly. Avoid water, which can smear and stain the fibers.
Why is graphite shiny?
Graphite becomes shiny when the particles get polished flat against the paper fibers, often because of heavy pressure or too many layers. The polished surface reflects light like a mirror instead of absorbing it, which is why the drawing looks metallic under bright light.
How to stop graphite from being shiny?
Use a paper with enough tooth, build values with many light layers instead of heavy pressure, save your softest pencils for accents, and finish with a workable matte fixative. Graphite powder applied with a soft brush is the most reliable way to avoid shine entirely.
What fixative spray is good for graphite drawings?
Look for a workable, matte fixative labeled for graphite or pastel use. Avoid gloss fixatives, which add a reflective coating. Two light coats are enough to set the drawing without darkening or yellowing over time.
How to stop graphite drawings from smudging?
Spray a light coat of workable matte fixative over the finished drawing and let it dry fully before handling. Storing the piece between sheets of glassine paper will also stop smudging and protect the surface from abrasion.
How can I preserve my graphite drawings?
Place glassine paper over the surface, frame with a mat spacer so glass does not touch the artwork, and keep the piece out of direct sunlight and humidity. Archival storage in a dry, climate-stable environment will keep a graphite drawing looking fresh for decades.
Conclusion
If you remember nothing else about why graphite drawings look shiny, remember this: tooth, layers, and finish. A paper with enough texture, a workflow built from many light passes instead of heavy pressure, and a matte fixative or varnish at the end will solve the shine problem on almost any piece. Add proper storage in glassine and a stable environment, and your drawings will stay matte for years.
Pick one of the techniques in this guide and try it on your next sketch. Once you see how much deeper and richer the values look without the sheen, you will never go back to heavy pressure and smooth paper again.