
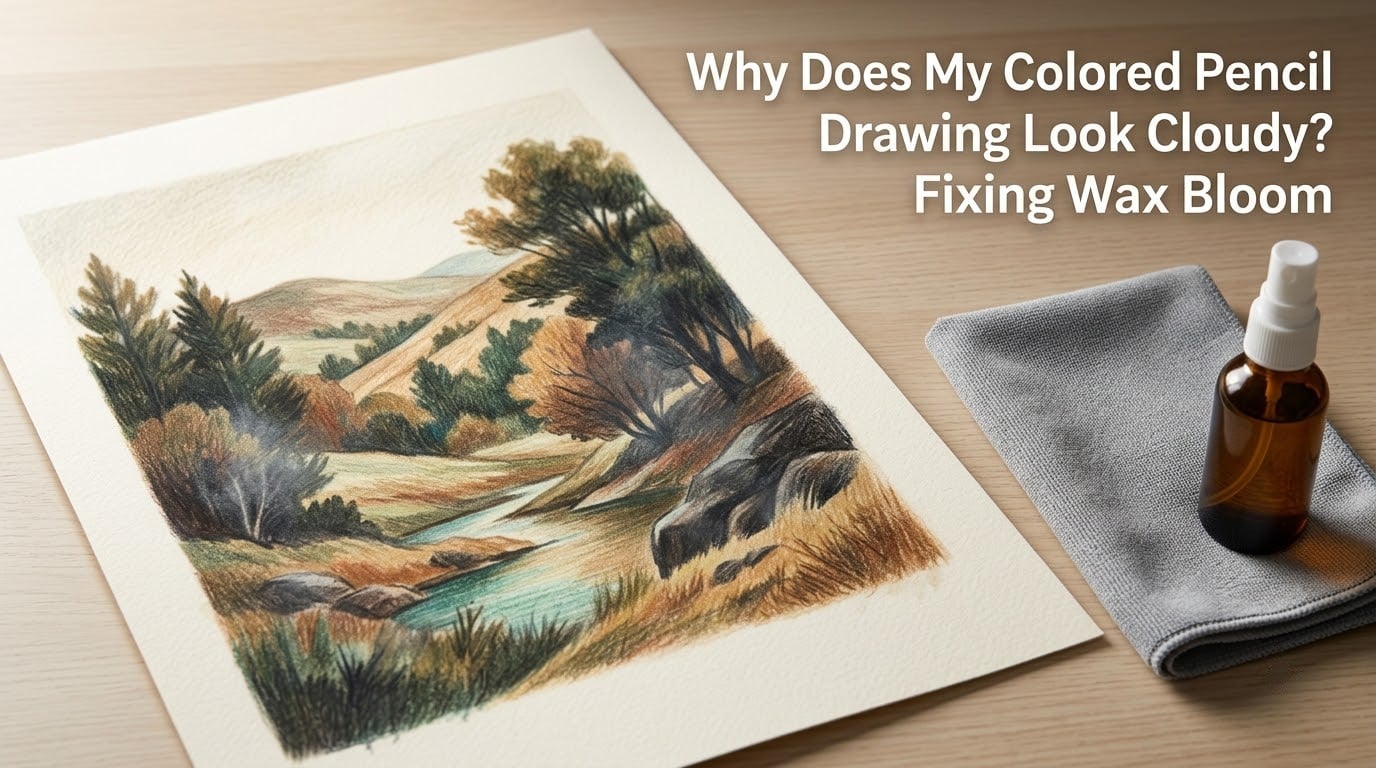
You finished a beautiful colored pencil piece, framed it, and admired it for weeks. Then one day you notice a foggy white film creeping across the surface, and your vibrant colors look dull and chalky. If your colored pencil drawing looks cloudy, what you’re seeing is almost always wax bloom, a hazy film that forms when the wax binder in your pencils migrates to the surface of the paper.
I’ve worked with colored pencils for years, and I’ve watched that same fog appear on finished pieces sitting in my studio. The good news: wax bloom is one of the most misunderstood, most reversible problems in colored pencil art. In this guide, I’ll walk you through what wax bloom actually is, why it forms, how to tell it apart from mildew or dust, the safest ways to remove it, and the habits that keep it from coming back.
Table of Contents
- What Is Wax Bloom in Colored Pencil Art?
- The Science Behind Why Wax Bloom Happens
- How to Tell Wax Bloom from Other Art Issues
- How to Remove Wax Bloom Step by Step
- How to Prevent Wax Bloom Before It Starts
- Wax Bloom Across Different Wax-Based Media
- Common Mistakes That Cause or Worsen Wax Bloom
- When to Call a Professional Conservator
- Frequently Asked Questions
- What is wax bloom on colored pencil drawings?
- Why does my colored pencil drawing look cloudy after a few weeks?
- Can you remove wax bloom without damaging the artwork?
- Does wax bloom ruin colored pencil art permanently?
- How do you prevent wax bloom on finished pieces?
- Is wax bloom the same as mold on artwork?
- Can I use a hairdryer to remove wax bloom?
- What fixative works best to prevent wax bloom?
- Final Thoughts on Keeping Your Colored Pencil Art Cloud-Free
What Is Wax Bloom in Colored Pencil Art?
Wax bloom is a thin, whitish, cloudy haze that rises to the surface of a wax-based drawing over time. It looks like someone has breathed on the artwork, or like dust settled into the paper, except the haze is locked into the surface and won’t brush away cleanly with a duster.
To put it simply: wax bloom is the wax coming back out of the drawing. Colored pencil cores are made of pigment suspended in a binder, and for most pencils on the market, that binder is wax. As the wax cools on the paper, some of it stays buried under the pigment layer. Weeks or months later, changes in temperature or humidity cause that trapped wax to soften again and migrate upward, where it hardens into a translucent film that scatters light and makes the colors underneath look dull.
You’ll usually see wax bloom first on the darkest, most heavily layered areas of a piece: deep shadows, rich blacks, dense reds, and saturated blues. Beginners often mistake it for mold, dust, or a sign that the pencils are low quality, but wax bloom is a physical property of the medium, not a defect in your tools or your technique.
The Science Behind Why Wax Bloom Happens
Wax bloom isn’t mysterious once you understand the binder. Every waxy colored pencil core contains three main ingredients: pigment (for color), wax (the binder that holds the pigment together and sticks it to the paper), and modifiers like fillers or softeners. When you press the pencil onto the paper, you’re laying down a thin film of pigment-wax mixture.
Right after you draw, most of the wax is locked in place under and around the pigment particles. But wax is sensitive to heat, and over the days and weeks that follow, even modest temperature swings can cause that wax to soften at the molecular level. Warmer conditions make the wax more fluid, allowing it to drift through the tiny gaps between pigment particles. When temperatures drop again, the wax re-solidifies, but now it’s closer to the surface, sometimes even on top of the pigment.
Humidity plays a supporting role. Wax absorbs and releases small amounts of moisture as humidity rises and falls. High humidity softens the binder further and can speed up migration. Low humidity can make wax more brittle, which leads to surface micro-cracks and a different kind of haze. Either extreme, or a cycle between them, encourages bloom.
Layering amplifies the effect. Every additional layer adds more wax into the stack, and burnishing (pressing hard to polish the surface) compresses that wax into a dense slab just below the surface. Once conditions shift, that slab has a lot of wax ready to migrate. Heavy layering is the single biggest contributor to fast, dramatic bloom.
How to Tell Wax Bloom from Other Art Issues
Before you start treating a cloudy surface, you need to be sure it really is wax bloom and not something more serious. Three look-alikes cause real confusion: dust, mildew, and yellowing varnish.
Wax bloom vs. dust. Dust sits on top of the surface and can usually be lifted with a soft brush or a gentle blower. Wax bloom is in the surface. If you brush the area and the haze stays put, or if it only smears slightly, you’re looking at bloom. Dust wipes away cleanly. Bloom changes with the brush stroke but doesn’t disappear.
Wax bloom vs. mildew. Mildew is a living organism and looks patchy, sometimes with grey, green, or black speckles. It also tends to smell musty, especially in humid rooms. Wax bloom is uniform across the heaviest colored areas, white or slightly grey, and has no smell. If your artwork has been stored in a damp basement, garage, or bathroom, mildew becomes more likely and you’ll want to have a conservator assess it.
Wax bloom vs. yellowing. Yellowing happens to paper and certain sprays over decades and shows up as a warm cream tone across the whole sheet, not a localized haze. Bloom is cooler (whitish-grey), localized to colored areas, and tied to recent environmental changes.
A quick at-home test: gently warm the surface with a hair dryer on a low setting held about 30 cm away. Wax bloom will briefly disappear or fade as the wax re-melts, then return as the surface cools. Mildew, dust, and yellowing will not react to brief warmth.
How to Remove Wax Bloom Step by Step
Removing wax bloom is straightforward once you know the technique. The goal is to re-melt the surface wax, redistribute it, and either push it back into the pigment layer or lift it off safely. Here are the methods I trust, ranked from gentlest to most aggressive.
Step 1: Soft Cloth Buffing
For light, recent bloom, a clean microfiber cloth often does the trick. Fold the cloth into a pad, hold it flat against the surface, and buff in small circles with very light pressure. The friction warms the wax just enough to redistribute it, and the cloth picks up the excess.
Use a fresh section of the cloth for each pass, and never use a cloth that has been washed with fabric softener, because softener leaves a film that transfers to the paper. I’ve revived pieces that were only a few weeks into blooming with nothing more than a microfiber pad and ten minutes of careful work.
Step 2: Gentle Heat with a Hair Dryer
If buffing alone isn’t enough, a hair dryer on the lowest heat setting, held 20 to 30 cm away, will soften the wax without scorching the paper. Move the dryer in slow sweeps, never holding it in one spot. The haze will fade as the wax warms. Stop heating the moment the colors look right again; over-heating can drive wax deeper or cause colors to bleed.
You cannot substitute a heat gun for a hair dryer. Heat guns run far hotter and will scorch paper, melt the pigment binder unevenly, and create irreversible damage in seconds.
Step 3: Tissue Lift
Place a clean, plain (uncolored) tissue or piece of unprinted copy paper over the bloomed area, then press a warm iron on a low, dry setting briefly over the tissue. The heat re-melts the wax and the tissue absorbs the excess. Lift the tissue carefully so you don’t shift the pigment.
This method works best on robust papers like Stonehenge or hot-pressed watercolor paper. Use it sparingly on thin papers, which can buckle or scorch easily.
Step 4: Fixative Reset
For persistent bloom on pieces you’ve already sealed, a light application of workable fixative can lock the migrating wax back into place. Spray from the recommended distance (usually 30 to 40 cm) in short bursts, let it dry fully, then buff gently with a microfiber pad. Test on a scrap first, because some fixatives shift color slightly.
What NOT to Do
Don’t reach for solvents like turpentine, mineral spirits, or alcohol. They can dissolve the wax binder right out of the pigment layer, smear colors, and ruin the tooth of the paper. Don’t scrub with a wet cloth; water can cockle the paper and lift pigment. Don’t use a heat gun under any circumstances.
How to Prevent Wax Bloom Before It Starts
Prevention is where you save the most time and frustration. The habits below reduce bloom dramatically, and most of them cost nothing.
Control your environment. Aim for stable temperature (around 18 to 22°C) and relative humidity between 40 and 55 percent. A basic digital hygrometer costs very little and lets you see what your studio is actually doing. Avoid storing finished work near exterior walls, attics, heating vents, or windows that get direct sun.
Frame with a mat and glass. A mat keeps the glass from touching the artwork, and glass blocks the dust, humidity shifts, and minor temperature swings that drive bloom. Use UV-protective glass or acrylic if the piece will hang in a sunny room.
Seal with a quality fixative. A light, even coat of artist-grade fixative (look for brands specifically labeled for wax-based media) creates a thin barrier that slows wax migration. Hold the can at the distance the manufacturer recommends and apply two thin coats rather than one heavy one. Heavy coats can pool and change the surface sheen.
Choose your paper wisely. Smoother, more finished papers (like hot-pressed illustration board) tend to bloom less than heavily textured papers, because there’s less air space under the pigment for wax to migrate through. Heavily textured papers are gorgeous to work on, but expect more bloom and plan to seal.
Build color with lighter layers when possible. The more wax you lay down, the more wax you have waiting to migrate. Thin, repeated layers (with light pressure and good color planning) produce saturated results with less binder in the stack. Save heavy pressure and burnishing for the very top of your layering process, and seal immediately after.
Rotate storage. If you keep unframed work in flat files or drawers, check on pieces every few months. A quick buff with a microfiber pad during your review catches early bloom before it builds up.
Wax Bloom Across Different Wax-Based Media
Wax bloom isn’t unique to colored pencils. Any wax-bound medium can develop it under the right conditions.
Oil pastels bloom heavily because they contain a lot of soft binder. Heavy layering causes immediate bloom, sometimes within hours, especially in warm studios. Sennelier and other professional-grade oil pastels are particularly prone.
Wax crayons bloom more than most people expect. The cheap school-grade crayons in particular have very high wax-to-pigment ratios, which is why classroom artwork often looks chalky a few months in.
Soft pastels use a much smaller amount of binder (gum arabic instead of wax), so true wax bloom is rare. Their dust can mimic bloom on the surface, but it’s removable and behaves differently.
Encaustic art (pigmented molten wax) can develop a whitish haze called “bloom” too, with a different mechanism: the wax cools unevenly and forms surface crystals. Encaustic bloom responds well to gentle heat and a soft cloth, similar to colored pencil bloom.
Across all these media, the underlying fix is the same: control temperature, control humidity, seal appropriately, and don’t over-layer.
Common Mistakes That Cause or Worsen Wax Bloom
I’ve watched artists (myself included) repeat these mistakes and then blame their pencils. None of them are tool failures.
- Burnishing heavily and then storing the piece in a warm room, where the compressed wax migrates fast.
- Spraying fixative too heavily, which traps moisture underneath and creates the very haze the spray was meant to prevent.
- Storing finished pieces in plastic sleeves, which trap humidity and prevent the paper from breathing.
- Hanging artwork above a radiator or heating vent, where temperature swings are daily and large.
- Mixing wax-based and oil-based pencils in the same heavy layering pass, then assuming the cloudy result is one pencil’s fault.
- Skipping the wait time before sealing. Wax needs at least 24 to 48 hours to fully settle before you lock it under fixative.
Avoid these and you’ll see far less bloom over the life of your artwork.
When to Call a Professional Conservator
Most wax bloom is a DIY fix. But there are moments when a professional conservator is the right call: if the artwork has real monetary or sentimental value and the bloom covers a large area, if you suspect mildew rather than wax, if the paper is fragile, aged, or already damaged, or if you’ve tried gentle removal and the haze has come back within days. A paper conservator can treat the piece with controlled environments and archival materials, and can also document the work for insurance purposes. The cost of a single conservation consultation is small compared to losing a piece you’ve spent dozens of hours on.
Frequently Asked Questions
What is wax bloom on colored pencil drawings?
Wax bloom is a whitish, cloudy haze that forms on the surface of a wax-based colored pencil drawing when the wax binder in the pencil migrates upward through the pigment and re-solidifies on top of the paper. It usually appears on the darkest, most heavily layered areas and looks like a fog or dust that won’t wipe away.
Why does my colored pencil drawing look cloudy after a few weeks?
The cloudiness is almost always wax bloom. Temperature changes and humidity shifts cause the wax binder inside your pencil layers to soften, rise to the surface, and harden there as a translucent film that scatters light and dulls the colors underneath.
Can you remove wax bloom without damaging the artwork?
Yes. For light bloom, gentle buffing with a clean microfiber cloth is enough. For heavier bloom, briefly warming the surface with a hair dryer on a low setting re-melts the wax so it can be buffed or absorbed into a clean tissue. Avoid solvents, wet cloths, and heat guns, which can damage the paper and pigment.
Does wax bloom ruin colored pencil art permanently?
No. Wax bloom is one of the most reversible problems in colored pencil work. Once you remove the surface haze with the right technique and stabilize the environment, the original colors return. The only risk of permanent damage comes from using aggressive removal methods like solvents or heat guns.
How do you prevent wax bloom on finished pieces?
Store and display artwork in a stable environment around 18 to 22 degrees Celsius with 40 to 55 percent relative humidity. Frame pieces behind glass with a mat, seal them with a light coat of artist-grade fixative, and avoid hanging them near heat sources or in direct sunlight.
Is wax bloom the same as mold on artwork?
No. Wax bloom is a uniform whitish haze that appears on heavily colored areas and has no smell. Mildew looks patchy, may have grey, green, or black speckles, and often smells musty. If your piece has been stored in a damp environment and shows patchy discoloration, have a conservator check it before treating it yourself.
Can I use a hairdryer to remove wax bloom?
Yes, a regular hair dryer on the lowest heat setting held 20 to 30 centimeters away works well for re-melting surface wax so it can be buffed away. Never substitute a heat gun, which runs far hotter and will scorch the paper and damage the pigment layer.
What fixative works best to prevent wax bloom?
Look for a workable fixative labeled for use with wax-based media and apply two thin coats from the recommended distance rather than one heavy coat. Test on a scrap of the same paper first, because some fixatives can shift color slightly. Artists consistently report better long-term results from professional-grade fixatives than from general-purpose hardware store sprays.
Final Thoughts on Keeping Your Colored Pencil Art Cloud-Free
Wax bloom looks alarming the first time you see it, especially on a piece you’ve spent weeks finishing. But once you understand that wax bloom is a natural behavior of wax-based media, not a failure on your part, it becomes a manageable part of working with colored pencils.
The two habits that matter most are environmental stability and early intervention. Keep your studio temperature and humidity consistent, frame finished pieces behind glass with a mat, seal with a quality fixative after the wax has settled, and check stored work every few months. If you do see that familiar haze appear, a microfiber pad and a little patience will usually bring your colors back.
If your colored pencil drawing looks cloudy, take it as a reminder that wax-based media is alive on the page. Give it the right environment, the right sealing, and the right care, and your colors will stay as vibrant years from now as the day you finished them.