
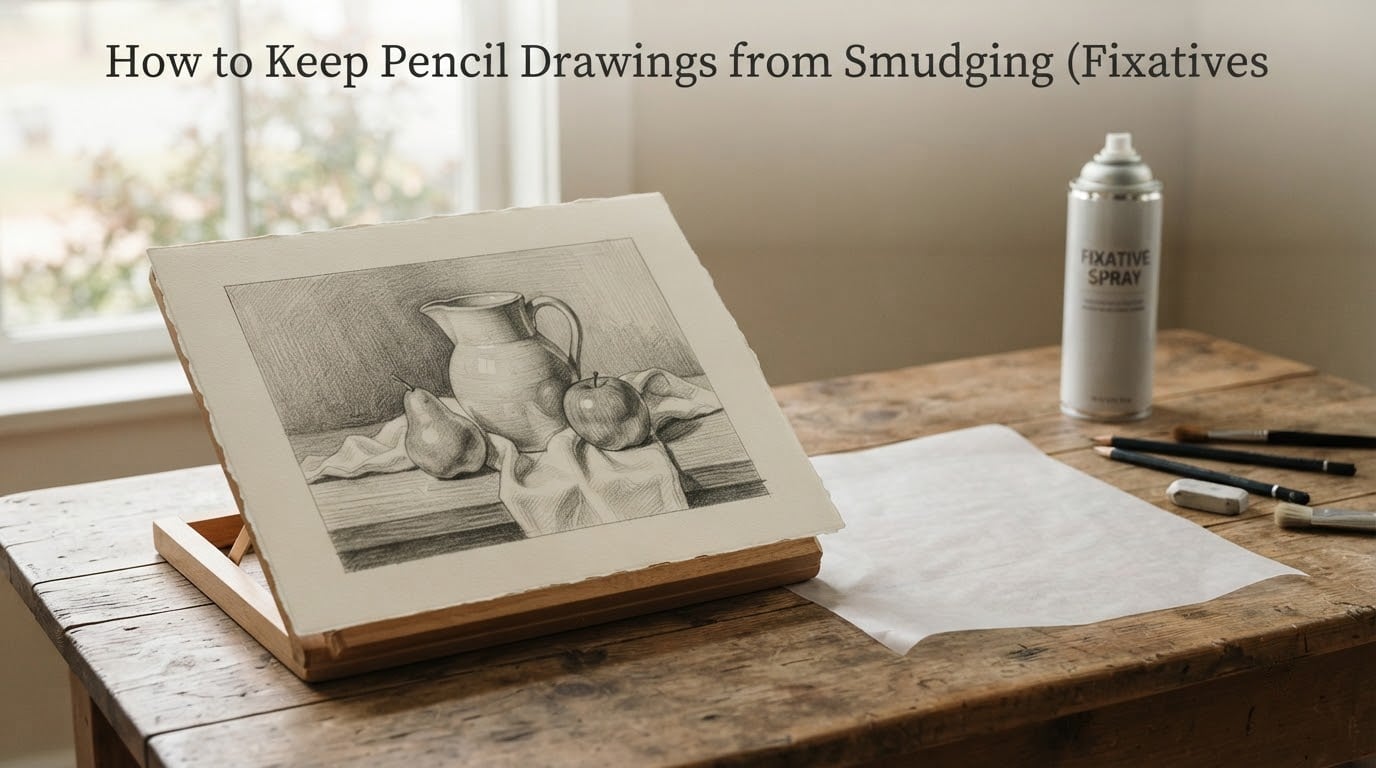
Few things sting more than dragging your hand across a freshly shaded drawing and watching that smooth graphite gradient turn into a streaky mess. I learned this the hard way on a portrait commission in college, where a single misplaced wrist cost me an hour of layered shading. That moment sent our team down a long road of testing fixatives, barrier sheets, and storage tricks, and this guide collects everything that actually works.
If you have ever asked how to keep pencil drawings from smudging, you are in the right place. Below I will walk you through prevention during the drawing itself, the right way to use fixative spray, alternatives when you do not want to use chemicals, and how to store finished artwork so it survives for years. The techniques here work for graphite pencils, charcoal, and soft pastel, on everything from sketchbook pages to large presentation sheets.
Table of Contents
Quick Answers: How to Keep Pencil Drawings from Smudging
For readers who want the short version, here are the methods that consistently protect pencil drawings from smudging, ranked by reliability. I will explain each in detail further down.
- Apply a fixative spray in a ventilated area, using two to three thin coats with full drying between each pass.
- Slide a sheet of wax paper under your drawing hand as a barrier while you work.
- Use a Mahl stick to bridge your hand across large drawings so nothing touches the graphite.
- Draw from the top of the page downward so your hand never rests on shaded areas.
- Store finished pieces between acid-free paper inside a protective sleeve or portfolio.
- Use a workable fixative between layers if you need to keep drawing on top of finished sections.
Every method below costs little, and several require zero supplies you do not already own. Pick the combination that fits your medium and your patience level.
Prevent Smudging While You Draw
The cheapest and most overlooked fix is the one you apply while the pencil is still moving. Most smudging happens in the moments between strokes, when your hand, wrist, or forearm slides across freshly laid graphite. Train yourself to work around the drawing, not over it, and you will eliminate most of the problem before any spray or sealant enters the picture.
Draw From Top to Bottom (and Left to Right for Right-Handers)
Working from the top of the page toward the bottom keeps your hand ahead of the shading rather than behind it. Right-handed artists get the best results working left to right, so the heel of the palm never crosses a freshly darkened area. Left-handed artists usually do the opposite. The moment you find yourself leaning back over a finished section, stop and rotate the paper instead of reaching across it.
Use a Sheet of Wax Paper as a Hand Barrier
Place a sheet of wax paper, tracing paper, or even a clean sheet of regular paper between your drawing hand and the artwork. The slick surface lets your hand glide without picking up graphite, and it acts as a shield if your wrist does dip. Cut the barrier slightly larger than your hand so the edges extend beyond your knuckles. Many sketchbook artists keep a few sheets trimmed to size inside the back cover for exactly this purpose.
Wax paper is especially handy in spiral-bound sketchbooks. Slide a sheet under your drawing hand, and the next page stays clean even when you press hard. This trick also stops the dreaded page-to-page graphite transfer that ruins the back of every sketch.
Try a Mahl Stick for Large Drawings
A Mahl stick is a simple tool, usually a thin dowel with a leather or cloth wrapped tip, that bridges your hand across the page so only the tip touches the paper. It is standard equipment for pastel and charcoal artists, and it works beautifully for graphite too. You rest the stick on the unpainted border of your paper and let your hand ride on the wrapped tip while you shade with the other hand.
You can easily make one at home. Take a wooden dowel about 12 inches long and 3/8 inch in diameter, sand one end smooth, and wrap the tip with a small piece of soft chamois cloth secured with a rubber band. The chamois grips without sliding, and you can adjust the angle to reach across even the largest drawing.
Choose the Right Paper
Not all paper smudges equally. Hot-pressed, very smooth papers (like Bristol) hold graphite on the surface and resist smudging better than rough, toothy papers that lock graphite only loosely into the texture. If smudging is a constant battle, try switching to a smoother stock. Heavier paper (100 lb or higher) also holds graphite better than flimsy 60 lb sheets, which can flex and cause loose particles to shift under your hand.
Keep Your Hand Clean and Dry
Sweaty or oily hands transfer more graphite than clean, dry ones. Wipe your hand on a clean cloth between long shading sessions. If you find your palm turning grey, that residue is exactly what would end up on your drawing if you brushed across it. A quick swipe every few minutes is enough.
Fixative Sprays: The Reliable Way to Seal Pencil Drawings
When you need a permanent, archival-quality seal, fixative spray is the gold standard. A good fixative locks graphite, charcoal, and pastel in place with a thin transparent film that protects against smudging, moisture, and minor abrasion. Artists, illustrators, and galleries have relied on it for over a century, and modern formulas are safer and more predictable than ever.
What Fixative Spray Actually Does
Fixative spray is a solvent-based or water-based resin that dries into a clear film over the drawing. The resin bonds with loose graphite and charcoal particles and holds them in the tooth of the paper, creating a stable surface that resists smudging. Different resins produce different finishes (matte, satin, gloss) and different levels of permanence.
Think of it as a thin, breathable shell. It does not seal the paper airtight, so your drawing still ages naturally, but it stops the loose particles from migrating under friction.
Workable vs Final Fixative
There are two main types, and choosing the right one matters.
- Workable fixative forms a light, slightly tacky film that allows you to continue drawing on top with graphite, charcoal, or pastel. Use it when you have finished one section and need to keep building without disturbing what is underneath. Common brands include Krylon Workable Fixatif and Winsor and Newton Workable Fixative.
- Final fixative creates a harder, more permanent film that is meant to be the last coat. Use it on a finished drawing when you are not going to add more media. Final fixatives come in matte, satin, and gloss finishes. Common brands include Krylon Kamar Varnish (which is matte and archival), Golden Archival Varnish, and Winsor and Newton Final Fixative.
For most pencil drawings, you will use a final fixative on the completed piece. Reach for workable fixative when you are building a multi-layer charcoal or pastel piece and need to fix intermediate stages.
How to Apply Fixative Spray (Step-by-Step)
Spraying fixative is simple, but the order and distance matter. Follow these steps for an even, professional seal every time.
- Move to a ventilated area. Take the drawing outdoors or to a space with strong airflow. Open a window and place a fan pulling air away from you. Fixative fumes are not safe to inhale in concentration.
- Lay the drawing flat. Place it on a clean, protected surface. Prop something behind it so overspray cannot mark the wall or other artwork. Mask off any borders you do not want sprayed.
- Shake the can for at least one minute. Most separation happens in the can, and shaking ensures the resin and propellant mix evenly.
- Hold the can 10 to 12 inches away from the paper. Closer than that and you will get drips; farther and you will get a dusty, uneven coat.
- Spray in a smooth side-to-side pass. Start the spray just off the edge of the paper, sweep across, and release just past the opposite edge. Never start or stop the spray while pointing at the artwork.
- Overlap each pass by about one third. Two to three thin coats always beat one heavy coat. Heavy coats pool, run, and can shift the graphite underneath.
- Wait 10 to 15 minutes between coats. Most fixatives feel dry to the touch in 5 minutes but need longer to cure through.
- Let the final coat cure for 24 hours before framing, stacking, or touching the surface. Patience here is the difference between a clean seal and a fingerprint embedded in resin.
If you are spraying inside because the weather is bad, use a spray booth or build a simple cardboard box booth with an exhaust fan. The fumes are heavier than air, so keep them moving away from your face.
Safety Precautions You Should Not Skip
Fixative spray contains solvents and propellants that require respect. Treat every can as if the label matters, because it does.
- Always spray in a ventilated area. Outdoors is best. Inside, open windows, point a fan outward, and wear a respirator rated for organic vapors.
- Keep spray away from heat, sparks, and open flames. Most cans are extremely flammable.
- Do not smoke while applying fixative. The propellant is highly combustible.
- Wear nitrile gloves if you need to handle the drawing immediately after spraying.
- Store cans away from children and pets. The pressure and the chemicals both make them dangerous in the wrong hands.
If you find the fumes overwhelming even with ventilation, look for water-based fixative formulas. They smell milder and are easier to clean up, though they sometimes lay down a slightly less durable film.
Troubleshooting Common Fixative Problems
Even experienced artists run into issues. Here are the most common problems and how to fix them.
- Fixative darkens the drawing. This usually means the coat was too heavy or the can was too close. Spray thinner coats from farther away, and test on a scrap first.
- Droplets or runs appear on the surface. Another sign of a wet coat. Hold the can farther back, move faster, and let each coat dry fully before the next.
- Surface looks uneven or patchy. You probably overlapped too little or too much. Aim for one-third overlap on every pass and a steady pace.
- Drawing looks dull or hazy. Some matte fixatives can cloud if applied too thick. Light buffing with a soft cloth after full cure often restores clarity.
- Graphite still smudges after spraying. You likely did not use enough coats, or the fixative was workable rather than final. Apply one or two more final-fixative passes.
Alternative Methods to Fixative Spray
Fixative spray is the most reliable seal, but it is not your only option. Sometimes you need a non-toxic approach, sometimes you do not have access to art supplies, and sometimes you just want to avoid chemicals on a delicate surface. Here are the alternatives that actually hold up.
Does Hairspray Work as a Fixative?
This is the question I get asked most often. The honest answer is that hairspray will hold graphite in place for a short time, but it is not a true fixative and will cause problems over time. Hairspray contains flexible polymers, fragrances, and moisturizers that leave a tacky residue. That residue attracts dust, yellows with age, and can become sticky in warm conditions.
If you are in a pinch and need to transport a sketch, a light mist of hairspray from a foot away is better than nothing. But for anything you want to keep, use a proper fixative or one of the methods below. Hairspray belongs on hair, not in your portfolio.
Wax Paper Between Sketchbook Pages
For sketchbook work, slip a sheet of wax paper or tracing paper between finished pages. It blocks graphite transfer and protects the surface from incidental smudging when the book is closed. Many sketchbooks come with a few sheets of glassine or tissue interleaved for exactly this reason. If yours did not, add your own.
DIY Sealant With Diluted PVA
Some artists seal pencil drawings with a thin coat of diluted PVA glue (white school glue) brushed on with a wide soft brush. The technique works on sturdy paper but is risky on thin or textured stock. Dilute the PVA with water at roughly 1 part glue to 4 parts water, apply in a single thin coat, and let it dry flat. Test on scrap paper first because the glue can darken the drawing slightly.
Use a Spray Bottle of Water Mist (Carefully)
A very fine mist of water can fix soft graphite and charcoal for short-term work, particularly for artists who want a delicate, painterly effect. Hold the drawing at an angle and mist from several feet away. The water binds the particles, but it also raises the tooth of the paper and changes the look of the drawing, so this is really a technique choice, not a preservation method.
Frame Behind Glass
For finished artwork destined for the wall, framing behind glass or acrylic is the ultimate protection. The glazing holds everything in place, keeps dust off, and stops any contact smudging. Use a mat or spacers so the drawing does not touch the glass directly, and choose UV-protective glazing if the piece will see sunlight.
Storage and Long-Term Preservation
Even with a perfect seal, drawings stored carelessly will yellow, transfer, or stick together. A few simple habits keep artwork pristine for decades.
Use Acid-Free Paper Between Layers
Whenever you stack drawings, place a sheet of acid-free tissue or glassine between each one. Acidic paper (most regular printer paper) will yellow your artwork over time and can transfer ghost images onto adjacent sheets. Acid-free interleaving is cheap and available at art stores or online. For extra protection, slip each drawing into its own acid-free sleeve before stacking.
Store Drawings Flat Whenever Possible
Rolling or folding causes creases that no fixative can prevent. Store drawings flat in a portfolio case or in shallow drawers. If you must transport them rolled, use a large diameter tube (4 inches or more) and roll loosely around a sheet of acid-free tissue. Unroll as soon as you arrive.
Control the Climate
Graphite and paper both react to humidity. Aim for a stable environment around 50 percent relative humidity and room temperature. Avoid storing artwork in basements, attics, garages, or near heating vents. Direct sunlight will fade paper and yellow any sealants, so keep portfolios out of sunny windows.
Sketchbook Tips
If you keep a sketchbook, dedicate the first and last pages to a folded sheet of wax paper or glassine. That way every interior page has a clean barrier available. You can also slip a sheet of baking parchment between the current page and the rest of the book as you work. Many artists also use a piece of card stock under their hand for the same reason.
Frequently Asked Questions
How can I seal my pencil drawings to prevent smudging?
Use a final fixative spray in a ventilated area, applying two to three thin coats from 10 to 12 inches away with 10 to 15 minutes of drying time between each coat. Wait 24 hours for the final coat to cure before handling. For ongoing work, slip a sheet of wax paper under your hand as a barrier while you draw.
How to stop pencil sketches from smudging?
Draw from the top of the page downward, rest your hand on a sheet of wax paper instead of the artwork, and use a Mahl stick for large pieces. After you finish, seal the drawing with a light coat of final fixative spray and store it between acid-free sheets.
What spray can I use to prevent pencil drawings from smudging?
Use a final fixative spray designed for graphite and charcoal, such as Krylon Kamar Varnish, Golden Archival Varnish, or Winsor and Newton Final Fixative. For pieces you want to keep working on, choose a workable fixative instead. Always spray in a ventilated area and follow the can instructions for drying time.
Does hairspray stop pencil drawings from smudging?
Hairspray will hold graphite for a short period, but it is not a real fixative. The polymers in hairspray leave a tacky residue that attracts dust, yellows with age, and can become sticky in warm conditions. For anything you want to preserve, use a proper archival fixative spray instead.
How long does fixative take to dry?
Most fixative sprays feel dry to the touch in 5 to 15 minutes, but the film needs at least 24 hours to fully cure. Wait 10 to 15 minutes between coats and a full day before framing, stacking, or touching the surface. Rushing the cure time is the most common reason fixative ends up smudged or fingerprint-marked.
Can I use fixative on thin journal paper?
Yes, but apply it more lightly than you would on heavyweight paper. Thin paper warps under heavy moisture, so use two very thin coats rather than one thick coat, and let the paper dry flat under a clean weight. Test on a scrap page first to confirm the paper holds up without buckling.
Final Thoughts
Learning how to keep pencil drawings from smudging is really about layering three habits: working clean, sealing smart, and storing carefully. Start by shifting your hand position and adding a wax paper barrier during the drawing itself. Seal finished work with two to three thin coats of final fixative spray in a ventilated space. Store pieces flat between acid-free sheets, framed behind glass when possible.
Pick the method that matches your medium and your patience, and stick with it across every piece. Within a few weeks the steps become automatic, and your drawings will arrive at their final destination looking the way you intended. If you have a favorite fixative brand or a smudge-prevention trick that worked for you, share it in the comments. Our team is always looking for new ideas to test.