
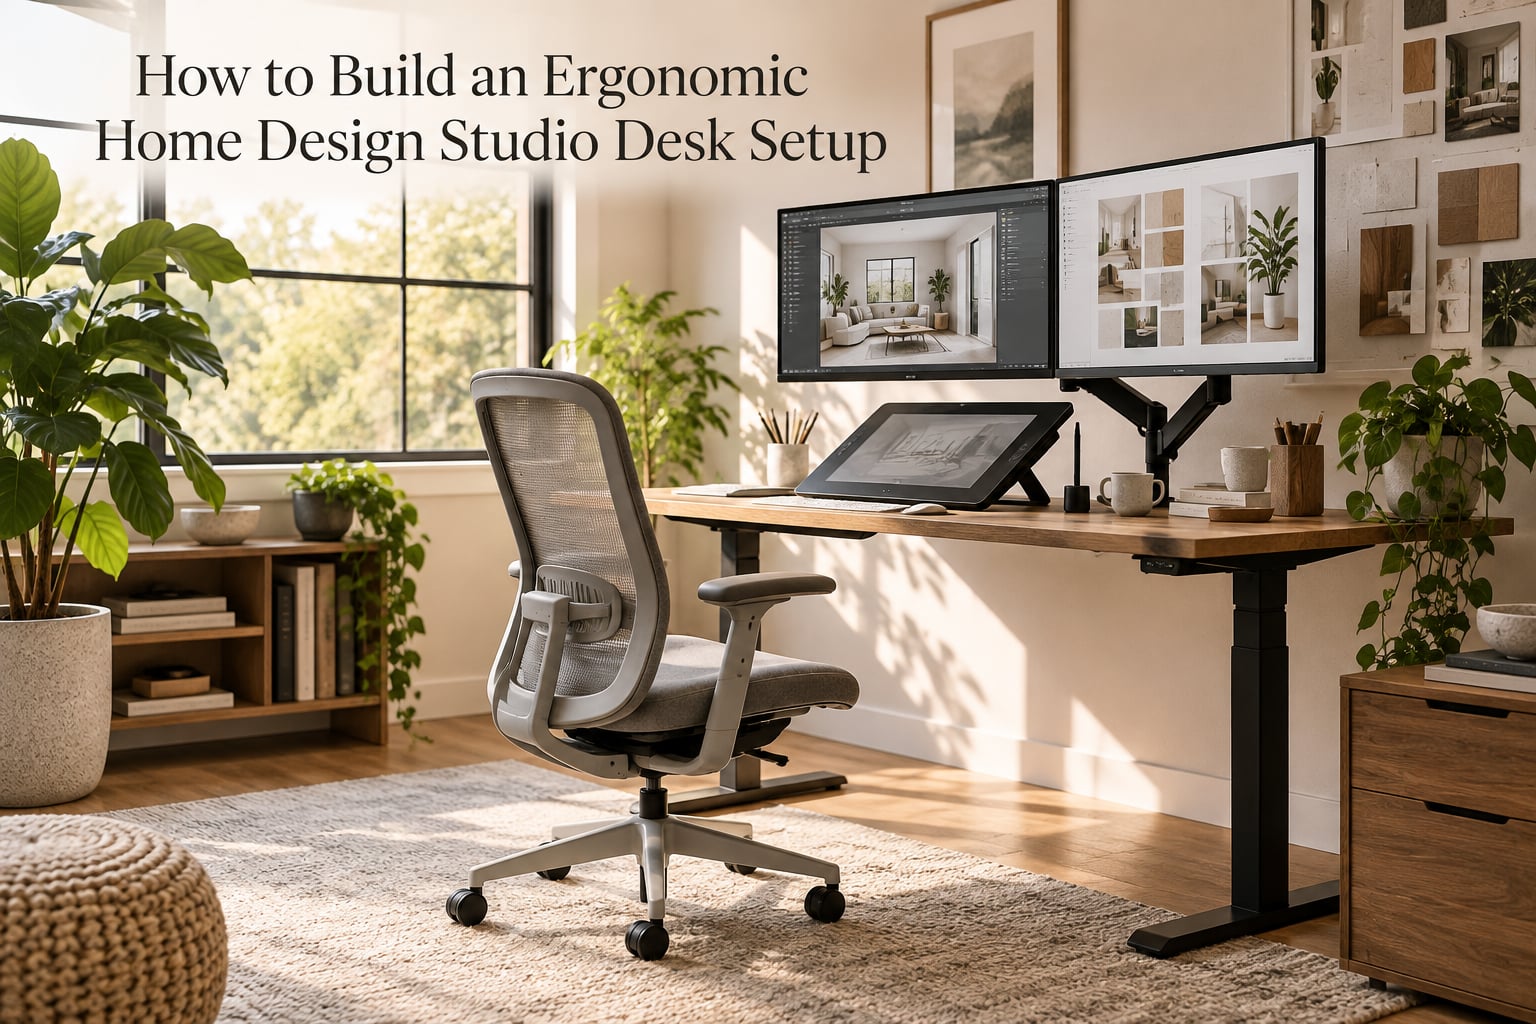
An ergonomic home design studio desk setup is a workspace where desk height, monitor position, input-device placement, lighting, and cable routing are each set to a measured target, so you can work for hours in a neutral, pain-free posture. Most home studio desks are bought on looks and adjusted by feel, which is exactly how neck and wrist problems start.
Below is the measured version: a single spec sheet of every dimension that matters, followed by a nine-step build sequence where each step carries one number you can check with a tape measure. We built and re-measured our own rigs against these figures before publishing them, and the order of the steps matters as much as the numbers.
This guide is written for graphic designers, illustrators, video editors, and 3D artists working long hours at home, plus students and remote professionals setting up a first studio in a spare room or a corner of an apartment.
Table of Contents
- The Five Principles of an Ergonomically Healthy Workstation
- The Measurement Spec Sheet for an Ergonomic Home Design Studio Desk Setup
- How to Build an Ergonomic Home Design Studio Desk Setup: 9 Measured Steps
- Step 1: Plan the room and the workflow first
- Step 2: Choose the frame and the top for your actual load
- Step 3: Set seated height, then set the sit-stand range
- Step 4: Mount the monitors on arms and set viewing distance
- Step 5: Place the keyboard, mouse, and drawing tablet inside the reach envelope
- Step 6: Set the chair and lumbar support
- Step 7: Light the desk for accurate colour and low glare
- Step 8: Route cables and condition power before you tidy anything
- Step 9: Set a movement rhythm and schedule the breaks
- Solving a Small Room Without Losing Keyboard Reach
- Acoustics That Start at the Desk
- What to Look For (and What to Skip)
- Frequently Asked Questions
- What is the perfect desk setup for ergonomics?
- How to make an ergonomic desk?
- What are the five principles of an ergonomically healthy workstation?
- What are the must-haves for an ergonomic desk?
- What is the best desk setup for ergonomics?
- What is the 20-8-2 rule for standing desks?
- How should I set up an ergonomic standing desk?
- Where to place a desk in a studio?
- Conclusion: Run a Weekly Posture Audit
The Five Principles of an Ergonomically Healthy Workstation
Every measurement later in this guide comes back to one of five principles. These are the same ideas the OSHA computer workstations eTool, the NIOSH guidance, and the ISO 9241-5 workstation layout standard all describe in their own language.
- Neutral posture. Ears over shoulders, shoulders over hips, hips level with or slightly above the knees, feet flat or on a footrest, elbows at roughly 90 to 100 degrees.
- Neutral wrists. Hands float over the keyboard in line with the forearms, with no upward bend, no outward flare, and no hard edge pressing into the wrist crease.
- Eyes at the top of the screen. The top of the primary display sits at or just below eye level at an arm’s-length viewing distance, so the neck holds position instead of flexing forward.
- Varied postures. No single position held for hours. Movement between sitting, standing, and leaning is the point, not a break from the “correct” posture.
- A workspace that fits the work. Light, reach, clearance, and airflow matched to the task, rather than a generic desk pushed into a corner.
The Measurement Spec Sheet for an Ergonomic Home Design Studio Desk Setup
Every number below is a target you can verify in under five minutes. Print this table or keep it open while you build. If your rig misses three or more of these values, fix those first, because they account for the majority of the discomfort people report in a home studio.
| Measurement | Target | How to check it |
|---|---|---|
| Seated desk height | 28 to 30 inches, with elbows at 90 to 100 degrees | Sit, relax your arms, and measure from the floor to the underside of the desktop |
| Sit-stand range | 25 to 50 inches of travel | Standing height should put your elbow crease at the same 90 to 100 degrees |
| Desk depth | 28 to 34 inches | Measure front edge to back edge; under 28 inches will crowd a keyboard plus a tablet |
| Knee angle | 90 to 100 degrees | Feet flat, thighs roughly parallel to the floor |
| Legroom width and height | 24 inches wide minimum, 27 inches of knee clearance | Measure the usable opening under the desktop, not the frame width |
| Primary monitor distance | 28 to 38 inches from your eyes | One arm’s length, fingertips just touching the bezel |
| Top of primary screen | At or just below eye level | Sit tall and look straight ahead; the top bezel should meet your sightline |
| Secondary screen angle | Turned 20 to 30 degrees inward | Both screens should sit within your 60-degree comfortable field of view |
| Primary reach envelope | 14 to 18 inches from your elbow | Mouse, tablet, and shortcuts should live inside this arc, not at arm’s length |
| Chair clearance behind the desk | 36 inches minimum from desk edge to wall | Enough to push back, cross your legs, and roll fully |
| Task lighting | 300 to 500 lux at the desk surface, 90+ CRI | Lux meter app on the surface, not in the air |
| Colour temperature | 4000K neutral for general work, 5000K for colour-critical viewing | Match the light to the white point you calibrate your display to |
Two of these values decide most of the outcome: seated desk height and primary monitor distance. Get those right and the rest is refinement.
How to Build an Ergonomic Home Design Studio Desk Setup: 9 Measured Steps
Work through these in order. Each step depends on the one before it, and changing steps out of order usually means redoing work.
Step 1: Plan the room and the workflow first
Before buying a single component, draw the room to scale and mark where the desk will go. The rule is simple: put the desk where you have natural light from one side, never directly behind the screen.
Where to place a desk in a studio comes down to three questions. Does the window sit beside the desk rather than behind it? Can you get 36 inches of clearance behind the desk for the chair? Is the door path wide enough that you can carry a 27-inch display through without turning the chair?
Then map your workflow into zones. Primary zone is what you touch every minute: mouse, tablet, keyboard, the document you are working on. Secondary zone is what you touch often: reference screens, the colour picker, the timeline. Tertiary zone is everything else, which should live off the desktop entirely. One Gearspace builder working through the same problem chose a lightweight honeycomb-fill laminate top specifically so the desk could stay under the load of a large keyboard while keeping enough desktop depth for the primary zone.
Write the three zones onto your floor plan. Anything that does not earn a zone gets vertical storage or a shelf.
Step 2: Choose the frame and the top for your actual load
A desk is a structural problem before it is a furniture problem. Design stations accumulate weight fast: displays, a drawing tablet, a controller, a laptop dock, and often a small drive shelf.
Add up the weight of everything that will sit on the desktop and give yourself at least a 25 percent margin. A 100-pound desktop holding 80 pounds of gear will sag across its centre, which quietly ruins every other measurement in this guide. A torsion-box top with internal ribs every 8 to 10 inches holds a flat plane under load and costs less than a solid slab of the same thickness.
For frames, a two-stage or three-stage sit-stand column is worth the extra cost over a single-stage if you are tall. A single-stage frame often tops out around 40 inches, which leaves a 6-foot-plus user permanently reaching up. Also check the frame’s rated capacity against your load calculation, not the marketing number on the top of the listing.
For depth, choose 30 inches or more if you plan to ever use a drawing tablet alongside a keyboard. 28 inches is workable for a keyboard and mouse only. A wider top also buys reach envelope, which matters more than people expect.
Step 3: Set seated height, then set the sit-stand range
Sit in your normal working position and measure the distance from the floor to the underside of the desktop. That is your seated height, and most adults land between 28 and 30 inches.
Adjust the height with your feet flat on the floor rather than on a footrest. If you cannot get elbows to 90 to 100 degrees at 28 inches, the answer is almost always a footrest, not a taller desk. Your forearms should be roughly level, wrists straight, shoulders relaxed and dropped.
For the standing position, the elbow crease should hit the same 90 to 100 degrees. That is the test, and it is why the sit-stand range matters: a frame that only reaches 40 inches leaves tall users hunching. This is the same logic CCOHS applies in its sit-stand desk guidance, where the standing height is matched to the user rather than fixed by the frame.
One warning that catches everyone: raising a sit-stand frame pulls on every cable plugged into the desktop. Leave 8 to 12 inches of slack in any cable that runs from the desktop down to the floor, and use a slack loop rather than a taut run. Tight cables snag the frame and drag ports sideways.
Step 4: Mount the monitors on arms and set viewing distance
This is the single highest-impact change in the entire setup, and it is nearly free. Moving a display off the stand and onto a monitor arm frees desk depth and puts the screen at the correct height.
How far should my monitor be from your eyes? One arm’s length, which lands between 28 and 38 inches for most people. Sit in your final posture, extend your arm, and note where your fingertips touch the bezel. That is your distance. Anything closer forces your eyes to work harder and pushes the screen into your personal space; anything further makes you lean forward.
Then set the top of the primary screen at or just below eye level. Sit tall against the chair back and look straight ahead rather than at the screen. The top bezel should meet your sightline, which means the visual centre of the image sits about 15 degrees below horizontal, the angle most vision research associates with fewer neck complaints.
For a dual reference setup, put the primary screen square to your face and turn the secondary 20 to 30 degrees inward. Both should sit within your comfortable field of view, and both should share the same top-edge height. A Gearspace user working through neck flexion from a stacked riser solved it by taking the display stand off entirely and putting the screen directly on the desktop, which lowered the top edge into the correct range.
Check that your arm is rated for the combined weight of both displays. Arms with three joints hold position better than single-arm poles once a heavy reference monitor is involved.
Step 5: Place the keyboard, mouse, and drawing tablet inside the reach envelope
Your primary reach envelope is a 14 to 18 inch arc measured from your elbow. Keyboard, mouse, tablet, and your most-used shortcut controls all need to live inside that arc. Anything outside it is a shoulder movement repeated thousands of times a session.
Place the keyboard directly in front of you, not offset to one side. If you use a mouse, put it beside the keyboard at the same height and close enough that your shoulder stays down; if you switch between keyboard and mouse constantly, consider a low-profile alternative such as a trackball or vertical mouse so your forearm returns to neutral rather than rotating.
For a drawing tablet, the rule that trips people up is that it lives to the side of the keyboard, not on top of it. A tablet placed centrally pushes the keyboard off-axis, which forces shoulder rotation for the whole session. If your workflow is mostly stylus, use a desk-mounted arm or a laptop-style riser that keeps the tablet at a shallow angle and lets the keyboard slide underneath.
If you need a pull-out keyboard tray for a large controller or a tablet, treat it as a floor-plan decision rather than an accessory. Check that the tray still leaves 27 inches of knee clearance at full extension, because a tray that blocks your knees forces you to compensate with your spine.
Step 6: Set the chair and lumbar support
No desk fix outranks a correctly set chair, because the chair decides your starting posture for everything else. Begin seated, not standing.
Adjust the seat height so your feet are flat on the floor or on a footrest and your knees are at 90 to 100 degrees. Then set the lumbar support so it sits in the natural inward curve of your lower back, roughly level with the top of your pelvis, rather than pressing flat against your spine. Adjustable lumbar support that you can move up, down, and in and out matters more than the padding material.
Set the backrest tension so it supports you when you lean back, and adjust the armrests so they support relaxed shoulders without lifting them. If your armrests hit the desk edge, that is a signal your desk is too tall or too deep for you, not a reason to buy a wider chair.
Keep a posture cue in your workflow. A 30-second self-audit every hour is enough: feet down, shoulders dropped, screen glints visible, wrists straight. Correcting once an hour is far easier than correcting once a year after a month of pain.
Step 7: Light the desk for accurate colour and low glare
How to light a home studio desk for accurate colour comes down to three variables: intensity, colour temperature, and glare control.
Aim for 300 to 500 lux at the desk surface, measured with a light meter app rather than guessed. Well building standards and IES lighting guidance both treat roughly 500 lux as the ceiling for close visual work, and a design desk rarely needs more.
Match the colour temperature to your work. Around 4000K neutral white suits general graphic design and editing, while 5000K daylight-balanced light suits colour grading and print proofing, because it matches the white point most displays are calibrated to. Check the CRI rating and aim for 90 or above; below that, saturated colours read dull and you will chase colour errors that are actually lighting errors.
Control glare with three moves. Put the main light beside the desk at roughly 45 degrees to the screen rather than behind your head or overhead. Choose a matte finish for your display if you work in a bright room, since a glossy panel reflects the window directly into your work. Add bias lighting behind the monitor for evening sessions, since a bright screen in a dark room is its own form of strain.
Keep ambient light in the room rather than working in a lit desk and a dark room. Your eyes constantly adapt to the brightest thing they see, and a bright screen in a dim room forces constant pupil adjustment.
Step 8: Route cables and condition power before you tidy anything
Do the cable work in a fixed order of operations. Unplug everything, identify what each cable does, then route power and data separately.
The order is: mount an under-desk cable tray roughly 4 to 6 inches below the desktop; run the power conditioner to that tray; run the display, USB, and network cables in a separate channel with a few inches of separation from the power run; then bundle with reusable hook-and-loop ties rather than tight zip ties; leave the slack loops; and only then tidy the visible drop to the floor.
Separating power and data by a few inches is what kills ground-loop hum, the low 50 or 60 cycle buzz that appears the moment you add an audio interface or a powered display to a shared strip. If you hear hum, it is almost always a shared power run, a loop between two bonded connections, or an unbalanced cable run parallel to a mains line.
Plan the drop from the wall too. A single conduit running from the desk to the nearest outlet keeps the floor clear and stops the cable bundle from becoming a trip hazard. It also makes the whole rig easier to move when you rearrange the room.
One community approach worth borrowing: a Reddit user working in r/synthesizers reclaimed desk space by adding an upper tier above the desktop plus a sliding keyboard drawer underneath, so the surfaces stayed tiered rather than sprawling. The same trick works in a design studio, and the only rule is that it must not reduce your keyboard reach below the 14 to 18 inch reach envelope.
Step 9: Set a movement rhythm and schedule the breaks
Posture variation is not optional at a design desk. The common industry guidance is to change position every 20 to 30 minutes, and the 20-8-2 rule turns that into a concrete schedule for a sit-stand desk.
- 20 minutes of sitting with neutral posture, feet supported, screen at the correct height.
- 8 minutes of standing, elbow crease back at 90 to 100 degrees, screen raised to match your new eye height.
- 2 minutes of movement: a short walk, stairs, anything that takes you off the seat.
That gives roughly 30 minutes of continuous work per block, which is short enough to prevent the sustained loading that produces discomfort and long enough to finish a task. When the frame goes up, the monitor rises with you, so re-check the top-of-screen relationship rather than assuming it carried over.
Stack the movement on top of existing habits: standing for review calls, walking while listening to reference audio, stretching at every render or export. Posture audits beat intentions here, so set a repeating reminder for the 30-second check described in Step 6.
Solving a Small Room Without Losing Keyboard Reach
Small rooms force non-ergonomic layouts. The classic failure is a desk pushed flush against the wall, which removes chair clearance and leaves zero room to change posture. The second classic failure is a second tier or shelf mounted where it eats the reach envelope.
Three moves fix most small-room layouts. First, get the desk off the wall: even 8 to 12 inches lets the chair roll and lets you lean back. Second, push the screens onto arms, which typically reclaims 6 to 10 inches of desktop depth for the keyboard and tablet. Third, move storage vertical so the desktop holds only the primary zone.
For users worried about a viewing distance deficit in a cramped room, an ultrawide display solves the geometry problem because one wide screen sits at one distance rather than two screens competing for a narrow field of view. Check that the desk is wide enough to keep the screen edges within roughly 45 degrees of centre.
If the room is genuinely too small for a 28 inch desk depth, plan on a wall-mounted or clamp-mounted work surface for a defined task and a separate seated position for everything else. Splitting the day across two stations is more honest than forcing one compromised rig to do both jobs.
Acoustics That Start at the Desk
Acoustics usually get treated as a separate wall-treatment project, and for a design studio that mostly means monitoring audio, phone calls, and fan noise from a computer. The desk itself controls two of the biggest contributors.
The first is vibration transfer. Speakers or monitors sitting directly on the desktop transfer cabinet energy into the frame and the floor, which smears low-end response and adds audible structure-borne noise. Isolation pads or decoupling pads under each monitor break that path, and the pads cost far less than wall treatment.
The second is first reflection points: the spots on the side walls and ceiling where sound from your monitors first bounces. In a small room they land close behind you, well inside the listening position. Moving the desk a few inches forward, or angling the monitors slightly inward, shifts where those first reflections land relative to your head.
For anyone also mixing audio, keep a small reference speaker triangle: the two speakers and your head at the corners of an equilateral triangle. That is the standard reference geometry and it costs nothing but discipline, since the speakers return to the same spot every session.
In an open-plan or shared-wall apartment, soft furnishings do more than acoustic panels: a rug, a fabric chair, and a curtain behind the monitor all reduce reflections, and they also cut the hum and traffic noise that makes long sessions fatigue you.
What to Look For (and What to Skip)
What are the must-haves for an ergonomic desk? In priority order: a sit-stand frame with enough range for your height, a desktop with real depth, an adjustable lumbar chair, and monitor arms. Everything else is a refinement, and buying in the wrong order is how people end up with a beautiful desk that still hurts.
Desks. Look for independent leg columns, a rated load above your calculated gear weight, a desktop at least 28 inches deep, and grommets or a rear raceway so cables have a path. Skip ultralight honeycomb tops for a heavy rig, skip single-stage frames if you are tall, and skip any desk whose rated capacity you have not checked against your own load.
Chairs. Look for adjustable seat height, adjustable lumbar support with real range, armrests that adjust in at least height, and a seat depth that fits you. Skip chairs where the lumbar support is fixed, and skip mesh backs if you work in a cool room and feel pressure points. Brands like Herman Miller and Steelcase publish seat-height and reach ranges for their own models, which makes it easier to check a spec before you buy.
Monitor arms. Look for a VESA 75 or 100 mount, gas-spring lift, and a clamp that fits your desktop thickness. Skip single-arm poles if you run two heavy screens. Confirm the arm’s load rating covers the combined weight of both displays plus any shelf.
Keyboard trays and risers. Look for a tray that leaves 27 inches of knee clearance at full extension and stops before your wrists hit an edge. Skip fixed trays that dictate one height forever.
Lighting. Look for a CRI of 90 or above, a colour temperature you can set or match, and a matte-diffused panel rather than a bare LED strip. Skip fixed single-temperature fixtures for colour work, and skip overhead-only lighting that creates a hotspot on the desk and leaves the sides of the keyboard in shadow.
Power and cables. Look for a power conditioner with surge protection and enough outlets, an under-desk tray, and reusable hook-and-loop ties. Skip daisy-chained power strips and skip permanent adhesive clips that make it impossible to add a device later.
Priority order if the budget is tight. Chair first, then monitor arms, then sit-stand frame, then lighting, then trays and storage, then cable gear. This ordering fixes the most discomfort per unit spent. Buying the desk first and the chair last is the most common and most expensive mistake.
Client presentation mode. Design two configurations and rehearse the switch. Pre-move the primary screen to centre for screen sharing, raise the secondary off-axis or power it down to reduce cognitive load, clear the primary zone of the tablet, and lower the desk to a comfortable client-viewing height. If the whole reconfiguration takes under two minutes you will actually do it; if it takes ten, you will not.
Frequently Asked Questions
What is the perfect desk setup for ergonomics?
A perfect ergonomic setup is a set of measurements, not a product list: seated desk height of 28 to 30 inches, knees at 90 to 100 degrees, feet flat or on a footrest, wrists straight, the top of the primary screen at or just below eye level, and viewing distance of one arm’s length at 28 to 38 inches. Add a chair with adjustable lumbar support, input devices inside a 14 to 18 inch reach envelope, and a movement routine that changes posture every 20 to 30 minutes.
How to make an ergonomic desk?
Adjust an existing desk in four moves before you replace anything. Raise or lower it until your elbows sit at 90 to 100 degrees with feet flat. Add a footrest if the height is wrong for you. Put the monitor on an arm so the top bezel meets your sightline at arm’s-length distance. Then add a pull-out tray only if you need it, checking that 27 inches of knee clearance remains at full extension.
What are the five principles of an ergonomically healthy workstation?
They are neutral posture, neutral wrists, the top of the primary screen at or just below eye level, varied postures rather than one held position, and a workspace matched to the actual task. These map to the guidance published by OSHA, NIOSH, and the ISO 9241-5 workstation layout standard. Every measurement in this guide traces back to one of the five.
What are the must-haves for an ergonomic desk?
In priority order: an adjustable chair with real lumbar support, a sit-stand frame with enough range for your height, a desktop at least 28 inches deep with a load rating above your gear weight, and monitor arms. Lighting with 90+ CRI and 300 to 500 lux comes next, followed by an under-desk cable tray and a power conditioner. Buy the chair and the monitor arms first, because they fix the most discomfort per unit spent.
What is the best desk setup for ergonomics?
The best setup is the same as the perfect one measured against your body rather than a catalogue. Sit, measure floor to the underside of the desktop, and set your seat height so elbows reach 90 to 100 degrees with feet supported. Sit tall, look straight ahead, and set the top of the primary bezel to that sightline at one arm’s length. Keep keyboard, mouse, and tablet inside a 14 to 18 inch arc from the elbow, and change position every 20 to 30 minutes.
What is the 20-8-2 rule for standing desks?
It is a movement schedule for a sit-stand desk: 20 minutes sitting in neutral posture, 8 minutes standing with your elbow crease back at 90 to 100 degrees, and 2 minutes of movement such as a short walk. That gives roughly 30 minutes of continuous work per block, short enough to avoid sustained loading. Because the frame raises the desktop, re-check the top-of-screen relationship each time you stand rather than assuming it carried over.
How should I set up an ergonomic standing desk?
Set your seated height first, with feet flat and elbows at 90 to 100 degrees, then find the standing height that produces the same elbow angle. Raise the monitors to meet your new eye level, keep the keyboard and tablet at the same working distance, and leave 8 to 12 inches of slack in any cable running from the desktop to the floor. Without that slack, raising the frame pulls on cables and drags ports sideways.
Where to place a desk in a studio?
Place the desk beside a window rather than under or behind it, with 36 inches of clearance behind the desk so the chair can roll and you can lean back. Keep the monitor perpendicular to the strongest light source to kill glare, and confirm you can carry your equipment through the door without turning the chair. Map your tools into a primary zone, a secondary zone, and everything else, then move storage vertical.
Conclusion: Run a Weekly Posture Audit
Building an ergonomic home design studio desk setup is a sequence of measurements, not a shopping list. Get the seated height, the monitor distance, and the reach envelope right first, and most of the discomfort people expect simply does not show up.
Then run a 30-second posture audit every hour: feet supported, shoulders dropped, wrists straight, screen at the right height, next movement block scheduled. Recalibrate the whole rig each time you change chairs, monitors, or how your work actually looks in 2026.