
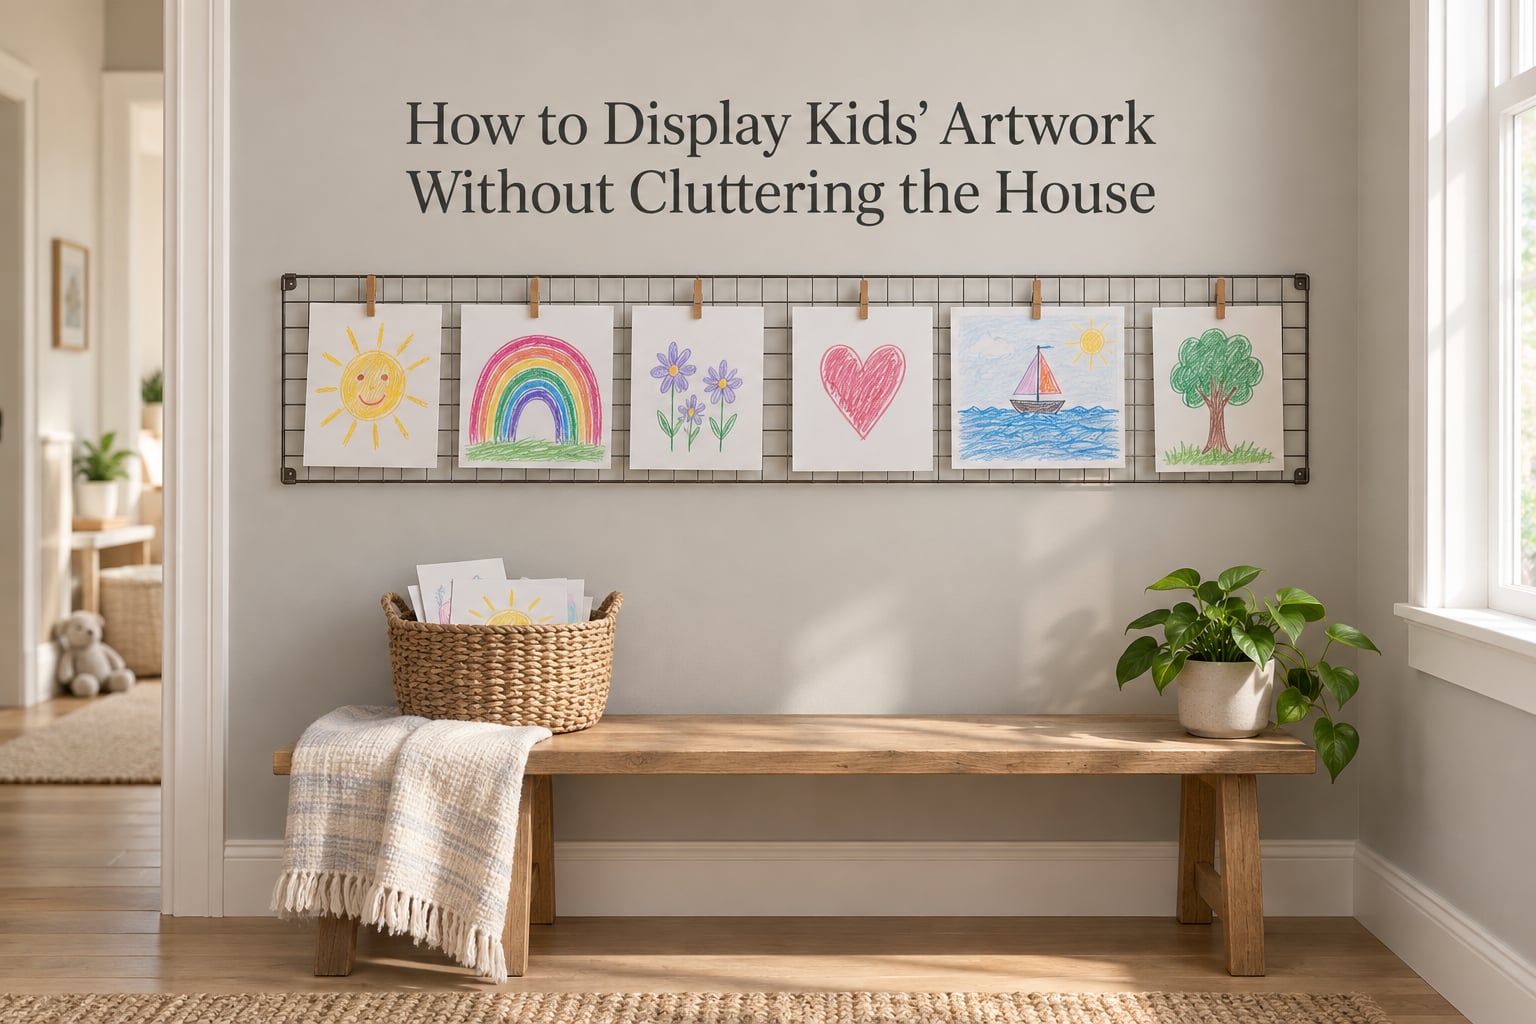
Somewhere between the refrigerator door and the closet shelf, every family ends up with the same problem. Drawings taped to the fridge, a shopping bag stuffed with paper in the hallway, and a guilt you cannot explain to anyone. Learning how to display kids artwork without cluttering the house is not about hiding the art. It is about deciding, on the day each piece comes home, where it goes.
Kids make a startling amount of work. A single school year can produce hundreds of pieces, and each one arrives with the quiet insistence that it matters. Our family’s answer is three destinations and nothing else: a fixed set of display slots, one labeled storage box, and a digital archive photographed the same afternoon.
Displaying a child’s work where the family can see it does real work for their confidence. Teachers have long claimed it, and any parent who has watched a child point at a drawing and explain it to a guest has seen the effect. The problem is never the display. The problem is the pile behind it.
Table of Contents
- Quick Picks: Six Setups for Six Different Homes
- How to Display Kids’ Artwork Without Cluttering the House
- Start With One Intake Point: The Art Inbox
- The Rotation System: Cap Your Frames and Swap on a Schedule
- Storage That Does Not Become Clutter
- Photograph Everything Before You Bin Anything
- What to Do With Oversized, 3-D, and Mixed-Media Pieces
- Display Ideas for Small Rooms, Rental Walls, and Classrooms
- How to Involve Your Child So the Cull Is Not a Fight
- What to Keep by Age
- Frequently Asked Questions
- How do I tastefully display kids’ artwork?
- Where should I display my child’s artwork?
- How do I display kids’ artwork in their room?
- How do I display children’s artwork in a classroom without tape on every wall?
- What are some ways to store and display children’s artwork?
- What are some creative ways to display my child’s artwork?
- Why is it important to display children’s artwork?
- What should I do with old kids’ artwork I don’t want to keep?
- Conclusion: The Keep, Display, Store, Back Up Loop
Quick Picks: Six Setups for Six Different Homes
- No-damage walls: a wire grid hung on removable strips, or art sandwiched between two acrylic sheets.
- Tiny playroom or nursery: one magnetic art display bar, mounted at child height, holding six pieces max.
- Constantly changing art output: a picture ledge, because you rest a piece against the wall in two seconds.
- Cheapest possible setup: a cork board over a painted wall, with a wide mat board frame around the best piece.
- Tween who thinks baby art is embarrassing: skip the nursery entirely and use a hallway strip they curate themselves.
- You want to keep everything: photograph each piece, keep a rotating wall display, and let the bin hold the archive.
How to Display Kids’ Artwork Without Cluttering the House
Display a small rotating set on the wall, store everything else in one labeled box, and photograph each piece before it is filed so nothing is truly lost. Pick a display method with a fixed number of slots, then swap on a schedule instead of adding to the wall every time new art arrives.
1. The wire grid
A metal grid clipped to the wall holds a dozen pieces in a tidy rectangle and lets you re-clip a new drawing in about five seconds. Mount it on removable strips if you rent, and the wall stays intact when you move. Swap time is about five seconds, wall damage is none, and the best rooms are the playroom and hallway.
2. The magnetic art display bar
A long bar with magnets or clips is the fastest swap in the room. It is one line, not a wall, so it reads as intentional even when it is crowded. Keep it at your child’s eye level and set a hard cap of six pieces. If the adhesive is properly rated it leaves no marks, and a bedroom or kitchen is the natural home.
3. The picture ledge
A narrow shelf screwed into the wall holds drawings upright with no glass, no matting, and no frame budget. Layer two or three rows if you need depth, and swap the whole set in under a minute. It needs two small anchors, and a hallway or stairwell is where it earns its keep. With no glass, it is also the safest option for a hallway at child height.
4. The acrylic sandwich
Sandwich a drawing between two thin clear acrylic sheets and the paper stays flat, curl-free, and completely pin-free. The technique is damage-free, which makes it the safest option for freshly painted walls. Round the corners so nothing catches, and expect about thirty seconds per swap in a living room.
5. The gallery wall
A gallery wall looks the most finished, and it is the easiest to ruin. The trick is a wide mat board in every frame so a small drawing sits inside a large white border and matches a bigger painting beside it. Keep the frame count fixed and do not add a ninth. Budget for many nails, expect a slow swap, and plan for glass and childproofing in a nursery.
6. The art display board
A cork or felt board leaning against the wall is a display that hides when you need the floor back. It also travels: a classroom board, a bedroom door board, or a board you carry to a grandparent’s house for a weekend. A minute per swap, no wall damage, and it works in any room.
7. The refrigerator
The fridge is where it starts, and it works best as a staging area rather than a permanent home. Rotate it weekly and remove anything curling or losing tape residue. Once the wire grid or ledge is up, the fridge goes back to being a fridge. Swap time is seconds and the only fix is a magnet or tape.
8. The digital frame or photo book
A digital frame scrolling through scanned art handles a large archive in a small footprint. A printed photo book gives you something to hold, hand to grandparents, and store flat for years. There is no wall damage and the only work is loading the files once, then leaving the frame on any shelf.
Start With One Intake Point: The Art Inbox
Clutter forms at the moment art enters the house, not later. Choose one drop point: a basket by the back door, a shallow tray on the kitchen counter, or a wall pocket near wherever the backpack lands.
Everything passes through that one spot, and nothing else is allowed to accumulate. We clear it every Sunday. Pieces go to the wall, the box, or the camera in a single sitting, which takes five minutes and ends the weekly dread of an overflowing counter.
The Rotation System: Cap Your Frames and Swap on a Schedule
The single most effective rule we have found is a display cap. Decide on a number, such as six to eight frames or clips, and treat it as a ceiling rather than a starting point. When the cap is full, the new piece waits its turn.
Swap monthly, on the same day, so the change is a habit instead of an event. Once a quarter, sit down with your child and choose the next set together, keeping anything that marks a real event that year.
Parents on parenting forums describe the same version of this: photograph the child holding each drawing so the memory survives the paper, and let anything pass through a few months in a cupboard before you decide. The waiting period does most of the emotional work for you.
Storage That Does Not Become Clutter
One box is the whole storage plan. A single lidded bin with archival plastic sleeves keeps paper flat, dust-free, and unfaded, and sleeves let a drawing be pulled out without touching it.
Label it once a year rather than per piece, using the child’s age and the school year. A second slim folder can hold one year-end portfolio per school stage, and those are the pieces worth keeping permanently in many families.
What you do not keep goes somewhere useful. Parents repurpose favourite drawings as wrapping paper and birthday cards, which removes the guilt without removing the paper.
Photograph Everything Before You Bin Anything
Digital capture is what makes a hard cull survivable. Shoot each piece flat, in indirect daylight, with the paper filling the frame and no shadow from your own body. One shot is enough for a daily drawing.
Name files by stage and date, such as reception-rainbow, and upload them to cloud storage the same day. Searchable names matter more than perfect scans once you have four hundred files.
Printed photo books turn that archive into something you can give away. One book per school year, mailed to grandparents, is the most popular offload in the forum conversations we read.
What to Do With Oversized, 3-D, and Mixed-Media Pieces
Cardboard sculptures, painted pottery, and glitter-covered collages will not flatten into a box, and forcing them is how good work gets creased and faded. Photograph these from three angles, then decide on a home for the object itself.
A shadow box turns a dimensional piece into something you can display properly. If the object is not worth a box, give it to the child, photograph it in their hands, and let the photo be the keepsake. Large paintings can be rolled with the painted side out, inside a wide tube, if the surface allows it.
Display Ideas for Small Rooms, Rental Walls, and Classrooms
In a small room, one vertical line beats a crowded wall. A magnetic bar or a single ledge above a desk keeps art in a band you can clear in seconds.
In a rental, stay away from pins and nails entirely. Acrylic sandwiches, adhesive-mounted ledges, and removable strips cover almost every case, and none of them leave holes at inspection.
In a classroom, the display is public and the volume is enormous, so a rotating board with a weekly change works better than a permanent wall of tape. Let each child own one slot, and clear the rest on a set day.
How to Involve Your Child So the Cull Is Not a Fight
Children notice when their work disappears, and a silent bin is the fastest way to turn a display wall into something they stop trusting. Two habits prevent the fight.
First, give a grace period. Nothing gets filed for three months, so nothing feels sudden. Second, hand over the storage box to them around age eight, with the years they own already in it. What belongs to them, they curate.
Asking them to pick the next display set takes two minutes and buys you months of goodwill. Our older two now re-clip the wall on their own, which is the entire reason it still works.
What to Keep by Age
Toddlers and preschoolers make the most pieces and the most repetitive ones. Keep two or three and let the rest go after a photo.
At elementary age the volume is highest and the marks are improving, so a yearly portfolio folder becomes worth building. At tween age the output drops and the subject matter shifts toward private things, so display space often shrinks rather than grows.
Reserve a small number of permanent keepsakes for each school stage, chosen with your child. Three or four per year is plenty, and they are the pieces that still mean something years later.
Frequently Asked Questions
How do I tastefully display kids’ artwork?
Choose one display method with a fixed number of slots, use wide mat boards so mixed-size paper matches, and swap monthly rather than adding to the wall each week. One wire grid, one magnetic bar, or one picture ledge will look more intentional than five different methods in five rooms.
Where should I display my child’s artwork?
At their eye level, in one place, where the family already spends time. A hallway, the kitchen, or just inside their bedroom door all work. Avoid spreading it across several rooms, because a single strong display reads as a collection while scattered pieces read as clutter.
How do I display kids’ artwork in their room?
Use one vertical band: a magnetic art display bar or a picture ledge above a desk or bed. Keep it to six pieces maximum and let your child choose them. In a small room a single line of art is easier to keep current than a gallery wall that needs a ladder to reach.
How do I display children’s artwork in a classroom without tape on every wall?
Use a rotating display board or a wire grid that you clear weekly, with one slot per child. Standing boards and wall pockets avoid tape residue entirely, and a set change day stops the buildup. Photograph finished work for families so the physical copy can go home immediately.
What are some ways to store and display children’s artwork?
Give every piece one of three destinations on arrival: the wall display, a single labeled storage box with archival sleeves, or the digital archive. Label the box by age or school year, photograph each piece before filing, and do not keep more than one box in circulation.
What are some creative ways to display my child’s artwork?
Sandwich drawings between two acrylic sheets and mount them with metal stand-offs, clip them to a wire grid, rest them on a picture ledge, or slide them into a display board pocket. Reuse favourites as wrapping paper, greeting cards, or a fridge magnet so the paper keeps working after it leaves the wall.
Why is it important to display children’s artwork?
Seeing their work displayed at home signals that what they make is valued, and children who see it tend to explain it, show it to guests, and keep making. The display matters less as decoration than as feedback that their effort is noticed.
What should I do with old kids’ artwork I don’t want to keep?
Photograph it first, then hold it in the box for three months before deciding. After that, keep one or two pieces per school year, repurpose favourites as wrapping paper or cards, and let your child make the final call on anything they still recognise.
Conclusion: The Keep, Display, Store, Back Up Loop
Knowing how to display kids artwork without cluttering the house comes down to four verbs, applied the day a piece arrives: keep, display, store, back up. Keep a handful of pieces that mark something real, display a fixed number of slots and swap them on a schedule, store the rest in one labeled box, and back everything up digitally before you decide anything.
Start this week with one change. Pick the basket, decide your frame cap, and photograph the pile already on your counter. That is the whole system.