
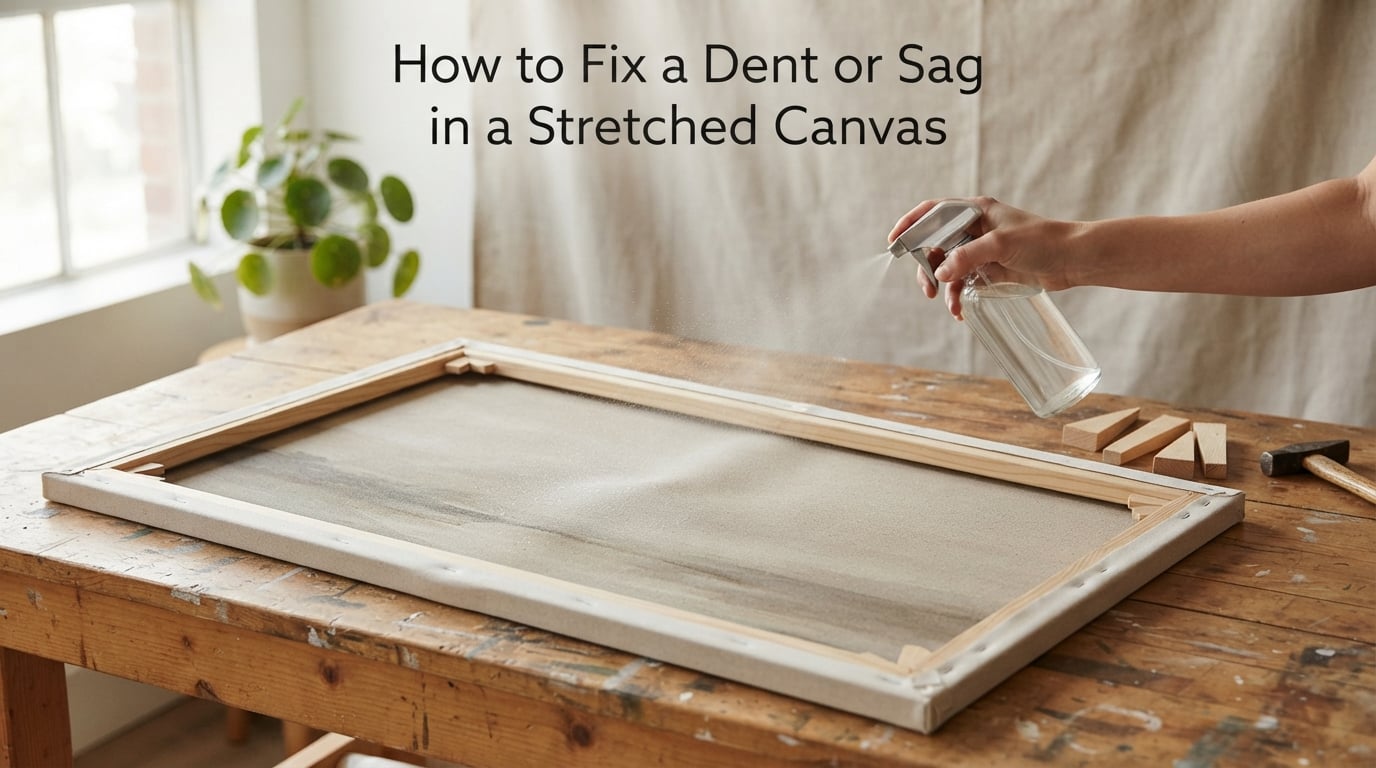
A dent or sag in a stretched canvas is one of the most common problems artists and collectors run into, and the good news is most of them are fixable at home. In this guide I’ll walk you through exactly how to fix a dent or sag in a stretched canvas using methods our team has tested over years of handling paintings, plus what to do when the problem runs deeper than a simple dent.
You’ll learn why canvas dents happen, how to tell a dent apart from a sag, the water method that works like magic on most impressions, how to install canvas wedges for loose corners, and when to call a professional art conservator. Let’s get that painting looking flat and taut again.
Table of Contents
- What Causes Dents and Sags in Stretched Canvas?
- Dent vs. Sag vs. Warp: How to Tell the Difference
- The Water Method (Quick Fix for Dents and Dimples)
- When to Use Canvas Wedges or Keys (Sagging Corners)
- How to Fix Warped Stretcher Bars
- Repairing Small Holes and Tears in Canvas
- Special Considerations: Painted, Old, and Valuable Canvases
- How to Prevent Dents and Sags in the Future
- Frequently Asked Questions
- Final Thoughts
What Causes Dents and Sags in Stretched Canvas?
Most dents come from pressure or impact, whether that’s a stray elbow during a move, a leaning object in storage, or a package dropped at the door. The canvas fibers get pushed in without breaking, and the surrounding weave holds the new shape until something reverses it.
Sags are different. A sag means the canvas has lost tension across the whole surface or in a corner, usually because the stretcher bars have absorbed moisture and loosened their join, or the canvas has relaxed over time. A 2019 Reddit thread from r/painting captures the confusion well: painters often describe “dents” when they actually have a sag, then reach for the wrong fix.
Here’s why water works on dents. Canvas fibers are plant-based (cotton) or plant-derived (linen), and they absorb water and swell slightly. When you mist the back of a dent, the fibers on that side swell and push outward as they dry, contracting and pulling the impression back toward flat. It’s a tiny movement, but it’s enough to erase most shallow dents.
Dent vs. Sag vs. Warp: How to Tell the Difference
Before you grab a spray bottle, identify what you’re actually looking at. The wrong fix wastes time and can damage the painting.
A dent is a localized dimple or bulge in an otherwise taut surface. Press it with a finger and the canvas feels mostly tight around it. Water from the back is usually the right answer.
A sag is a general looseness across the canvas or a drooping corner. The whole surface feels spongy when you press it, or one corner hangs lower than the others. Water won’t fix a sag. You need canvas wedges to push the stretcher bars apart and retension the fabric.
A warp is a problem with the wooden stretcher bars themselves, which have twisted, bowed, or pulled away from each other. The canvas follows the warped frame. Wedges alone won’t help if the wood is bent. You’ll need to straighten or replace the bars.
If the damage includes a puncture, rip, or visible tear, you’re dealing with a hole, and that’s a different repair path. I’ll cover that briefly further down.
The Water Method (Quick Fix for Dents and Dimples)
Spray or mist water on the back of the dent, let the canvas air dry, and the swelling fibers will pop the dent out as they contract. That’s the short answer, and it works on roughly 8 out of 10 shallow dents in primed or unprimed canvas.
Our team has used this method on cotton and linen, primed and unprimed, painted and unpainted. Here’s the step-by-step process that gives the most consistent results.
Step 1. Lay the painting face down on a clean, flat surface. Put a soft towel underneath so the wet back doesn’t drip onto a table or onto the painted front if the canvas rests on its frame.
Step 2. Fill a clean spray bottle or mister with plain water. Hot water works faster than cold because heat speeds up the swelling and drying cycle, but cold is safer for painted surfaces. If you’re working on a finished oil or acrylic painting, stick with cool water and a light mist.
Step 3. Lightly mist the back of the dented area. You’re aiming for damp, not soaked. The canvas should darken with moisture but not drip. Hold the bottle 8 to 10 inches away and feather outward from the dent so the moisture gradient is gentle.
Step 4. For stubborn dents, lay a damp (not dripping) cloth or sponge on the back of the dent and leave it for 5 to 10 minutes. The longer contact gives fibers more time to absorb and swell.
Step 5. If the dent is shallow, you can gently push it flat from the back with a clean finger while the canvas is wet. Don’t force it. The fibers will do most of the work as they dry.
Step 6. Let the canvas air dry face down. Avoid hair dryers or heat guns, which can warp the wood or crack paint on the front. Most dents relax within 30 minutes to 2 hours.
Step 7. Check the front. If a faint impression remains, repeat the process. Two light passes work better than one heavy soak.
Steam works too, and one r/painting user reported great results using a clothes steamer on an acrylic painting dent. Steam carries more heat and moisture, so it’s faster, but it also carries more risk for painted surfaces. Test on an unpainted edge first if you go that route.
When to Use Canvas Wedges or Keys (Sagging Corners)
If your canvas feels loose overall or one corner droops, the fix is canvas wedges (also called canvas keys). These are small wooden triangles that came with your stretcher bars, or you can buy a set at any art supply store. They slot into the inside corners of the stretcher frame and push the bars apart to retension the fabric.
Step 1. Remove the painting from the wall and lay it face up on a flat surface. Identify the corners that feel slack when you press the canvas.
Step 2. Find the slot inside the corner of the stretcher bar where the wedge slides in. Each corner of a standard stretcher frame has a small opening designed for exactly this.
Step 3. Slide the wedge into the slot until it starts to firm up the canvas. Don’t push it all the way in yet. You want even tension across all four corners, not one tight corner and three loose ones.
Step 4. Tap the wedge gently with a small wooden mallet or a regular hammer wrapped in cardboard. The cardboard protects the wood from dent marks. Make small, even taps.
Step 5. Work diagonally across the frame. Tighten the top-left corner, then the bottom-right, then top-right, then bottom-left. Going corner to corner keeps tension balanced.
Step 6. Stop as soon as the canvas looks and feels drum-tight. Over-tightening can tear the canvas at the corners or bow the stretcher bars. The surface should ping lightly when you tap it with a finger.
Step 7. Stand the painting upright and sight down each edge. If one corner still sags, give that wedge one more light tap.
If the wedges don’t help, the issue is likely warped stretcher bars rather than a loose canvas, and you’ll need the next section.
How to Fix Warped Stretcher Bars
Wood moves with humidity, and stretcher bars can twist or bow even when they’re made from kiln-dried wood. A warped bar pulls the canvas with it, leaving a loose area you can’t tighten with wedges alone.
Step 1. Remove the canvas from the frame if possible. Most stretched canvases are stapled on the back, so this means pulling staples, which is invasive. Only do this for valuable paintings or canvases you plan to reuse.
Step 2. Lay the warped bar on a flat surface and identify the direction of the bow. The center of the bar will be higher (or lower) than the ends.
Step 3. Place the bar under a stack of heavy, flat weights, like books or boards, for 24 to 48 hours. The slow pressure can coax minor warps back into line.
Step 4. For more stubborn warps, lightly mist the concave side of the bar with water (the side that curves inward). The moisture softens the wood fibers, and as the bar dries under weight, it often straightens. Don’t soak the wood or you’ll invite mold.
Step 5. Reassemble the frame and re-stretch the canvas, or restretch the existing canvas by pulling it taut and restapling every 2 inches along the back.
Step 6. If the bar is badly twisted or cracked, replace it. New stretcher bars cost less than risking a tear in the canvas.
Repairing Small Holes and Tears in Canvas
If your dent turned out to be a small puncture or a torn spot, water won’t help. You need a patch.
Step 1. Trim any loose threads around the tear so the edges are clean.
Step 2. Cut a patch from a piece of matching canvas, slightly larger than the hole. If you have leftover canvas from the original stretching, that’s ideal.
Step 3. Apply a thin layer of BEVA adhesive (or a conservation-grade PVA) to the patch and slide it behind the hole from the back of the canvas. Press flat.
Step 4. Let the adhesive cure for 24 hours before applying any paint or gesso to the front.
Step 5. Once cured, lightly gesso and tint the patch to match the surrounding surface. For valuable paintings, leave this step to a conservator.
Special Considerations: Painted, Old, and Valuable Canvases
The water method is safe for most canvases, but there are cases where it can cause real damage.
Rabbit skin glue sizing. Older paintings, especially pre-1960s oil paintings, are often sized with rabbit skin glue, a traditional sizing that reactivates when wet. Spraying water on the back can loosen the sizing on the front and cause paint to lift, bubble, or separate. If you don’t know how your painting was sized, test on a hidden edge or consult a conservator before using water.
Acrylic paintings. Acrylic paint dries flexible but can soften if soaked. Keep water contact light and short.
Oil paintings. Fully cured oil paint is robust on the back, but the front can be sensitive to any moisture that wicks through. Spray conservatively and let dry slowly.
Old or valuable paintings. If the painting has any monetary or sentimental value beyond a few hundred dollars, call a professional art conservator. A conservator can identify the sizing, the paint type, and the right solvent without guesswork. The cost is usually far less than the cost of restoring damage from a well-meaning repair.
Canvas prints. Printed canvases have ink or pigment that can bleed or shift with water. Avoid the water method on prints unless you’re certain the printing method is water-resistant.
How to Prevent Dents and Sags in the Future
No competitor we’ve found covers this, but it’s one of the top questions from painters moving into their first studio space. A little prevention saves a lot of repair time.
Storage. Store paintings vertically, not stacked flat. Keep them in a climate-stable room with humidity between 40 and 60 percent. Avoid attics, basements, and garages where temperature swings can warp wood and stretch fabric.
Shipping. Wrap the painted face in glassine paper, then add corner protectors and a layer of cardboard over the face before boxing. Movers often protect the frame and forget the painting surface; one bad bump and you’ve got a dent.
Hanging. Use sturdy picture-hanging hardware rated for the weight of your painting. A heavy canvas on a single nail can gradually tilt and loosen the corner where it bears the most weight.
Display. Avoid hanging canvas paintings in direct sunlight, over heat vents, or in kitchens and bathrooms. Heat and humidity cycles are the main culprits behind warping and sagging.
Transport. Carry large canvases vertically with both hands on the frame, not by the stretcher bars alone. Never grab a painting by the top edge of the canvas itself.
Frequently Asked Questions
How do you fix a dented stretched canvas?
Lay the painting face down, lightly mist the back of the dent with water, and let it air dry. The canvas fibers swell and contract as they dry, pulling the dent back out. Repeat once if a faint impression remains.
How do you fix a sagging stretched canvas?
Identify which corner is loose, then tap a canvas wedge into the inside slot of that stretcher-bar corner with a small mallet. Work diagonally across all four corners in small increments until the canvas is drum-tight.
How do you get a dimple out of a canvas?
Mist the back of the dimple with plain water using a spray bottle held 8 to 10 inches away. Let the canvas air dry face down for 30 minutes to 2 hours. The fibers swell and pull the dimple flat as they dry.
How do you restretch a canvas painting?
Remove the staples from the back, pull the canvas taut across the stretcher bars, and restaple every 2 inches, working from the center of each side outward. Keep tension even so the weave doesn’t distort.
Can I use hot water instead of cold on a painted canvas?
Hot water speeds up the fiber-swelling process, but it also carries more risk of paint lifting or sizing reactivating. For any painted surface, especially oils or older works with rabbit skin glue sizing, use cool water and a light mist.
Will the water method work on a linen canvas?
Yes. Linen swells slightly more than cotton and often responds even better to the water method. Use the same light mist technique on the back and let it air dry face down.
Final Thoughts
Fixing a dent or sag in a stretched canvas is one of the most satisfying small repairs you can learn as an artist or collector. In most cases, a light mist of water on the back of a dent and some patience is all you need. For sagging corners, a set of canvas wedges and a small mallet will keep a painting drum-tight for years.
Start with the gentlest method, identify whether you have a dent, sag, or warp before you reach for any tool, and call a conservator for anything old or valuable. With these steps in mind, you now know how to fix a dent or sag in a stretched canvas and keep your work looking its best for the long haul.