
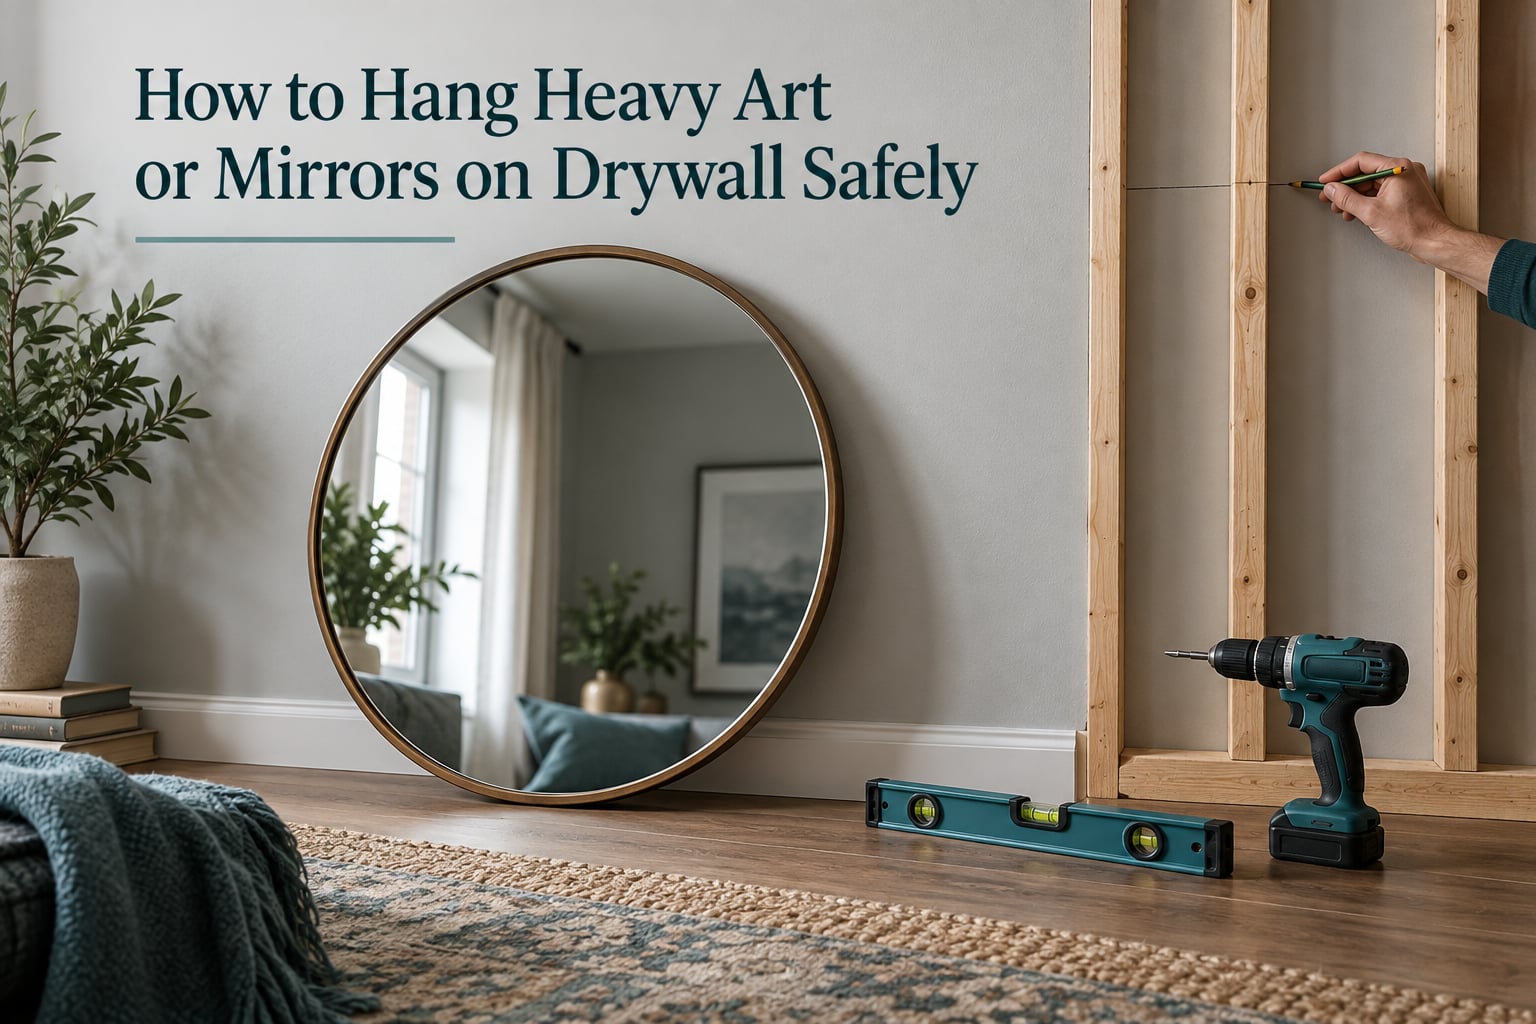
Learning how to hang heavy art or mirrors on drywall safely comes down to one rule: never let the weight sit on the gypsum core alone. Bare drywall holds roughly 5 to 10 lbs before the paper face tears. A stud gives you a solid structural member that a properly driven screw can pull hundreds of pounds from. Everything between those two numbers depends on the anchor you choose and how honestly you count the load.
I have hung mirrors, canvases and gallery walls in enough rental apartments and fixer-upper houses to know where jobs go wrong. Almost always it is the same thing: a 10 lb plastic anchor carrying a 45 lb frame, or a single screw in a stud that was 4 inches from where the D-ring needed it. Neither failure is dramatic at first. The anchor creeps, the paper face delaminates, and one day the piece is on the floor.
This guide covers what drywall can actually take, how to find a stud, every anchor type worth knowing, the French cleat method that forum users recommend most for large mirrors, and how to patch the wall when you are done. It takes about 20 minutes to read and saves a trip to the hardware store.
Table of Contents
- How Much Weight Can Drywall Hold? The Real Numbers
- What Kind of Wall Do You Have?
- How to Find Studs in a Wall
- Drywall Anchor Weight Capacity Chart
- Which Method Should You Use?
- Step-by-Step: How to Hang Heavy Art or Mirrors on Drywall Safely
- How to Install Each Type of Drywall Anchor
- What Hardware Is on the Back of Your Piece?
- When the Studs Do Not Line Up With Your Hardware
- Very Heavy Mirrors: The French Cleat Method
- Frameless Mirrors: Adhesive and Clip Systems
- Over a Fireplace, on a Ceiling, and Other Risky Spots
- Older Homes: Why Plaster and Lath Crack
- Common Mistakes That Cause Failures
- How to Fix Drywall After Removing an Anchor
- When to Call a Professional
- Frequently Asked Questions
- How much weight can drywall hold?
- Can drywall anchors hold 100 pounds?
- Can you hang 50 lbs on drywall?
- Will drywall anchors hold a heavy mirror?
- Can I hang a heavy mirror on a stud wall?
- How heavy can you hang a mirror on drywall without damaging the wall?
- Should I use a toggle bolt or a molly bolt?
- Can you hang heavy art on drywall?
- Conclusion
How Much Weight Can Drywall Hold? The Real Numbers
Drywall on its own holds about 5 to 10 lbs. That is the honest ceiling for a bare screw, a nail, or a small adhesive hook. The gypsum core is a soft, chalky material with almost no pull-out strength, and the paper face tears long before the core does.
Drive a screw into a stud and the picture changes completely. Published guidance commonly puts a single fastener in a stud at 50 lbs or more of working load, and stud screws of sufficient length into a stud can carry a heavy mirror. The framing is doing the work, not the wallboard.
When a manufacturer prints a weight on an anchor package, that number is a laboratory rating, not a promise. The accepted conversion is to divide the rated capacity by 4 to get a safe working load. An anchor rated at 100 lbs gives you 25 lbs of real, dependable holding power, because rated capacity assumes ideal drywall, ideal fasteners, and a static pull.
That margin matters more than people expect. Slamming doors, a footstep from a nearby wall, a heating cycle in the wall cavity and years of creep all add dynamic load that the rating never saw.
One more distinction worth understanding. A screw driven straight out from the wall pulls in tension, which is the hardest case for drywall. A screw driven up into the bottom face of a stud, or a heavy piece sitting on a ledge, puts the load in shear, where it is far stronger. This is why furring strips and French cleats work so well: they change the direction of the load rather than fighting the material.
Safe working load = rated capacity divided by 4. Use that number for planning and stay under it.
What Kind of Wall Do You Have?
Every recommendation below assumes modern drywall. If your home predates the 1970s, the wall is likely plaster over lath or masonry, and the correct hardware changes completely. Identify the wall before you buy anything.
Run the knock test. Knock hard on the wall with a knuckle or a fist. Hollow drywall answers with a flat, dead thud. Plaster over lath rings, because the lath gaps behind it create a hollow cavity that resonates. A masonry wall sounds completely solid and does not move when you press.
Then push. Press your thumb firmly into a spot away from a fastener. Drywall gives slightly and feels slightly springy. Masonry does not move at all. Plaster feels hard but sounds different, and older plaster can feel powdery or gritty.
| Wall type | Knock test | Push test | Correct fastener |
|---|---|---|---|
| Drywall or sheetrock | Flat, dead thud | Slightly springy, dents under firm pressure | Self-drilling anchor, toggle bolt, or screw into a stud |
| Plaster over lath | Hollow, ringing | Hard but may feel gritty or powdery | Screw into a stud or a furring strip, or use plaster-specific anchors |
| Masonry, brick, or concrete | Fully solid | No movement at all | Masonry anchor or sleeve; drywall hardware is useless here |
If you are renting, the wall type matters even more for your deposit. Adhesive-mounted loads are the only genuinely deposit-safe option, and they come with a hard weight ceiling discussed further down.
How to Find Studs in a Wall
Studs are the best anchor point you have and they are free. You only need to find one. Three methods work, in order of reliability.
Method 1: Use a stud finder. A magnetic finder is faster and cheaper than an electronic one and works on any wall type. Sweep it across the wall in a horizontal line at the height you want to hang. You will feel it tick over the fastener that holds the drywall to the stud, and the reading widens as the tool passes directly over the wood. Mark both edges of the reading and take the center.
Method 2: Use the knock test. Knock along the wall in a horizontal line about 6 inches apart until the dead thud turns into a hollow knock. The solid spots are the studs. Reread your mark with a pencil. This is slower but it costs nothing and it never lies because of a wire or a nail in the wall cavity.
Method 3: Use the outlet trick. Shut off the breaker for the circuit, then remove an outlet or switch cover plate. The mounting screws are almost always driven into the nearest stud. Measure left and right from that screw to find the stud edges, then measure vertically up the wall from the plate to your hanging height. Put the cover back on and re-energize the circuit before you touch a bit.
Studs sit 16 inches on center in most houses, and 24 inches on center in some older or garage structures. If your knock test finds one stud and the next one is 24 inches away, you are working with wide spacing, which is exactly why a single centered fastener is a bad plan for a wide mirror.
Drywall Anchor Weight Capacity Chart
These are typical published ratings, always stated per anchor or per pair as noted. Manufacturer numbers vary, so read the printed rating on the package you are holding and use the lower figure. Divide by 4 for your safe working load.
| Anchor type | Typical rated load | Pilot hole | Best for |
|---|---|---|---|
| Plastic ribbed or expandable sleeve | 10 to 20 lbs per anchor | Yes, sized to the sleeve | Light frames, small canvas, a D-ring on a lightweight piece |
| Self-drilling or threaded drywall anchor | 30 to 50 lbs per anchor, up to 150 lbs per pair for high-performance versions | No | Medium weight when no stud is available and a power screwdriver is at hand |
| Claw hanger or monkey-style hook | Up to roughly 50 lbs when used in pairs | No, but a small pilot hole prevents drywall paper blowout | Framed art on wire or D-rings where you want a nearly invisible mount |
| Molly bolt, metal sleeve | 50 to 100 lbs per anchor, depending on size | Yes, with a metal hole saw bit | Heavy framed mirrors and shadow boxes mounted into hollow wallboard |
| Toggle bolt, traditional | 50 to 100 lbs per anchor | Yes, use a 1/2 inch bit | The strongest single-anchor option for hollow wallboard |
| Threaded toggle or hollow-wall anchor | 50 to 100 lbs per anchor | Yes | Removable installs and situations where the toggle may need to be tightened later |
| Wood furring strip, screwed into studs | Hundreds of lbs in total, limited by the screws into wood | Not applicable | Very heavy mirrors, and any piece that must sit flat against the wall |
| French cleat, screwed into two studs | Hundreds of lbs in total, limited by the cleat screws | Not applicable | The safest method for a large framed mirror on a stud wall |
Notice the pattern. Every single-anchor option lands in the same neighborhood, roughly 50 to 100 lbs rated, which is 12 to 25 lbs of safe working load. The methods that handle genuinely heavy pieces, furring strips and French cleats, are the ones that stop relying on one anchor at all.
Which Method Should You Use?
This is the decision table I wish I had before my first 60 lb mirror. Find your piece on the left column and follow the row.
| Item weight | Recommended method | Hardware needed |
|---|---|---|
| Under 10 lbs | Single screw or nail into a stud; a picture hook in drywall is acceptable | Drywall picture hanger or a single screw |
| 10 to 25 lbs | Two screws into studs, or a self-drilling anchor pair in hollow wallboard | Self-drilling anchors or stud screws |
| 25 to 50 lbs | Claw hanger pair, molly bolts, or toggle bolts; studs strongly preferred | Toggle or molly bolts with a 1/2 inch bit |
| 50 to 100 lbs | French cleat or furring strip screwed into studs | Two wood cleats plus long screws and a stud finder |
| Over 100 lbs | Furring strip or plywood backing into multiple studs, with a second person on the lift | Structural lumber, long screws, a helper |
| Frameless glass mirror | Z-clips, mirror clips, or construction adhesive, combined with a mechanical backup | Mirror clips and construction adhesive |
Two rules sit above the table. First, if the piece is over 50 lbs, use a method that engages at least two studs. Second, if the piece is glass, always use a mechanical anchor even if an adhesive seems adequate, because adhesive failure drops glass rather than canvas.
Step-by-Step: How to Hang Heavy Art or Mirrors on Drywall Safely
These eight steps are the method I use for anything above 25 lbs. Work slowly through the first two; every expensive mistake happens before the drill comes out.
Step 1: Weigh or estimate the piece. If you have a scale, use it. If not, estimate generously and add 25 percent, because glass is heavier than it looks and frames are bottom-heavy with backing board.
Step 2: Confirm the wall type and locate the studs. Run the knock test or a stud finder at the hanging height and mark both stud edges. A wide mirror frequently spans two studs with only hollow wallboard between them, and that changes your method entirely.
Step 3: Make a paper or masking tape template. Tape a paper template of your frame to the wall, or tape the frame hardware itself in position, and mark exactly where the hanging point lands. For a single centered D-ring, the mark is straightforward. For two D-rings, measure the distance between them, measure their height from the top of the frame, and transfer both numbers to the wall. A garage bag held to the wall with static works well as a throwaway template that slides around until you like the position.
Step 4: Move the mark down by a half inch. Your wall mark should sit about 1/2 inch lower than you want the top of the frame. The screw head or D-ring occupies the gap between the mark and the frame. Forgetting this step is the most common reason a piece hangs crooked, and the only cure is to move it down 1/2 inch and drill again.
Step 5: Pre-pilot the hole. Drill a pilot hole with a bit slightly smaller than the screw, or the manufacturer-specified bit for your anchor. This prevents the drywall paper from wrapping around the screw threads and stripping the hole. Use a manual screwdriver for the final tightening, or switch the drill to a low setting, because over-tightening spins the anchor and crushes the core.
Step 6: Set the anchor or screw. If a stud is in the way, drive a long screw straight into it. If not, set your toggle, molly or self-drilling anchor. Stop when it feels solid, not when it feels tight.
Step 7: Hang the piece and check the gap. Lift the frame onto the fastener, then step back and look at it from across the room with a spirit level. If it is off, the correction is always down, never sideways, because a level piece can be dropped an inch and a crooked piece cannot be fixed.
Step 8: Wait, then re-check after a month. Walk past it after a few days of door slams, then again a month later. A working anchor does not move. If there is a new dust mark on the wall below the fastener or the gap has changed, the load is too high for the anchor you chose and you should pull it down now rather than later.
The tool list is short: a stud finder, a pencil, a 1/2 inch bit, a drill, a manual screwdriver, a spirit level, painter’s tape, and a putty knife for later repair. That is the whole job.
How to Install Each Type of Drywall Anchor
Plastic ribbed and expandable sleeve anchors
Drill a pilot hole the diameter printed on the sleeve, usually matching the sleeve’s outer width. Tap the sleeve in with a hammer until the flange sits flat against the wall. Drive the screw into the sleeve and stop as soon as the sleeve stops expanding. These are for light work only, and a 45 lb mirror on a 10 lb anchor is the single most common failure I see.
Self-drilling and threaded drywall anchors
No pilot hole is needed. Hold the anchor square to the wall on a flat, non-bumped area and drive the screw with a drill on low speed or a manual screwdriver. The threads cut their own path into the gypsum. Use two, spaced to match the frame hardware, and never tighten past the point where the anchor stops advancing.
Claw hangers and monkey-style hooks
Press the hook into position where the frame hardware lands, then drive the two or three teeth in with a hammer. A light tap from a picture frame hook is not enough; a claw hanger needs a real strike. Reviewers report this style holding around 50 lbs in pairs, and forum users like it because nothing shows once the frame is up.
Molly bolts
Drill a hole the exact size specified, which is usually larger than the anchor’s nominal size and often requires a metal hole saw. Tap the molly into the hole until the flange touches the wall, then drive the included screw down. The screw pulls the metal sleeve open behind the wallboard, where it grips like a clamp. Molly bolts are removable by backing the screw out, which makes them a good renter’s option for medium weight.
Toggle bolts
Drill a 1/2 inch hole, remove the bolt from the toggles, push the folded toggles through the hole, and screw the bolt in until the metal wings open flat against the back of the wallboard. The wings cannot be folded back for removal, so cutting them off leaves a hole you will be patching later. Where you can afford a small visible mark, a molly bolt is the more considerate choice.
What Hardware Is on the Back of Your Piece?
D-rings
A D-ring is a flat metal loop screwed flat to the back of a frame. On a wide mirror there are usually two, set in from the edges. The load should hang from the ring at its top edge, and for the wall mark, measure the distance between the two rings and transfer that spacing to the wall.
A single centered D-ring on a wide, bottom-heavy piece is a torque problem. All the weight tries to rotate the frame forward around one point, which is exactly the failure mode people report in forum threads. Two attachment points spread the load and stop the frame from tipping.
Hanging wire
Wire strung between two D-rings acts like a wide, flexible strap. It spreads the load better than two independent rings because the wire distributes tension along its whole length. It also drapes, so a single wire across a wide frame is a poor choice; use two separate wires, each carrying about half the weight.
Wire is also the hardware that pairs with claw hangers, which is a combination forum users rate as among the most discreet options available.
Single D-ring with a wide frame
If you own one of these, do not fix the wall directly to it. Attach a second D-ring on the opposite side so the frame has two mounting points, or move to a French cleat system. A single ring on a heavy frame will slowly walk out of the wood.
| Hardware | Working weight range | Where it mounts |
|---|---|---|
| Wire hangers | 10 to 30 lbs | On the back of the frame, attached to two D-rings |
| D-rings, single | 10 to 25 lbs, depending on frame | Back of the frame, centered |
| D-rings, pair | 25 to 50 lbs | Back of the frame, set in from each edge |
| French cleat | 50 lbs and up | One half on the frame, one half screwed into studs |
When the Studs Do Not Line Up With Your Hardware
This is the most common real-world problem, and it has a short list of honest answers. Pick one of these three.
Move the piece. A few inches of shift is often all it takes. Study the wall, measure stud positions, and find a spot where the artwork still looks right and the hardware lands on wood. This is by far the cleanest outcome.
Add a furring strip. Cut a straight length of 1 by 3 or 1 by 4 lumber, fasten it into one or more studs with long screws, and then mount your cleat, D-rings or mirror clips into the strip. A strip 36 inches long usually crosses a stud or two. The strip is also the method a Houzz commenter recommended, running two strips the thickness of the baseboard so the mirror rests against them.
Go to a French cleat. Because the cleat spans horizontally, it can cross two studs and hold the piece in a position where the frame hardware would never have lined up.
What not to do is keep drilling extra holes hoping to find a stud. Each miss is another hole to patch and another weak spot in the paper.
Very Heavy Mirrors: The French Cleat Method
The French cleat is the most frequently recommended approach in DIY forums for a large mirror, and no competing guide covers it in detail. The mechanism is simple: one angled half of wood is screwed flat to the back of the frame, the other half is screwed to two studs on the wall, and the two halves interlock. The frame then hangs like a shelf, with the load carried on a wide surface instead of a point.
You need two lengths of the same 1 by 3 or 1 by 4 lumber cut on a slight angle, long screws rated for the weight, a stud finder, and a spirit level. A single piece of drywall is not a factor here because the wall half is fastened into framing.
Step 1: Locate and mark two studs at your chosen height. Verify with a stud finder and mark both edges, then take the center of each.
Step 2: Fasten the wall half. Screw the wall cleat into the center of each stud. If the cleat is long enough to cross three, use all three. Check it with the level before you go further.
Step 3: Attach the frame half. With the mirror face down on a padded blanket, screw the matching cleat half to the back of the frame between the two D-ring positions, as close to the top edge as the frame allows.
Step 4: Dry fit before lifting. Have a second person lift the piece while you guide it onto the wall cleat. Seat it fully so the two angles bear on each other with no gap.
Step 5: Verify engagement. The weight should be carried by the interlocking faces, not by a single point. Push gently on the top corners; the piece should not pivot.
For a mirror over 100 lbs, use furring strips or a plywood backing panel instead, screwed into two or more studs, and plan the lift with a second person. A dropped 100 lb mirror is not a lesson you want to learn in a living room.
Frameless Mirrors: Adhesive and Clip Systems
Frameless glass has no back hardware, so it needs a different approach. Three methods are common and they work best in combination.
Z-clips. Two interlocking channel clips, one screwed to the wall and one taped or clipped to the back of the mirror. They slide together and lock. Z-clips hold a moderate weight cleanly with almost no visible hardware, but they need a solid mounting surface behind them.
Mirror clips. Small metal clips screwed to the wall that hold the bottom edge of the glass. A forum favourite workflow is mirror clips screwed into studs plus a bead of mirror adhesive, because the clips carry the load and the adhesive just stops the piece from shifting.
Construction adhesive. A construction adhesive applied with a caulk gun in beads around the back perimeter. It is genuinely strong, and it is a bad idea as the only support for a large frameless mirror. Adhesive fails without warning, and a frameless mirror is a single sheet of glass with no frame to protect it from the floor.
Warning: never hang frameless glass directly over tile or a hard surface. If it falls, the glass breaks, and the shards land on the tile rather than on carpet. If you are mounting a frameless mirror in a bathroom, the mechanical anchor is not optional.
Over a Fireplace, on a Ceiling, and Other Risky Spots
Over a fireplace. Two forces work against you here. Heat cycles and the vibration of a firing fireplace both loosen fasteners over time, and a mirror that has been gently shaken for a season can walk out of an anchor that was marginal on day one. Use a French cleat or furring strip into studs, never adhesive, and check it every few months during the heating season.
On a ceiling. Ceiling drywall is the same material as wall drywall and just as weak, but gravity is pulling the load directly down rather than at an angle. Use a threaded anchor or a cleat screwed into ceiling joists, and always have a second person supporting the piece while you drive fasteners into an overhead surface.
On an angled or sloped wall. Marking a level line on a sloped surface takes care. Transfer the height from a level point with a straightedge and a pencil rather than eyeballing it, and mark the fastener line straight across the wall so both points sit at the same height.
Above a bed or a door. These are places where vibration is routine rather than occasional. Whatever margin you would use elsewhere, increase it here.
Older Homes: Why Plaster and Lath Crack
Self-drilling drywall anchors are the wrong tool in a pre-1970s home. Plaster over lath is a brittle shell with a hollow, unevenly supported space behind it, and a threaded anchor cutting its own path will spike the plaster and lift a chunk of it off the lath. The anchor is fine; the wall is the casualty.
In older homes, use plaster-specific hollow wall anchors, a toggle or molly bolt into a small predrilled hole, or screw into a stud. If you hear a crack as you drill, stop immediately and move to a different method.
Common Mistakes That Cause Failures
Over-tightening with a drill. Power tools at high speed strip the gypsum core and the anchor spins freely. Stop when it stops advancing and finish by hand.
Skipping the pilot hole. The screw threads cut the paper face and tear it, which is what makes a hole look far worse than a clean predrilled one.
Using an anchor at its exact rating. If the piece weighs 50 lbs, a 50 lb anchor is already at its limit on day one. Remember the divide-by-4 rule and step up a class instead.
Using a single anchor on a heavy piece. One point of attachment is a lever, not a support. Two attachment points spread the same load over twice the material.
Forgetting the bottom-heavy frame. Backing board and glazing add weight low on the frame, so torque concentrates at the top attachment point. This is the reason a top-heavy-looking hang still tips forward.
Skipping the half inch. Hang the piece with no gap under the hardware and it will sit high and appear crooked. The mark goes 1/2 inch below the intended top edge.
How to Fix Drywall After Removing an Anchor
Holes are normal in drywall and almost all of them repair cleanly. This is the workflow for a small anchor hole, a torn paper face, or a hole left by cutting out toggle wings.
Step 1: Remove the fastener and pull the anchor. Back the screw out fully. For a molly bolt, push the sleeve out from behind with a screwdriver. For a toggle bolt, snip the wings flush with a drywall saw or pliers and push the stub in.
Step 2: Clear loose paper. Tear away any dangling paper or crumbling gypsum so the patch has a solid edge to sit against.
Step 3: Fill the hole. For a hole under 1/4 inch, press lightweight setting compound or spackle into it with a putty knife and let it dry. For a 1/2 inch hole from a toggle bolt, fill it with a setting compound that hardens in place rather than a lightweight tub compound that shrinks.
Step 4: Sand flush. Sand the dry patch with 120 to 220 grit until the repair is flat to the touch and level with the surrounding wall.
Step 5: Prime and paint. Spot prime over any scuffed or taped area, then paint to the surrounding sheen. If the hole is at eye level in a living room, prime the whole wall so the sheen matches.
For a hole larger than 1 inch, cut a square patch of drywall slightly larger than the opening, fit it, tape the seams and mud. Or install a small backer board in the cavity so the next anchor has solid material to bite into, which saves you a second repair later.
When to Call a Professional
Some jobs are not a weekend project, and the honest answer matters more than the savings. Call an installer if the piece is a large frameless mirror or antique glass, if the wall is masonry and needs a sleeve anchor, if the mounting point is a fire-rated or engineered assembly, or if the wall is plaster in a historic home you care about.
Also call if the piece is over 100 lbs and you do not have a second person available to help lift and hold it. A professional is not just selling a better fastener; they are solving the lift, the alignment and the liability.
Frequently Asked Questions
How much weight can drywall hold?
Bare drywall holds about 5 to 10 lbs before the paper face tears. A screw driven into a stud is rated for 50 lbs or more of working load. Between those two, the number depends entirely on the anchor: plastic ribbed anchors run 10 to 20 lbs rated, self-drilling anchors 30 to 50 lbs, and toggle or molly bolts 50 to 100 lbs per anchor. Divide any rated capacity by 4 for a safe working load.
Can drywall anchors hold 100 pounds?
A single drywall anchor rated at 100 lbs is a laboratory figure, not a working load. At the standard divide-by-4 safety margin that gives you about 25 lbs of dependable support. For a genuine 100 lb load, use a French cleat or furring strip screwed into two or more studs, which is a system rather than an anchor.
Can you hang 50 lbs on drywall?
Yes, but not with one ordinary anchor. For 50 lbs, use a French cleat or furring strip into studs, or a well-installed pair of toggle or molly bolts if no stud is available. Verify the ceiling with a generous margin because 50 lbs of glass on a marginal mount eventually ends up on the floor.
Will drywall anchors hold a heavy mirror?
They will hold it if the anchor rating is well above the piece weight and at least two anchors share the load. Anchors fail when a lightweight plastic sleeve is asked to carry a heavy frame, or when a single anchor is used on a bottom-heavy piece where all the torque concentrates on one point. Size the anchor by the total weight, then divide the rating by 4.
Can I hang a heavy mirror on a stud wall?
Yes, and that is the preferred method. A stud gives you a structural member that a long screw can pull serious weight from. The catch is stud spacing, which is typically 16 inches on center and sometimes 24 inches, so a wide mirror often lands on hollow wallboard between studs. A French cleat solves this by spanning two studs at once.
How heavy can you hang a mirror on drywall without damaging the wall?
Around 25 lbs is a sensible limit for hollow wallboard using a pair of self-drilling anchors, and 50 lbs is where you should move to a French cleat into studs. Above 25 lbs, use two attachment points matched to the frame hardware and mark the wall 1/2 inch below the intended top edge so the frame hangs flush.
Should I use a toggle bolt or a molly bolt?
Choose a toggle bolt for the highest strength in hollow wallboard, and a molly bolt when you may need to remove the piece later. A toggle bolt cannot be undone without cutting the wings off, while a molly bolt backs straight out. Both need a correctly sized pilot hole, and both should be installed with two points wherever possible.
Can you hang heavy art on drywall?
Yes. Light and medium pieces go into studs or into self-drilling anchors, and genuinely heavy pieces go into a French cleat or furring strip screwed across two studs. The failure is never the hardware being too weak in absolute terms; it is a light-duty anchor being asked to carry a load it was never rated for.
Conclusion
To hang heavy art or mirrors on drywall safely, three numbers do all the work. Drywall alone gives you 5 to 10 lbs. A stud gives you 50 lbs or more from a single fastener. And every printed anchor rating should be divided by 4 before you trust it with something you would not want on the floor.
Below 25 lbs, two self-drilling anchors or a pair of claw hangers handle the job. Between 25 and 50 lbs, move to toggle or molly bolts, and prefer studs if they are reachable. Above 50 lbs, stop thinking about anchors entirely and build a French cleat or a furring strip across two studs.
Mark the wall, mark it 1/2 inch low, pre-pilot the hole, stop tightening when it stops advancing, and check the piece again a month from now. That is the whole method, and it is why nothing falls.