
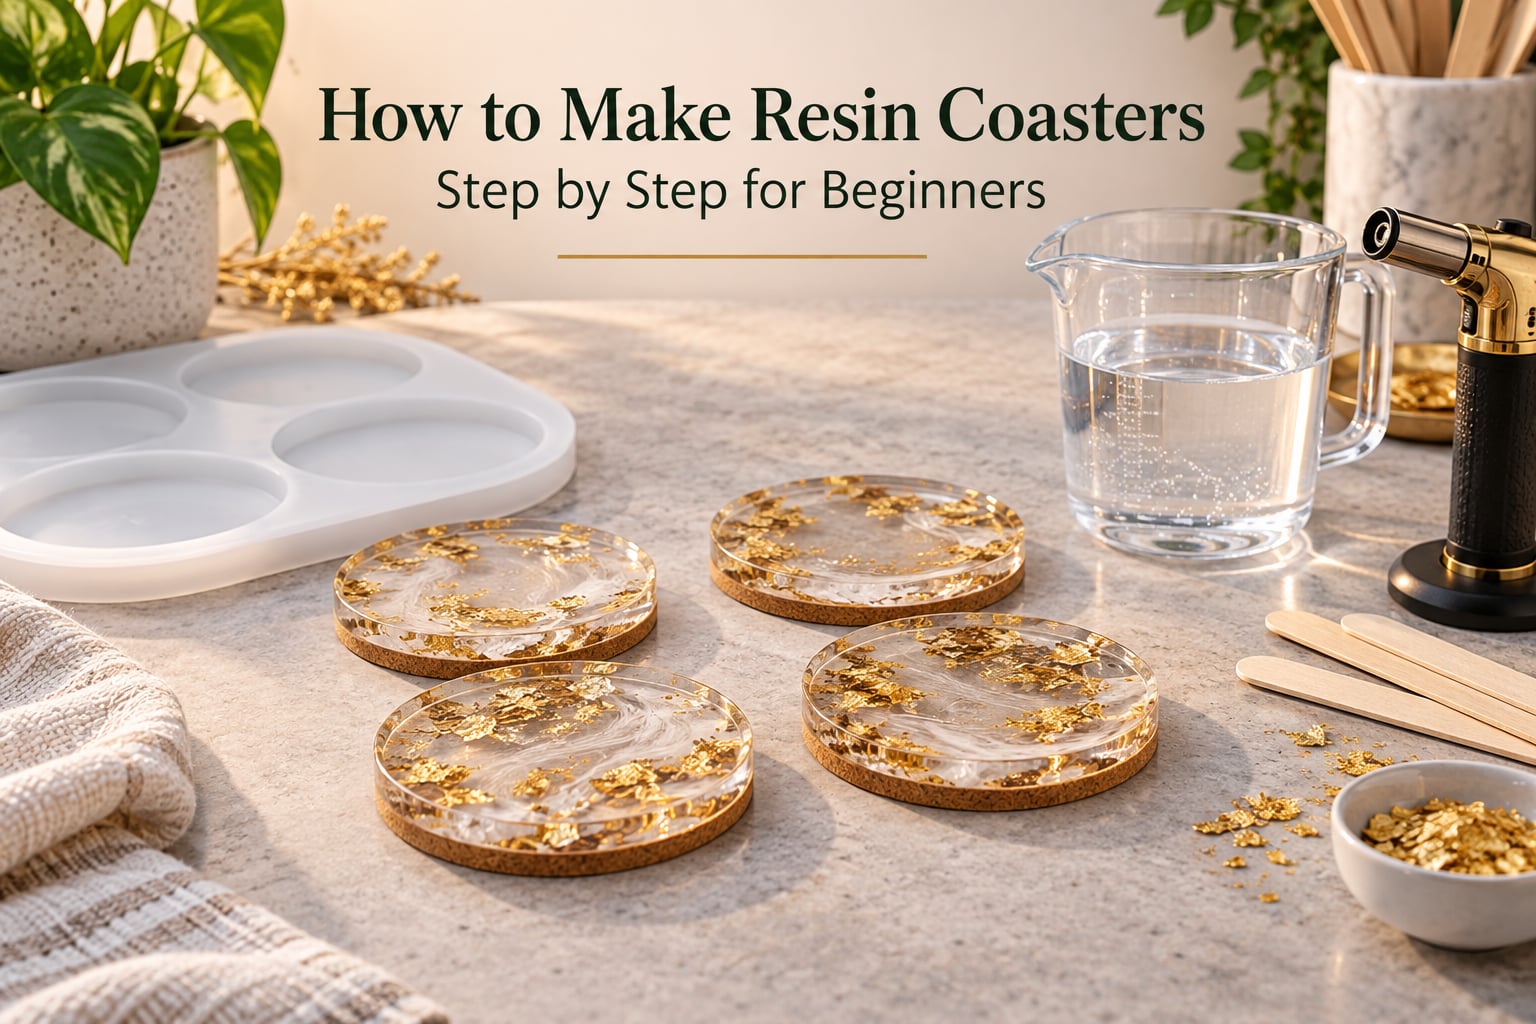
Making resin coasters takes one pour, roughly 30 minutes of hands-on work, and 24 to 48 hours of curing time you barely have to supervise. The process runs nine steps: prepare and protect your workspace, measure Part A resin and Part B hardener at a 1:1 ratio by volume, stir for 3 to 5 minutes, tint the batch, pour a base layer, embed your decorations, torch the surface clear of bubbles, cover and cure undisturbed, then demould, sand the edges and glue on a cork pad.
That is genuinely the whole method. No special equipment, no kiln, no workshop. The difference between a glossy, glass-clear coaster and a permanently sticky, bubbled one comes down to four numbers: the 1:1 ratio, the 3-to-5-minute mix, keeping the room between 21-24C (70-75F), and giving the piece a full 24 to 48 hours before you touch it.
I have watched beginners rush almost every one of those four points, and the failures are always the same. So this guide walks through each step with the specific number that matters, then covers the questions the rest of the internet answers badly: which resin to buy, why bubbles appear, how long to actually wait, and what to do when a coaster goes wrong.
Table of Contents
- What You’ll Need to Make Resin Coasters
- Before You Start: Safety and Workspace Setup
- Which Resin Should You Use?
- How to Make Resin Coasters: Step by Step
- Step 1: Prepare and Protect Your Workspace
- Step 2: Measure Resin and Hardener at 1:1 by Volume
- Step 3: Mix Thoroughly for 3 to 5 Minutes
- Step 4: Add Colour, Never More Than 6 Percent
- Step 5: Pour a Base Layer About One-Third of the Mould Depth
- Step 6: Embed Your Decorations
- Step 7: Torch or Heat-Gun the Bubbles Out
- Step 8: Cover and Cure Undisturbed for 24 to 48 Hours
- Step 9: Demould, Sand the Edges, Add a Cork Base
- How to Get Rid of Bubbles in Resin
- Cure Time Cheat Sheet: How Long Do Resin Coasters Need to Cure?
- Common Mistakes to Avoid
- Fixing a Botched Coaster
- What You Can Actually Put on a Resin Coaster
- Design Ideas for Your First Set
- Frequently Asked Questions
- What supplies are needed to make resin coasters?
- How long does it take for resin coasters to harden?
- What type of resin is best for making coasters?
- Is resin or epoxy better for coasters?
- Does UV resin work for coasters?
- Why is my resin making bubbles?
- What do you spray on resin to pop bubbles?
- Will a hair dryer remove bubbles from resin?
- What to put on the bottom of resin coasters?
- Are resin coasters food safe and can they go in the dishwasher?
- Your First Resin Coaster Set Starts With Four Numbers
What You’ll Need to Make Resin Coasters
You need nine essentials, and most of them are reusable for every future project. A shallow silicone coaster mould is the only tool that is specific to this craft.
- Two-part epoxy resin – a shallow-casting or high-temperature formula sold as Part A resin and Part B hardener. This is the material the coaster is actually made of.
- Silicone coaster mould – round or square, shallow, ideally with a rim. Silicone flexes enough to release a cured piece without flexing or prying it.
- Measuring cups or a jug with clear markings – one per part, marked in the same units. Never mix Part A and Part B in the same cup.
- Stirring sticks – flat wooden or silicone sticks. A smooth, nonporous stick entrains far less air than a plastic spoon with holes in the bowl.
- Heat gun or small butane torch – one of the two removes surface bubbles. A heat gun is the safer option around silicone.
- Nitrile gloves – uncured epoxy is a skin sensitiser, and it will never wash off fully once it has soaked in.
- Silicone mat or sheet – a nonporous, non-absorbent surface that catches drips and can be flexed to funnel stray resin back into a mould.
- Paper towels and a dust cover – parchment paper taped over the mould after pouring, plus a cardboard box to tent it.
- Cork sheet and craft glue – for the backing that stops a finished coaster sliding across a table.
Colour is optional. Mica powder, resin dye, alcohol ink, holographic glitter, metallic flakes and dried pressed flowers are all decoration choices, not structural ones. Skip them on your first pour and learn the basics on a plain clear piece.
Before You Start: Safety and Workspace Setup
Set up before you open a bottle. Once resin and hardener are combined, the clock is running, usually with only 30 to 45 minutes of working time at room temperature.
Ventilation first. Epoxy gives off fumes during mixing and for several hours as it cures. Open two windows on opposite sides of the room and work between them, or set up a fan pointing out of an open door. Outdoors is better if the temperature holds above 21C.
Wear gloves, goggles and a dust mask for sanding. Nitrile gloves for handling, safety glasses for splashes, and a respirator for the wet-sanding stage, which produces fine epoxy dust once cured resin is abraded.
Keep the room between 21-24C (70-75F). Cold slows the cure and can leave the underside soft. Heat speeds it up and can make the pour exotherm, which traps bubbles inside the piece.
Work on a flat, level surface. Epoxy flows to the lowest point, so a crooked table gives you a coaster that rocks. Use a spirit level to check before you pour.
Control dust and hair. Clear resin traps everything that lands in it, and a hair or speck of lint is sealed in permanently. Work away from shared spaces, tie long hair back, and let the dust settle for a few minutes before you pour.
Know when to skip epoxy entirely. Epoxy fumes are not appropriate for children, and many makers avoid it during pregnancy. If that applies to your household, a solvent-free acrylic resin or a poured ceramic or stone coaster is a better fit than working around a warning.
Which Resin Should You Use?
Use a two-part shallow-casting or high-temperature epoxy resin. UV-cured acrylic resin also works, but it cures by expanding or shrinking after you pour it, which matters for an object that has to sit flat on a table.
One clarification first, because it trips up a lot of beginners: epoxy is a type of resin. The real choice is not resin versus epoxy, it is which family of product you reach for.
| Type | Cure time | Odour | Post-cure stability | Best for |
|---|---|---|---|---|
| Shallow-casting epoxy | 24-48 hours | Fumes, needs ventilation | Rock solid once cured | Coasters, trays, jewellery |
| High-temperature epoxy | 24-48 hours | Fumes, needs ventilation | Resists deforming under heat | Coasters that take hot mugs |
| Deep-casting epoxy | 24-72 hours | Fumes, needs ventilation | Rock solid once cured | Thick pieces, not thin pours |
| UV-cured acrylic | 5-15 minutes per layer | Very low, solvent-free | Expands or shrinks after curing | Small jewellery pieces, quick fixes |
Some beginners deliberately start with UV resin because it sets faster, smells less and needs no ratio accuracy. That is a fair choice for a tiny pendant, but coasters are wide and flat, and a surface that moves after curing will not sit properly on a table. Epoxy is the better default here.
Two things never to mix: Parts A and B from different brands, and a coating resin with a casting resin. The chemistry has to match.
How to Make Resin Coasters: Step by Step
Here is the full method in one list, then each step explained.
- Prepare and protect your workspace.
- Measure resin and hardener at 1:1 by volume.
- Mix thoroughly for 3 to 5 minutes.
- Add colour, never more than 6 percent by volume.
- Pour a base layer about one-third of the mould depth.
- Embed your decorations, if you are using them.
- Torch or heat-gun the bubbles out.
- Cover and cure undisturbed for 24 to 48 hours.
- Demould, sand the edges, add a cork base.
Step 1: Prepare and Protect Your Workspace
Lay the silicone mat on a flat, level table and check it with a spirit level. Position your moulds now, not after you mix, because you will not have time to rearrange things once resin is on the table. Set out your measuring cups, stir sticks, torch or heat gun, gloves and colour before you open anything.
Step 2: Measure Resin and Hardener at 1:1 by Volume
Pour equal amounts of Part A and Part B into separate marked cups. Almost every shallow-casting epoxy mixes 1:1 by volume, but read your own label, because some formulas use 2:1 or 3:1 by weight.
Measure by volume, not by weight, for a standard 1:1 epoxy. The two liquids rarely have identical densities, so weighing the same number of grams gives you an off ratio that will never fully cure. If your manufacturer specifies a weight ratio, follow that instead and use a digital scale.
A four-inch coaster in a shallow mould takes roughly 60-90 ml of mixed resin, so a 150 ml batch covers a full set of four with a little waste.
Step 3: Mix Thoroughly for 3 to 5 Minutes
Stir slowly with a flat stick, scraping the sides and the bottom of the cup, for a full 3 to 5 minutes. Speed matters more than anything else here. Fast stirring whips air into the mix, and that entrained air is the single biggest cause of bubbles in a finished coaster.
Scrape the stick against the rim every few seconds, then keep going until the two liquids have lost their separate streaks. Stop scraping when you pour. Scraping resin out of the cup while pouring drags a fresh wave of air into the stream, which is how beginners undo their own good mixing.
Step 4: Add Colour, Never More Than 6 Percent
Add dye, mica powder, alcohol ink or pigment paste to the mixed batch and stir for another 30 to 60 seconds. Keep total colorant under 6 percent of the volume you mixed. Above that, the resin stops curing properly and the piece stays tacky forever.
Resin darkens colour as it cures, so a shade that looks right in the cup ends up deeper in the mould. Tint a scrap batch first if you are matching a set of four, and never pour a second coaster from a tint you have not seen cure.
Step 5: Pour a Base Layer About One-Third of the Mould Depth
Pour from the centre out in one steady stream, stopping about a third of the way up the mould wall. A self-levelling epoxy finds level on its own, so resist the urge to tilt the mould to spread it. If you pour too deep at once, the chemical reaction generates heat, the resin exotherms, and you trap bubbles in the middle where no torch can reach them.
Wait until the base layer is no longer liquid before adding anything on top, then continue in thin layers. Two or three shallow pours beat one deep one every time.
Step 6: Embed Your Decorations
Press dried pressed flowers, glitter, foil or small flat objects into the soft base layer with tweezers or a dry brush tip. Keep everything within about 3 mm of the edge, or you will sand it off later. For chunkier objects, pour a second thin layer on top and set the object into that instead.
Objects with any moisture in them – fresh petals, leaves straight from the garden – will cloud and brown the resin over time. Everything has to be bone dry.
Step 7: Torch or Heat-Gun the Bubbles Out
Sweep a butane torch or heat gun across the surface from about 4 inches away, moving constantly, in overlapping passes. You are not trying to cook the resin, you are thinning the surface film so trapped air can rise and pop. Bubbles should break and vanish within seconds of a pass.
Use a heat gun rather than a torch when you are nervous. A torch held too long or too close can scorch the surface into a film that bubbles can no longer pass through, and it can melt the edge of a silicone mould.
Step 8: Cover and Cure Undisturbed for 24 to 48 Hours
Tape parchment paper over the mould so dust and lint cannot land in it, then tent a cardboard box over the top to keep it dark and dust-free. Leave it somewhere level at 21-24C with nothing touching it.
Do not check it, move it, or wipe a finger across the surface to test progress. Every time you lift the cover you are letting dust in and interrupting the cure, which is where tacky patches and lens marks come from. This is the single hardest rule for impatient beginners.
Step 9: Demould, Sand the Edges, Add a Cork Base
After 24 hours the piece should release from a flexible silicone mould with a firm push from underneath. Do not flex, pry or lever it out with a knife. Flex the mould away from the coaster at one edge and let the piece fall out under its own weight.
Sand the rim with 400 grit wet sanding, working up to 800 grit for a smoother edge, and wear a dust mask while you do it. Wet sanding keeps the dust airborne and off your lungs.
Trace the coaster onto a cork sheet and cut inside the line, roughly 2 mm smaller than the piece. Glue with a non-waterproof PVA or craft glue, press firmly, and set it under a flat weight for an hour. The cork does three jobs: it stops the coaster sliding, it lifts it off the table, and it stops the surface turning dangerously slippery when condensation lands on it.
How to Get Rid of Bubbles in Resin
Bubbles are almost always introduced while mixing, not while pouring. Faster stirring pulls air into the liquid faster, and that air stays trapped as the resin thickens. A slow, methodical 3-to-5-minute mix solves the majority of the problem before it starts.
Surface bubbles rise and pop. Bubbles trapped in the middle of a pour are permanent, and no spray, torch or hairdryer will reach them once the resin has set. Prevention at the mixing stage is your only real tool for those.
| Method | How well it works | The catch |
|---|---|---|
| Heat gun | Reliable on surface bubbles | Move it constantly or the surface scorches |
| Butane torch | Fastest and most effective on the surface | Can scorch the finish and melt silicone |
| Hair dryer | Unreliable | Diffuse airflow stirs the surface more than it lifts bubbles |
| Isopropyl alcohol | Helps a few stubborn surface bubbles | Cannot reach bubbles below the surface, and overuse clouds the finish or interferes with the cure |
So the honest answer to what to spray on resin: nothing sprayed will clear an internal bubble, and a hair dryer is not a substitute for a heat gun. Work the torch or heat gun across the surface within about 3 hours of pouring, while the resin is still fluid enough for air to move.
Cure Time Cheat Sheet: How Long Do Resin Coasters Need to Cure?
Give a coaster a full 24 to 48 hours before demoulding, and 72 hours before you handle it, package it or give it away. The stages below are what that timeline actually looks like, because sources disagree wildly and the disagreement is usually about touch, not full cure.
| Stage | Elapsed time | What you can do |
|---|---|---|
| Liquid | 0-2 hours | Torch bubbles, add inclusions |
| Thickening | 2-6 hours | Nothing. Leave it alone |
| Touch-dry surface | 8-12 hours | Nothing. The underside is still soft |
| Demouldable | 24-48 hours | Demould, sand edges, add cork |
| Fully cured | 48-72 hours | Use with cold drinks |
| Safe for hot drinks and gifting | 72 hours | Use with hot mugs, box, gift |
Surface dry is not the same as cured. A coaster can feel completely dry on top at 12 hours and still be soft underneath, which is why the shortcut is to ruin the back of the piece instead of the front.
Common Mistakes to Avoid
- Mixing too fast. Whips air into the batch. Fix: stir slowly for the full 3 to 5 minutes, scraping the sides and bottom.
- Wrong ratio. Usually caused by eyeballing instead of measuring. Fix: measure both parts by volume in marked cups, every time.
- Too much colour. Over 6 percent stops the cure. Fix: tint a scrap batch, add in small doses, count your drops.
- Pouring too deep in one go. Deep pours heat up and trap bubbles inside. Fix: two or three thin pours with a pause between each.
- Checking the piece while it cures. Lifting the cover lets dust in and marks the surface. Fix: set a reminder, then stay away.
- Holding the torch too close. Scorches the surface into a film that traps bubbles underneath. Fix: 4 inches away, moving constantly.
- Forcing a demould. Flexing or prying a half-cured piece cracks it. Fix: wait the full 24 to 48 hours, then push from underneath.
- Working in a shared room. Hair and lint are sealed in permanently. Fix: work alone in a closed-off space with the dust settled first.
- Rushing the finish. Sanding and gluing too early leaves a dented back. Fix: 72 hours before it touches a hot mug or a box.
Fixing a Botched Coaster
A failed piece is usually still usable. The repair depends on what went wrong.
Sticky or soft patches. Almost always an off ratio, too much colorant, or a cold room. If the whole piece is soft, it will not recover, and adding heat risks yellowing. If only a small area is tacky, sand it back with 400 grit until you hit solid resin, then pour a fresh thin topcoat over the clean area.
Bubbles in the middle of the piece. You can drill them out with a fine bit, but it leaves a divot a topcoat will not fully fill. If you are sanding anyway, treat the drilled holes as one more surface to level rather than as a feature.
Uneven thickness. Sand the high spots down with 180 grit under a straight edge, then finish with 400 and 800 grit. If one side is dramatically thinner, the coaster will still rock, so a thicker coat of clear resin on the underside is more honest than trying to sand a lip away.
A mould that will not release. Flex the silicone from both sides at one edge rather than levering from the centre. Demoulding gets harder as silicone ages and picks up residue, so wipe the empty mould with a release agent before every pour.
Yellowness or a dull surface. Exothermic heat and UV exposure both yellow clear resin over time. Sand the surface with 1000 grit and pour a fresh clear coat, and keep finished pieces out of direct sunlight.
What You Can Actually Put on a Resin Coaster
Treat a cured epoxy coaster like a warm surface, not a hot one. Most cast epoxy begins to deform above 80C (176F), which is below the temperature of a freshly boiled kettle but above a mug of coffee left standing.
| On the coaster | Safe? | Note |
|---|---|---|
| Cold drinks, wine, juice | Yes | No risk at all |
| Tea or coffee, room temperature | Yes | The everyday case |
| Hot coffee, drunk straight away | Usually | Fine if the mug is moved off the coaster |
| Tea left standing to go cold | Risky | Heat soaks in over time and can leave a ring or a dent |
| Boiling water, fresh kettle | No | Above the 80C limit |
| Oven or dishwasher | No | Heat cycling cracks resin, and detergent dulls the gloss |
Condensation is the sneakier hazard. A glass taken straight from the fridge leaves wet rings on a resin surface, and those surfaces become slippery. A cork backing lifts the coaster off the table so moisture collects underneath instead of on top, which is why the backing is not really optional.
On food safety, fully cured epoxy is inert and does not need to be kept separate from dry food, but a coaster is a surface for mugs, not a surface for cutting or direct food contact. Wash it with warm water and a cloth; solvents will haze the gloss.
Design Ideas for Your First Set
Once you have a clear coaster that cured properly, the decorating is the easy part. Make the first set of four all the same design so they read as a set, then vary them on the second batch.
- Marble – a base layer, then thin ribbons of white and grey dragged through with a stir stick for a veined effect.
- Rainbow – separate cups of colour, poured in sequence without stirring, for soft bands.
- Galaxy – dark base, mica powder swirls, and fine glitter on top, with white specks for stars.
- Pressed flower – dried botanical pieces set into a clear base, laid flat with tweezers.
- Wood and resin – a slice of wood in the mould, flood the rest with clear resin to fill the gaps.
- Geode – a shell of deep colour around a lighter centre, using successive thin pours.
Frequently Asked Questions
What supplies are needed to make resin coasters?
You need nine essentials: two-part shallow-casting epoxy resin, a flexible silicone coaster mould, marked measuring cups for each part, flat stirring sticks, a heat gun or butane torch, nitrile gloves, a silicone mat, a dust cover such as parchment paper, and a cork sheet with craft glue. Colour and glitter are optional decoration choices rather than requirements.
How long does it take for resin coasters to harden?
Give a coaster 24 to 48 hours before demoulding and 72 hours before it is handled, heated or packaged. The surface can feel touch-dry at 8 to 12 hours while the underside is still soft, so surface dry is not the same as cured.
What type of resin is best for making coasters?
A two-part shallow-casting or high-temperature epoxy resin. Shallow-casting formulas are formulated for thin pours, and the high-temperature variety resists deforming when a hot mug lands on it. Avoid deep-casting resin, which is formulated for thick pours and cures far too slowly for a coaster.
Is resin or epoxy better for coasters?
Epoxy is a type of resin, so the real choice is between product families. For coasters, two-part casting epoxy beats UV-cured acrylic, which cures fast and smells less but expands or shrinks after curing, which matters for a flat object that has to sit level on a table.
Does UV resin work for coasters?
Yes, and many beginners like it because it sets in 5 to 15 minutes per layer and has very little odour. The catch is post-cure movement, plus the need to cure every side of the piece, so a caster epoxy is the safer choice for wide flat coasters.
Why is my resin making bubbles?
Almost always because air was entrained while mixing. Fast stirring whips air into the resin faster than slow stirring does, and that air stays trapped as the batch thickens. Stir slowly for 3 to 5 minutes, scrape the sides and bottom, and pour without scraping.
What do you spray on resin to pop bubbles?
Nothing sprayed reliably reaches a bubble in the middle of a pour. A torch or heat gun clears surface bubbles within about 3 hours of pouring. Isopropyl alcohol helps a few stubborn surface bubbles but cannot reach bubbles underneath and can cloud the finish or slow the cure if overused.
Will a hair dryer remove bubbles from resin?
Not reliably. A hair dryer lacks the concentrated heat to pop a surface bubble and its diffuse airflow tends to stir the surface instead. Use a heat gun moving constantly from about 4 inches away, or a butane torch passed quickly over the mould.
What to put on the bottom of resin coasters?
A cork or felt pad. Trace the mould shape onto the cork and cut about 2 mm inside the line, then glue with a non-waterproof PVA or craft glue and press firmly under a flat weight. The backing stops the coaster sliding and keeps condensation on the underside rather than creating a slippery top surface.
Are resin coasters food safe and can they go in the dishwasher?
Fully cured epoxy is inert, but a coaster is a surface for mugs rather than for direct food contact. Keep it out of the dishwasher and out of the oven, because heat cycling cracks resin and detergent dulls the gloss. Clean with warm water and a cloth.
Your First Resin Coaster Set Starts With Four Numbers
How to make resin coasters step by step is not complicated, it is just precise. Mix 1:1 by volume, stir for 3 to 5 minutes at a steady pace, keep the room at 21-24C, and wait the full 24 to 48 hours before you touch the piece. Everything else – colour, flowers, glitter, geode effects – is decoration on top of a process that already works.
Start with one plain clear pour on a level surface. Get that one right and the rest of the craft opens up quickly. If you hit a problem on the way, the recovery section above covers the four failures beginners actually run into.