
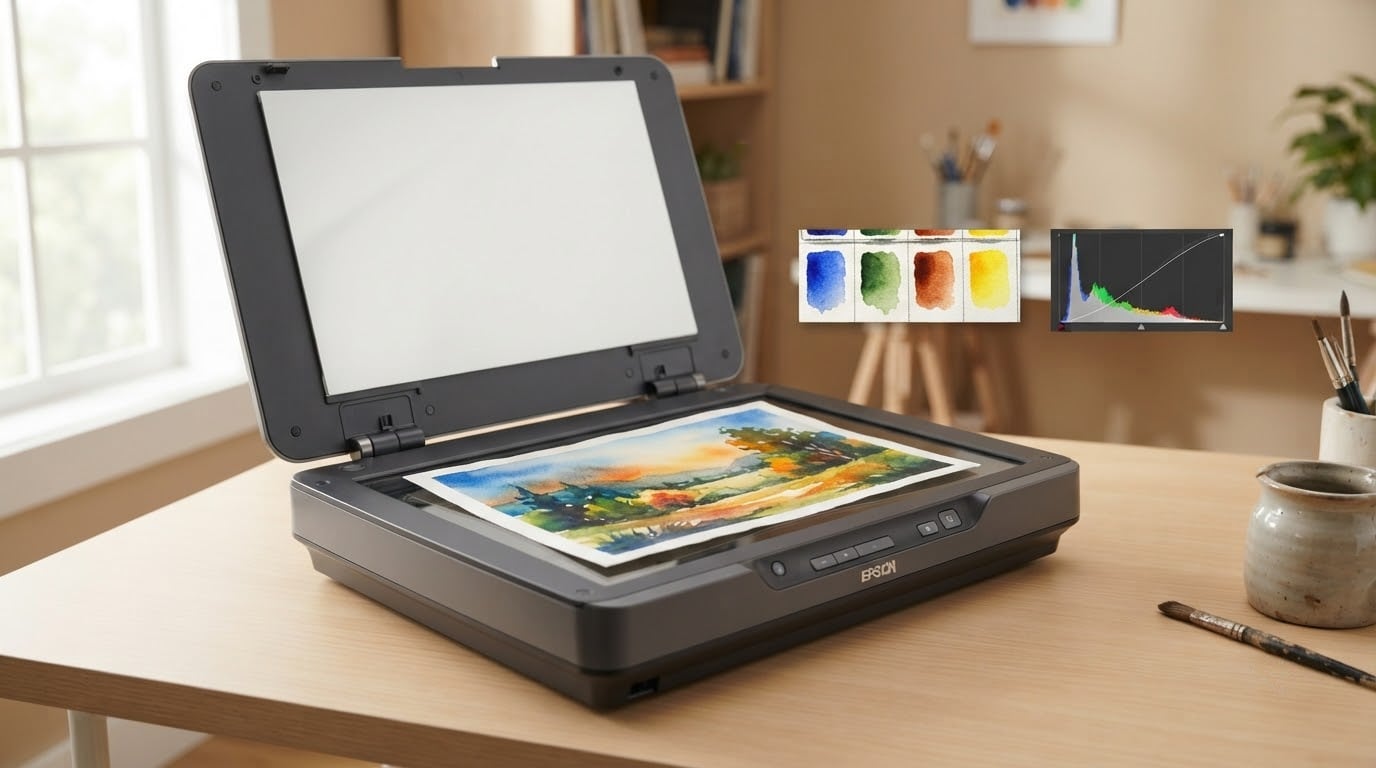
Scanning watercolor paintings without losing color means capturing a digital file that preserves the original artwork’s hue, saturation, and luminosity while keeping accurate paper texture and fine detail. It is the difference between a portfolio image that sells prints and one that quietly dims the work you spent hours creating.
I learned this the hard way. My first scans of finished watercolors looked pale, flat, and strangely bumpy in the wrong places. After two years of trial and error, plus a deep dive into forums, I have a workflow that produces scan-accurate files every time. Below is the exact method I use, plus the science behind why watercolor is so tricky to digitize.
Table of Contents
- Why Scanning Watercolor Paintings Is So Tricky
- Choosing the Right Scanner for Watercolor
- Pre-Scan Preparation: Lighting, Setup, and the Painting
- Step-by-Step: How to Scan a Watercolor Painting
- DPI, Resolution, and File Format Explained
- Fixing Washed-Out Color: Post-Processing in Photoshop or GIMP
- Pro Technique: Dual-Scan 180 Degrees to Fix Texture Inversion
- Photographing vs Scanning: When to Switch to a Camera
- Frequently Asked Questions
- Final Thoughts on Scanning Watercolor Without Losing Color
Why Scanning Watercolor Paintings Is So Tricky
Watercolor is uniquely hard to scan because of three forces working against you at once: transparent pigment, raised paper texture, and the directional light the scanner shines across the artwork.
The first issue is color drift. Watercolor pigment is semi-transparent and sits on top of white paper. A scanner’s light passes through the pigment, hits the paper, and bounces back. Any tiny shift in the white point of the paper, or any uneven pigment density, throws off the color reading.
The second issue is the texture inversion problem. On a real watercolor sheet, the paper has tiny dimples where pigment pools and ridges where it does not. A scanner’s lamp comes from one direction, so the ridges cast tiny shadows in the opposite direction from how your eye reads them in daylight. The result is a shape-from-shading illusion: the bumps look like dimples and vice versa.
The third issue is ambient occlusion, which is the darkening that appears in crevices because light cannot reach them. Scanners exaggerate this in watercolor paper because the cold cathode lamp is not truly diffuse. Phone cameras with mixed lighting make this worse, which is why artists on forums consistently prefer a flatbed scanner over a phone for final scans.
Choosing the Right Scanner for Watercolor
A flatbed scanner with a high optical resolution and strong color depth is the right tool for watercolors up to roughly A3 size. The Epson Perfection V600 is the model watercolor artists recommend most often, and it is what I use. It offers 6400 dpi optical resolution, 48-bit color depth, and a transparency lid that handles both reflective and film scans.
If you only need web-ready images, any modern flatbed with at least 1200 dpi optical resolution will give you acceptable results. For print-ready files or giclée reproductions, look for 2400 dpi or higher with true 48-bit color. Sheet-fed scanners are not recommended for watercolor because they bend the paper and crush the texture.
Avoid using a dedicated film scanner or a sheet-fed document scanner. Both apply pressure to the original and tend to clip the highlights where watercolor is most delicate. A flatbed lets the painting sit untouched under a moving light bar.
Pre-Scan Preparation: Lighting, Setup, and the Painting
Most washed-out scans start long before the scan button is pressed. A clean glass surface, a level table, and a dry painting are non-negotiable.
Start by wiping the scanner glass with a lint-free microfiber cloth and a tiny amount of distilled water. Skip household cleaners because residues leave a haze that shows up as a soft fog in your scan.
Make sure the painting is fully dry. Watercolor that feels dry to the touch can still release moisture under the lid, which condenses on the glass and dulls the scan. I let paintings sit 24 hours after the last wash before scanning them.
Place the painting face down on the glass if your scanner allows, otherwise face up with the lid closed. Face-up is the default for most reflective scans. Close the lid fully to block ambient room light from contaminating the exposure.
Step-by-Step: How to Scan a Watercolor Painting
Follow this exact sequence each time and your scans will be consistent.
Step 1: Open your scanner software and choose the reflective scan mode (not transparency). If your software offers a color restoration or auto-enhance option, turn it off. Auto-enhance almost always flattens watercolor.
Step 2: Set the resolution to 300 dpi for web and portfolio use, or 600 dpi if you plan to make prints larger than the painting itself. Anything above 600 dpi usually adds file size without visible benefit.
Step 3: Choose 48-bit color depth if your scanner supports it, otherwise 24-bit color. 48-bit preserves more gradation in soft watercolor washes, which gives you more room to correct color in post.
Step 4: Do a preview scan at low resolution. Drag a selection box around the painting, leave a half-inch margin on each side, and use the preview to set the white and black points manually if your software allows.
Step 5: Run the final scan. Save the file as an uncompressed TIFF for archival and a PNG for sharing. Avoid JPEG unless you are exporting a small web thumbnail.
DPI, Resolution, and File Format Explained
DPI means dots per inch and controls how much detail your scan can hold. For watercolor, 300 dpi is the standard for screen viewing, and 600 dpi is the safe minimum for archival or print.
Resolution matters less than you think for color accuracy. Color accuracy comes from bit depth, which is how many distinct shades of each color channel the scanner can record. A 48-bit scan captures 16 bits per channel, which means trillions of gradations instead of the millions you get with a standard 24-bit scan.
TIFF is the right archival format because it is lossless and supports 16-bit per channel. PNG is lossless too and is ideal for online portfolios. PDF scanning is convenient for keeping multiple works in one document, but PDF is rarely the right format for a single painting. Skip JPEG for any file you plan to edit later because every save discards detail.
Fixing Washed-Out Color: Post-Processing in Photoshop or GIMP
Even a perfect scan usually needs a small lift in color and contrast. Post-processing is where your scan becomes a faithful record of the painting.
Open your TIFF in Photoshop or GIMP. Start with Levels or Curves, not Brightness or Contrast sliders. Levels give you a histogram and three eyedroppers for true black, mid, and white points. Use the white eyedropper on the brightest part of the paper, then the black eyedropper on the deepest pigment.
Next, open Hue/Saturation and bump saturation by 5 to 15 percent. Watch the soft washes; if a glaze starts to feel chalky, dial saturation back slightly. A 10 percent boost is usually enough for most watercolors.
Apply sharpening only after resizing your final image. Use an unsharp mask with a radius of 0.8 to 1.2 pixels and a low amount around 50 percent. Sharpening before resize exaggerates texture artifacts.
Save your edited file as a 16-bit TIFF for archival and export a separate 8-bit PNG for the web. Keep your original scan untouched on a separate drive so you can return to it if your edits go too far.
Pro Technique: Dual-Scan 180 Degrees to Fix Texture Inversion
If your scans show inverted paper texture, the dual-scan technique can fix it without buying new gear.
Scan the painting once normally. Rotate the painting exactly 180 degrees on the glass and scan it again at the same settings. Open both files in Photoshop as two layers, with the second scan on top.
Set the top layer to 50 percent opacity or use the Difference blend mode at low opacity. The opposing shadow patterns cancel each other out and leave you with a flatter, more accurate texture rendering. This is the technique that watercolor forum members credit with finally making their scans look like the original painting.
For very large works that exceed your scanner bed, you can also use a photomosaic. Take overlapping photos of the painting under even daylight, then stitch them together with software like Hugin. It takes longer, but it preserves texture and color without the seam artifacts of a multi-pass scan.
Photographing vs Scanning: When to Switch to a Camera
Scanning wins for works that fit on the bed, are unframed, and need print-grade color. A camera wins when the work is too large, too thick, or behind glass.
If your watercolor exceeds your scanner bed by even a small amount, do not force a partial scan. Mount the camera on a tripod, light the painting with two matched daylight bulbs at 45 degrees, and shoot at f/8 with a custom white balance. Photographing is also the right call for framed originals or works with heavy impasto that would press unevenly against a scanner lid.
Frequently Asked Questions
What is the best scanner for watercolor paintings?
A flatbed scanner with at least 2400 dpi optical resolution and 48-bit color depth is the best choice for watercolor. The Epson Perfection V600 is the most common pick among artists because it handles both reflective and transparency scans at high bit depth.
How can I prevent watercolor paintings from fading?
Keep original paintings out of direct sunlight, frame them behind UV-filtering glass, and store unframed work in acid-free sleeves. For digital copies, scan at 600 dpi in 48-bit color and save as a 16-bit TIFF to preserve as much color data as possible.
What is the 70/30 rule in painting?
The 70/30 rule suggests that a finished composition should read as roughly 70 percent dominant value or color and 30 percent supporting accent. It is a planning guideline for visual balance rather than a hard measurement, and it applies whether you paint traditionally or scan digitally.
How to digitize watercolor paintings?
Place the dry painting on a clean flatbed scanner, close the lid, and scan at 300 to 600 dpi in 48-bit color. Save as an uncompressed TIFF, then use Levels, Curves, and a small saturation boost in Photoshop or GIMP to restore the original vibrancy.
Why do my watercolor scans look washed out?
Scanners record the paper white as the brightest point, so any pale wash sits near that ceiling and reads as faded. Inverted paper texture from the scanner’s directional light also tricks the eye into seeing lower contrast than the painting actually has. Post-processing with Levels and a small saturation lift fixes both issues.
What DPI should I use for watercolor scanning?
Use 300 dpi for web portfolios and social posts, and 600 dpi for prints, archival copies, or giclée reproduction. Going higher than 600 dpi usually inflates file size without adding visible detail to a watercolor.
Final Thoughts on Scanning Watercolor Without Losing Color
Scanning watercolor without losing color comes down to three controls: a flatbed scanner with true 48-bit color, a 300 to 600 dpi scan saved as a 16-bit TIFF, and a short Levels plus saturation pass in post. The dual-scan 180 technique is the bonus move for anyone fighting that stubborn inverted texture.
Run the workflow on your next finished piece and compare it side by side with the original. You will see the same hue, the same value, and the same paper texture your brush left behind. Bookmark this guide and revisit it whenever you upgrade your scanner or change your editing software.