
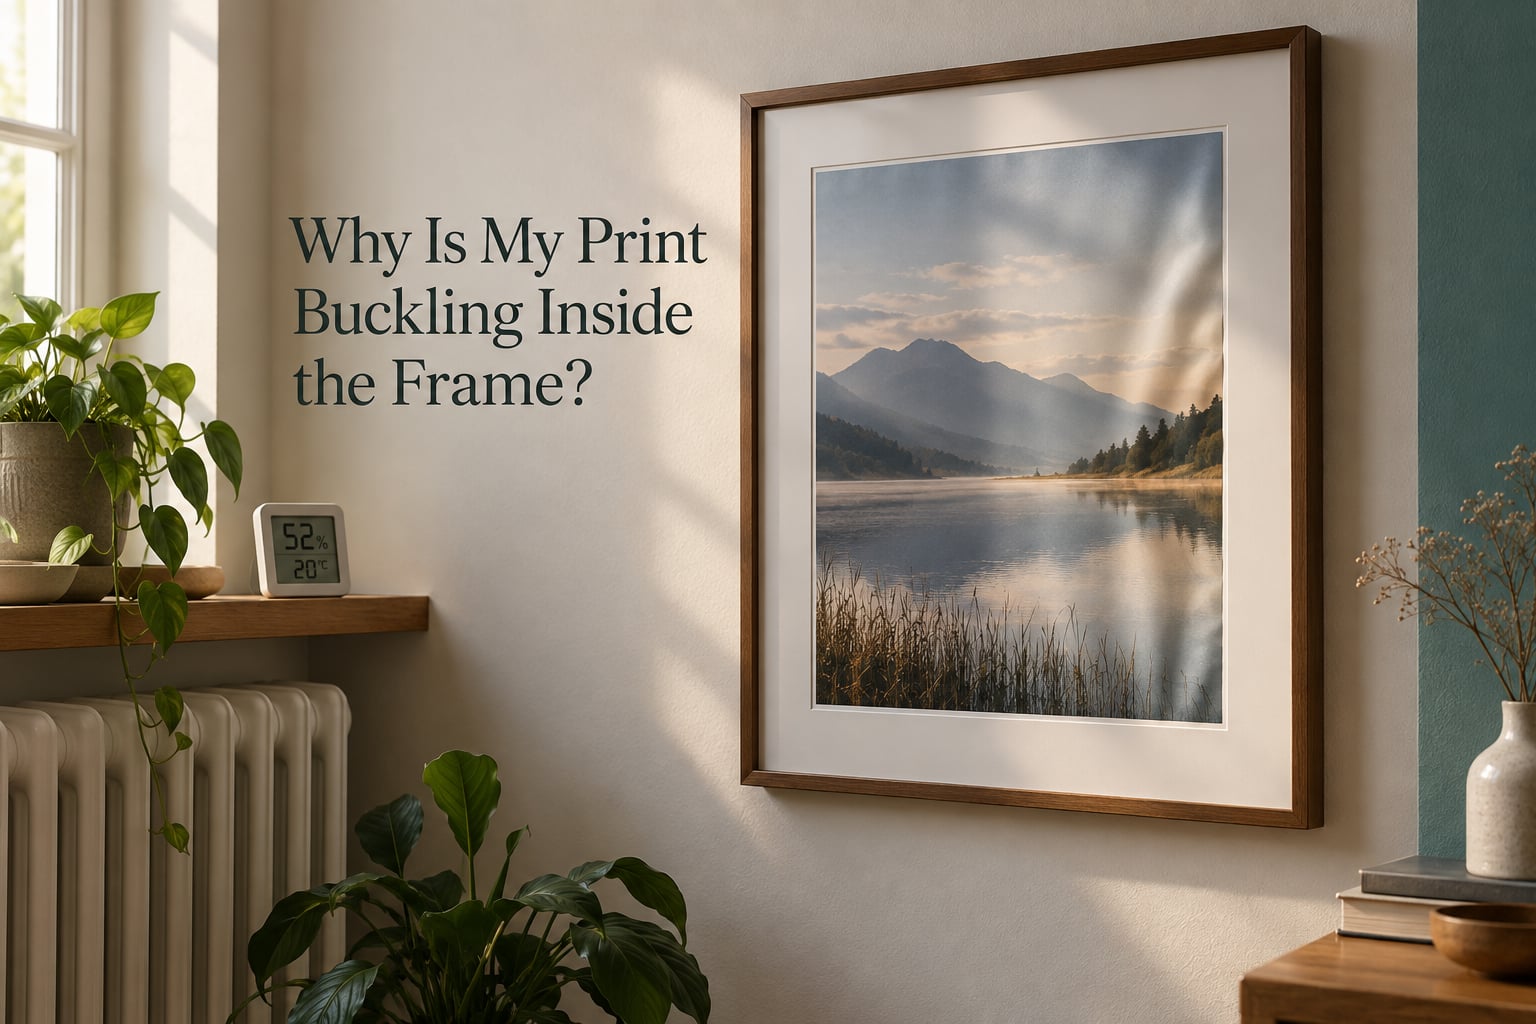
If you are searching for why is my print buckling inside the frame, you are probably looking at a sheet of paper or a canvas that has gone wavy under glass. To be clear about the word: this article is about rippling, cockling and warping artwork, not belt buckles. The short version is that paper and canvas are hygroscopic, so they expand and contract with every change in humidity, and a rigid frame with tight glazing cannot let that movement happen.
The edges of your print are held fixed by the frame, the mount and the glazing. The middle is not. So the movement has nowhere to go except into waves, and those waves are what you see catching the light across the surface of the image.
That is the whole mechanism, and almost every case of rippling you will meet traces back to it. What differs from print to print is why the movement could not be absorbed: a window that swings the humidity from 30% to 75% in an afternoon, a hinge that grips the sheet at two fixed points, an under-tensioned stretcher bar, or a print that went into the frame with a curl still in it.
Because the search results for this question are mostly forum threads and short care pages, most of them describe what to do but not how to tell the causes apart. This guide does the diagnostic step first, then walks through the repair, then tells you how to mount the piece so it never happens again. It also covers canvas and paper separately, because they fail for different mechanical reasons.
One reader on r/framing framed a photo print at a high-end local shop and noticed a few months later that it had gone visibly wavy. Another thread on TalkPhotography has a poster rippling in a cheap plastic-glazed frame near a window, in a room the owner later found had a damp corner after heavy rain. Different situations, same physics.
Table of Contents
- Why Is My Print Buckling Inside the Frame? The Short Answer
- What Buckling, Rippling, Cockling and Bowing Actually Mean
- The Main Causes of a Print Rippling in Its Frame
- Humidity and temperature swings
- The print was never flattened before framing
- Hinge stress from two-point mounting
- Frame and glazing pressing on a loose print
- Adhesive, backing board and damp contact
- Canvas slack on under-tensioned stretcher bars
- Sunlight, heat sources and raking light
- Surface finish is not the cause
- Paper Prints vs Canvas Prints Fail for Different Reasons
- Symptom to Cause: What You See, How to Confirm It, What to Do
- How to Fix a Print That Is Already Buckling
- What Not to Do: Five Ways to Make a Wavy Print Worse
- When to Take It to a Framer or Paper Conservator
- When It Is Not Your Fault
- Prevention: How to Frame Posters and Prints Without Wrinkles
- Frequently Asked Questions
- How do I stop a poster rippling in its frame?
- How do I keep a poster from wrinkling in the frame?
- How do I flatten a wavy poster?
- How do I flatten a warped poster?
- How do I frame posters without wrinkles?
- How long does it take to flatten a rolled up poster?
- What is the best way to frame a print?
- How do I fix a bowed frame?
- Why do my pictures stick to the glass in the frame?
- Should photos be framed with glass?
- Why Is My Print Buckling Inside the Frame? What to Do Next
Why Is My Print Buckling Inside the Frame? The Short Answer
A framed print buckles because the sheet moves and the frame does not. The causes that account for nearly all of it:
- Humidity swings make paper expand and shrink repeatedly.
- An unflattened print goes into the frame still holding a curl.
- Two-point hinging grips the sheet at fixed points forever.
- Tight glazing or an oversized frame presses a loose sheet flat.
- Damp backing board or shrinking adhesive pulls against the print.
- Under-tensioned stretcher bars leave canvas slack in the middle.
Each one has a different signature, and the timing usually gives the game away. A print that ripples within days was framed badly. A print that is perfect for six months and then buckles was almost certainly mounted at fixed points.
What Buckling, Rippling, Cockling and Bowing Actually Mean
These four words describe different shapes of the same problem, and using them precisely makes diagnosis faster.
- Buckling is the general term. It means the sheet has lost its flatness, usually in a wave running between two constrained edges.
- Rippling is the fine, regular version. Many parallel ridges, a few millimetres apart, running across the image.
- Cockling is the blistered, blobby version. The paper has wrinkled into small craters, often after getting wet and drying unevenly.
- Bowing is the gentle curve version. The print looks like a shallow lens rather than a rippled sheet, often because the mat is too small and the edges are pinched.
- Wavy is what most people say when they mean rippling. It is not a separate mechanism.
There is also a category of apparent waviness that is not a defect at all. Glare and raking light off a glass front can make a flat print look rippled, especially when you stand to one side of it. Walk directly in front of the piece and if the waves disappear, the paper is flat and you are looking at reflection.
The Main Causes of a Print Rippling in Its Frame
Humidity and temperature swings
Paper is made of cellulose fibres, and those fibres absorb moisture from the air and give it back again. When relative humidity rises the sheet gains length and when it falls the sheet loses length. Uncoated fine art paper and cotton rag paper are the most responsive, which is why photographers and printmakers hit this so often.
The target for a home is roughly 40% to 50% relative humidity, stable rather than perfect. A cheap hygrometer on the wall of the room the frame hangs in is enough to tell you whether you are in range, and it costs less than a reframe. If your reading swings by 20 points across a day, the print has no chance of staying flat.
Watch the timing clue here. Buckling that appears every winter when the heating comes on, or every time it rains, is almost always environmental. The worst offenders are radiators, a vent blowing directly at the wall, fireplaces, and rooms that hold damp such as basements and bathrooms.
The print was never flattened before framing
A large poster that arrives rolled in a tube carries a memory of that roll. Roll a sheet tightly, let it sit, and it will want to curl again. Frame it in that state and the curl becomes a permanent wave, because the frame’s flat glass presses the curl out unevenly and locks in the distortion.
Flatten it under weights for a day or two before it goes anywhere near a frame. If it still curls out of the weights, it was rolled too tightly and it needs a slower approach.
Hinge stress from two-point mounting
This is the most under-appreciated cause, and it explains the scenario readers find most upsetting: the print looked perfect for months and then went wavy. Hinging attaches the sheet at two fixed points, usually with archival hinges or Japanese tissue along the top edge, while the rest of the sheet is free.
Over time the paper shrinks more than the small glued areas can follow, so tension concentrates near the hinges and the middle of the sheet buckles. A regular on The Picture Framers Grumble put it plainly: hinging is attaching the print at two fixed points, and over time the paper shrinks away from them.
If the waves run vertically and emanate from the top edge, think hinge stress. A print mounted with a flexible archival mounting strip along all four edges has far more room to move and is much harder to buckle.
Frame and glazing pressing on a loose print
If the print is smaller than the frame rebate and nothing holds it in the middle, the glazing presses it toward the backing. That pressure flattens the sheet while it is still slightly curled, and the ripple sets into the fibres where the pressure was highest. This is the usual explanation for a bowed frame, and it is also why a print that looks acceptable in a shop can look bad on your wall.
A spacer between the back of the glazing and the surface of the print prevents any contact at all. That single strip of foam or archival spacer board solves more cases than people expect.
Adhesive, backing board and damp contact
Three things go wrong here. A backing board that is not acid-free or buffered will yellow and can draw moisture. Ordinary tape or a solvent-based glue line can shrink or yellow at a different rate from the print, which sets up a permanent tug. And a print resting against a damp wall or a damp backing picks up moisture from one side only, which cockles it.
If a print sticks to the glass when you press gently on it, that is static and off-gassing rather than glue. Acrylic glazing generates static that grabs dust and can pull a print toward the glazing, and it traps moisture just as well as glass. The fix is a spacer, not a stronger press.
Canvas slack on under-tensioned stretcher bars
Canvas fails differently. A gallery wrap canvas is stretched over wooden stretcher bars, usually across the back. If those bars were under-tensioned, or if one has bowed, the canvas carries slack and you see a soft dent in the middle rather than fine ripples.
Slack corners are the giveaway. They pull away from the corner of the frame when you press them. A key can be used to tighten the corner keys, and a framing shop can tension the bars properly, but the root cause is mechanical rather than moisture.
Sunlight, heat sources and raking light
Direct sun heats one part of a print more than the rest, which drives a moisture gradient across the sheet. It also fades the ink, so the harm is not only mechanical. UV-filtering acrylic or museum glass reduces the fading but does nothing about the heat.
Low-angle light from a side window is a different problem. It rakes across the surface and exaggerates any texture, including texture the paper already had.
Surface finish is not the cause
Gloss, lustre and matte finishes do not cause rippling. This comes up constantly in forums because people assume a glossier surface is more prone to waves, and then re-order the same image in a different finish to no effect. A forum regular on TalkPhotography was direct about it: ordering in lustre will not solve the problem, because the finish was never the variable. Substrate, mounting and environment are the variables.
Paper Prints vs Canvas Prints Fail for Different Reasons
Splitting the two media apart is the fastest way to narrow down a case, and no competitor page we reviewed does this.
| Factor | Paper Print | Canvas Print |
|---|---|---|
| Main driver | Moisture movement in cellulose fibres | Slack and uneven tension on stretcher bars |
| Typical symptom | Fine parallel ripples across the image | Soft dent in the centre, slack corners |
| Timing | Days to months, often seasonal | Present from the day it arrives, or after a knock |
| At-home fix | Flatten under weights, re-mount hinged | Tighten corner keys, tension the bars |
| Prevention | Float or hinged mount, spacers, stable humidity | Proper bar tension, corner keys, flat wall |
| Framing note | Never let glazing touch the surface | No glazing contact issue; face wrap is the weak point |
One extra wrinkle for canvas: surface-mounting a canvas on foamboard or dibond is common and will hold it flat permanently. It is also the point of no return, and foamboard can telegraph its own coating texture through a thin or gloss print, an effect known as orange peel.
Symptom to Cause: What You See, How to Confirm It, What to Do
This is the diagnostic table most framing advice is missing. Work down the left column until you find your symptom.
| What you see | Most likely cause | How to confirm it | What to do |
|---|---|---|---|
| Fine ripples running the short way, appears within weeks | Humidity swing in the room | Check a hygrometer at the wall, note morning and evening readings | Move the frame off the wall away from vents; add a dehumidifier in damp months |
| Waves starting at the top edge after several months | Hinge stress from two-point mounting | Remove the backing and look for hinges holding the top edge only | Re-mount with archival mounting strips on all four sides |
| Bowing, no fine ripples, print smaller than the frame | Glazing pressing a loose sheet | Check whether the glazing is touching the print surface | Add a spacer strip between glazing and print |
| Blistered or blobby craters, sometimes with a stain | Damp or uneven moisture, wrong-side wetting | Look for a damp backing board, a damp wall or a water event | Remove backing, replace with acid-free buffered board, flatten under weights |
| Soft centre and slack corners, on canvas | Under-tensioned stretcher bars | Press a corner; it moves away from the frame | Tighten the corner keys or have the bars re-tensioned |
| Print lifts or sticks to the glass when pressed | Static and off-gassing from acrylic, no spacer | Does it feel tacky or does it peel? Static lifts, adhesive pulls | Fit a spacer; switch to UV-filtering glass or acrylic |
| Waves appear only when you stand to one side | Reflection and raking light, not a defect | Look straight on; the waves vanish | Change lighting angle or add a museum glass option |
How to Fix a Print That Is Already Buckling
Work through these in order. The teardown is the part people skip, and skipping it is how a print gets re-hung with the same fault still in place.
Step 1: Take it out of the frame
Remove the backing, keeping the tabs or turn-buttons intact so the package can be reassembled. Before you separate anything, take a photo of how the print sits in the mount. That single photo tells you the original spacing, the hinge positions and which way the sheet was oriented, and it is the difference between a correct reframe and a guess.
Step 2: Flatten it under weights
Lay the print image-up on a clean, flat, non-stick surface. Acid-free tissue, glassine or a clean sheet of glass laid on top stops the weights from imprinting into the ink. Stack flat weights across the whole sheet with more weight over the middle, then give it 24 to 48 hours.
Most light rippling comes out with a couple of days of weight and patience. Anything with a sharp crease or a set will not.
Step 3: Reverse-roll a stubborn curl
If the print keeps curling despite the weights, reverse-roll it. Place the print image-out on a clean table, curl the edges back onto themselves, and roll the sheet forward onto itself so the image ends up on the outside of the roll. Give the roll an hour or two, unroll it, and flatten under weights as above.
Give it one pass. If the curl returns, the print was rolled tightly and needs more time under weight rather than more rolling.
Step 4: Fit spacers before anything goes near the glazing
Cut archival spacer strips or foam core strips to sit between the back of the glazing and the print surface, on all four sides. The glazing should hover a few millimetres clear. This is the step that stops the problem recurring, and it takes ten minutes.
Step 5: Re-mount properly
Choose one of two methods. A hinged mount uses archival hinges or Japanese tissue along the top edge only, with the rest of the sheet free, which is traditional but is the method that causes delayed hinge stress. A float or full-flap mount holds the print at all four edges with archival mounting strips or a hinged four-edge mat, which allows far more natural movement and is the better choice if the print is going in a room with swings in humidity.
Either way the adhesive must never touch the image surface, and it must be reversible.
Step 6: Refit an acid-free backing
Use a buffered acid-free backing board cut slightly smaller than the frame so it cannot bow into the print. A full hardboard back adds weight and blocks more moisture, but it must be flat and dry.
Step 7: Reinstall and check the wall
Seat the glazing, fit the back, and hang the frame flat against the wall and away from any vent. Then give it a week and look again. If the waves are coming back, the cause is environmental and the mount is not the problem.
What Not to Do: Five Ways to Make a Wavy Print Worse
These are the remedies people reach for first, and every one of them causes damage.
- No steam. Moisture gets into the paper and the ink layer at once, and it can cockle, bleed or delaminate a gloss print. It also encourages mould.
- No iron, and never directly on the print face. Heat and pressure drive the resin binder into the paper permanently, and the iron plate will imprint the texture of the whole sheet.
- No tape. Ordinary tape yellows, and its adhesive shrinks at a different rate from the paper, which creates the exact tension that caused the problem.
- No self-adhesive laminates. A laminate seals one side of the sheet, so the other side keeps moving while the sealed side cannot. The result is a curl you cannot reverse.
- No dry mounting or heat sealing of anything valuable. Vacuum press and heat seal are permanent. There is no solvent that undoes them, and a conservator can reverse a hinge but not a heat seal.
If you are unsure, the rule is simple: water, heat and pressure are all destructive to a print, and all three are what household fixes rely on.
When to Take It to a Framer or Paper Conservator
Take it in when the print is valuable or limited edition, when it has an existing crease or cockling that will not flatten, when the artwork is original rather than a reproduction, or when you have already tried weights and the waves came back.
A framing shop will offer a vacuum press or a heat seal onto foam core or card. One professional framer on TalkPhotography described the job: about ten minutes, the print comes out flat, and once heat sealed it cannot be removed. Some shops will also send the print back to the original printer to be re-mounted.
Ask about reversible options first. Museum-style framing with Japanese tissue hinges and a sink mat, a float mount with archival mounting strips, and a conservator’s treatment all leave the door open. Dry mounting closes it.
Also ask about foamboard before you agree to a surface mount, because its coating can telegraph through a thin or gloss print as orange peel texture.
When It Is Not Your Fault
Most of the anxiety in these threads comes from one question: did I pay a good framer for something that is broken? Often the answer is no.
The reader on r/framing who paid a high-end local shop and found the print wavy a few months later was not doing anything wrong. A mounting that grips a sheet at fixed points will develop tension whatever the shop’s standard, because the material keeps moving after the frame is closed. Another r/framing poster had a watercolour and coloured pencil piece wrinkle, including the back of the wooden frame, in a room with an air conditioning vent and higher humidity. That is a room problem.
What you can do about it is ask questions: is the mount hinged at one point or held at four edges, are there spacers between the glazing and the artwork, is the backing buffered acid-free, and has the wall been checked for a vent. A shop that answers those questions calmly has done nothing wrong even if the piece has still rippled.
Nor is a wavy print a loss. A print that has rippled is still a print, and unless someone heat sealed it, the problem is reversible in the sense that matters: the artwork itself is intact and can be remounted properly.
Prevention: How to Frame Posters and Prints Without Wrinkles
This is the checklist we would hand a framer at the counter.
- Flatten first. Two days under flat weights, image-up, with a non-stick layer on top.
- Handle the edges. Clean dry hands, cotton gloves for a fragile surface, and never touch the image face.
- Choose the mount for the room. A hinged mount at one edge for stable rooms; archival mounting strips or a float mount on all four edges for rooms with humidity swings.
- Use reversible adhesive only. Japanese tissue hinges with wheat starch paste, or archival mounting strips. Nothing solvent-based touches the artwork.
- Fit spacers. The glazing must not touch the print.
- Use acid-free buffered materials for the backing board and the mat, and cut the backing slightly undersize so it cannot bow.
- Choose glazing for the location. UV-filtering acrylic is lighter and safer in a home, and suits a large piece. Museum or conservation glass blocks more light and is a better match for a work on paper in a lit room. Both need spacers.
- Hang away from vents, radiators, fireplaces and sun. A high wall with no direct airflow is the single most effective change most people can make.
- Keep humidity near 40% to 50% and check it with a cheap hygrometer rather than guessing.
For storage before framing, keep prints flat between acid-free tissue, or leave them in the tube they shipped in but stored flat rather than on end. Avoid plastic coverings that trap moisture, and never store a print somewhere that swings hard between damp and dry, such as a garage or an unheated loft.
Frequently Asked Questions
How do I stop a poster rippling in its frame?
Take the poster out, flatten it under flat weights for 24 to 48 hours with acid-free tissue on top, then remount it on all four edges with archival mounting strips. Add spacers so the glazing never touches the surface, and move the frame away from vents and direct sun. This stops both the current rippling and the next one.
How do I keep a poster from wrinkling in the frame?
Wrinkling starts before the poster is framed, so flatten it first. A poster that arrives rolled in a tube needs one to two days under weights before it goes in. In the frame, use a float mount or mounting strips on all four edges, add spacers, and keep relative humidity near 40% to 50% so the paper can move without tension.
How do I flatten a wavy poster?
Remove it from the frame, lay it image-up on a clean flat surface, cover it with acid-free tissue or glassine, and place flat weights across the whole sheet with extra weight in the middle. Leave it for 24 to 48 hours. A curl that will not flatten can be reverse-rolled image-out for an hour or two and then weighted again.
How do I flatten a warped poster?
Weight first, rolling second. Put the poster under flat weights for a day or two. If it still bows, reverse-roll it with the image on the outside, leave the roll for one to two hours, unroll it, and weight it again. Give it a single rolling pass only. A crease or set will not come out this way and needs a conservator.
How do I frame posters without wrinkles?
Flatten the poster under weights for one to two days first, then float-mount it or use archival mounting strips on all four edges so the paper can expand and contract. Fit spacers between the glazing and the poster, back it with acid-free buffered board, and hang it on a wall with no airflow or direct sunlight. Never laminate or tape a poster to keep it flat.
How long does it take to flatten a rolled up poster?
A lightly rolled poster usually relaxes under weights in 24 to 48 hours. A tightly rolled one can take several days, and a poster with a set crease may never fully flatten. Rolling it back image-out for an hour or two before weighting speeds things up. Replacing the print is often cheaper than treating a badly set curl.
What is the best way to frame a print?
Flatten the print, mount it so it can move. Either a hinged mount on a single edge with reversible Japanese tissue hinges, or a float mount using archival mounting strips on all four edges for rooms with humidity swings. Add spacers so glazing never touches the art, back it with acid-free buffered board, and hang it away from vents, radiators and sun.
How do I fix a bowed frame?
A bow usually means the glazing is pressing on a print that is loose in the frame, flattening a slight curl and locking it in. Remove the print, flatten it under weights for a day or two, resize the mount if the sheet is smaller than the rebate, and refit with spacers so the glazing sits clear of the surface. Check the frame corners are square before reassembly.
Why do my pictures stick to the glass in the frame?
It is usually static rather than glue. Acrylic glazing builds static charge that grabs the print, and it can hold moisture against the surface. A print that peels away cleanly is static; one that pulls and leaves residue is adhesive in contact with the glazing. Both are fixed by the same thing: a spacer between the back of the glazing and the artwork.
Should photos be framed with glass?
Yes, glass or acrylic is fine and normal, provided the glazing never touches the photo. Use spacers on all four sides, and back the frame with acid-free buffered board. UV-filtering acrylic suits a large print because it is lighter and safer to handle. Choose UV-filtering museum or conservation glass for a paper print in a bright room, where fading matters more than weight.
Why Is My Print Buckling Inside the Frame? What to Do Next
Why is my print buckling inside the frame? Because the sheet moves with humidity and the frame does not, and something prevented the movement from being absorbed. Now that you know which cause matches your symptom, the sequence is the same every time: take it out, flatten it under weights for 24 to 48 hours, remount it so it can expand and contract, add spacers so the glazing stays clear, and check the wall for airflow.
Buy a cheap hygrometer before you do anything else. It will tell you in one evening whether you are fighting a room or a mount, and it is the cheapest preventive measure in this entire guide.
For 2026, we keep this guide updated as the framing and conservation side of the hobby keeps refining its materials. If your print is valuable, limited edition or original artwork, talk to a framer or paper conservator before you flatten anything.